FLASHFORGE AD5M 3D Printer Fully Auto Calibration Print with 1-Click Max 600mm/s Speed, All-Metal CoreXY Structure Precise Printing, Easy-Maintenance Quick-Swap Nozzle, Print Size 220x220x220mm
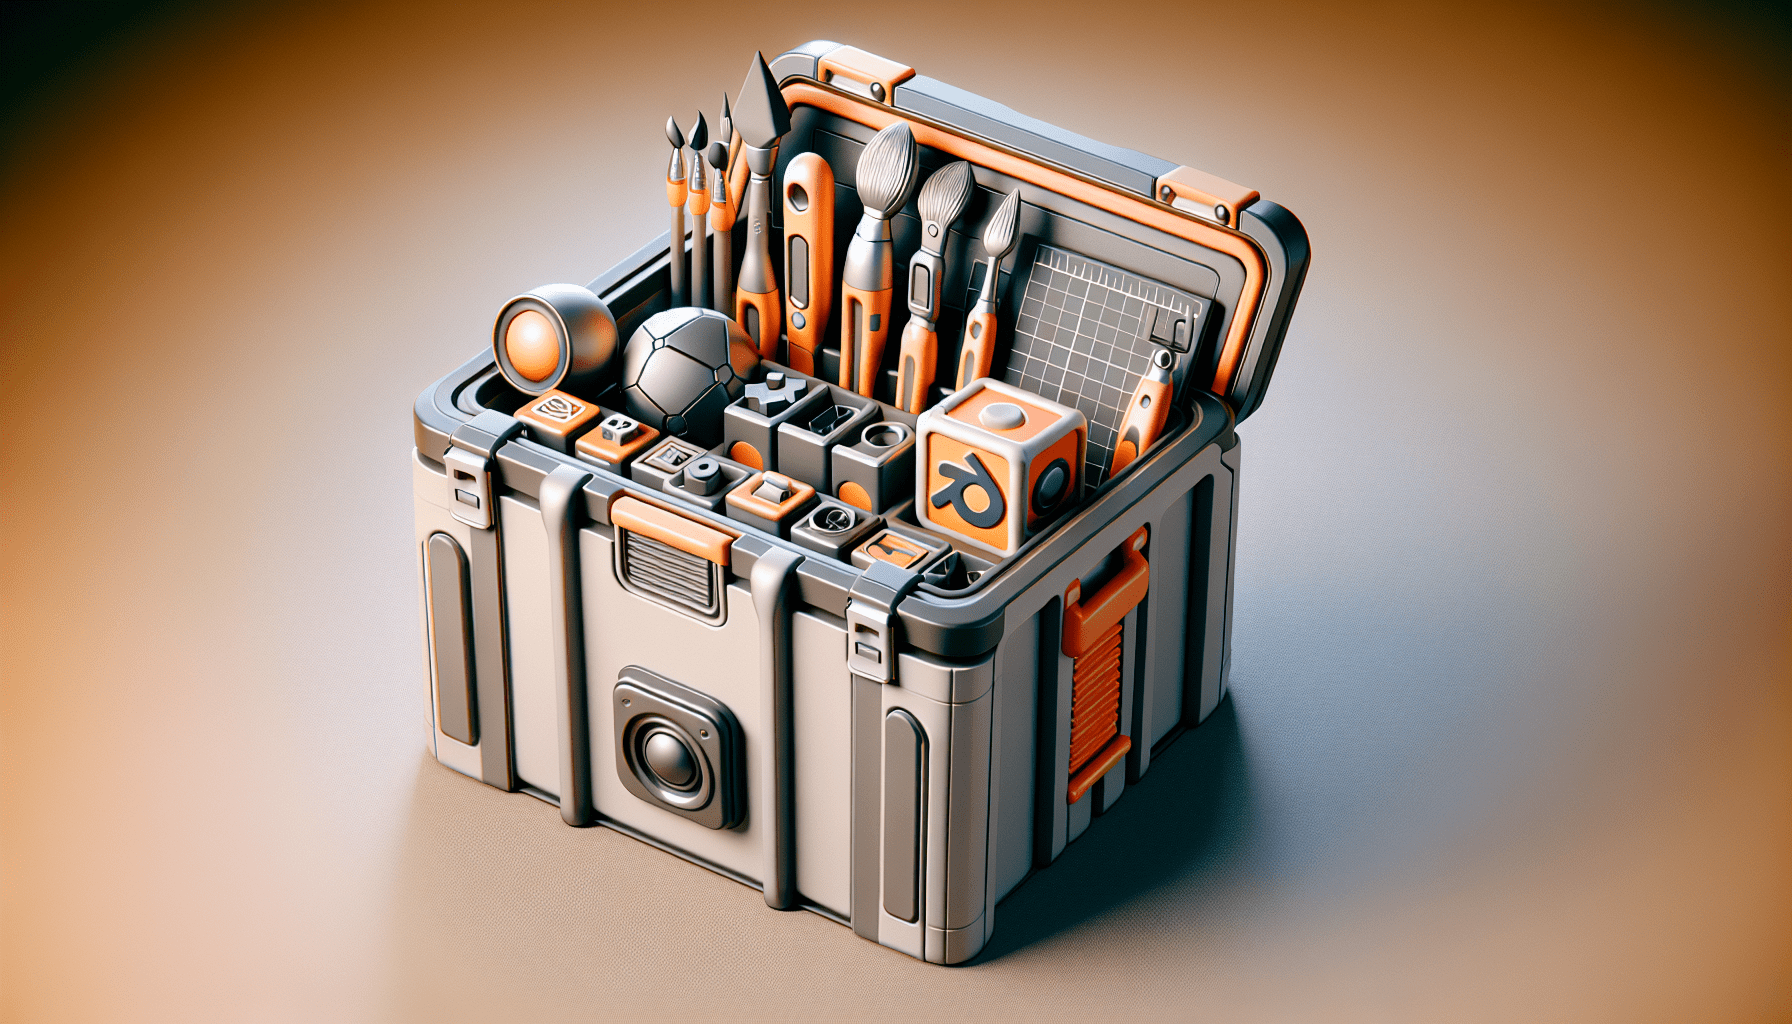
$259.00 (as of June 18, 2025 23:32 GMT +00:00 - More infoProduct prices and availability are accurate as of the date/time indicated and are subject to change. Any price and availability information displayed on [relevant Amazon Site(s), as applicable] at the time of purchase will apply to the purchase of this product.)Brad Colbow’s recent video, “10 Tools Every Blender Noob Should Learn,” serves as a valuable guide for beginners embarking on their Blender journey. Drawing from his own experiences in self-teaching Blender, Brad highlights ten essential tools that facilitate the initial stages of learning 3D modeling. These tools, ranging from fundamentals like “Apply Your Transforms” to more advanced techniques like using the “Array Modifier,” aim to simplify the intricate process of creating 3D objects.
The video not only lists these tools but also provides practical tips and shortcuts, such as using Command + R for Loop Cuts and Command + A for applying transforms. Brad’s suggestions are intended to streamline the workflow and enhance efficiency, making the steep learning curve of Blender more manageable for novices. Additionally, Brad shares insights into optimizing render times and effectively utilizing camera movements, enriching the learning experience for those new to the software.
Apply Your Transforms
Start with shift + A for new shapes
When you initiate a new Blender project, one of the first steps you will often take is creating a new basic shape. You can do this by pressing Shift + A to bring up the ‘Add’ menu, allowing you to select from a variety of primitive shapes like cubes, spheres, and cylinders. This shortcut is foundational in building up your 3D models from simple components.
Use command + A to apply transforms for correct modifications
One crucial aspect to remember when working with these shapes is applying transforms. Modifications like scaling, rotating, and translating can alter the geometry of your objects in ways that might affect further operations, such as beveling edges or applying modifiers. By pressing Command + A (or Ctrl + A on Windows) and selecting “Apply Transform” from the menu, you ensure that your modifications are made correctly, adhering to the adjusted shape rather than its original configuration. This practice can prevent numerous unpredictable modeling issues that might arise if transforms are not properly applied.
Loop Cut
Shortcut: command + R
Loop cuts are an essential tool in Blender, used primarily to add details and subdivisions to your models. The shortcut for this tool is Command + R (or Ctrl + R on Windows), and it must be executed in Edit Mode. Once initiated, you will see a purple line representing the cut. Clicking to confirm will create a loop cut across your geometry which you can then adjust as needed for finer control over your model’s shape and structure.
Use in edit mode to subdivide shapes and add detail
By using loop cuts, you can enhance the modeling detail by subdividing faces and adding complexity to your geometric forms. Simply navigate to Edit Mode, hover over the area where you wish to place the cut, and utilize the mouse wheel to adjust the number of cuts if needed. It’s a powerful tool that, when mastered, opens up significant opportunities for detailed and intricate modeling.

Find 3D Printing Accessories Here
Building Simple Compound Shapes
Create reusable simple shapes like a carpenter’s lumber
Modeling in Blender can sometimes feel overwhelming due to the complexity and number of unique shapes you need. A practical approach involves creating simple, reusable shapes – much akin to a carpenter’s lumber. These basic shapes—whether they’re planks, beams, or tiles—can be duplicated and manipulated as needed, forming the building blocks of more complex compound shapes.
Utilize starter files with pre-built assets for efficiency
To further streamline the process, it’s highly efficient to utilize starter files that include a library of pre-built assets. These assets can range from door frames to windows, and having them readily available can accelerate your workflow significantly. This practice eliminates the repetitive task of remaking commonly used shapes, thereby allowing you to focus more on the creative aspects of your project.
Array Modifier
Duplicate shapes with custom spacing
The Array Modifier is one of Blender’s most versatile and powerful tools, allowing you to duplicate shapes with specified spacing parameters. This can be particularly useful in scenarios where you need to create a series of repetitive elements, such as a row of columns or a set of stairs. Within the Modifier panel, you can define the number of duplicates and their respective offsets, fine-tuning the distribution and alignment according to your requirements.
Example uses: Stairs, pillars, roofs, tires (combined with mirror modifier)
Practical applications of the Array Modifier span across various modeling requirements. For example, creating a flight of stairs becomes straightforward by configuring the Array Modifier to replicate a step with the appropriate vertical and horizontal offsets. Similarly, architectural elements like pillars and roof tiles can be generated efficiently through this tool. When combined with the Mirror Modifier, the utility doubles; for instance, when modeling tires for vehicles, arraying one side and then mirroring it allows for symmetrical, consistent detailing.

Rotating Objects
Ensure to rotate on a single axis (x, y, or z) for precise control
Precision in rotating objects can often be a challenge, especially in a 3D space where multiple axes are involved. To maintain control and ensure accuracy, it is advisable to constrain your rotations to a single axis—either x, y, or z—before applying the transformation. Tap the respective axis key (X, Y, or Z) after initiating the rotation command (R). This practice prevents unintentional skewing or misalignment, allowing you to apply rotations precisely where needed.
Inset Tool
Shortcut: Tap ‘I’ on the keyboard
The Inset Tool, accessed by pressing I, is ideal for creating features like windows or other inset details within your geometry. By selecting a face and using this tool, you can scale in the face uniformly, essentially creating a smaller, parallel face within it. This action not only adds geometric complexity but does so in a controlled and versatile manner.
Great for adding windows or other inset features quickly
For instance, when modeling architectural structures, the Inset Tool can quickly carve out window frames or other inlay designs. This tool’s efficiency significantly speeds up the process of detailing, providing a straightforward method to enhance models without complex and time-consuming manual adjustments.
Extrude Tool
Shortcut: Tap ‘E’ on the keyboard
The Extrude Tool, invoked by pressing E, allows you to extend faces or edges of your model, effectively adding new geometry. This tool is particularly powerful when used in combination with the Inset Tool. By creating an inset and then extruding it, you can generate intricate features such as window ledges or piping structures.
Use in combination with inset for expanded modeling capabilities
This combination greatly expands your modeling capabilities. For example, you can easily model architectural details like window frames and intricate structures like pipes by first insetting a face and then extruding it. Each operation builds upon the last, enabling a level of detail and complexity that forms the backbone of high-quality 3D modeling.
Basic Material Application
Use the materials side panel for basic coloring and texture application
Applying materials in Blender can appear daunting at first glance, but mastering basic material application is crucial. Navigate to the materials side panel, where you can assign basic colors and textures to your objects. While Blender’s shader system can be incredibly sophisticated, starting with simple albedo colors and basic textures allows you to familiarize yourself with material properties.
Advanced material application can be complex; break it into small tasks
Bear in mind that advanced material applications—such as creating procedural textures or using nodes for intricate material effects—can be complex. Breaking these tasks into smaller, more manageable parts will help you avoid feeling overwhelmed. Begin by focusing on single aspects of the material, such as adjusting the base color or adding a simple texture. Gradually, as your confidence increases, you can explore the more complex interplay of shaders and nodes to create highly realistic or stylized textures.
Camera Movement
Enable ‘Camera to View’ for easier camera positioning
Navigating the camera within Blender can be a challenge, especially when positioning it to frame your scene perfectly. Enabling the ‘Camera to View’ option transforms this task. By enabling this feature, you can move around your scene while the camera mirrors your perspective adjustments. This functionality allows for intuitive camera positioning, ensuring your desired framing and composition without constantly toggling between view modes.
Uncheck to return to normal workspace navigation
Once you have positioned the camera to your satisfaction, it’s advisable to uncheck the ‘Camera to View’ option. This action reverts you to normal workspace navigation, thereby preventing inadvertent shifts in your carefully framed camera view while you continue to work on other aspects of your project.
Conclusion
Encouragement to try these tips despite initial doubts
Venturing into 3D modeling with Blender can certainly feel overwhelming at first. However, the tips outlined here are designed to provide a structured approach to some of the most critical and frequently used tools within Blender. Despite initial doubts or the steep learning curve, integrating these tips into your workflow will simplify complex tasks and enhance productivity.
Assurance that these tips will save a lot of time
By incorporating these practices, such as applying transforms, effectively using modifiers, and mastering basic material applications, you will find that your workflow becomes smoother and more efficient. The time saved through these streamlined practices allows for a more enjoyable and less stressful modeling experience.
Suggestion to increase passes for better quality if necessary
For tasks like rendering, you might find that increasing parameters such as the number of passes improves the quality of your final output. While starting with lower values is useful for quick previews and iterative work, adjusting settings for the final render stage ensures a polished and professional end result.
Even with modifications, the process will still be faster than other methods
Even with these additional adjustments and refinements, the processes discussed here will likely remain faster and more effective compared to alternative methods. The key lies in balancing efficiency with quality to achieve optimal results.
Request for audience to share their own tips in the comments
We invite you to share your own tips and tricks in the comments section. Your experiences and insights can contribute to the broader community of Blender users, fostering a collaborative environment where everyone can learn and grow.
Expression of gratitude to the viewers
Thank you for taking the time to read through this guide. Your engagement and enthusiasm for learning make this community vibrant and dynamic.
Promise of future content in a few days
Stay tuned for more content in the coming days. We are committed to bringing you valuable insights and practical tips to enhance your Blender journey. Keep experimenting, keep learning, and we’ll see you in the next tutorial!
Maintain Your 3D Printer with these Tools


