ELEGOO Neptune 3 Pro FDM 3D Printer with Auto Bed Leveling, Dual-Gear Direct Extruder, Dual Lead Screw Drive, Removable Capacitive Screen, 8.85x8.85x11in Large Printing Size
$209.99 (as of June 4, 2025 21:32 GMT +00:00 - More info)In the video titled “3D Cat – Blender Character Modeling for Beginners | Real-Time Tutorial” by SouthernShotty, viewers are introduced to a beginner-friendly, real-time tutorial in Blender for 3D character modeling. The tutorial focuses on creating a cute 3D cat and is suitable for both beginners and seasoned artists. Step-by-step guidance is provided, starting from setting up reference images to adding final touches. The tutorial covers various aspects of character modeling, such as box modeling techniques, adding details, and simple texturing methods. Additionally, project files and video walkthroughs are available on Patreon for further assistance.
SouthernShotty’s video offers an immersive experience for those interested in venturing into the world of 3D character modeling. The tutorial ensures that viewers can grasp the process at a comfortable pace, providing keyboard shortcuts and a reference file. The content covers everything from creating the face and adding features to sculpting the body, adding accessories, and even incorporating color and texture using image textures. For those looking to enhance their skills or embark on a new creative endeavor, this tutorial offers a comprehensive and accessible resource.
Tutorial Overview
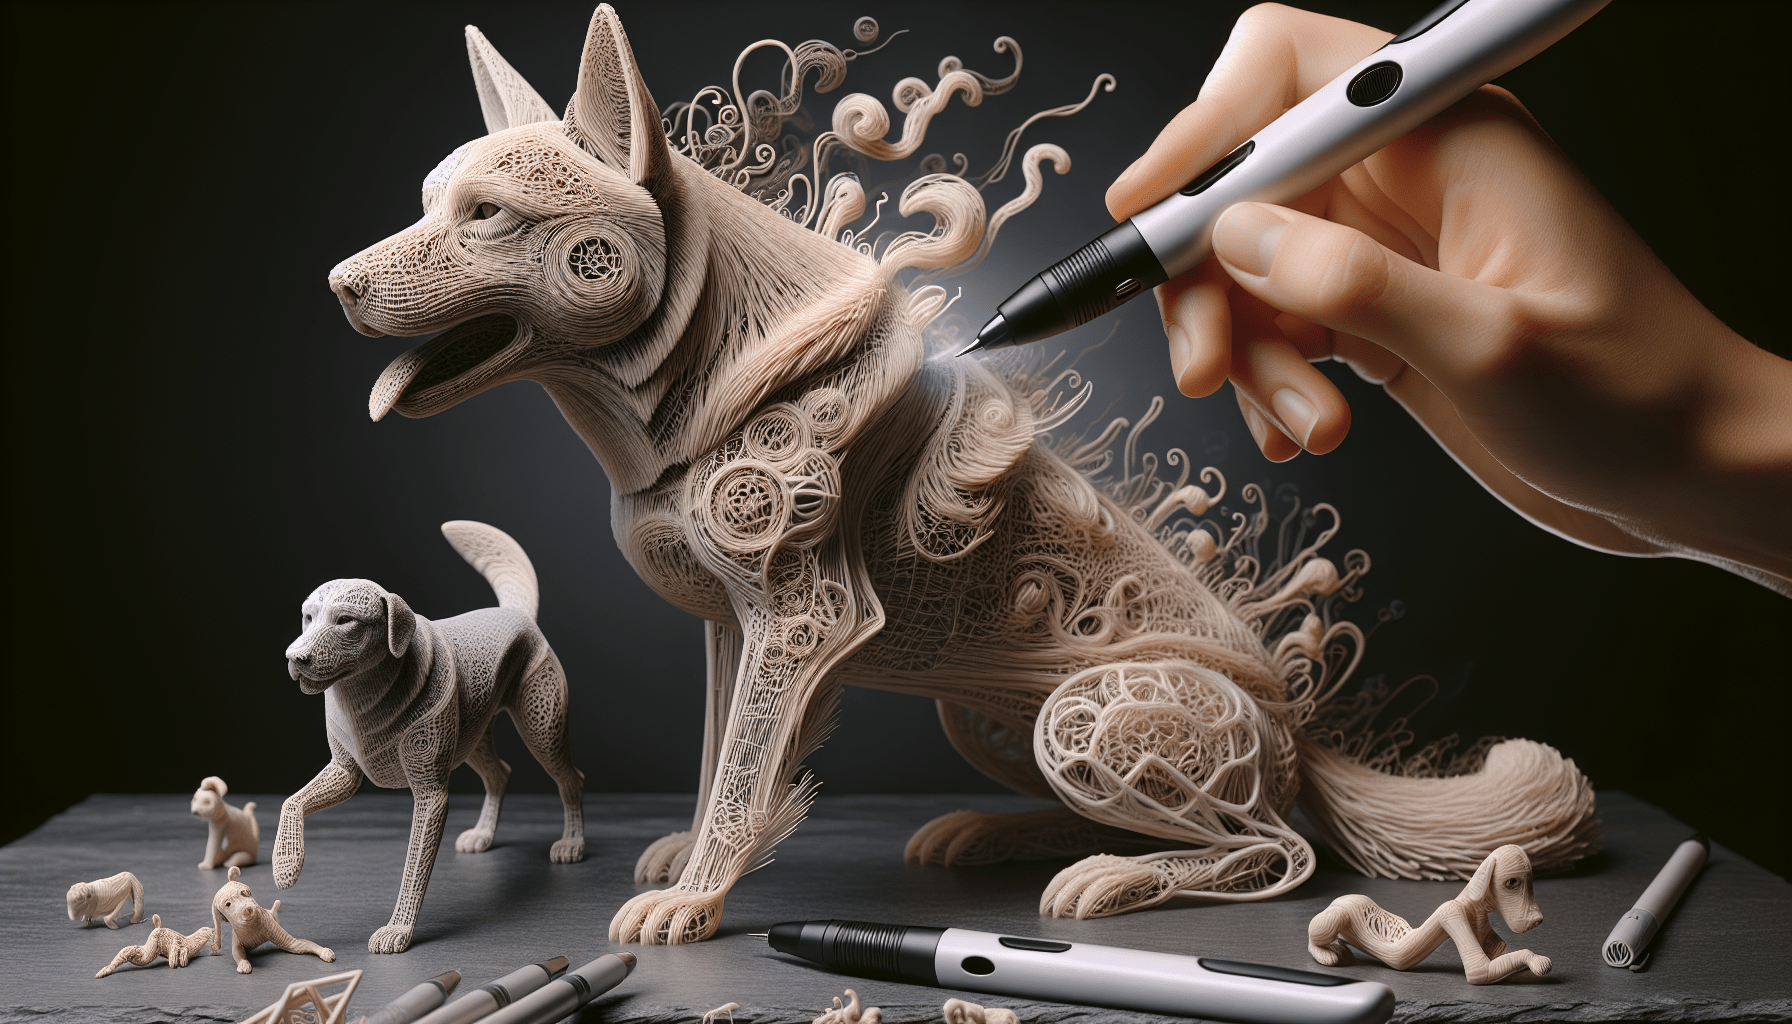
In this tutorial, we will be covering the process of creating a 3D character in Blender. Specifically, we will be focusing on creating a cute 3D cat. This tutorial is suitable for both beginners and seasoned artists, as it will provide step-by-step guidance and cover various techniques in character modeling. Throughout the tutorial, we will utilize box modeling techniques, add details to capture the cuteness of our cat character, and apply simple texturing methods to give it color and personality. If you’re ready to dive into the world of 3D character modeling, grab your workspace and let’s get started!
Content Introduction
This tutorial aims to provide a comprehensive and beginner-friendly guide to 3D character modeling in Blender. We will be creating a cute 3D cat character from scratch, covering each aspect of the modeling process. From setting up the workspace and importing reference images to sculpting the facial features, building the body, adding accessories, and customizing with a sword, we will explore every step in detail. Additionally, we will learn how to texture and color our character, applying image textures, fabric textures, and stitch textures to enhance the overall look. By the end of this tutorial, you will have the knowledge and skills to create your own 3D characters in Blender.
Audience Suitability
This tutorial is designed for individuals interested in learning 3D character modeling using Blender. Whether you are a beginner with no prior experience or a seasoned artist looking to expand your skillset, this tutorial will provide you with the necessary guidance to create a cute 3D cat character. Even if you have never used Blender before, this tutorial will walk you through the process step-by-step, ensuring that you can follow along and understand each concept. By the end of this tutorial, you will have gained valuable insights into character modeling techniques and will be well-equipped to undertake your own projects in Blender.

Find 3D Printing Accessories Here
Step-by-Step Guidance
This tutorial will follow a structured and methodical approach to ensure that you can easily comprehend and replicate the steps involved in creating a 3D character in Blender. We will break down the entire process into various sections, each focusing on a specific aspect of character modeling. From setting up the workspace and importing reference images to sculpting the facial features, building the body, adding accessories, customizing with a sword, and texturing and coloring the character, we will guide you through each step in a clear and concise manner.
To facilitate ease of understanding, we will provide detailed explanations and instructions for each step. Additionally, keyboard shortcuts will be displayed on the screen, allowing you to follow along even if you are not familiar with the shortcuts. We will also provide a reference file that you can download and use as a visual guide throughout the tutorial. Furthermore, project files will be available on our Patreon page, along with video walkthroughs of the completed projects, providing you with additional resources for learning and exploration.
Now that we have an overview of the tutorial, let’s dive into the first section: Setting Up.
Setting Up
Before we begin creating our 3D character, it is essential to set up our workspace properly. This involves importing reference images, organizing our workspace, and familiarizing ourselves with keyboard shortcuts to facilitate a smooth workflow.
Importing Reference Images
To ensure accurate modeling, it is crucial to have reference images that illustrate the desired character’s appearance. In this tutorial, we have provided a reference image for the cute 3D cat character. You can download the reference image from the description below. Once downloaded, open Blender and navigate to the Image tab. Drag the reference image into the viewport and adjust the opacity to your preference. We recommend setting the opacity around 0.15 for optimal visibility. Additionally, set the depth to “Front” so that the reference image remains in front of the model as you work.
Setting Up the Workspace
Next, we need to set up our workspace to create an optimal environment for character modeling. Start by adding a cube to the scene by pressing Shift + A and selecting Cube. This cube will serve as the foundation for our character’s face. To add more geometry to the cube, apply a subdivision modifier by pressing Ctrl + 3. This will subdivide the cube and provide us with additional vertices to manipulate. Use the G + Z keyboard shortcut to move the cube up along the Z-axis. Scale the cube slightly in Edit mode until it matches the proportions of the reference image. To apply the subdivision modifier, search for “convert to mesh” and select the option.
Using Keyboard Shortcuts
Blender offers numerous keyboard shortcuts that can significantly speed up your workflow. Throughout this tutorial, we will utilize various shortcuts to perform different actions. To make it easier for you to follow along, the keyboard shortcuts will be displayed on the screen. This way, you can refer to them as needed, even if you are unfamiliar with the shortcuts by heart. By familiarizing yourself with these shortcuts, you will become more efficient in your modeling process and be able to navigate the Blender interface seamlessly.
Now that we have set up the workspace, let’s move on to the next section: Creating the Face.

Creating the Face
The face is the most critical aspect of our 3D character, as it conveys emotions and captures the essence of the cat’s cuteness. In this section, we will start with a basic shape and gradually add eyes, eyebrows, and sculpt the facial features to bring our cat character to life.
Starting with a Basic Shape
To begin, we will start with the cube we created in the previous section and shape it into a more appealing form for our character’s face. With the cube selected, switch to Sculpt mode, ensuring that the Mirror option is enabled. This will allow us to sculpt symmetrical changes on our model. Using the Grab brush, which can be adjusted with the F node, grab the corners of the cube’s faces and pull them out to create a bean-shaped structure. This shape will provide a more pleasing and realistic look for our character’s face. As you work, refer to the reference image to ensure that your shaping matches the desired appearance. If the reference image is not perfectly symmetrical, use the Symmetrize tool to mirror the changes from one side of the drawing to the other.
Adding Eyes and Eyebrows
Once we have established the basic shape of the face, we can proceed to add the eyes and eyebrows. The eyes play a crucial role in conveying emotions and adding personality to our character. To create the eyes, start by adding two additional cube meshes to the scene. Apply subdivision modifiers to these cubes, ensuring that the geometry is sufficient for sculpting. Position the cubes in place on the face, aligning them with the reference image. Use the Grab brush to adjust the shape and size of the eyes, keeping in mind the desired adorable look. To create the eyebrows, follow a similar process, adding two more cube meshes, applying subdivision modifiers, and sculpting them to match the reference image.
Sculpting the Facial Features
With the basic structures of the face, eyes, and eyebrows in place, we can now focus on sculpting the facial features to add more detail and realism to our character. Switch to Sculpt mode and use various brushes to refine the shape and appearance of the face. Experiment with different brushes and their settings to achieve the desired results. Pay attention to the subtle details of the reference image, such as the shape of the nose and the contours of the face, and try to replicate them as closely as possible. Sculpting is a process that requires patience and experimentation, so take your time to refine the details until you are satisfied with the outcome.
Now that we have created the face, let’s move on to the next section: Building the Body.
Building the Body
After successfully creating the face, it’s time to move on to the body of our 3D character. In this section, we will focus on creating the torso, adding the limbs, and sculpting the overall shape of the body.
Creating the Torso
To create the torso, we will start with a cube and apply a subdivision modifier to add more geometry for sculpting. Position the cube in place, ensuring that it aligns with the proportions defined by the reference image and the established size of the face. Use the Grab brush in Sculpt mode to shape and refine the torso, taking into account the curves and contours of the cat’s body. Pay attention to the reference image to ensure that you capture the desired cuteness and proportionality in your model. Sculpting tools such as Inflate, Grab, and Smooth can be utilized to achieve the desired shape and appearance.
Adding the Limbs
Once we have established the torso, we can proceed to add the limbs to our character. Start by creating cubes for the legs and arms. Apply subdivision modifiers to these cubes and position them in place, aligning them with the reference image. Adjust the size and proportions of the limbs to maintain a consistent look with the rest of the character. Use the Grab brush in Sculpt mode to shape the limbs and ensure they blend seamlessly with the torso. Pay attention to the anatomical details and proportions to create a realistic and visually appealing model.
Sculpting the Shape
With the torso, legs, and arms in place, we can now focus on sculpting the overall shape of the body. Switch to Sculpt mode and utilize different brushes to refine and smooth out the transitions between the different body parts. Pay attention to the natural curves and contours of the cat’s body and aim to replicate them in your model. Sculpting the body shape is a crucial step as it sets the foundation for the overall appearance and aesthetics of the character. Take your time and experiment with different brushes and techniques until you achieve the desired result.
Now that we have built the body, let’s move on to the next section: Adding Accessories.
Adding Accessories
Accessories play a significant role in enhancing the appearance and adding personality to our 3D character. In this section, we will focus on creating a scarf for our cat character, sculpting the necessary details, and adding a belt to complete the look.
Creating the Scarf
To create the scarf, start by adding another cube mesh to the scene. Apply a subdivision modifier to the cube to provide additional geometry for sculpting. Position the cube around the character’s neck, ensuring that it aligns with the reference image and adds a touch of cuteness to the overall appearance. Sculpt the scarf using different brushes, such as Grab and Inflate, to achieve the desired shape and drape. Pay attention to the reference image to capture the flow and movement of the fabric. Experiment with the sculpting brushes to add subtle details that enhance the realism of the scarf.
Sculpting the Details
With the scarf in place, we can now focus on sculpting the necessary details to bring our character to life further. Switch to Sculpt mode and pay attention to areas such as the face, body, and limbs. Utilize brushes like Clay Strips, Crease, and Pinch to add fine details like fur, wrinkles, and texture to the character. Take reference from real-life cats to capture the natural characteristics in your sculpting work. The details play a crucial role in adding depth and realism to the character, so invest time and effort in refining and perfecting them.
Adding a Belt
To complete the look, we will add a belt to our character. Start by creating a cube mesh and apply a subdivision modifier for sculpting. Position the cube around the character’s waist and adjust its size and proportions to match the overall aesthetics. Sculpt the belt using techniques learned in the previous steps, paying attention to details such as the buckle, texture, and alignment with the clothing. Experiment with different brushes and settings to achieve the desired appearance. The belt adds an additional layer of depth and interest to the character’s design, making it more visually appealing.
Now that we have added accessories, let’s move on to the next section: Creating the Nose and Ears.
Creating the Nose and Ears
The nose and ears are important facial features that contribute to the overall identity and cuteness of our character. In this section, we will focus on shaping the nose and adding the ears, refining the details to capture the desired charm.
Shaping the Nose
Start by selecting the face of the character in Edit mode. With the desired face selected, go to Sculpt mode and activate the Mirror option to ensure symmetrical changes. Use the Grab brush to adjust the face’s shape and create a prominent nose that aligns with the reference image. Pay attention to the proportions and details of the reference image and aim to replicate them as closely as possible. Sculpting the nose allows us to add depth and dimension to the character’s face, making it more expressive and appealing.
Adding the Ears
To create the ears, start by adding another cube mesh to the scene. Apply subdivision modifiers to the cube to provide sufficient geometry for sculpting. Position the cubes on either side of the character’s head, aligning them with the reference image. Use the Grab brush in Sculpt mode to shape the ears and ensure they blend seamlessly with the overall appearance. Pay attention to the reference image to capture the unique characteristics of cat ears, such as their shape, size, and positioning. Sculpting the ears allows us to add further detail and realism to our character, contributing to its overall charm.
Refining the Details
With the nose and ears in place, we can now focus on refining the details of our character’s face. This involves carefully sculpting the various facial features, such as the mouth, eyes, eyebrows, and whiskers. Pay attention to the natural curves and contours of a cat’s face, using references and observance of real cats as a guide. Utilize different sculpting brushes and techniques to add subtleties and nuances to the facial features. Refining the details helps bring our character to life, adding a sense of personality and individuality.
Now that we have created the nose and ears and refined the details, let’s move on to the next section: Designing the Legs and Arms.
Designing the Legs and Arms
The legs and arms contribute to the overall pose and character of our 3D model. In this section, we will focus on modeling the legs, creating the arms, and adding hands and claws to complete the limbs.
Modeling the Legs
To create the legs, start by adding cube meshes and applying subdivision modifiers for sufficient geometry. Position the cubes where the legs should be, aligning them with the reference image and the overall proportions of the character. Use the Grab brush in Sculpt mode to shape the legs and ensure they blend seamlessly with the rest of the body. Pay attention to the natural curves and proportions of cat legs. Sculpting the legs allows us to add depth and dimension to the character, making it more realistic and visually appealing.
Creating the Arms
To create the arms, follow a similar process as with the legs. Add cube meshes and apply subdivision modifiers to provide geometry for sculpting. Position the cubes where the arms should be, aligning them with the reference image and the character’s overall proportions. Utilize the Grab brush in Sculpt mode to shape the arms and ensure they blend seamlessly with the torso and shoulders. Pay attention to the natural curves and proportions of cat arms, adapting them to match the desired cute appearance. Sculpting the arms allows us to create dynamic and visually interesting limbs, contributing to the overall aesthetics of the character.
Adding Hands and Claws
With the legs and arms in place, we can now focus on adding hands and claws to complete the limbs. Start by creating cube meshes for the hands and apply subdivision modifiers for sculpting. Position the hands at the end of the arms, aligning them with the reference image and the natural positioning of cat paws. Use the Grab brush in Sculpt mode to shape the hands and ensure they have a cute and playful appearance. Pay attention to the natural shape of cat paws, adding details such as claws to enhance the realism. Sculpting the hands and claws adds an extra level of detail to our character, making it more engaging and visually appealing.
Now that we have designed the legs and arms, let’s move on to the next section: Customizing with a Sword.
Customizing with a Sword
Adding custom elements to our 3D character allows us to personalize and add unique elements to the design. In this section, we will focus on building a sword, attaching it to the character, and adding additional details to enhance its appearance.
Building a Sword
To create a sword for our character, start by visualizing the desired design. Sketch the sword on a separate plane or use reference images for inspiration. Once you have a clear idea of the sword’s design, start modeling it using basic geometric shapes such as cubes and cylinders. Utilize the techniques learned in the previous sections, such as applying subdivision modifiers and sculpting, to refine the shape and appearance of the sword. Pay attention to details such as the handle, blade, and guard to capture the essence of a sword accurately.
Attaching the Sword to the Character
Once the sword is modeled, we can proceed to attach it to our character. Position the sword in the desired location, such as its hand or belt. Ensure that the sword aligns with the character’s pose and proportions, creating a natural and visually pleasing composition. Use techniques such as parenting or armature rigging to connect the sword to the character’s hand or belt, depending on the desired effect. Attaching the sword to the character adds an additional layer of interest and story to our design, making it more engaging and dynamic.
Adding Additional Details
With the sword attached to the character, we can now focus on adding additional details to enhance its appearance. Utilize sculpting techniques to refine the shape of the sword, adding detail and texture to different parts such as the blade, handle, and guard. Pay attention to subtle elements such as engravings or patterns that can add a unique and personalized touch to the sword. Experiment with different brushes and techniques to achieve the desired level of detail and realism. Adding additional details to the sword further enhances the overall aesthetics of our character and contributes to its visual appeal.
Now that we have customized our character with a sword, let’s move on to the next section: Texturing and Coloring.
Texturing and Coloring
Texturing and coloring play a crucial role in bringing our 3D character to life and adding visual interest. In this section, we will focus on applying image textures, utilizing fabric textures, and adding stitch textures to enhance the overall appearance of our character.
Applying Image Textures
To enhance the realism and visual appeal of our character, we can apply image textures to different parts of the model. Start by selecting the desired faces or regions where the texture should be applied. In the Texture Properties panel, select the image texture you want to use and adjust the mapping and coordinates to fit the geometry properly. Repeat this process for different parts of the character, such as the face, body, scarf, and clothing. By applying image textures, we can add depth, color variations, and details that bring our character to life and make it more visually engaging.
Using a Fabric Texture
To further enhance the appearance of clothing or accessories, we can utilize fabric textures. These textures mimic the look and feel of different fabrics, adding an extra layer of realism to our character. Select the desired faces or regions where the fabric texture should be applied. In the Texture Properties panel, select a fabric texture from the available options and adjust the mapping and coordinates to fit the geometry properly. Experiment with different fabric textures to find the one that best complements the overall design of your character.
Adding Stitch Textures
To add even more detail and realism to our character, we can incorporate stitch textures into the model. Stitch textures mimic the appearance of sewn or embroidered details on clothing or accessories. Select the edges or regions where the stitch texture should be located. In the Texture Properties panel, select a stitch texture from the available options and adjust the mapping and coordinates to fit the geometry properly. Experiment with different stitch textures to find the one that best matches the style and look of your character’s clothing or accessories. Adding stitch textures adds an extra layer of detail and craftsmanship to our character, making it more visually captivating.
Now that we have textured and colored our character, let’s move on to the final section: Conclusion.
Conclusion
In this comprehensive tutorial, we have covered the process of creating a cute 3D cat character in Blender. We started by setting up the workspace, importing reference images, and familiarizing ourselves with essential keyboard shortcuts. Moving forward, we focused on creating the face, building the body, adding accessories, customizing with a sword, and applying textures and colors. Throughout each section, we provided step-by-step guidance, detailed explanations, and references to ensure that you could follow along and understand the concepts.
By following this tutorial, you have acquired the necessary knowledge and skills to create your own 3D characters in Blender. We encourage you to further explore and experiment with different techniques, models, and designs. The world of 3D character modeling offers endless possibilities for artistic expression and creativity. Remember to practice regularly, seek inspiration from various sources, and continue learning and refining your skills.
We hope this tutorial has been a valuable resource in your journey into 3D character modeling. Feel free to share your artwork on platforms such as Instagram and Twitter, tagging us @SouthernShotty. We look forward to seeing your creations and supporting you in your artistic endeavors.
For additional learning resources and video walkthroughs of the completed projects, consider joining our Patreon community. Engaging with a community of like-minded artists can provide valuable insights, feedback, and inspiration. Keep pushing your boundaries, exploring new techniques, and embracing the joy of 3D character modeling. Happy creating!
Maintain Your 3D Printer with these Tools

ANYCUBIC PLA 3D Printer Filament, RFID 3D Printing PLA Filament 1.75mm Dimensional Accuracy +/- 0.02mm, 1KG Spool (2.2 lbs), Texture Grey
$11.99 (as of June 2, 2025 19:53 GMT +00:00 - More info)


Creality 6.0 mm 3D Scanning Markers for 3D Scanners, 3D Tracking Dot Reference Point Markers for 3D scanning, Diffuse Reflection Markers for 3D Scanner (10 Sheets of 500 dots)
$6.99 (as of June 4, 2025 21:32 GMT +00:00 - More info)