
FLASHFORGE 3D Printer AD5M, CoreXY 600mm/s High-Speed Printer with 1-Click Auto Leveling, High-Temp Direct Drive Extruder, 3s Quick-Swap Nozzle, 220×220×220mm Build Volume
$259.00 (as of June 21, 2025 23:57 GMT +00:00 - More info)Ever pondered bringing a piece of aviation history into your home, maybe even your cockpit? You’re in the right place! This guide will walk you through crafting your very own 3D-printed Cessna 172 reading light, step-by-step. This isn’t just a cool project; it’s a chance to merge tech skills with a love for aviation.
3D Printed Cessna 172 Reading Light Creation
This endeavor combines the precision of 3D printing with basic electronics to create a functional and decorative item. It serves as a fantastic project for hobbyists, aviation enthusiasts, and anyone looking to create something unique and practical.

Anycubic Coupon – $5 off $50+ sitewide with code DIY5OFF
Gathering Your Supplies
Before you lift off, gather all your materials. Having everything on hand will streamline the building process and ensure a smoother experience. Here’s what you’ll need:
| Item | Quantity | Notes |
|---|---|---|
| 3D Printer | 1 | This is essential for printing the light’s components. Ensure it’s calibrated and ready to print with the appropriate filament. |
| 24 AWG Stranded Wire | Varies | This wire is flexible and easy to work with, ideal for the electrical connections. |
| Mini Rocker Switch | 1 | This switch turns the light on and off and should be small and easy to integrate into the design. |
| Soldering Iron & Solder | You’ll need these for creating solid electrical connections. | |
| Paint | Assorted | Black, white, gray, and red paints will help you achieve a realistic or personalized look for your Cessna model. |
| Paint Brushes | Assorted | Different sizes will help with detailed work and covering larger areas. |
| Battery | 1 | Choose a small battery that fits within the base and provides enough power for the LED. |
| 5mm White LED | 1 | This provides the light source. A 5mm LED is bright enough for a reading light but small enough to fit neatly in the design. |
| Wire Spring | 1 | About 7mm wide, this spring will serve as a contact in the battery compartment. |
| 3mm Copper Pipe | This pipe will act as the main support for the airplane model, connecting it to the base. | |
| 1mm Thick Metal | A thin piece of metal, potentially from a tin can, will be used to create a battery contact. | |
| Wood/Super Glue | These adhesives will secure various components together. Super glue is good for quick bonds, while wood glue provides a stronger hold for some materials. | |
| Saw Dust | This can be mixed with glue to create a paste for filling gaps or repairing imperfections. | |
| Electrical Tape/Heat Shrink Tubing | Use these to insulate your electrical connections, preventing shorts. | |
| Clear Coat | This will protect your paint job and give the final product a polished look. | |
| 3D File (Cessna 172 Reading Light) | This file contains the 3D model that you’ll print. |

Anycubic Coupon – $5 off $50+ sitewide with code DIY5OFF
Step 1: Model Preparation
The digital model is now physical and it’s time for the first prep stage!
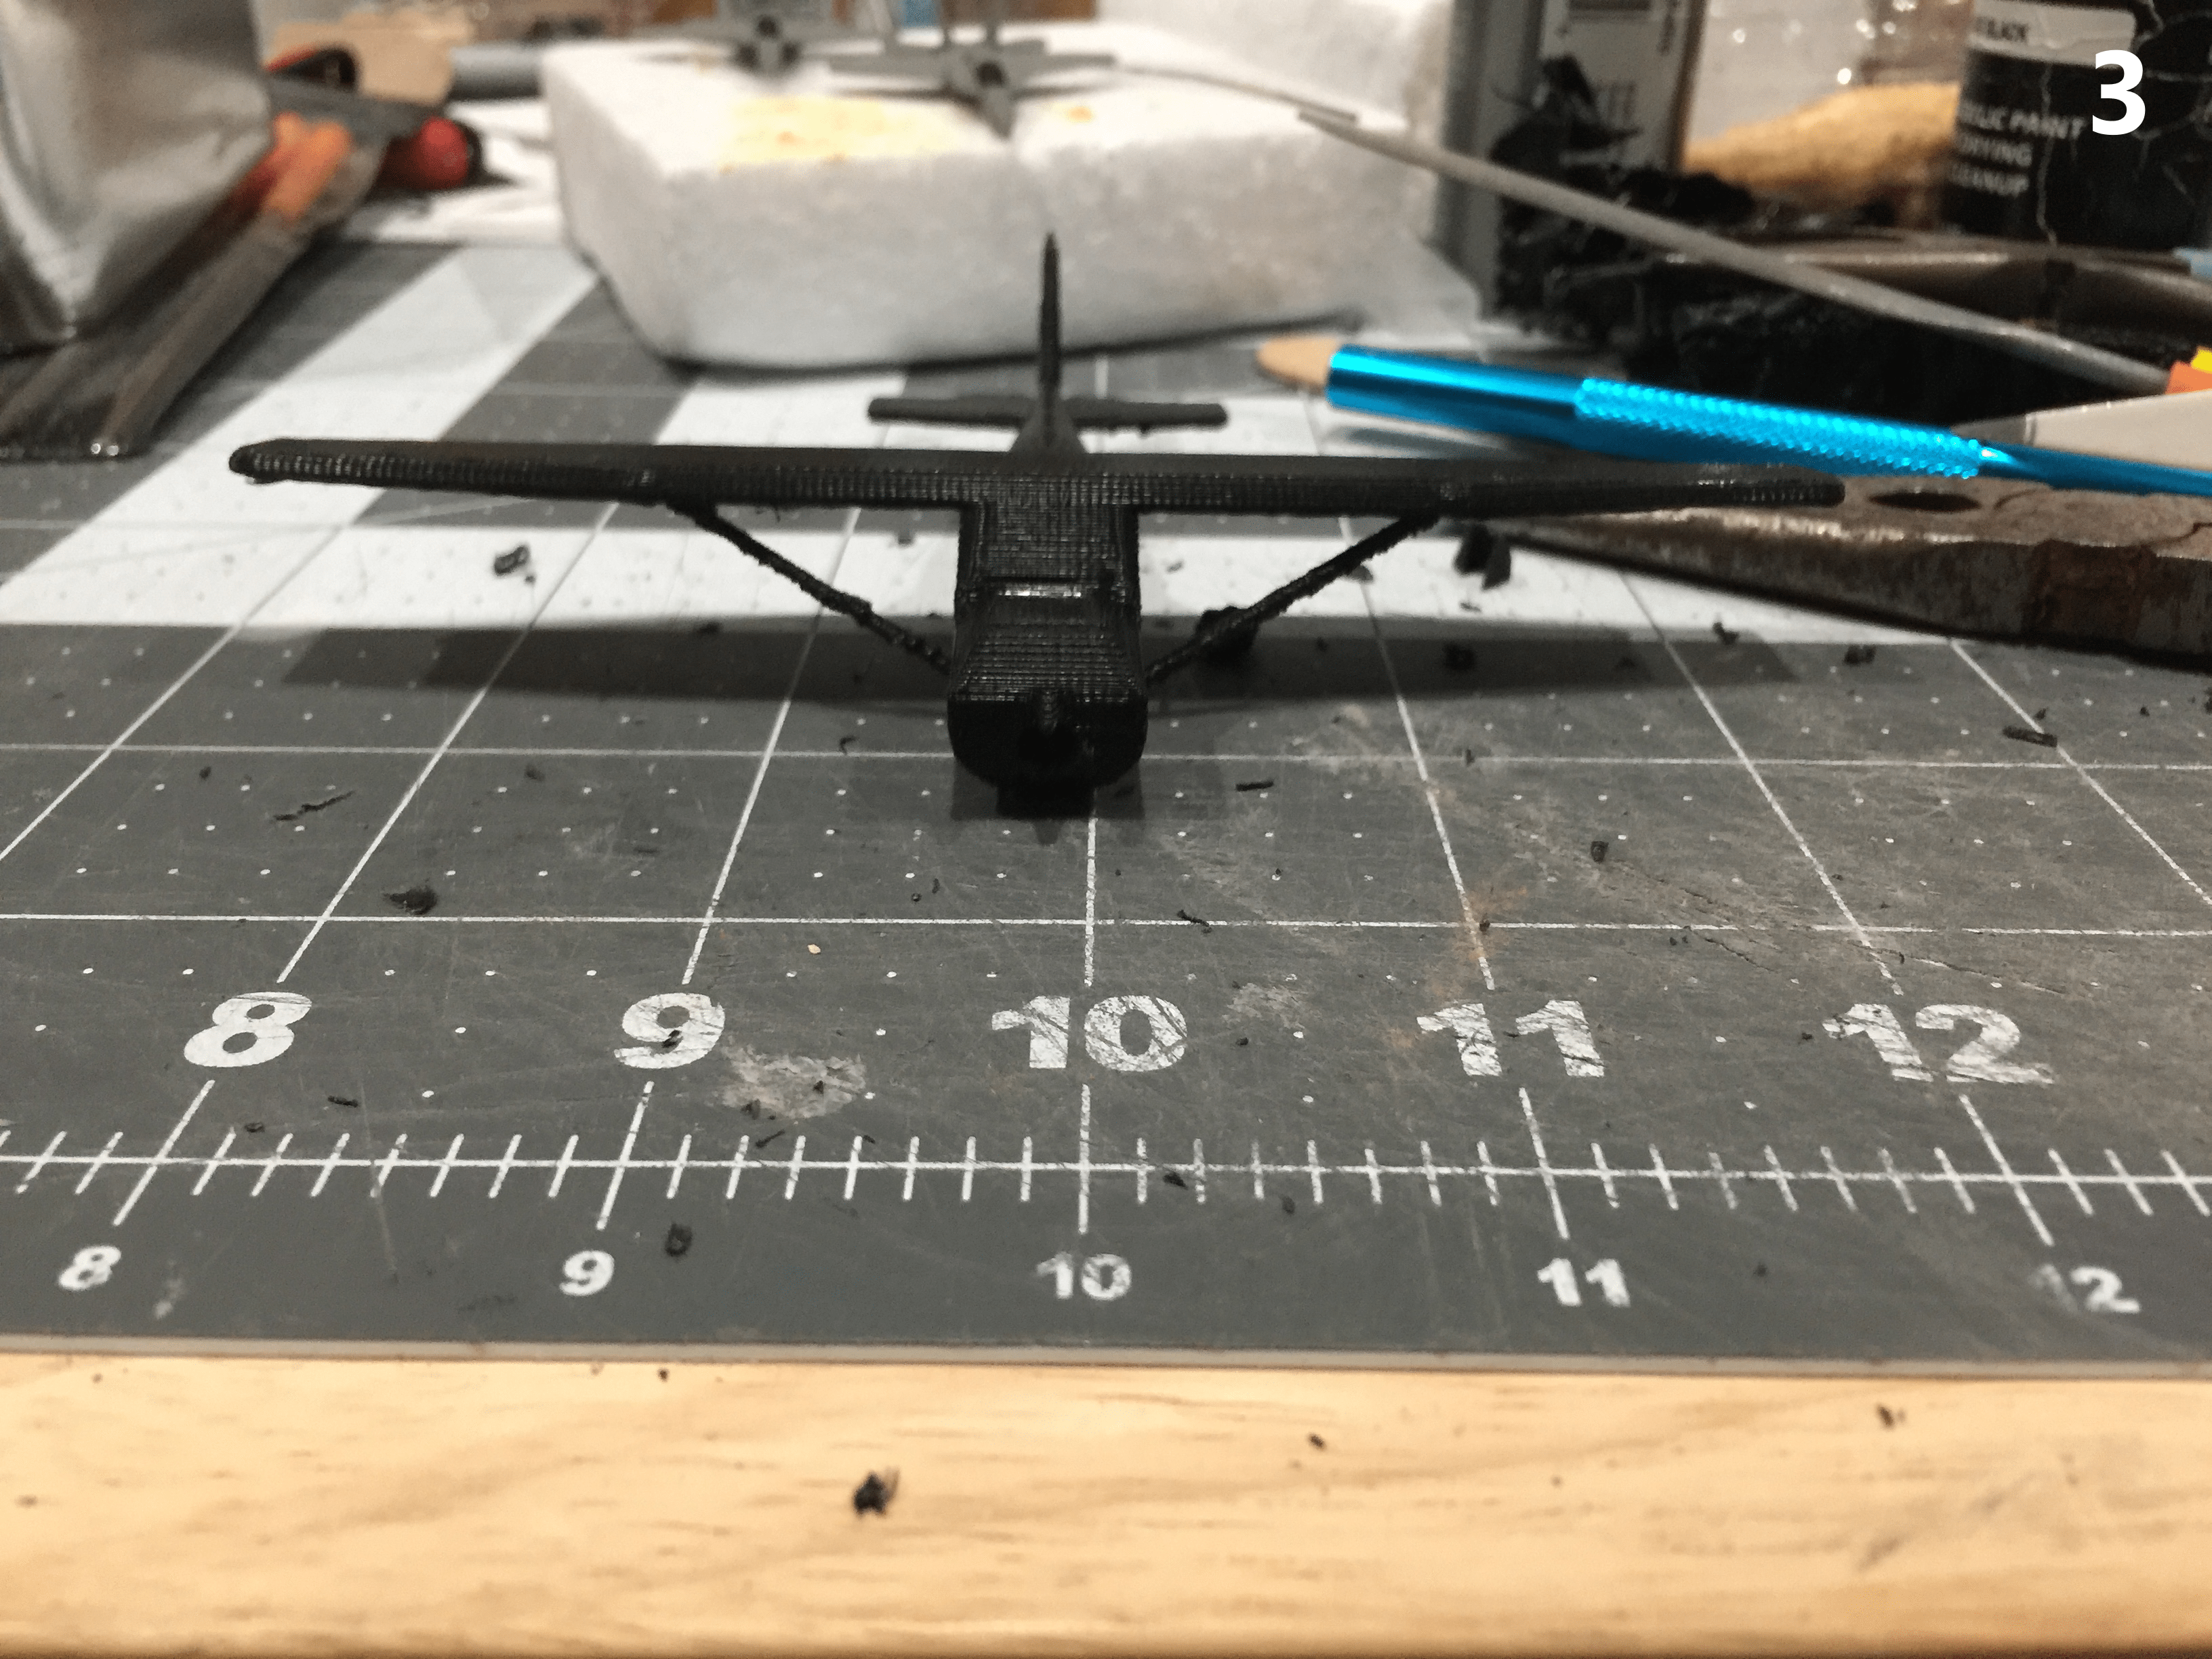
Printing and Clean-Up
Your 3D printer transforms the digital design into a tangible form. Once the printing is complete, freeing the printed parts from the scaffolding is your initial task. This process often requires patience, but the payoff is that satisfying moment when the model is fully revealed.
Sanding and Refining
Even with precise 3D printers, minor imperfections can occur. Any sanding smooths out rough edges and surfaces, ensuring parts fit together seamlessly. Pay special attention to areas where the battery box inserts into the base to ensure a snug and flush fit. Drilling holes at this stage can also make accommodations for wiring.

Step 2: Assembly and Electrical
This is when the separate components come together to bring your project to life.
Understanding the Electrical Diagram
Before you start soldering and connecting, take a moment to understand the wiring scheme. The diagram provides a clear visual guide on how the components interconnect, ensuring that power flows correctly to the LED, controlled by the rocker switch.
Creating Battery Contacts
The battery contact ensures a reliable power source for your reading light. Shaping a small metal piece and soldering it to the positive wire creates a terminal that maintains contact with the battery. Leave some extra wire, so you have some slack to get the box in and out.
Wiring the Switch and LED
Connecting the rocker switch is a crucial step in completing the circuit. Soldering the positive wire from the battery to one terminal of the switch, and then attaching another wire from the other terminal to the LED, allows you to control when the light turns on. The black wire will attach the the spring on top of the battery. Make sure to leave some extra wire on both the red wires, so you have some slack to get the box in and out. Solder the negative(Black) wire to the spring and glue the spring in the hole on the top of the base.
Assembling the Base
The base not only provides structural support but also houses the electrical components. Carefully glue the two base pieces together, ensuring the wires, switch, spring, and battery box are correctly positioned inside. This step requires careful alignment to avoid damaging the electrical connections. When gluing the two base pieces together, only use a couple drops of super glue around the edges, just in case you need to access the inside later on, and the switch keeps the two halves together pretty well by itself, so the base won’t come apart.

Step 3: Painting
Time for some color and bringing your project to life!
Base Coating
Painting the base sets the stage for the rest of the model, giving it a clean and professional appearance. The base is painted white, the top a little bit gray/black pavement color, and the edges black.
Painting the Airplane
Bring the Cessna 172 model to life through a custom paint scheme. Applying base coats of white, followed by details inspired by real-world aircraft, adds a customized touch to your reading light. You can do what ever paint scheme you want, but I picked one that’s similar to one I’ve flown in my area(8866U). You can use a pencil, look at a picture, and try to match both sides.

Step 4: Finishing
Final touches to really make it pop!
Connecting the LED
Soldering the LED to the wires completes the electrical circuit, illuminating your reading light. Insulating the LED leads with electrical tape or heat shrink tubing prevents shorts, ensuring reliable performance. Because you need to insert the LED before you solder the ends, you do want to make sure not to melt the plane with the soldering iron.
Securing the Airplane to the Support
Gluing the airplane model to the copper pipe creates a seamless transition from the base to the light source. By Painting the wires white to blend them with the model creates a professional, polished appearance. You’ll probably only be able to glue/paint the wires half way in order to have enough slack to glue the airplane to the copper pipe. I also painted the end of the pipe black. Once you glue the plane to the pipe, glue the wires on the rest of the way and finish painting them.
Applying a Clear Coat (Optional)
A clear coat protects your paint job from scratches and wear, preserving the appearance of your reading light over time. It also adds a subtle shine, elevating the overall finish. Keep in mind some spray paint will actually eat away at the print filament, so make sure to check.
And there you have it: Your very own 3D-printed Cessna 172 reading light. This project is more than just a lamp; it’s a testament to your ingenuity, blending technology, craftsmanship, and a passion for aviation. As you switch on your reading light, think about the journey—from digital design to tangible creation.
Anycubic Coupon – $5 off $50+ sitewide with code DIY5OFF
ELEGOO Rapid PLA Plus Filament 1.75mm Black & White 2KG, PLA+ 3D Printer Filament for 30-600 mm/s High Speed Printing, Dimensional Accuracy +/- 0.02 mm, 2 Pack 1kg Spool(2.2lbs)
$28.98 (as of June 19, 2025 23:45 GMT +00:00 - More info)
Polymaker Matte PLA Filament Charcoal Black 1.75mm 1kg 3D Printing Filament, PolyTerra 3D Printer PLA Filament
$20.99 (as of June 19, 2025 23:45 GMT +00:00 - More info)
Matterport Pro3 Performance Kit 3D Lidar Digital Camera for Creating Professional 3D Virtual Tour Experiences with 360 Views and 4K Photography Indoor and Outdoor Spaces with Trusted Accuracy
$6,595.00 (as of June 21, 2025 23:58 GMT +00:00 - More info)
Creality 3D Printer, K1 SE Fully Assembled Auto Leveling FDM 3D Printers for Kids and Beginners, 600mm/s Max High-Speed Printing, Core XY All Metal Structure, Larger Print Size 250x220x220mm
$279.00 (as of June 21, 2025 23:57 GMT +00:00 - More info)