Bambu Lab A1 Mini 3D Printer, Support Multi-Color 3D Printing, Set Up in 20 Mins, High Speed & Precision, Full-Auto Calibration & Active Flow Rate Compensation, ≤48 dB Quiet FDM 3D Printers
$399.00 (as of June 18, 2025 23:32 GMT +00:00 - More infoProduct prices and availability are accurate as of the date/time indicated and are subject to change. Any price and availability information displayed on [relevant Amazon Site(s), as applicable] at the time of purchase will apply to the purchase of this product.)Are you ready to put your engineering skills to the test and create a 3D printed toy car that’s both fun and functional? In this article, we’ll take you through the process of designing, printing, and assembling a 3D printed toy car that’s perfect for kids and adults alike.
Anycubic Coupon – $5 off $50+ sitewide with code DIY5OFF
Understanding the Project
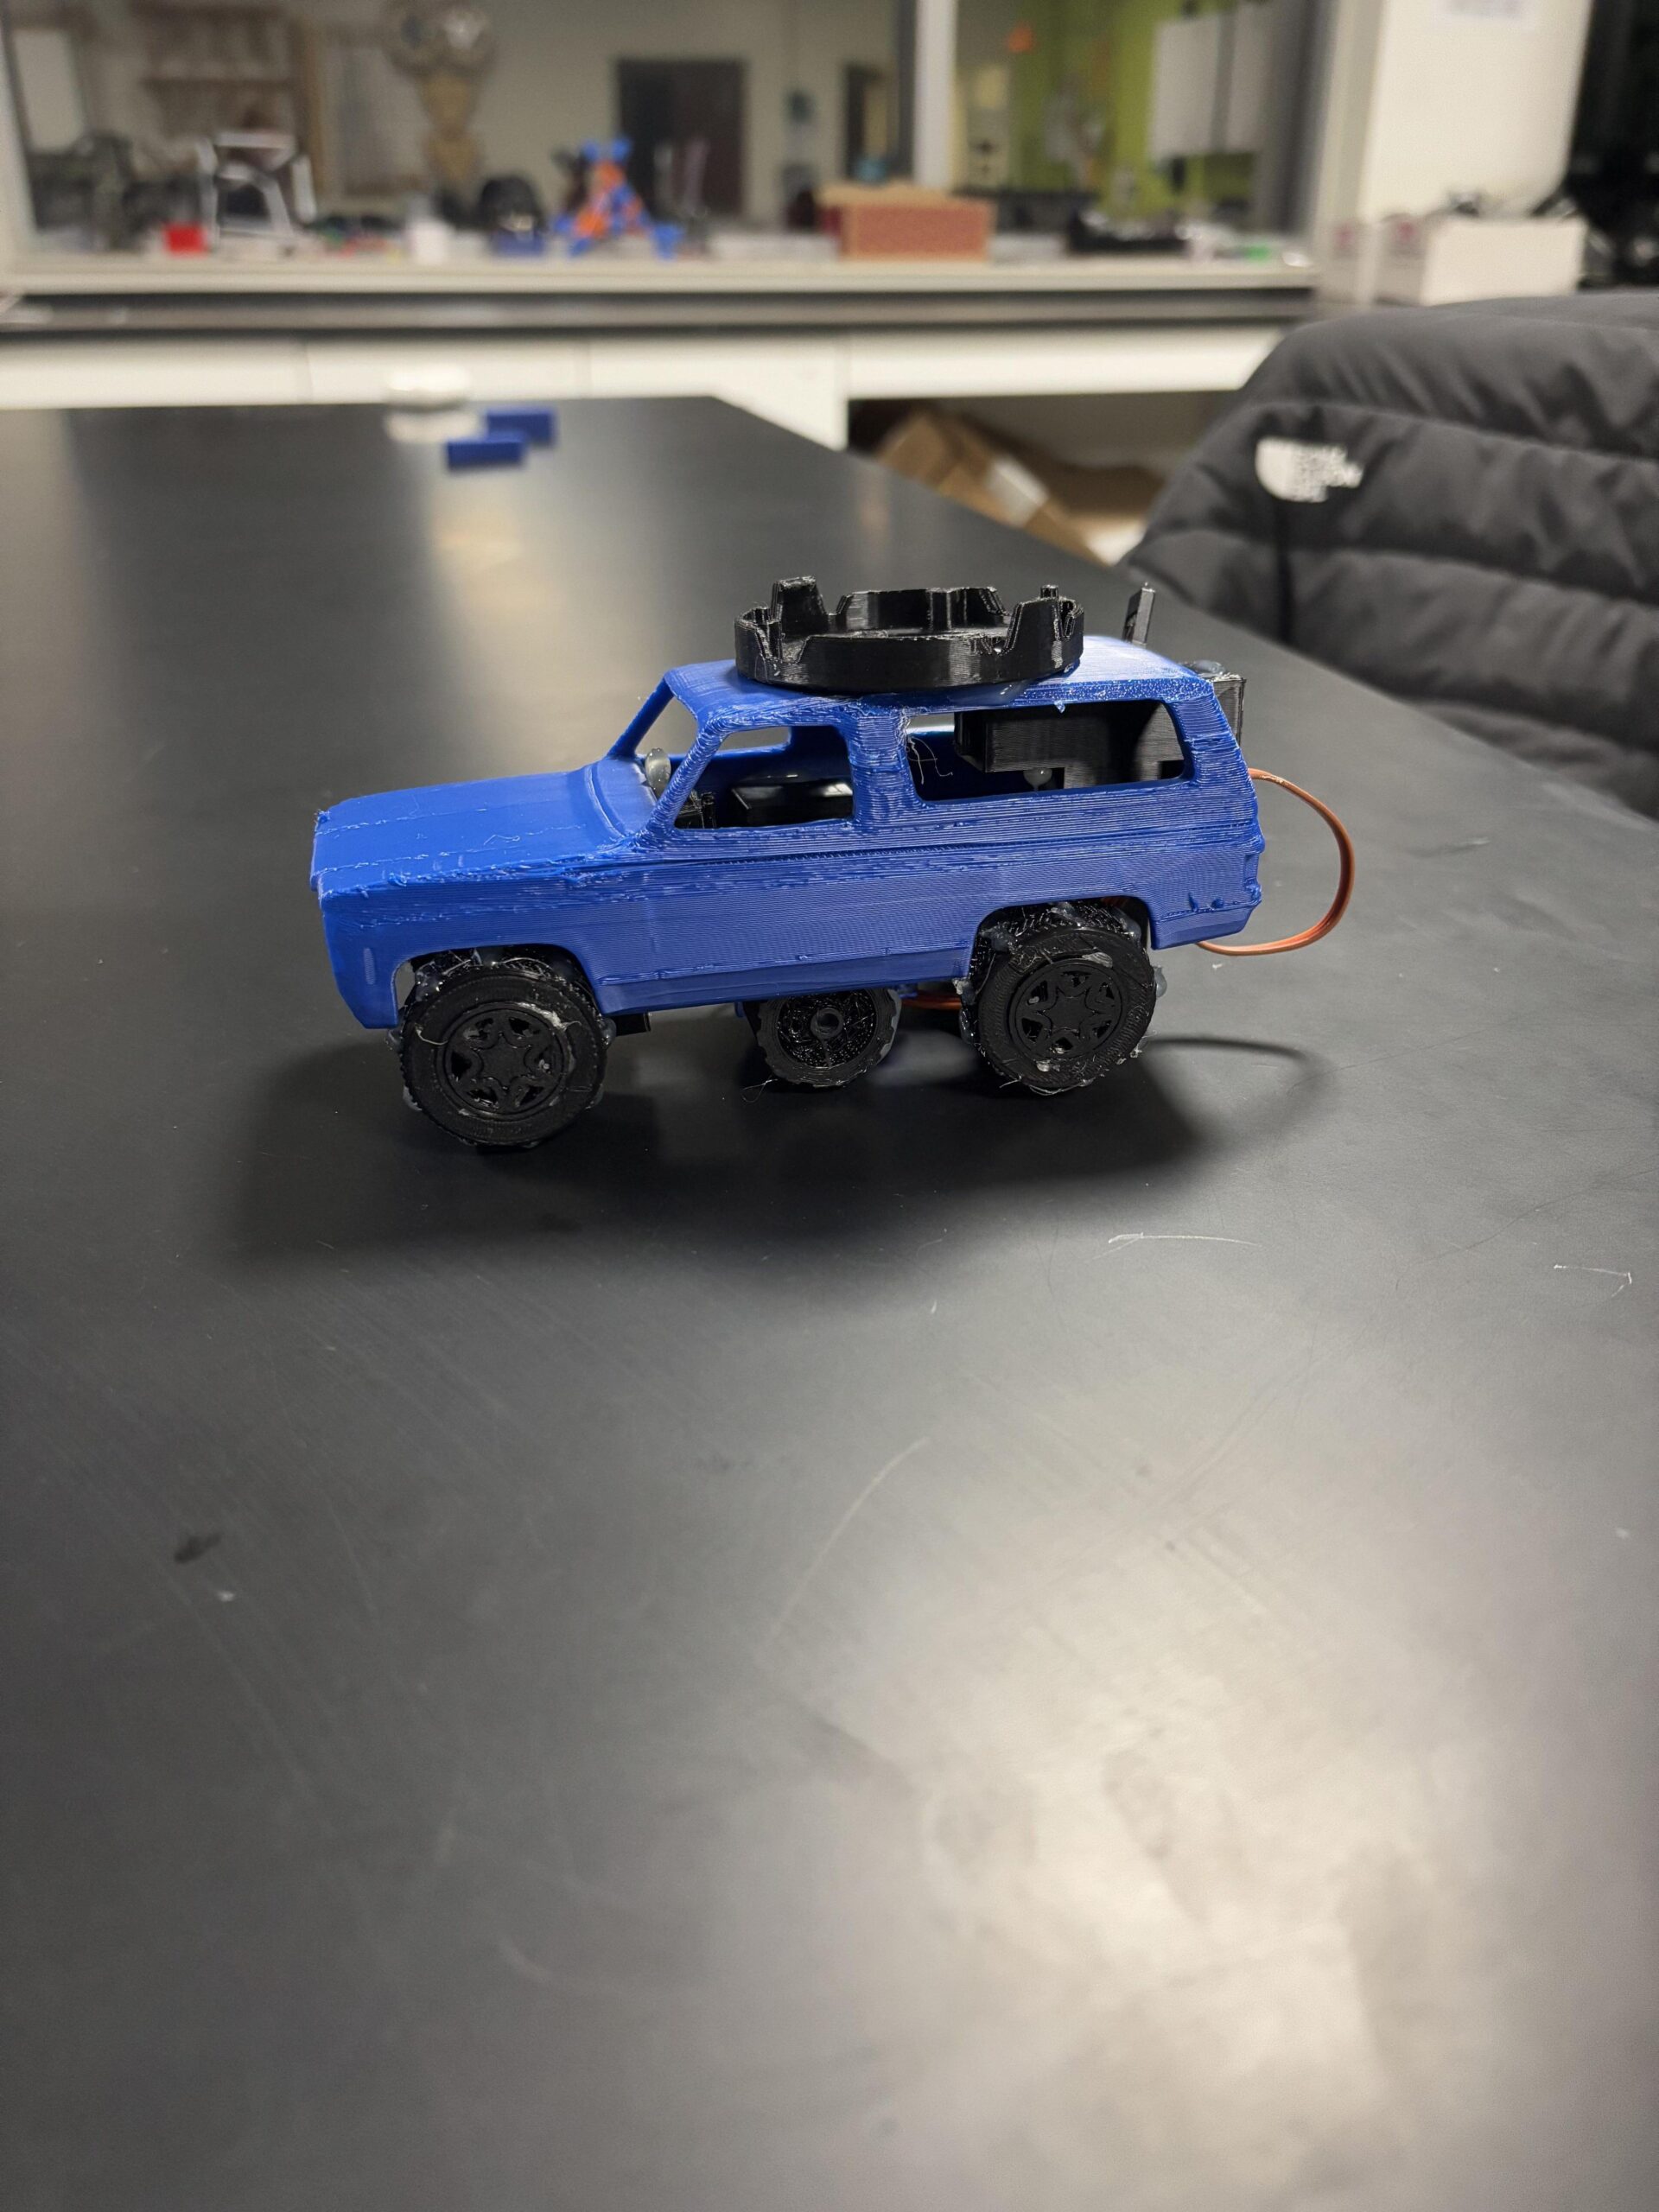
This project was originally designed as an assignment for an Intro to Engineering class, where students were tasked with creating a 3D printed toy car using a pre-existing design and modifying it to make it better. The project involves 3D printing, coding, and assembly, making it a great way to learn about engineering principles and have fun at the same time.
Supplies Needed
Before you start, you’ll need to gather the following supplies:
| Supply | Description |
|---|---|
| Adafruit Circuit Playground Express Basekit | A microcontroller board that will serve as the brain of your toy car |
| Continuous Rotation Micro Servo | A small motor that will power the car’s wheels |
| Alligator Clips to Male Wires | Connectors that will help you attach the servo to the microcontroller |
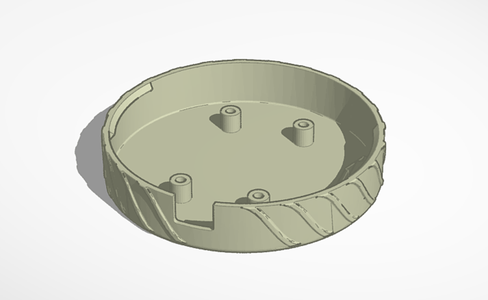
| 3D Printer | A machine that will print out the car’s shell, holder, and axles |
| Computer | A device that will help you design, slice, and print your 3D model |
| Hot glue gun | A tool that will help you assemble the car’s parts |
| Rubber wheels | The wheels that will make your car move |
Anycubic Coupon – $5 off $50+ sitewide with code DIY5OFF
Step 1: Download Your 3D Print
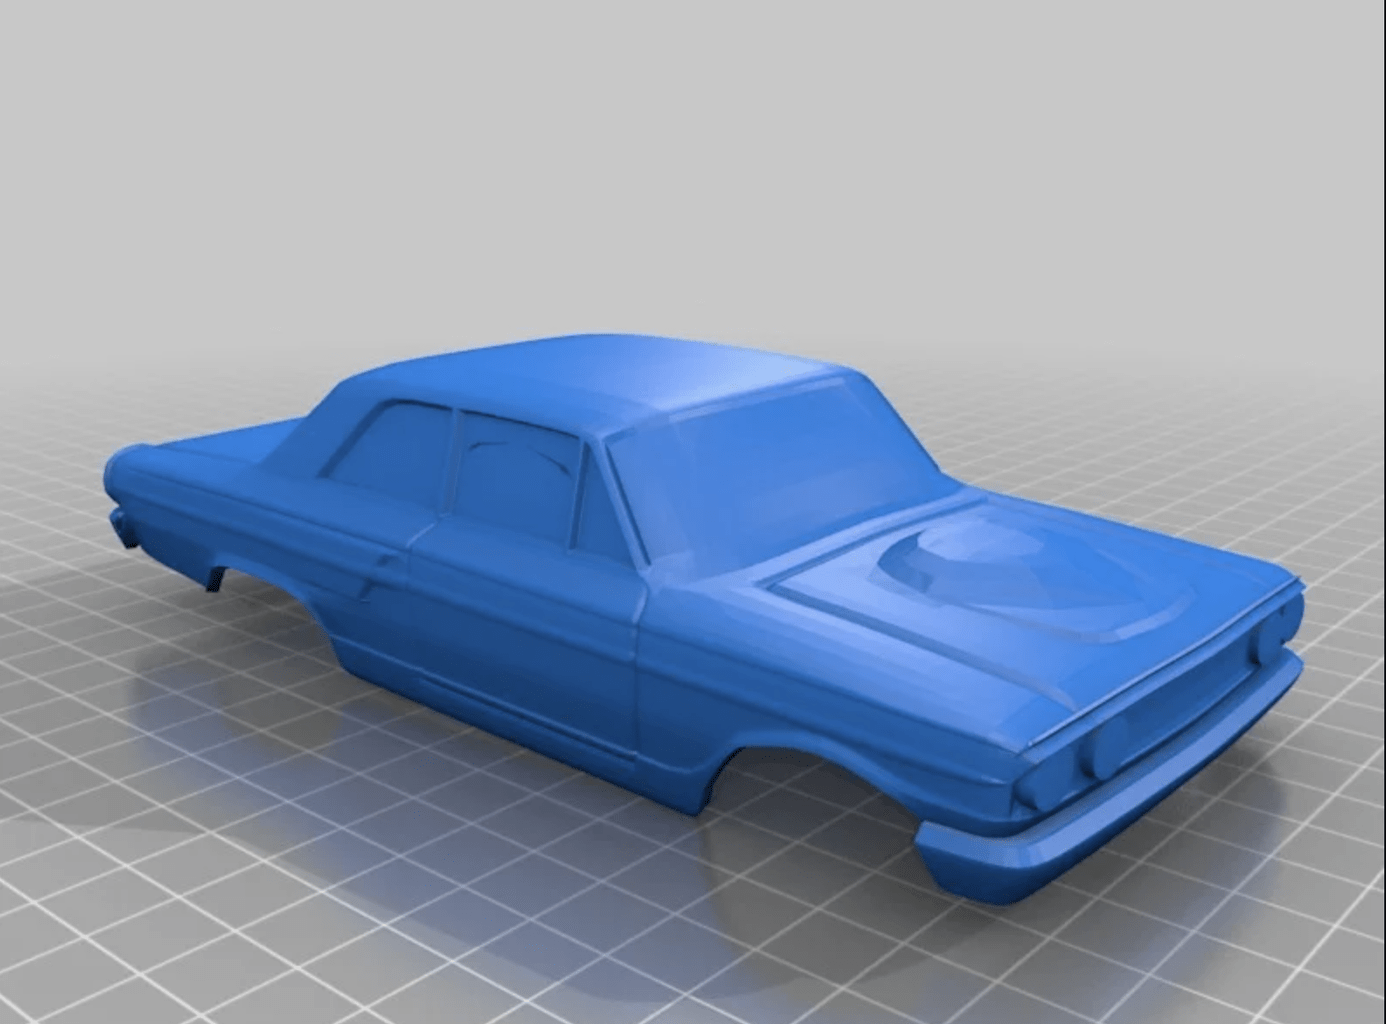
To start, you’ll need to download a 3D model of a toy car from a website like Thingiverse. You can choose from a variety of designs, but for this project, we’ll be using the Thunderbolt_High_Poly model. Once you’ve downloaded the model, save it as an STL file on your computer.
Choosing the Right Model
When choosing a 3D model, make sure it’s designed for a toy car and has the necessary features, such as a shell, holder, and axles. You can also modify the model to fit your needs, but for this project, we’ll be using the pre-existing design.
Step 2: Slice + Save Your Model
Next, you’ll need to slice your 3D model into layers that your 3D printer can understand. You can use a software like Makerbot Cloud Print to do this. Import the STL file, position it as desired, and export it as a G-code file that your 3D printer can read.
Slicing Your Model
Slicing your model involves dividing it into layers that can be printed one on top of the other. This process can take some time, depending on the complexity of your model and the resolution of your 3D printer.
Step 3: Using MakeCode
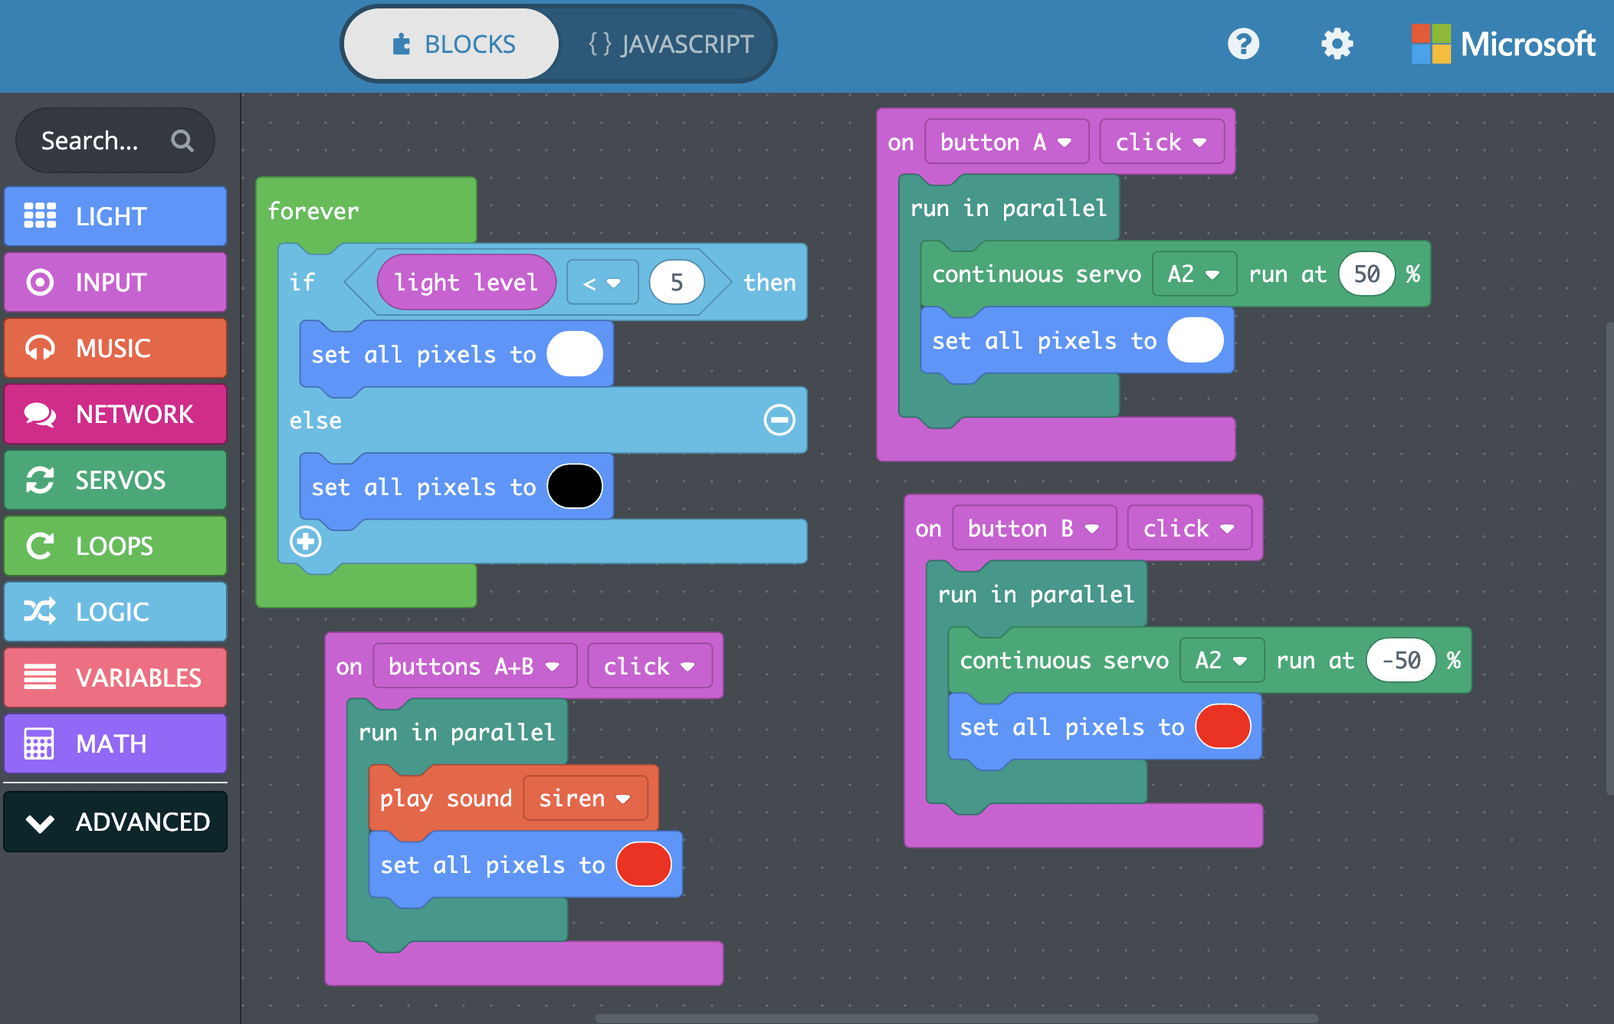
Now it’s time to write some code for your toy car. You’ll be using a visual programming language called MakeCode to create a program that will control the car’s lights and motor. The program will have three inputs:
- A forever loop that will turn the lights on and off based on the light level
- A button A press that will turn the motor on and change the lights to white
- A button B press that will turn the motor off and change the lights to red
- A button A and B press that will play a siren sound and turn all the lights red
Writing Your Code
Writing code for your toy car involves dragging and dropping blocks that represent different programming concepts. You can use the MakeCode simulator to test your code before downloading it to your microcontroller.
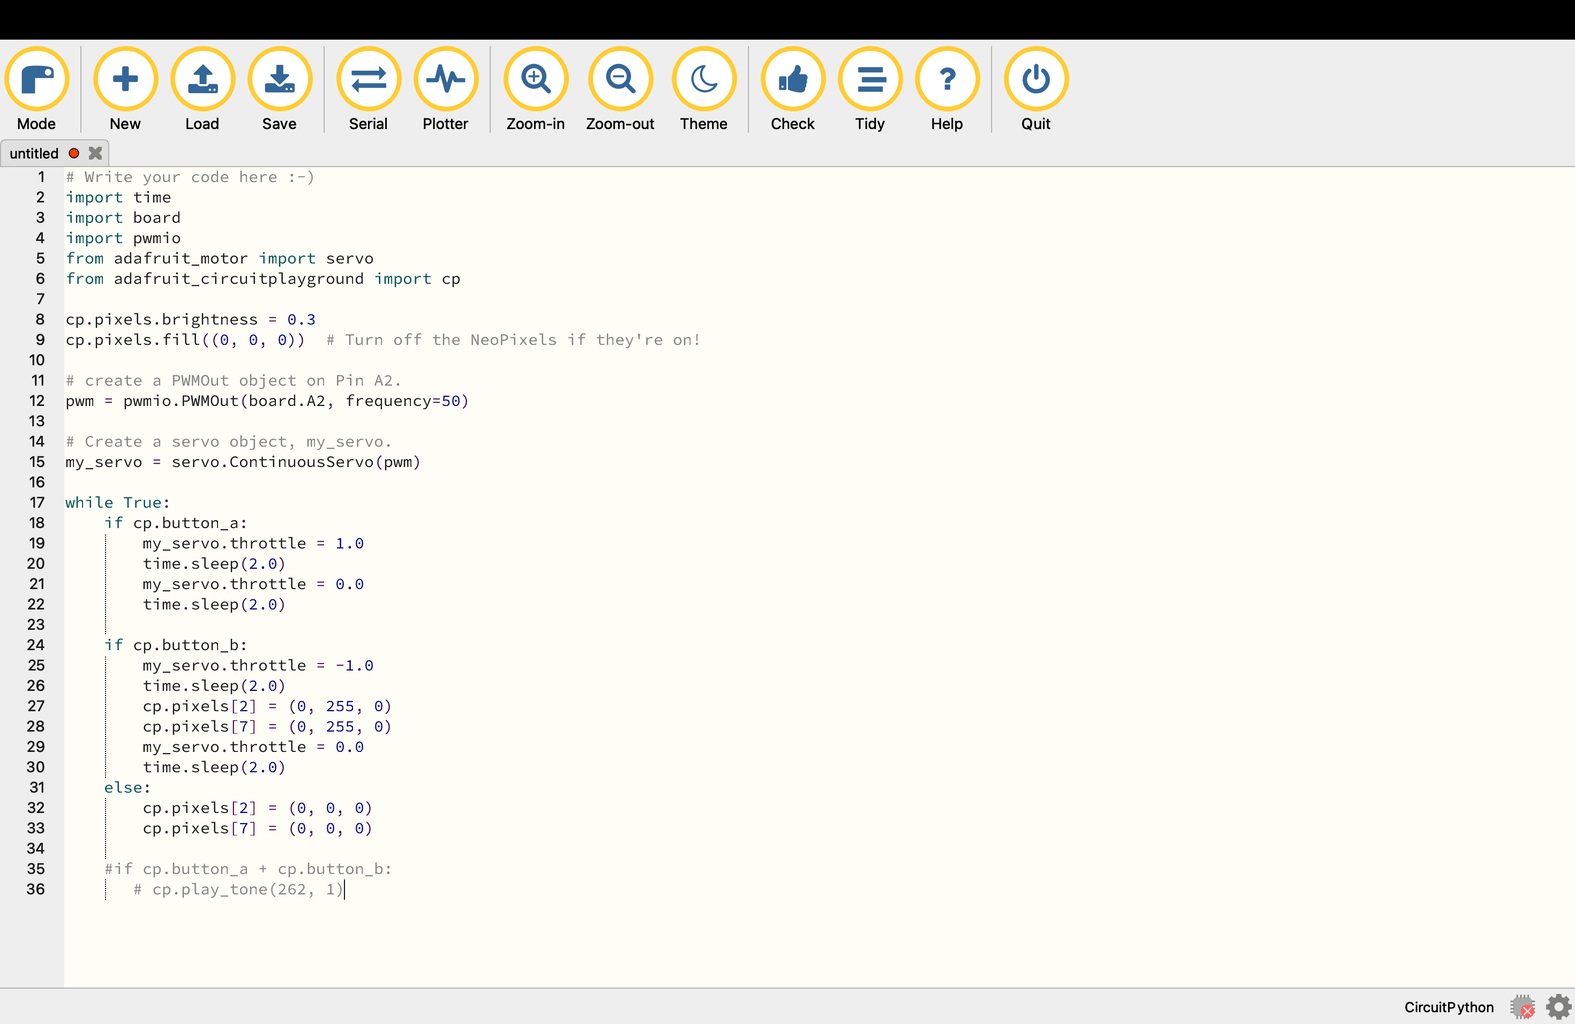
Step 4: Using Circuit Python Code
In addition to MakeCode, you’ll also be using Circuit Python to write code for your toy car. Circuit Python is a text-based programming language that’s similar to Python. You’ll use it to write a program that will control the car’s motor and lights.
Installing Circuit Python
To use Circuit Python, you’ll need to install it on your microcontroller. You can do this by following the instructions on the Adafruit website.
Step 5: Servo + CPX Assembly
Now it’s time to assemble the car’s motor and microcontroller. You’ll need to attach the servo to the microcontroller using alligator clips and jumper wires.
Attaching the Servo
Attaching the servo involves connecting the ground wire to the microcontroller’s GND pin, the power wire to the VOUT pin, and the signal wire to the A2 pin.
Step 6: Final Assembly
Finally, it’s time to assemble the car’s parts. You’ll need to attach the wheels to the axles, attach the axles to the car shell, and attach the microcontroller to the car holder.
Attaching the Wheels
Attaching the wheels involves using hot glue to attach the rubber wheels to the axles. Make sure the wheels are securely attached and can spin freely.
By following these steps, you should now have a fully functional 3D printed toy car that’s perfect for kids and adults alike. With its flashing lights and spinning wheels, this car is sure to bring a smile to anyone’s face.
Anycubic Coupon – $5 off $50+ sitewide with code DIY5OFF
