FLASHFORGE Adventurer 5M 3D Printer, 600mm/s High-Speed, 1 Click Fully Auto Leveling, Upgraded Direct extruder Quick Detachable 280°C Nozzle, Dual-Sided PEI Coating Plate, Print Size 220x220x220mm
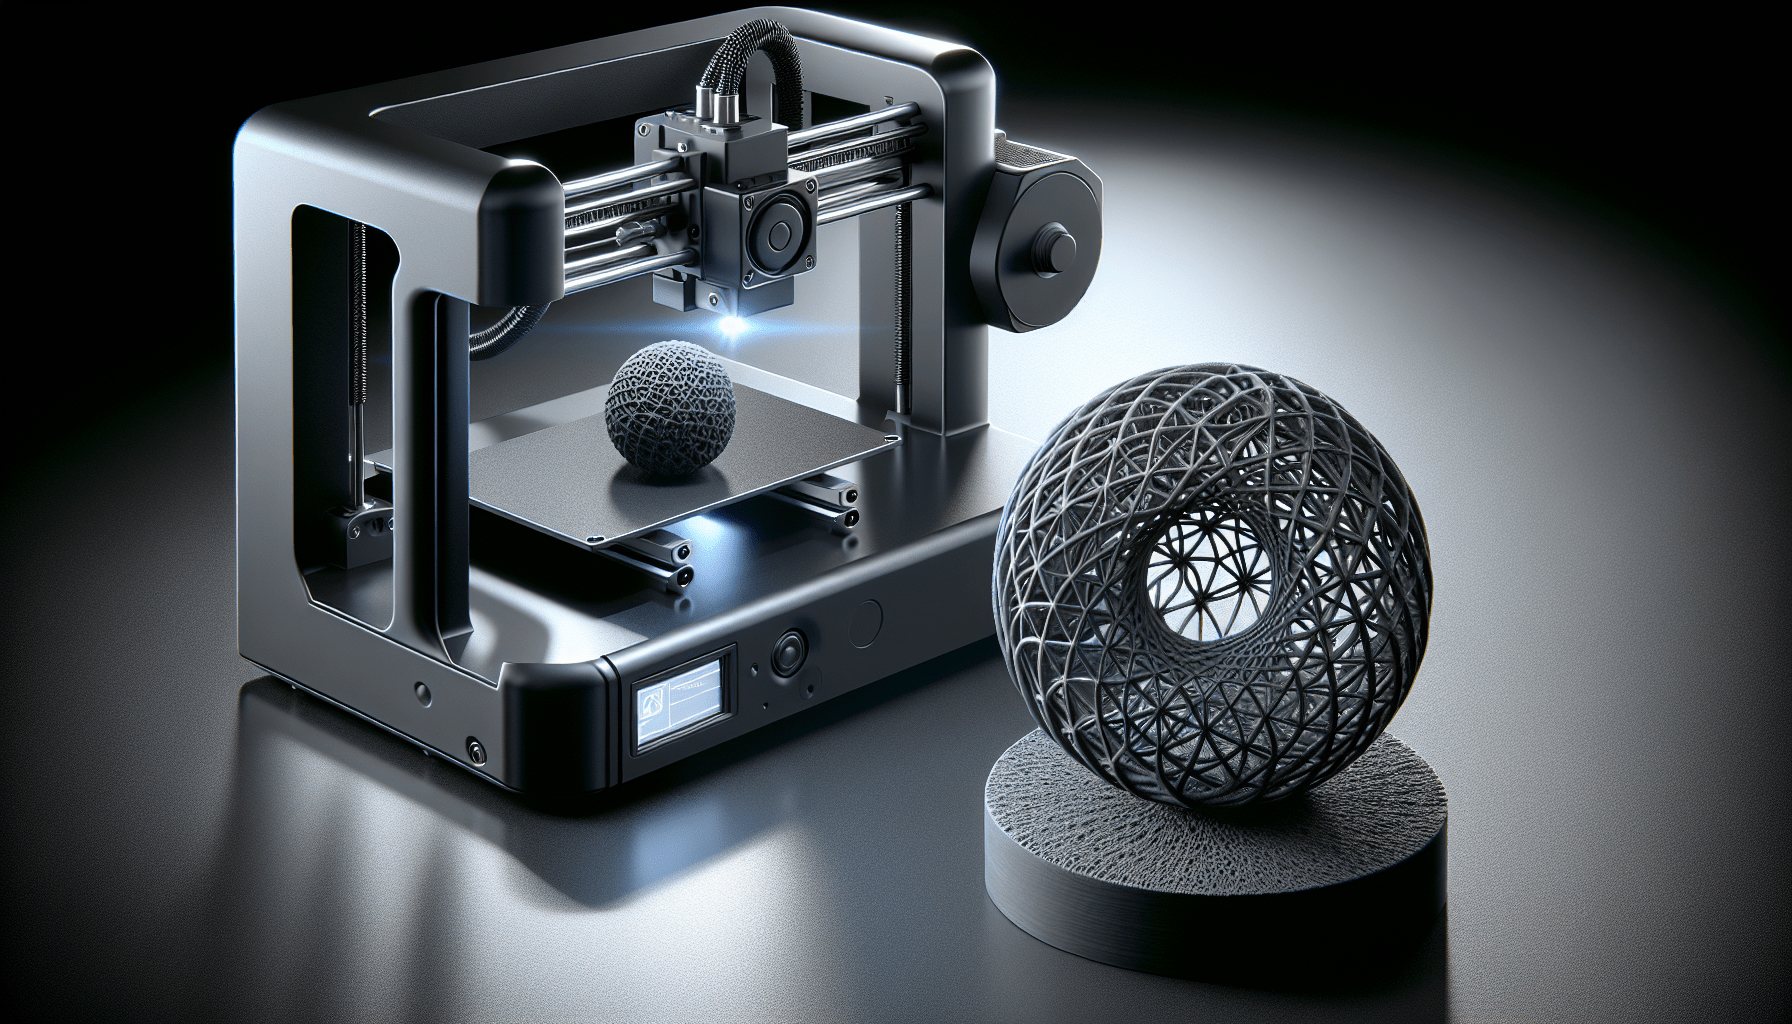
$259.00 (as of June 18, 2025 23:32 GMT +00:00 - More infoProduct prices and availability are accurate as of the date/time indicated and are subject to change. Any price and availability information displayed on [relevant Amazon Site(s), as applicable] at the time of purchase will apply to the purchase of this product.)In the pursuit of optimizing 3D printed parts, enhancing structural integrity is a paramount concern. This episode of “Design for Mass Production 3D Printing” by Slant 3D explores methods to bolster your prints, moving beyond slicer settings to focus on effective design adaptations. By strategically increasing wall thickness and incorporating specific patterns such as ribs and holes, you can significantly reinforce your 3D printed components, making them more robust and reliable for various applications.
This comprehensive guide is particularly beneficial for 3D printing designers and professionals aiming to elevate the durability of their creations. Whether your projects involve functional elements or artistic endeavors, these techniques will ensure that your parts can withstand the test of time and practical use. Gain insights into sustainable manufacturing options and the innovative concept of digital warehouses, as Slant 3D demonstrates how high-volume print farms can offer scalable and adaptable solutions to meet diverse production needs.

Understanding the Importance of Strength in 3D Printed Parts
Common Issues with 3D Printed Parts
3D printed parts are prone to several common issues, often stemming from the inherent nature of the layer-by-layer construction process. One of the primary problems is the anisotropic mechanical properties—meaning the parts are stronger in one orientation than another. This is due to the layer adhesion, where each layer is bonded to the next, which can lead to weakness along the layer lines. Additionally, factors such as inconsistent wall thickness, improper material selection, and poorly designed internal structures can further compromise the strength of 3D printed parts. Addressing these issues requires a comprehensive understanding of the principles of 3D printing and the application of strategic design and material selection techniques.
Basic Principles of Strength in 3D Printing
The strength of a 3D printed part is fundamentally governed by the material properties, the printing process, and the design itself. In Fused Deposition Modeling (FDM), for example, parts are built layer by layer by extruding thermoplastic filaments. The bonding of these layers is critical; however, it is typically weaker than the material’s intrinsic strength due to partial fusion. Design strategies that distribute stress uniformly, incorporate consistent wall thickness, and enhance the internal structure can significantly boost the overall strength and durability of the printed part. Understanding these principles is crucial for creating reliable, durable 3D printed items.
Material Selection and Its Impact on Part Strength
Choosing the Right Material for Your Part
Material selection plays a pivotal role in determining the ultimate strength and functionality of a 3D printed part. Different materials exhibit varying degrees of tensile strength, impact resistance, and thermal stability. Common materials like PLA, ABS, PETG, and nylon each have unique properties suitable for different applications. For high-strength applications, materials such as nylon or composites with carbon fiber or glass fiber reinforcements are preferred due to their superior mechanical attributes. It is essential to match the material properties with the functional requirements of the part to ensure optimal performance and longevity.
Material Properties and Their Role in Durability
The durability of a 3D printed part is influenced by specific material properties, including tensile strength, elongation at break, Young’s Modulus, and impact resistance. Tensile strength is a measure of the material’s ability to withstand pulling forces, while elongation at break indicates its ductility. Young’s Modulus defines the stiffness of the material, and impact resistance measures its ability to absorb energy without fracturing. By understanding and leveraging these properties, you can select materials that align with the mechanical demands of your design, thus enhancing both strength and durability.
Find 3D Printing Accessories Here
Designing for Strength: Core Considerations
Identifying Stress Points in Your Design
In designing for strength, recognizing potential stress points in your model is paramount. These are areas where the load or force is concentrated, leading to a higher likelihood of failure. Common stress points include sharp corners, thin sections, and areas with abrupt changes in cross-sectional geometry. Using tools such as finite element analysis (FEA) can help identify these regions. By understanding where stresses are highest, you can adjust your design to incorporate features such as fillets or chamfers to distribute the stress more evenly and reduce the likelihood of failure.
Importance of Consistent Wall Thickness
Consistent wall thickness is a critical factor in ensuring uniform distribution of stress throughout the part. Variations in wall thickness can create stress concentrations, leading to weak points that are susceptible to cracking or breaking under load. Employing a uniform wall thickness enhances the structural integrity of the part and ensures predictable performance. Additionally, consistent wall thickness facilitates better thermal management during the printing process, reducing the risk of warping or other defects that could compromise strength.
Advanced Design Techniques to Increase Strength
Incorporating Ribs into Your Design
Ribs are structural elements that can be added to a part to increase its strength without significantly raising material usage. These thin wall-like extensions are designed to support load-bearing surfaces, thereby improving rigidity and reducing flexure. When strategically placed, ribs can enhance the mechanical performance of the part by distributing loads more evenly and increasing the overall stiffness. This is particularly useful in large flat areas that are prone to bending or warping.
Strategically Placing Holes for Strength
strategically placing holes in your design can significantly impact the strength and performance of the final 3D printed part. While holes can initially appear to weaken the structure, when used correctly, they can reduce unnecessary material usage and help in stress distribution. For example, circular holes tend to distribute stress more uniformly compared to square or irregular shapes. Moreover, placing holes away from high-stress regions and ensuring smooth transitions around the hole periphery can prevent stress concentration and potential failure points.

Wall Thickness: How to Optimize for Strength
Benefits of Increased Wall Thickness
Increasing the wall thickness of your part can greatly enhance its strength by providing more material to resist loads and stresses. Thicker walls, especially in load-bearing sections, can improve the part’s durability and make it less prone to breakage. This is particularly effective in parts subjected to bending or torsional forces, as the additional material helps distribute these forces more evenly. However, it’s crucial to balance the benefits of increased strength with the potential downsides, such as higher material cost and longer printing times.
Wall Thickness vs. Material Usage
While increased wall thickness can boost part strength, it also leads to higher material usage and extended print times. Therefore, it’s essential to find an optimal balance that meets your strength requirements without unnecessary material waste. Employing techniques such as hollowing non-critical sections or using infill structures can help achieve this balance. Additionally, focusing on critical areas where increased thickness is most beneficial allows for an efficient use of resources while ensuring the overall strength of the part.
Using Patterns to Enhance Durability
Different Patterns: Ripple, Arrow, and Rib Designs
Incorporating specific patterns into your design can significantly enhance the durability of 3D printed parts. Ripple patterns involve concentric or wave-like structures that help distribute loads and reduce stress concentrations. Arrow patterns, characterized by their directional flow, can guide and distribute forces along predetermined paths, enhancing part resilience. Rib designs, with strategically placed thin extensions, increase rigidity and are particularly effective in flat sections. Each pattern offers distinct advantages and can be tailored to meet specific strength and durability requirements.
How Patterns Affect Slicer Settings
The integration of patterns such as ripple, arrow, and rib designs can have a significant impact on slicer settings. These features often necessitate adjustments in settings like layer height, infill density, and wall thickness to ensure optimal performance. For instance, finer layer heights may be required to accurately reproduce intricate patterns, while infill density might need to be increased to complement the added structural features. Understanding how these patterns interact with slicer settings is crucial for realizing their full potential in enhancing part strength and durability.
Step-by-Step Design Enhancement Tutorial
Creating and Embedding Patterns
To create and embed patterns in your 3D model, start by identifying the areas that require reinforcement. Use your CAD software to design ripple, arrow, or rib patterns. For ripple patterns, create concentric circles that radiate from a central point. For arrow patterns, design directional lines that guide forces away from stress concentrations. Ribs can be added as thin, spaced-out extensions along flat surfaces. After creating the patterns, embed them into your 3D model, ensuring they are aligned with the load paths to maximize their effectiveness.
Adjusting Your CAD Model for Optimal Strength
Once the patterns are embedded, adjust your CAD model to optimize for strength. Ensure that the patterns are not too close to the surface, which could create weak points. Additionally, verify that the transitions between the patterns and the main structure are smooth to prevent stress concentrations. Modify the wall thickness around the patterns, if necessary, to balance strength and material usage. Finally, run a simulation or use FEA tools to validate that the enhancements effectively distribute stress and improve the overall strength of the part.
Testing and Validation of Strengthened Parts
Methods for Testing Part Durability
Testing the durability of your 3D printed parts is crucial for validating design enhancements. Begin with visual inspections to identify any apparent defects or inconsistencies. Mechanical testing methods such as tensile, compressive, and flexural tests are essential for quantifying the part’s strength and elasticity. Conduct fatigue tests to evaluate the part’s performance under repeated loading and unloading cycles. Document the results and compare them with baseline data to assess the effectiveness of your design improvements.
Common Pitfalls and How to Avoid Them
Common pitfalls in testing strengthened parts include insufficient sample sizes, improper test setups, and misinterpretation of results. To avoid these issues, ensure you have a statistically significant number of samples to account for variability. Use standardized test procedures and calibrate your testing equipment regularly. Analyze the data thoroughly, accounting for any anomalies or outliers that might skew results. Additionally, consider environmental factors such as temperature and humidity, which can affect material properties and test outcomes.
The Role of Slicer Settings in Final Part Strength
Why Slicer Settings Matter
Slicer settings play a crucial role in determining the final strength of 3D printed parts. Parameters such as layer height, print speed, infill pattern, and wall thickness directly influence the mechanical properties and structural integrity of the printed object. For instance, finer layer heights can improve layer adhesion, while increased wall thickness contributes to overall robustness. Correct slicer settings ensure that the material is deposited accurately, minimizing defects and enhancing the part’s strength.
Harmonizing Design and Slicer Settings
To achieve optimal strength, harmonize your design with appropriate slicer settings. Start by selecting a compatible infill pattern that complements your design features. Adjust the layer height to balance resolution and printing time, ensuring strong layer bonds. Set the infill density and wall thickness in alignment with your design’s stress distribution patterns. Test and iterate these settings to find the optimal combination that yields the highest strength while maintaining efficiency in material usage and print time.
Conclusion
Summarizing Key Techniques for Part Strength
In summary, enhancing the strength of 3D printed parts involves a multifaceted approach that begins with understanding common issues and basic principles of strength. Material selection is crucial, as the right material can offer the necessary mechanical properties for durability. Design plays a pivotal role, with considerations for stress points, consistent wall thickness, and advanced techniques like incorporating ribs and strategically placing holes. Optimizing wall thickness and using patterns can further enhance part strength. Harmonizing these design elements with appropriate slicer settings is essential for achieving the desired outcomes.
Future Considerations and Advanced Tips
Looking forward, advancements in material science and 3D printing technologies promise to offer new opportunities for strength optimization. Experimenting with composites and multifunctional materials can open new possibilities. Additionally, advances in software for predictive modeling and structural analysis will provide more precise tools for designing and validating 3D printed parts. Embracing these innovations, while continuing to refine and iterate on existing techniques, will ensure that 3D printed parts not only meet but exceed strength and durability expectations.
Maintain Your 3D Printer with these Tools
ELEGOO 5PCS PFA Release Liner Film for Saturn 2/8K/3/4/4 Ultra/4 Ultra 16K Resin 3D Printer 273x176mm, 0.127mm Thickness with Stronger Release Functionality and 92% Light Transmittance
$30.99 (as of June 18, 2025 23:32 GMT +00:00 - More infoProduct prices and availability are accurate as of the date/time indicated and are subject to change. Any price and availability information displayed on [relevant Amazon Site(s), as applicable] at the time of purchase will apply to the purchase of this product.)
OVERTURE Matte PLA 3D Printer Filament 1.75mm, Matt Surface & Low Warping Filament 1kg Spool (2.2 lbs), Accuracy +/- 0.02 mm, Fit Most FDM Printers (Matte Light Brown)
$18.99 (as of June 18, 2025 23:32 GMT +00:00 - More infoProduct prices and availability are accurate as of the date/time indicated and are subject to change. Any price and availability information displayed on [relevant Amazon Site(s), as applicable] at the time of purchase will apply to the purchase of this product.)
Anycubic Kobra S1 Combo 3D Printer, 4 Stunning Multicolor with Anycubic ACE PRO, 600mm/s High Speed and 320℃ Hotend Free-Clog Extruder, Intelligent Drying While Printing, Built-in Camera 250*250*250mm
$569.99 (as of June 18, 2025 23:32 GMT +00:00 - More infoProduct prices and availability are accurate as of the date/time indicated and are subject to change. Any price and availability information displayed on [relevant Amazon Site(s), as applicable] at the time of purchase will apply to the purchase of this product.)
Creality 3D Printer, K1 SE Fully Assembled Auto Leveling FDM 3D Printers for Kids and Beginners, 600mm/s Max High-Speed Printing, Core XY All Metal Structure, Larger Print Size 250x220x220mm
$279.00 (as of June 18, 2025 23:32 GMT +00:00 - More infoProduct prices and availability are accurate as of the date/time indicated and are subject to change. Any price and availability information displayed on [relevant Amazon Site(s), as applicable] at the time of purchase will apply to the purchase of this product.)