Upgraded Tina2S 3D Printer, HEPHI3D 3D Printers WiFi Cloud Printing Auto Bed Leveling, Fully Assembled Mini 3D Printers for Beginners, Silent Print, Fully Open Source DIY 3D Printers for Home, School
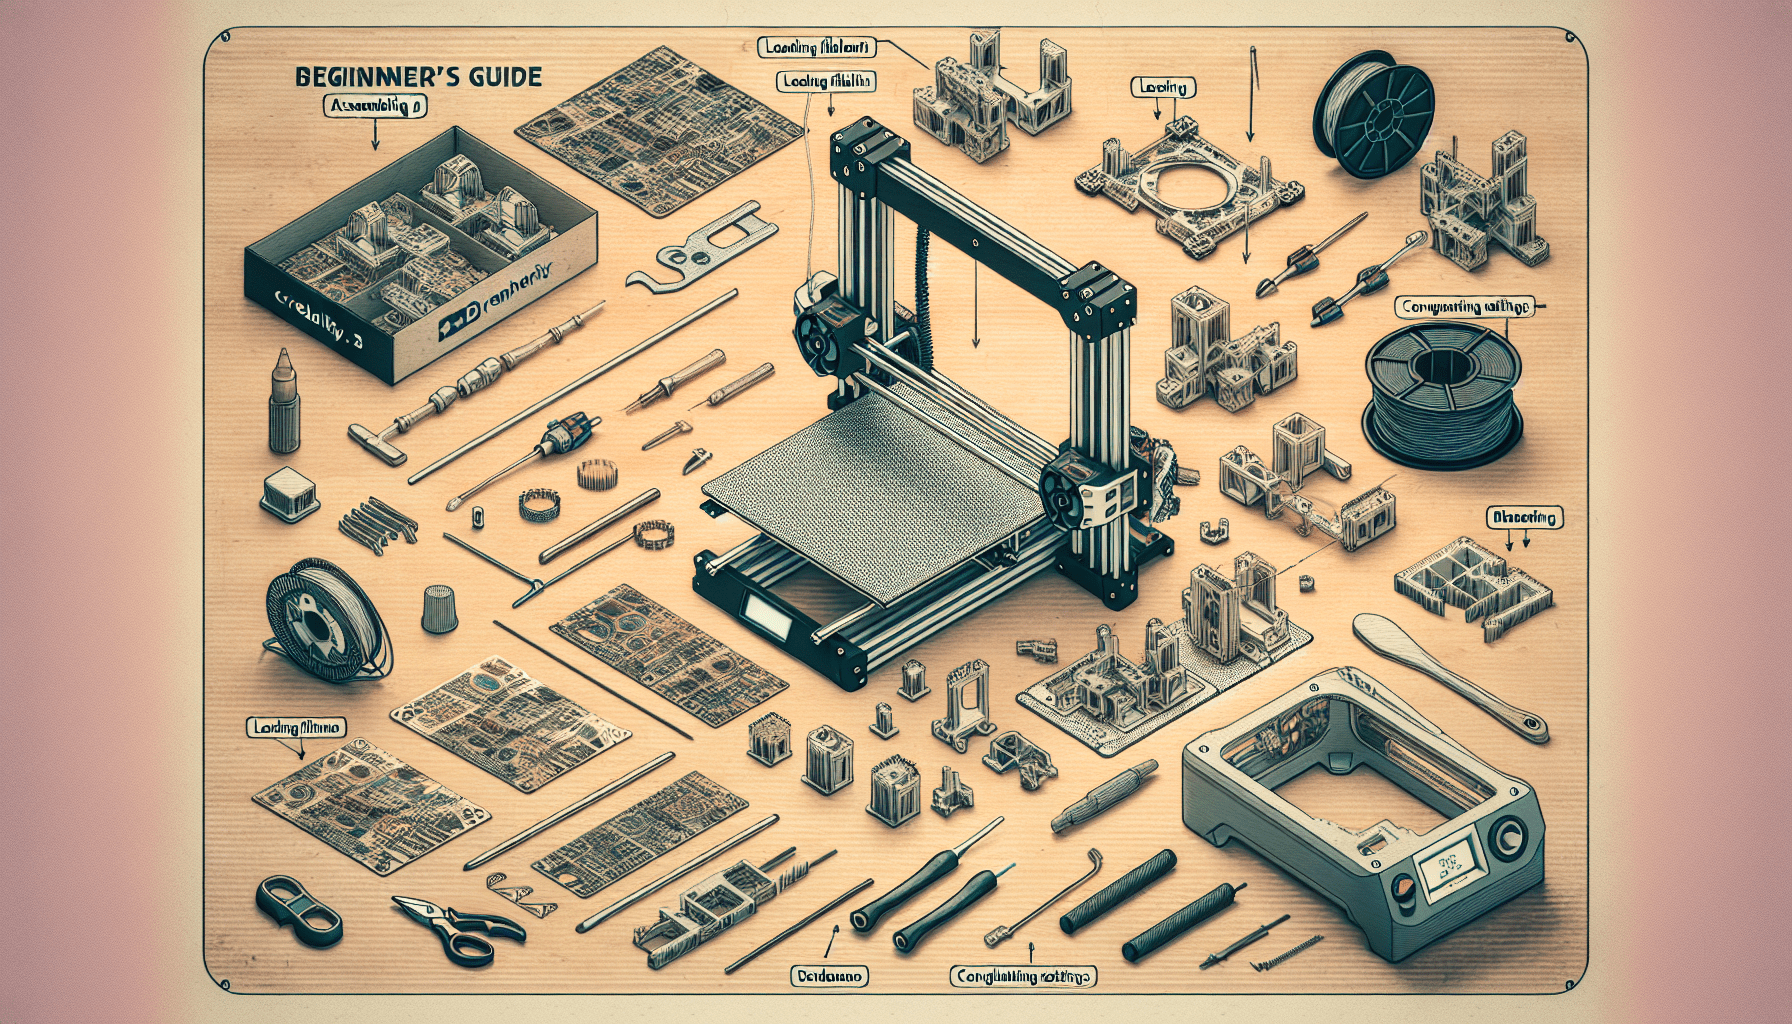
$204.79 (as of May 29, 2025 10:56 GMT +00:00 - More infoProduct prices and availability are accurate as of the date/time indicated and are subject to change. Any price and availability information displayed on [relevant Amazon Site(s), as applicable] at the time of purchase will apply to the purchase of this product.)In this tutorial, you will learn the step-by-step process of using a 3D printer. We will start with the first step of designing the object you want to print. Using an example of designing a trophy, we will guide you through using the software and adjusting the size and shape of the object. Next, we will show you how to add details and customize the design to your liking. Once the design is complete, we will demonstrate how to export the file to an STL format, which is necessary for printing. Finally, we will go into the slicing software, where we will convert the design into a G-Code and prepare it for printing. We will give you tips on settings and support structures to ensure a quality print. By the end of this tutorial, you will have a clear understanding of how to design and prepare your 3D prints for successful printing.
Step 1: Designing
New Design 3D Design
To begin the process of using a 3D printer, the first step is designing. Open the software and create a new design for your project. For example, you can create a trophy for a game or event. Specify the dimensions of the trophy, making it 5 cm wide and 6 cm tall. Remember to adjust the measurements based on the scale in millimeters.
Scaling the Design
After creating the basic shape of the trophy, you can now adjust the size according to your requirements. To scale the design, use the duplicate feature and create a hole shape inside the trophy. This will allow you to create the inner part of the trophy. Make the inside shape slightly smaller, around 40 mm, and position it within the solid part of the trophy.
Using Duplicate Feature
The duplicate feature is a useful tool to replicate shapes or objects within your design. In this case, use the duplicate feature to create identical handles for the trophy. Tilt the handles at a 45° angle and ensure they are properly aligned on each side. Adjust the positioning as needed to achieve the desired appearance.
Aligning the Shapes
Proper alignment is crucial to ensure the symmetry and balance of your design. Use the align feature to bring all the shapes together and position them in the center. This will create a visually appealing and well-proportioned trophy design.
Adjusting the Height
To add more visual interest and uniqueness to the trophy, adjust its height. Avoid making it reach the top entirely; instead, create a conical shape to give it a more dynamic look. Use the collide button to merge the shapes together into a single piece, removing any holes or gaps.
Adding Details
To further enhance the design, consider adding additional details. For example, you can add small handles or decorative elements to the trophy. Utilize features that allow you to tilt and manipulate shapes to your liking. Take advantage of the software’s extensive options and explore different possibilities for customization.
Step 2: Exporting the File
Naming the Design
Once the design is complete, it is important to give it a suitable name for easy identification. Choose a descriptive name that reflects the purpose or nature of the design. This will make it easier to locate and manage the file in the future.

Find 3D Printing Accessories Here
Exporting to STL File
To prepare the design for printing, it needs to be exported as an STL file. This format is widely recognized by 3D printers and allows for seamless transfer of the design. Exporting the file to STL ensures compatibility and optimal printing results.
Step 3: Using the Slicer
Preparing the STL File
To convert the STL file into machine-readable instructions, a slicer software is required. Open the slicer and import the STL file of your design. This software will process the design and generate the necessary G-Code instructions for the 3D printer.
Customizing the Support Level
The slicer software offers a range of settings to personalize the printing process. One important setting to consider is the support level. Depending on the complexity and overhangs in your design, you may need to adjust the support level to ensure proper printing. Experiment with different settings to strike a balance between print quality and structural integrity.
Step 4: Preparing the 3D Printer
Inserting the SD Card
Before starting the printing process, ensure that the 3D printer has an SD card inserted. The G-Code generated by the slicer software needs to be stored on the SD card to be read by the printer. Insert the card into the designated slot on the printer.
Checking for Residue
Inspect the printer bed for any leftover residue from previous prints. Use a scraper or similar tool to remove any debris or remnants. Ensuring a clean and smooth surface on the printer bed will help to achieve proper adhesion and avoid any printing issues.
Heating the Printer
Before initiating the print, it is essential to heat the printer to the appropriate temperature. Verify that both the printer bed and the extruder have reached the desired temperature for the specific filament being used. This will ensure optimal printing conditions and improve the overall quality of the final print.
Step 5: Starting the Printing
Checking the Temperature
Before initiating the actual print, double-check that the printer has reached the desired temperatures for both the bed and the extruder. Stable and accurate temperatures are crucial for successful printing. If the temperatures are not within the recommended range, allow the printer to heat up further.

Initiating the Print
With all the prerequisites in order, start the printing process. Depending on the specific printer model, there might be different methods to start the print. Follow the printer’s instructions and ensure that the file is selected and ready to print. Observe the printer as it begins to create your design layer by layer.
Tips and Tricks
Optimizing Print Settings
Experiment with different print settings to achieve the best results. Factors such as layer height, print speed, and infill density can significantly impact the final outcome. Keep a record of the settings used for successful prints to reproduce them in the future.
Choosing the Right Filament
Selecting the appropriate filament material is essential for achieving the desired results. Consider the specific properties of each filament type, such as strength, flexibility, and heat resistance. Take into account the requirements of your design and choose the filament that best suits those needs.
Calibrating the Printer
Regularly calibrating your 3D printer is essential for consistent and accurate prints. Calibration ensures that the printer is properly leveled, the extruder is calibrated for accurate filament extrusion, and the appropriate bed adhesion settings are in place. Refer to the printer’s manual or online resources for guidance on calibration procedures.
Common Issues and Solutions
Print Not Sticking to the Bed
If your print fails to adhere to the bed or detaches during printing, ensure that the bed is clean and free from any residue. Adjust the bed leveling if necessary and try using adhesion aids like a heated bed or a specialized adhesive.
Stringing and Ghosting
Stringing refers to thin strands of filament being left between different sections of the print. Ghosting, on the other hand, appears as slight imperfections or distortions on the surface of the print. To minimize these issues, adjust print temperature, speed, and retraction settings. Experiment with different combinations until the desired print quality is achieved.
Clogging Nozzle
A clogged nozzle can cause inconsistent extrusion or even prevent the filament from flowing altogether. To address nozzle clogs, try cleaning the nozzle with a fine needle or specialized cleaning tool. Additionally, check the filament quality and consider changing to a different brand or type if clogs persist.
Maintenance and Upkeep
Cleaning the Printer
Regular maintenance of the 3D printer is necessary to ensure optimal performance and longevity. Clean the printer by removing dust or debris, especially from the extruder and print bed. Follow the manufacturer’s instructions for safe cleaning procedures.
Replacing Parts
Over time, certain components of the printer might require replacement due to wear and tear. Common parts that may need replacing include the print nozzle, bed surface, or belts. Refer to the printer’s manual or consult the manufacturer for specific instructions on replacing parts.
Updating Firmware
Periodically check for firmware updates for your 3D printer. Updated firmware can enhance performance, provide new features, and address any known issues. Follow the manufacturer’s instructions to safely update the printer’s firmware.
Troubleshooting
Prints Failing Midway
If your prints consistently fail in the middle of the process, check for any loose connections or faulty wiring. Also, verify that the filament is loaded correctly and that the extruder’s gears are properly aligned. Troubleshoot these issues to ensure uninterrupted printing.
Uneven Layers
Uneven layering can be caused by incorrect Z-axis calibration or bed leveling. Check and adjust the printer’s settings to ensure consistent layer height and uniform print quality. Calibrating the printer regularly will help mitigate this issue.
Misaligned Prints
Misalignments during printing can occur due to belt tension issues, improper calibration, or loose components. Inspect the printer for any loose parts, check belt tension, and recalibrate the printer as necessary. Proper maintenance and calibration will help prevent misaligned prints.
Conclusion
In conclusion, using a 3D printer requires careful planning and attention to detail. The process begins with designing the desired object, scaling it, and adding necessary details. After exporting the design to an STL file, it can be processed by a slicer software to generate the required G-Code. Preparing the 3D printer involves checking for residue, inserting the SD card, and heating the printer to the appropriate temperature. Finally, starting the print requires verifying temperatures and initiating the print. By following these steps and considering tips and troubleshooting techniques, you can successfully venture into the world of 3D printing. Don’t be afraid to experiment and continue learning as you explore the endless possibilities of this exciting technology.
Maintain Your 3D Printer with these Tools
ELEGOO PLA Filament 1.75mm Black 1KG, 3D Printer Filament Dimensional Accuracy +/- 0.02mm, 1kg Spool(2.2lbs) Fit Most FDM 3D Printers
$13.99 (as of May 29, 2025 10:56 GMT +00:00 - More infoProduct prices and availability are accurate as of the date/time indicated and are subject to change. Any price and availability information displayed on [relevant Amazon Site(s), as applicable] at the time of purchase will apply to the purchase of this product.)
Creality 3D Printer Filament, PLA Filament 1.75mm Bundle 2Kg for 3D Printing, Ender PLA Filament No-Tangling, Strong Bonding & Overhang Performance, Accuracy +/- 0.02mm (Black & Black 2-Pack)
$29.99 (as of May 29, 2025 10:56 GMT +00:00 - More infoProduct prices and availability are accurate as of the date/time indicated and are subject to change. Any price and availability information displayed on [relevant Amazon Site(s), as applicable] at the time of purchase will apply to the purchase of this product.)
3D Scanning Marker 6.0 mm for 3D Scanner - Precision Optical Tracking Markers for 3D Scanners, 3D Tracking Dots Reference Point Markers, Diffuse Reflection Markers for 3D Scanners (10 Sheet 500 Dots)
$15.99 (as of May 28, 2025 10:49 GMT +00:00 - More infoProduct prices and availability are accurate as of the date/time indicated and are subject to change. Any price and availability information displayed on [relevant Amazon Site(s), as applicable] at the time of purchase will apply to the purchase of this product.)
Revopoint Inspire 3D Scanner for 3D Printing Handheld, 3D Printer Scanner 0.2mm Precision, Full Color 3D Model Scanning for Car Customization, Digital Art, DIY Projects, Support Android/iOS/Mac/Win
$339.15 (as of May 28, 2025 10:49 GMT +00:00 - More infoProduct prices and availability are accurate as of the date/time indicated and are subject to change. Any price and availability information displayed on [relevant Amazon Site(s), as applicable] at the time of purchase will apply to the purchase of this product.)