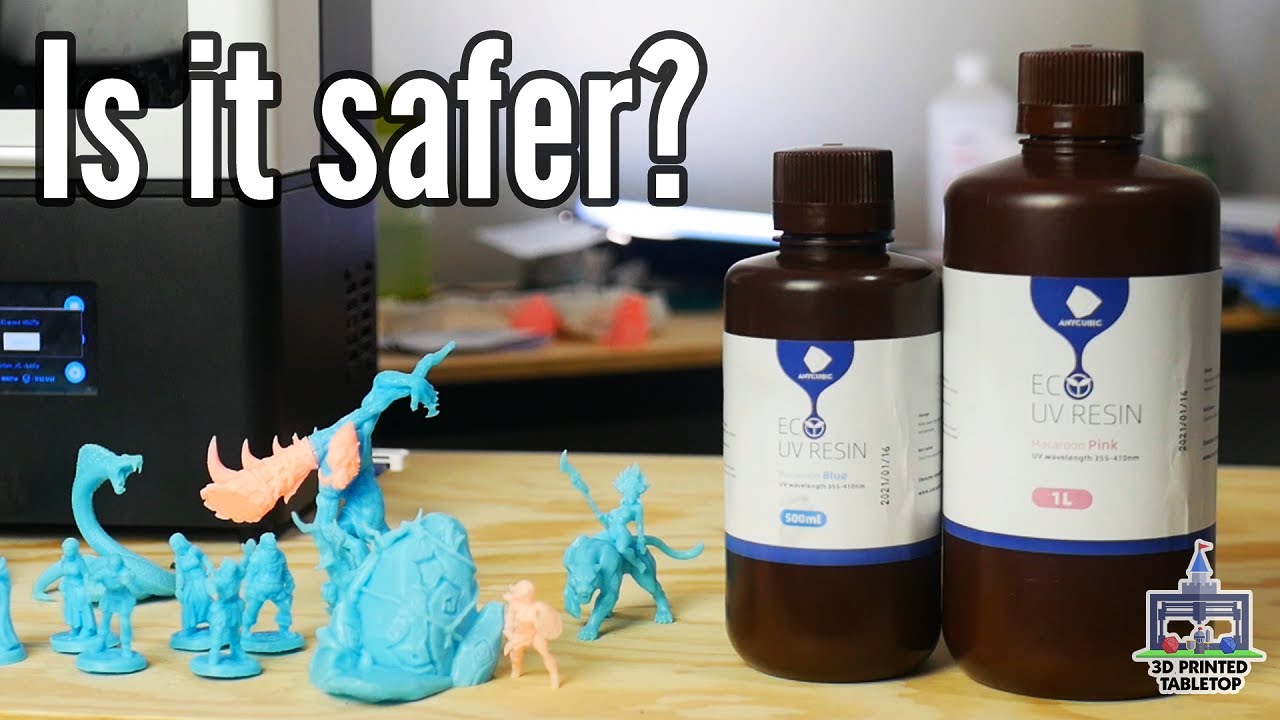

Anycubic 3D Printer Kobra S1 Combo, Multi-Color 3D Printer Max 600mm/s High Speed Printing High Precision, Works Right Out of Box Sealed Storage Intelligent Mult-Filament Drying 9.8"x9.8"x9.8"
$599.99 (as of June 19, 2025 23:45 GMT +00:00 - More infoProduct prices and availability are accurate as of the date/time indicated and are subject to change. Any price and availability information displayed on [relevant Amazon Site(s), as applicable] at the time of purchase will apply to the purchase of this product.)In this live stream, you will witness the unboxing and setup of the Creality K1C Core XY 3D Printer. We have partnered with Sain Smart to feature this printer, which boasts impressive features such as a build volume of 220220250mm, adjustable print speed of 300 to 600 mm/s, auto calibration, direct extrusion, tri-metal nozzle, and compatibility with various filaments. Compared to previous Creality printers, the K1C stands out with its fully enclosed design and high-speed performance. Throughout the article, we will focus on the printer’s speed and printing quality, compare it to other printers in the market, and discuss the expansion of our 3D printer farm with the addition of the K1C. Get ready to embark on this exciting journey of unboxing and setting up the Creality K1C 3D printer, brought to you by RoXolid Productions!
Tonight, we will be diving into the unboxing and setup of the Creality K1C Core XY 3D Printer. This printer, provided free of charge from Sain Smart, promises a thrilling experience. The process typically takes about 20-30 minutes and includes various tools, such as a power cord, nozzle cleaner, bed scraper, and more. As we delve into the setup, expect to witness the printer’s impressive features, including a touchscreen display, auto calibration for leveling, and direct extrusion. Stay tuned to learn more about the K1C’s compatibility with different filaments and its comparison to other printers in the market. Don’t miss out on the opportunity to explore the world of 3D printing with us!
$30 off $400+ Anycubic Products with code AC30OFF
Unboxing the Creality K1C Core XY 3D Printer
The arrival of the printer
As a passionate 3D printing enthusiast, you eagerly awaited the arrival of the Creality K1C Core XY 3D Printer. Having heard great things about its high-speed performance and advanced features, you couldn’t wait to get your hands on it.
Opening the package
Finally, the day came when the package containing the K1C arrived at your doorstep. Excitement filled the air as you carefully unboxed the printer, taking note of its sleek design and sturdy construction. The packaging was well-designed, providing ample protection for the printer during transit.
Included accessories and tools
Inside the package, you found a range of accessories and tools that came along with the printer. These included a power cord, nozzle cleaner, bed scraper, and more. Additionally, you were pleasantly surprised to find a glue stick and a smooth build plate, which would come in handy during the printing process.
Examining the printer components
With the printer now fully unboxed, you took some time to examine its components. You noticed the presence of a touchscreen display, which would make the operation and navigation of the printer more user-friendly. The rubber nubs on the printer caught your attention as well, as they were designed to clean the nozzle before each printing session.
Setup Process
Preparing the workspace
Before diving into the setup process, you made sure to prepare a suitable workspace for the K1C. This involved clearing any clutter and ensuring that the printer would have enough space to operate efficiently. You also made sure to have a stable surface on which to place the printer.
Connecting the power cord
Following the instructions provided in the manual, you connected the power cord to the printer and a power outlet. The process was straightforward, and you were impressed with the quality of the power cord.
Installing the filament spool
Next, you installed the filament spool onto the printer. The K1C was compatible with various filaments, allowing you to experiment with different materials for your 3D prints. The installation process was simple, and the filament spool fit securely onto the printer.
Leveling the bed
To ensure optimal printing results, you diligently leveled the bed of the K1C. The manual provided clear instructions on how to achieve this, making the process easy to follow. You appreciated the importance of proper bed leveling in achieving high-quality prints.
Loading the filament
Once the bed was leveled, you loaded the filament into the printer. The K1C supported a wide range of filament types, including PLA, TPU, PETG, ABS, PLA-CF, PETG-CF, and CR-carbon. This compatibility allowed for endless possibilities in your printing projects.
Calibrating the nozzle
Lastly, you performed the necessary calibration of the nozzle to ensure accurate printing. The K1C featured an auto-calibration function, making the process quick and convenient. You were impressed with the printer’s ability to self-adjust and optimize its performance.

$30 off $400+ Anycubic Products with code AC30OFF
Key Features of the Creality K1C
Build volume and print speed
One of the standout features of the K1C was its impressive build volume of 220220250mm. This generous build volume allowed for the creation of larger and more complex prints. Additionally, the printer boasted an adjustable print speed of 300 to 600 mm/s, ensuring that your prints could be completed efficiently without sacrificing quality.
Auto calibration
The K1C’s auto calibration feature was a game-changer. It took the hassle out of manual bed leveling and nozzle calibration, saving you time and ensuring consistent and accurate prints. The printer’s ability to automatically adjust its settings made it accessible to beginners and experienced users alike.
Direct extrusion and tri-metal nozzle
The K1C utilized direct extrusion, offering better control over the filament flow. This feature resulted in more precise and detailed prints. Additionally, the printer featured a tri-metal nozzle, which provided improved heat resistance and durability.
Compatibility with various filaments
With its wide filament compatibility, the K1C allowed for endless creativity in your 3D prints. From flexible TPU to strong PETG and even Carbon Fiber-based filaments, this printer could handle it all. The ability to experiment with different materials opened up a world of possibilities for your printing projects.
Fully enclosed design and high-speed performance
Unlike previous Creality printers, the K1C featured a fully enclosed design. This design choice provided several benefits, such as increased safety, reduced noise levels, and enhanced temperature control. Additionally, the K1C boasted high-speed performance, allowing for faster printing times and improved efficiency.
Comparing the K1C to Other 3D Printers
Comparison to Bambu Labs printers
When comparing the K1C to printers from Bambu Labs, you noticed several key differences. The K1C’s fully enclosed design and higher print speeds set it apart from Bambu Labs printers. Additionally, the K1C’s compatibility with various filaments gave it an edge in terms of versatility and material options.
Comparison to Creality Ender 3 V2
In comparison to the Creality Ender 3 V2, the K1C offered significant advantages. The K1C’s faster print speeds and fully enclosed design made it a more advanced and high-performing printer. The Ender 3 V2, while still a reliable printer, couldn’t match the speed and capabilities of the K1C.
Advantages and disadvantages of K1C
The K1C’s key advantages included its high-speed performance, compatibility with various filaments, and auto-calibration feature. These features allowed for faster and more efficient printing, as well as increased design possibilities. However, one potential disadvantage of the K1C was its reliance on Creality Print slicing software, which limited the choice of slicing software for users accustomed to other platforms.

Unboxing and Setup Experience Review
Ease of unboxing
The unboxing experience of the K1C was smooth and enjoyable. The packaging provided ample protection, and the printer components were well-organized and easy to access. The packaging’s attention to detail ensured that the printer arrived in pristine condition.
Clear instructions in the manual
The manual provided with the K1C was comprehensive and easy to follow. Each step of the setup process was clearly explained, making it accessible to both beginners and experienced users. The illustrations and diagrams in the manual were particularly helpful in understanding the setup process.
Quality of included accessories
The accessories included with the K1C were of high quality. The power cord, nozzle cleaner, bed scraper, and other tools were sturdy and built to last. The inclusion of a glue stick and a smooth build plate added value and convenience to the overall package.
Efficiency of the setup process
Setting up the K1C was a breeze, thanks to the printer’s user-friendly design and clear instructions. The preassembled components and the auto-calibration feature streamlined the setup process, allowing you to start printing in a short amount of time. The efficiency of the setup process was a testament to the K1C’s user-centric design.
Initial impression of the printer
After unboxing and setting up the K1C, your initial impression of the printer was highly positive. The sleek design, robust construction, and advanced features made it clear that the K1C was a top-tier 3D printer. The printer’s high-speed performance and compatibility with various filaments left you excited about the potential for future printing projects.
Printing with the Creality K1C
Using Creality Print slicing software
While the K1C came with Creality Print slicing software as the recommended option, you chose to use Orca Slicer, which you were already familiar with. This decision allowed you to leverage the features and advantages of Orca Slicer, providing you with a seamless and familiar experience.
Printing speed and quality
The K1C’s adjustable print speed was a standout feature, giving you the flexibility to prioritize either speed or print quality, depending on your needs. You experimented with different speeds and found that the printer maintained impressive print quality even at its highest speeds. The ability to achieve both speed and quality in your prints gave you confidence in the K1C’s capabilities.
Testing with different filaments
The K1C’s compatibility with various filaments allowed you to test and experiment with different materials. You tried printing with PLA, TPU, PETG, ABS, PLA-CF, and PETG-CF, and the results were consistently impressive. The printer handled each filament type with ease, producing accurate and detailed prints.
Handling of exotic materials like TPU and PETG
One of the defining features of the K1C was its ability to handle exotic materials like TPU and PETG. You were particularly impressed with the printer’s performance when printing with these materials. The K1C showcased its versatility and reliability, even with challenging filament types.
Comparison to previous Creality printers
As a seasoned user of Creality printers, you were able to compare the K1C to previous models. The K1C’s high-speed performance, fully enclosed design, and advanced features set it apart from its predecessors. The printer’s improved printing speeds and compatibility with various filaments made it a significant upgrade from older Creality printers.

Expanding the 3D Printer Farm
Benefits of adding the K1C to the farm
The decision to add the K1C to your 3D printer farm came with several benefits. The printer’s high-speed performance and efficiency allowed for increased production capabilities. Its compatibility with various filaments expanded the range of projects you could undertake, further enhancing the productivity of your 3D printer farm.
Integration with existing printers
You were pleased to find that the K1C integrated seamlessly with your existing printers. The ability to use the same slicing software and similar setup processes facilitated a smooth integration and workflow. The K1C’s compatibility with different filaments also complemented the capabilities of your other printers, creating a harmonious and efficient printing environment.
Increased production capabilities
With the addition of the K1C to your printer farm, you experienced a significant boost in production capabilities. The printer’s high-speed performance, coupled with its ability to handle various filaments, allowed you to take on larger and more complex projects. The increased production capabilities opened up new opportunities for growth and experimentation.
Impacts on workflow and efficiency
The K1C’s introduction to your printer farm had a positive impact on workflow and efficiency. The printer’s speed and reliability allowed for faster turnaround times and increased efficiency in completing prints. The ability to handle different filaments also reduced the need for filament changes and increased overall productivity.
Design Differences of the K1C
Distinguishing features of the K1C
The K1C stood out from traditional Ender series printers with its unique design features. The fully enclosed design provided benefits such as improved safety and temperature control. The printer’s Core XY setup, where the printhead moves throughout its range of motion while the print bed remains fixed, allowed for greater acceleration and top speeds.
Comparison to traditional Ender series printers
Compared to traditional Ender series printers, the K1C offered advanced features and capabilities. The fixed print bed and faster print speeds of the K1C set it apart from the Ender series, allowing for improved performance and higher-quality prints. The K1C’s fully enclosed design also distinguished it from the more open-frame structure of the Ender series.
Advantages and disadvantages of the K1C design
The K1C’s design had several advantages, such as increased print speeds, better acceleration, and improved heat resistance with its tri-metal nozzle. The fully enclosed design also provided benefits in terms of safety and temperature regulation. However, the K1C’s design did limit the choice of slicing software, which may be a disadvantage for users who prefer alternative software options.

Conclusion
Overall assessment of the Creality K1C
In conclusion, the Creality K1C Core XY 3D Printer surpassed your expectations. Its high-speed performance, compatibility with various filaments, and advanced features made it a top-tier printer in its class. The fully enclosed design and user-friendly setup process further enhanced the overall experience of using the K1C.
Summary of key features and benefits
The K1C’s key features and benefits included its impressive build volume and adjustable print speed, making it versatile for a range of printing projects. The auto-calibration feature, direct extrusion, and tri-metal nozzle ensured accurate and precise prints. The compatibility with various filaments expanded the possibilities for creativity. Additionally, the fully enclosed design and high-speed performance set the K1C apart from other printers.
Recommendations for potential buyers
For anyone considering purchasing a 3D printer, the Creality K1C is highly recommended. Its speed, reliability, and compatibility with different filaments make it suitable for both beginners and experienced users. The user-friendly setup process and comprehensive manual further contribute to the positive recommendation.
Closing thoughts on the unboxing and setup experience
The unboxing and setup experience of the Creality K1C was seamless and enjoyable. The printer arrived in excellent condition, and the included accessories were of high quality. The setup process was straightforward, thanks to the clear instructions in the manual. Overall, the unboxing and setup experience set a positive tone for the use of the K1C in future 3D printing projects.
$30 off $400+ Anycubic Products with code AC30OFF

PETG Filament 1.75mm 2025 Upgrade Spool Compatible with Bambulab Refill Filament, 2kg(4.4lbs) SUNLU PETG 3D Printer Filament, 1.75mm Dimensional Accuracy +/- 0.02mm, Black+Black Bundle
$20.69 (as of June 19, 2025 23:45 GMT +00:00 - More infoProduct prices and availability are accurate as of the date/time indicated and are subject to change. Any price and availability information displayed on [relevant Amazon Site(s), as applicable] at the time of purchase will apply to the purchase of this product.)
eSUN PLA+ Filament 1.75mm, 3D Printer Filament PLA Plus, Dimensional Accuracy +/- 0.03mm, 1KG Spool (2.2 LBS) 3D Printing Filament for 3D Printers, Black
$16.14 (as of June 19, 2025 23:45 GMT +00:00 - More infoProduct prices and availability are accurate as of the date/time indicated and are subject to change. Any price and availability information displayed on [relevant Amazon Site(s), as applicable] at the time of purchase will apply to the purchase of this product.)
Creality 3mm 3D Scanning Marker for 3D Scanner, 3D Tracking Dot Reference Point Markers for 3D scanning, Diffuse Reflection Markers for 3D Scanner, 5 sheet/98 dot per sheet/490 dot
$14.99 (as of June 19, 2025 23:45 GMT +00:00 - More infoProduct prices and availability are accurate as of the date/time indicated and are subject to change. Any price and availability information displayed on [relevant Amazon Site(s), as applicable] at the time of purchase will apply to the purchase of this product.)
Sovol SV08 Core-XY 3D Printer Voron 2.4 Open Source, 700mm/s High Speed 3D Printers with 300℃ Clog-Free Hotend & Camera, Auto Leveling with 4 Independent Z Motors, Large Print Size 13.8x13.8x13.6in
$699.99 (as of June 19, 2025 23:45 GMT +00:00 - More infoProduct prices and availability are accurate as of the date/time indicated and are subject to change. Any price and availability information displayed on [relevant Amazon Site(s), as applicable] at the time of purchase will apply to the purchase of this product.)