ELEGOO Mars 5 MSLA Resin 3D Printer, Smart Mechanical Sensor, Intelligent Automatic Leveling, COB Light Source, 6.6-inch Mono 4K LCD Screen, Large Printing Size 143.43 x 89.6 x 150 mm³
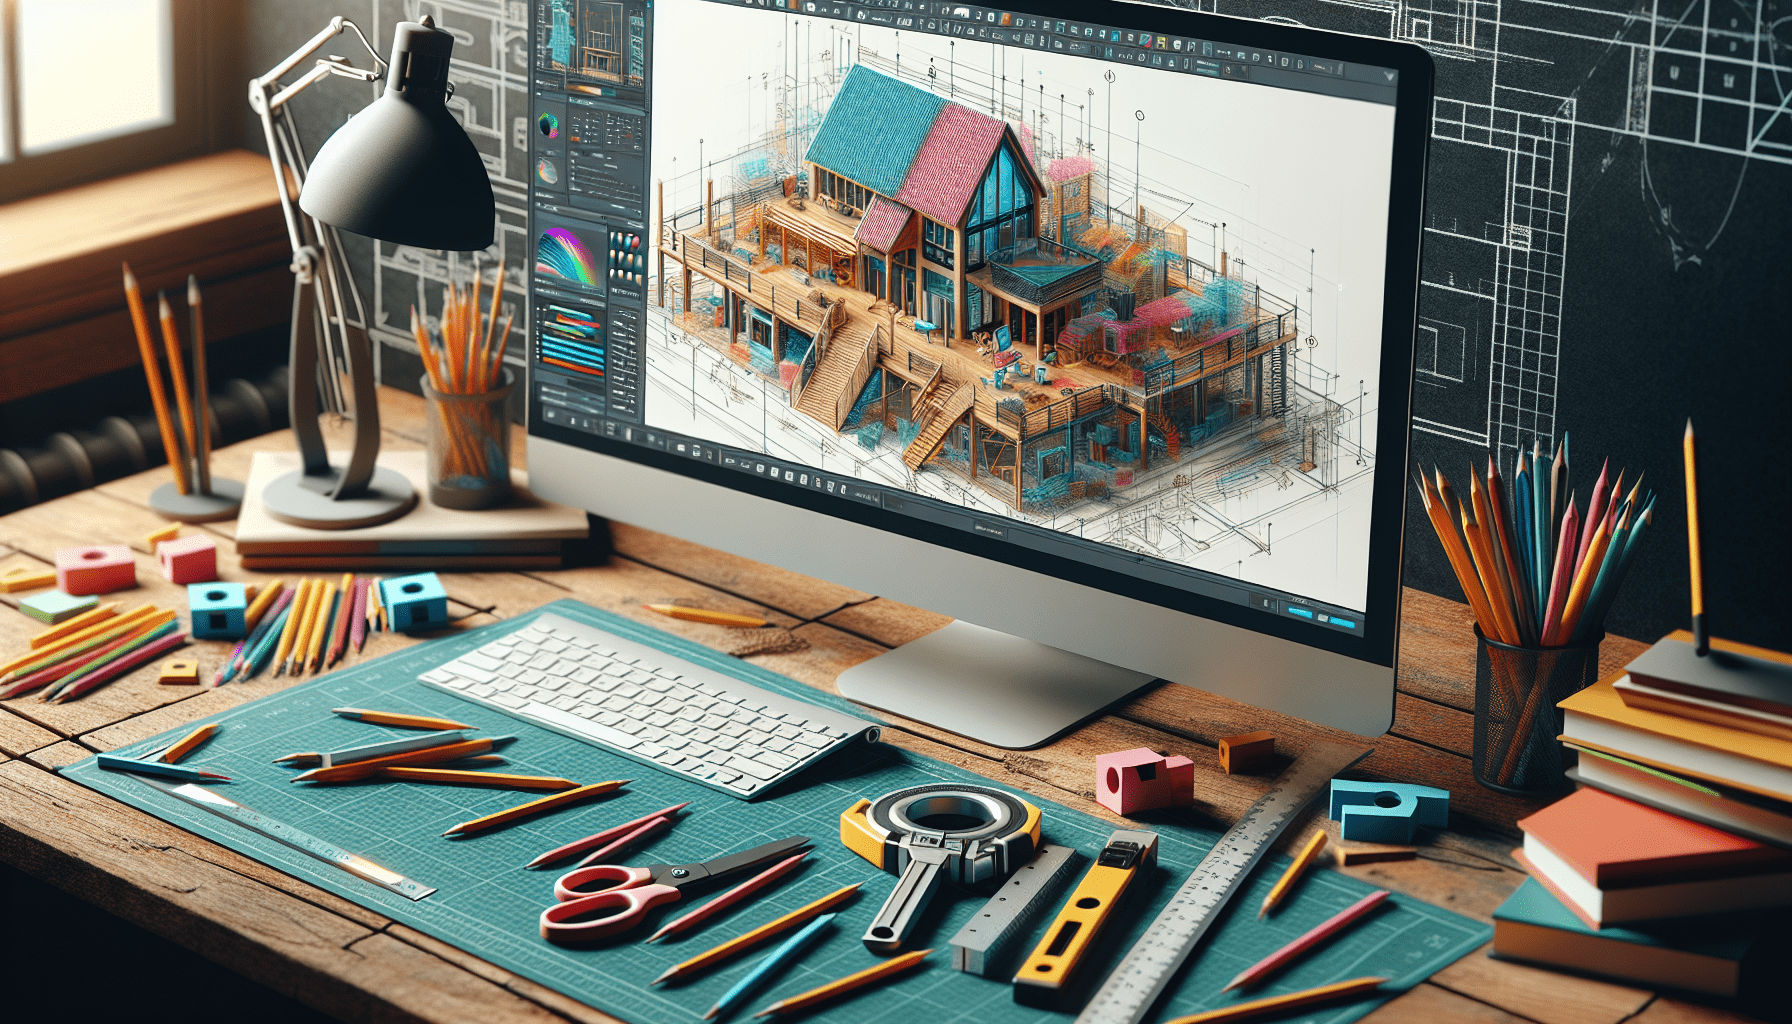
$199.89 (as of June 2, 2025 19:53 GMT +00:00 - More infoProduct prices and availability are accurate as of the date/time indicated and are subject to change. Any price and availability information displayed on [relevant Amazon Site(s), as applicable] at the time of purchase will apply to the purchase of this product.)Have you ever thought about how you could streamline the complex process of project management and design for your new workshop build? You’re in luck! AutoCAD Web is an incredible tool that offers time-saving workflows, making collaboration and accessibility between your office and the site truly seamless. With AutoCAD Web, you’ll find that your DWG files become completely mobile, whether you’re using it on the web or mobile.

Anycubic 3D Materials Sale: Resin & PLA from $9.49/kg
Initial Site Survey With AutoCAD Web
Before diving into the construction process, it’s crucial to understand the lay of the land—literally. An initial site survey is necessary for two main reasons: to get a good idea of the available space and to estimate materials. For my new workshop/office within an older, timber-framed outbuilding in East Yorkshire, UK, this step was essential.
Starting with my iPad Pro and AutoCAD Web, an Apple pencil, and a laser measure, I set off to measure the space. The original outbuilding resembled a farmyard barn with large double barn-style doors to the front. This is where drawing plans in AutoCAD Web became indispensable. It has all the legacy AutoCAD technology needed to draw full scale in the Model tab and start documenting existing plans directly from surveyed information on the go.
The process required me to capture the details of the concrete slab and the overall layout. Any initial measurements and notes were done with AutoCAD on mobile, making it incredibly easy to later refine and tidy up these drawings on AutoCAD desktop.
Example Drawing Set-Up
For instance, here is how I set things up:
| Equipment | Purpose |
|---|---|
| iPad Pro | Moblile measurement and initial sketching |
| AutoCAD Web | On-site drawing and measuring |
| AutoCAD desktop | Refining and completing the drawing |
| Apple Pencil | Precision drawing and annotations |
| Laser Measure | Accurate measurements |
Utilizing this technology allowed me to prepare a detailed layout of the original outbuilding, which would eventually host the new office space.
Starting the New Build
With all the preliminary measurements and sketches ready, it’s time to head to the drawing board—literally. Using the initial survey information from the cloud on AutoCAD desktop, I developed an area plan to allocate space for both an office and a workshop.
By establishing the floor plan with the existing reinforced concrete slab dimensions, the task of spacing out the timber frames for walls and the timber floor frame became more manageable. This setup allowed for the calculation of required materials such as the quantities of proprietary timber panels for the floor, damp-proof membrane, and floor insulation.
Calculating Material Requirements
Having a detailed plan simplifies the process of material calculation. Here’s a breakdown:
- Floor Layout: Draw the timber frame floor layout with hatched chipboard floor panels using AutoCAD on mobile.
- Area Calculation: Use AutoCAD to calculate the total usable floor area.
- Quantity Estimation: Divide the floor area by the area of the proprietary panels to determine the quantity and cost.
For example:
| Component | Measurement Unit | Quantity |
|---|---|---|
| Chipboard Panels | sq. ft. | 150 |
| Timber Frames | linear ft. | 300 |
| Insulation | sq. ft. | 150 |
After these calculations, I found it straightforward to estimate the costs and ensure I had all the necessary materials on hand.

Anycubic 3D Materials Sale: Resin & PLA from $9.49/kg
Letting in the Light
Lighting in any workspace is crucial—not just for visibility but for safety and productivity too. The old outbuilding originally used hazardous, outdated fluorescent light tubes. Therefore, the plan included a refit with modern, energy-efficient lighting.
Using AutoCAD Web on my iPad Pro, I plotted the new office area and the precise locations for new light fittings and power sockets. This initial draft was then further refined on AutoCAD desktop.
Electrical Refit Plan
Crafting an electrical drawing for the electrician saved both time and money. By providing an accurate, detailed plan, the electrician could quickly and efficiently place all fixtures and fittings.
Here’s how you can break down an electrical refit plan:
Plan Elements
- Lighting Positions: Determine and mark the positions for light fittings.
- Power Sockets: Place sockets based on the usage pattern and work areas.
- Dimensions and Fixtures: Accurate measurements allow for precise placement of all electrical components.
Plan Example
Let’s look at a simpler representation:
| Component | Location | Quantity |
|---|---|---|
| Light Fittings | Ceiling, workbench areas | 10 |
| Power Sockets | Walls at 2 ft intervals | 8 |
By uploading these drawings to the cloud, I could easily share them with the electrician, ensuring quick and accurate installation.
Up in the Clouds
Cloud technology cannot be overstated when discussing AutoCAD Web. It is an invaluable asset for collaboration, offering numerous methods for interacting with and saving your projects.
Here are some cloud storage options AutoCAD Web supports:
| Cloud Service | Functionality |
|---|---|
| Autodesk Docs | Document management and collaboration |
| Autodesk Drive | Storage and file sharing |
| Box | File storage and management |
| Dropbox | File backup and sharing |
| Google Drive | File storage and sharing |
| OneDrive | Microsoft’s file hosting service |
Additionally, AutoCAD Web’s latest versions even include local file browsing, making it versatile for various situations.
Maximizing Cloud Collaboration
Using cloud storage, you can:
- Synchronize Updates: Ensure all team members are working from the latest version of the drawing.
- Access Anywhere: Edit and review drawings from any device, whether on-site or in the office.
- Secure Backup: Have peace of mind knowing your files are backed up and secure.
On-the-Go Access
Modern workflows demand flexibility, and AutoCAD Web provides just that. The ability to work from home or on-site means you no longer need to be tethered to a desk.
Working remotely can become seamless when you:
- Use Tablets: AutoCAD Web on tablets like the iPad Pro allows for larger touchscreens and the use of digital tools such as the Apple Pencil.
- Cloud Synchronization: Save your changes in real-time, ensuring your desktop version is always up to date.
- Digital Tools: Utilize styluses for precision drawing and faster workflow.
For example, using an Apple Pencil on the iPad Pro with AutoCAD Web transformed my workflow, making the process fluid and efficient.
Summing It Up
Ultimately, AutoCAD Web proves to be an exceptional tool for personal and commercial use. For my new office build, it offered a level of precision and convenience that’s hard to match. The ability to collaborate effortlessly, make real-time changes, and work flexibly from any location can significantly enhance project management and execution.
Commercially, AutoCAD Web allows for rapid sharing and dialogue between team members, especially when urgent changes are required. Combined with the constant updates and new features Autodesk includes, it remains an indispensable tool for any professional looking to take their projects on the road.
The future of design and construction looks promising with tools like AutoCAD Web, transforming how we work and manage our projects. So, whether you’re working on a small timber-framed outbuilding or a large commercial site, AutoCAD Web has got you covered.
Anycubic 3D Materials Sale: Resin & PLA from $9.49/kg


