Creality K1C 3D Printer, 2024 New Version 600mm/s High-Speed Auto Leveling Clog-Free Robust Direct Extruder K1 SE Upgraded 3D Printer with AI Camera 300°C Printing Support Carbon Fiber Filaments
$559.00 (as of April 19, 2025 01:17 GMT +00:00 - More infoProduct prices and availability are accurate as of the date/time indicated and are subject to change. Any price and availability information displayed on [relevant Amazon Site(s), as applicable] at the time of purchase will apply to the purchase of this product.)Enhancing your iOS apps with interactive 3D designs has never been easier, thanks to Spline. In “Introduction to Enhancing iOS Apps with Interactive 3D Designs Using Spline,” you’ll discover how to integrate these cutting-edge visuals into your projects. This tutorial covers everything from setting up your Xcode project to embedding scenes locally or via the cloud, ensuring your apps not only look stunning but also perform seamlessly across any Apple device.
You’ll start by meeting essential requirements like having an Apple ID and installing Xcode. Then, you’ll learn to configure your project step-by-step, add the Spline iOS Runtime package, and choose between local and cloud embedding. By the end, you’ll find out how to optimize your scenes and keep them updated effortlessly. Get ready to elevate your iOS app development skills with practical tips and simple instructions!
Anycubic 3D Materials Sale: Resin & PLA from $9.49/kg
Enhancing Your iOS Apps with Interactive 3D Designs Using Spline
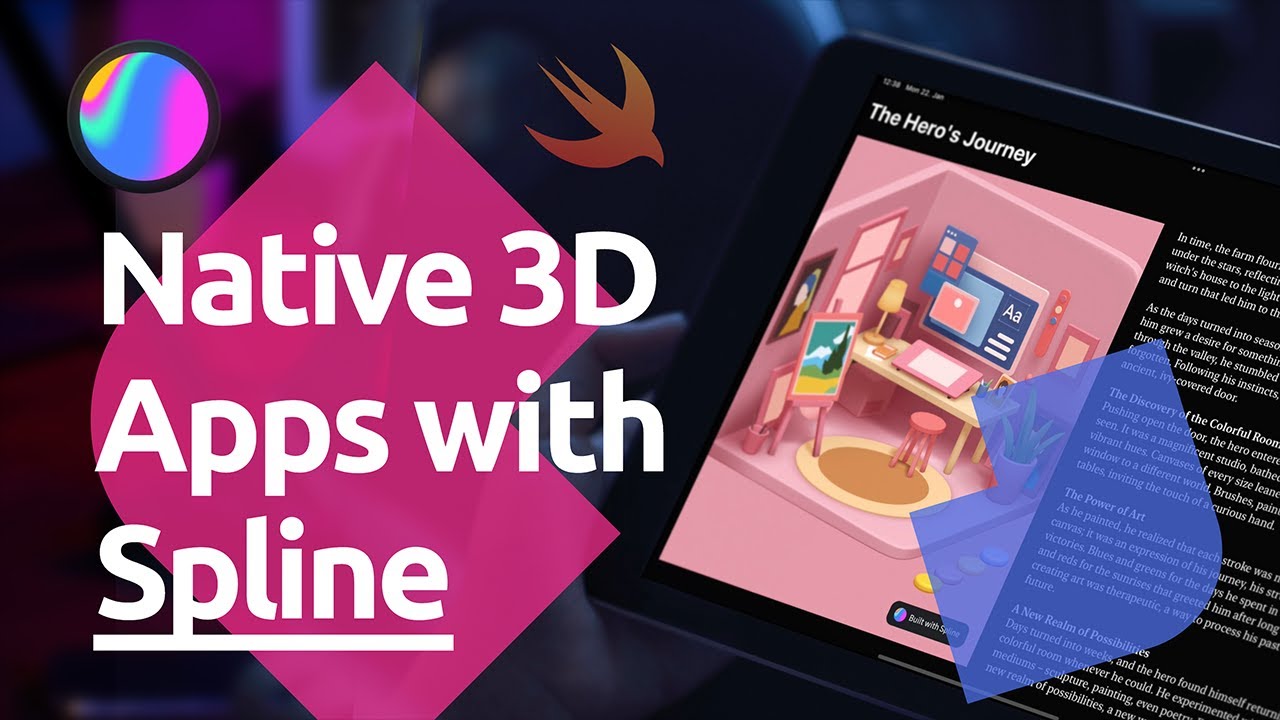
Welcome to a world where your iOS apps can pop with stunning, interactive 3D designs. With Spline, you can elevate your app’s user experience without needing a single line of code from scratch. This guide will walk you through the entire process, ensuring your scenes look and perform beautifully on any Apple device.
Requirements
Free Apple ID or Apple Developer Program Registration
Before diving into the world of interactive 3D design, you need to set up a few essentials. First, ensure you have either a free Apple ID or an Apple Developer Program registration. The free Apple ID allows you to test your apps on your devices, while the Developer Program registration is necessary if you plan to publish your app on the App Store. This distinction is crucial for moving forward with your iOS app development journey.
Xcode for Building Apps
Next up, you need Xcode—Apple’s integrated development environment (IDE) for macOS. Xcode is your toolkit for building apps for iPhone, iPad, Mac, Apple Watch, and Apple TV. If you don’t have it already, download the latest version of Xcode from the Mac App Store or the Apple Developer website. You’ll be using Xcode for building, testing, and running your apps.
Anycubic 3D Materials Sale: Resin & PLA from $9.49/kg
Setting Up Xcode Project
Create a New Xcode Project and Name It
Once you’ve got Xcode up and running, it’s time to create your new project. Open Xcode, and select “Create a new Xcode project.” Choose the app template, and name your project something memorable, like “SplineDemo.” You’ll be guided through several fields, including Team ID and project location. Select the necessary options and click “Next” to finalize your project setup. Voilà! You now have a blank canvas ready for your 3D magic.
Add Spline iOS Runtime Package via Swift Package Manager
To bring Spline’s 3D capabilities into your project, you need to add the Spline iOS Runtime package via Swift Package Manager. Navigate to “File”> “Add Packages,” and search for the Spline iOS Runtime URL. Once found, add it to your project and make sure to import it by adding import SplineRuntime at the top of your Swift files where it’s needed. This integration ensures your app can display interactive 3D designs created with Spline.
Embedding 3D Scenes
Configure Settings for Embedding 3D Scenes from Spline
Setting up your 3D scenes in Spline is a breeze. The export panel provides you with code snippets ready to copy and integrate into your app. Here’s where you decide between two embedding options: local and cloud. Both have their unique advantages and quirks, which we’ll explore next.
Understand the Difference Between Local and Cloud Embedding
The choice between local and cloud embedding depends on your app’s needs.
Local Embedding: This method doesn’t require an internet connection as the 3D scene is packaged within the app itself. This approach offers quicker loading times since the scene is housed directly in the app project.
Cloud Embedding: In contrast, cloud embedding requires an active internet connection. The scene loads directly from a URL, allowing it to automatically update in the app whenever changes are made in Spline. This ensures users always view the most up-to-date content without needing to manually update the app.
Cloud Embedding
Requires an Active Internet Connection
If you choose cloud embedding, remember that an active internet connection is a must. This method pulls your 3D scenes directly from Spline’s servers, ensuring users see the latest updates immediately. Anytime you tweak your design in Spline and push an update, the changes reflect instantly in your app without additional effort on your part.
Automatically Updates Content in the App When Changes Are Made in Spline
One of the significant advantages of cloud embedding is that it keeps your app content fresh automatically. When you update the scene in Spline and push it, the content in your app updates seamlessly. This is ideal for projects requiring constant change and real-time updates.
Local Embedding
Does Not Require an Internet Connection
Local embedding shines when your app’s performance and offline availability are critical. By embedding the 3D scene directly within the app, you’re free from the constraints of an internet connection. This ensures your scene is available anytime, anywhere.
Faster Loading Times, Scene Packaged Within the App Project
Another perk of local embedding is faster loading times. Since the scene is part of the app package, it loads quickly and reliably, offering a smoother experience for users. Simply download the .spline.swift file and integrate it into your Xcode project, ensuring your app functions at its best.
Integrating Spline Scenes
Export Scenes from Spline and Integrate Using Cloud or Local Options
Exporting scenes from Spline is straightforward. Navigate to the export panel in Spline, choose your desired integration method—cloud or local—and follow the instructions to get your scene ready for embedding in Xcode. Copy the provided code snippet for cloud embeds or download the .spline.swift file for local scenes.
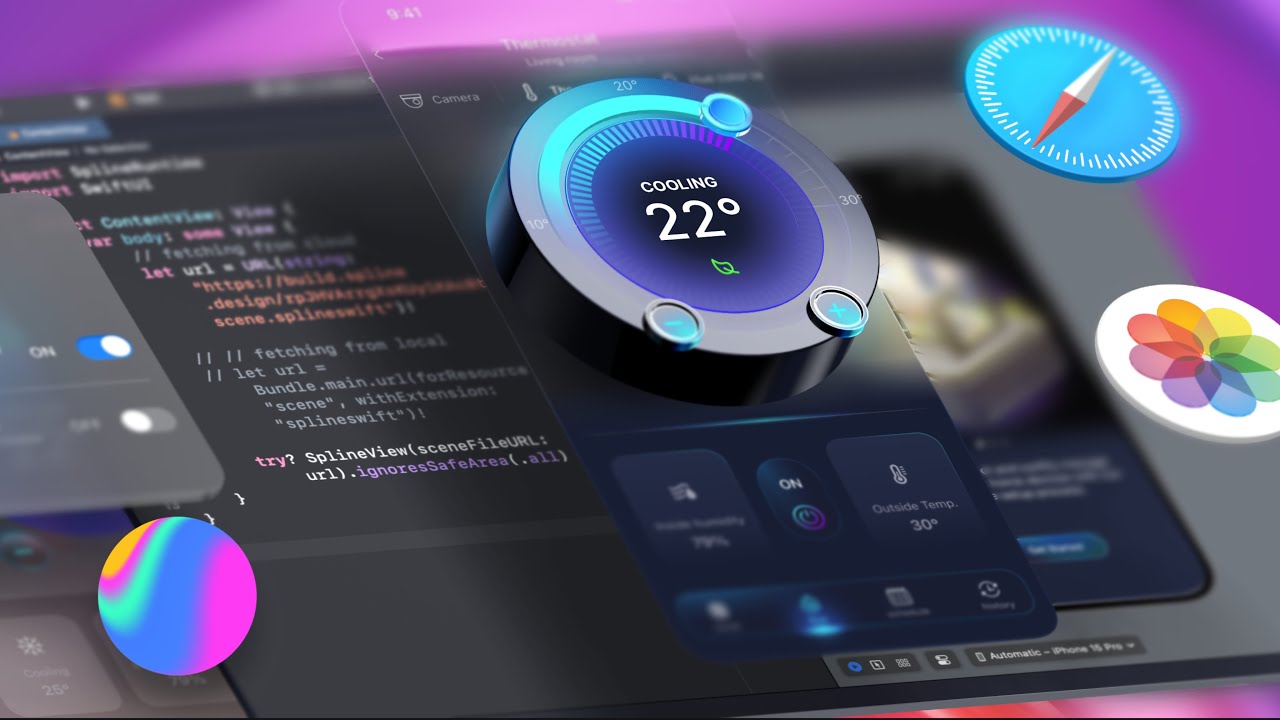
Copy and Paste Code Snippets into Content View in Xcode
For cloud embedding, copy the code snippet from Spline and paste it into your ContentView.swift file in Xcode. For local embedding, drag the .spline.swift file into your Xcode project, then adjust the code to load your local scene. Comment out the appropriate lines to switch between cloud and local imports as needed.
Previewing the App
Use a Simulator or Run the Application Directly on an iPhone/iPad
With your scene integrated, you’re ready to preview your app. Xcode offers several options for running your project. You can use the built-in simulator to see how it looks on different devices, or you can connect your iPhone or iPad and run the application directly. This step ensures your 3D scenes display and interact as expected before finalizing your app for release.
Optimization
Utilize Spline’s Analytics and Optimization Tools for Better Performance
Optimization is key to a smooth user experience. Spline offers various analytics and optimization tools to help you fine-tune your scenes. These tools provide insights into performance, allowing you to make necessary adjustments. This can include simplifying geometries, optimizing textures, or adjusting lighting to enhance rendering speed and visual quality.
Updates
Update Scenes in Your App by Exporting Changes from Spline
Keeping your app’s content fresh is vital for maintaining user engagement. When you make changes to your 3D scenes in Spline, simply re-export the updated scene and integrate it back into your Xcode project. For cloud embedding, updates are instant once you push the changes in Spline. For local embedding, replace the old .spline.swift file with the new one and update your code references as needed.
Final Takeaway
Spline Allows Seamless Integration of Interactive 3D Scenes into Various Apple Platforms, Facilitating Innovative Design Experiences
Spline empowers you to bring interactive 3D designs directly into your iOS apps, enhancing the user experience and opening doors to innovative design possibilities. Whether you choose cloud or local embedding, Spline provides a seamless integration process, allowing you to focus more on creativity and less on technicalities. With proper setup and optimization, your apps will not only look stunning but also perform exceptionally well across all Apple devices.
In this ever-evolving landscape of app development, Spline stands out as a tool that blends simplicity with power, enabling even the most intricate 3D designs to be part of everyday user interactions. So, why wait? Dive into the world of interactive 3D design with Spline and make your iOS apps truly stand out.
Anycubic 3D Materials Sale: Resin & PLA from $9.49/kg

【2025 Special Bundle】 SUNLU Official Filament Dryer Box S4,Four-Spool 3D Printer Dehydrator with Rapid Heating, Auto Humidity Control, and Advanced Triple Fan Upgrade, Fits PLA,PETG,ABS,TPU,PA,etc.
$134.99 (as of April 19, 2025 01:17 GMT +00:00 - More infoProduct prices and availability are accurate as of the date/time indicated and are subject to change. Any price and availability information displayed on [relevant Amazon Site(s), as applicable] at the time of purchase will apply to the purchase of this product.)
Creality 3D Printer Filament, PLA Filament 1.75mm Bundle 2Kg for 3D Printing, Ender PLA Filament No-Tangling, Strong Bonding & Overhang Performance, Accuracy +/- 0.02mm (Black & Black 2-Pack)
$29.99 (as of April 19, 2025 01:17 GMT +00:00 - More infoProduct prices and availability are accurate as of the date/time indicated and are subject to change. Any price and availability information displayed on [relevant Amazon Site(s), as applicable] at the time of purchase will apply to the purchase of this product.)
Longer LK5 Pro 3 3D Printer 11.8x11.8x15.7in Large Printing Size FDM 3D Printer Fully Open Source Motherboard Upgrade TMC 2209 with Resume Printing 3D Printers 95% Pre-Assembled Ideal for Beginners
$262.31 (as of April 19, 2025 01:17 GMT +00:00 - More infoProduct prices and availability are accurate as of the date/time indicated and are subject to change. Any price and availability information displayed on [relevant Amazon Site(s), as applicable] at the time of purchase will apply to the purchase of this product.)
Creality Scan Bridge for CR-Scan Raptor and RaptorX 3D Scanner, Wireless Scanning Kit for iPhone, Android and Mirror Screen for Windows, Mac
$459.00 (as of April 19, 2025 01:17 GMT +00:00 - More infoProduct prices and availability are accurate as of the date/time indicated and are subject to change. Any price and availability information displayed on [relevant Amazon Site(s), as applicable] at the time of purchase will apply to the purchase of this product.)