Creality K1C 3D Printer, 2024 New Version 600mm/s High-Speed Auto Leveling Clog-Free Robust Direct Extruder K1 SE Upgraded 3D Printer with AI Camera 300°C Printing Support Carbon Fiber Filaments
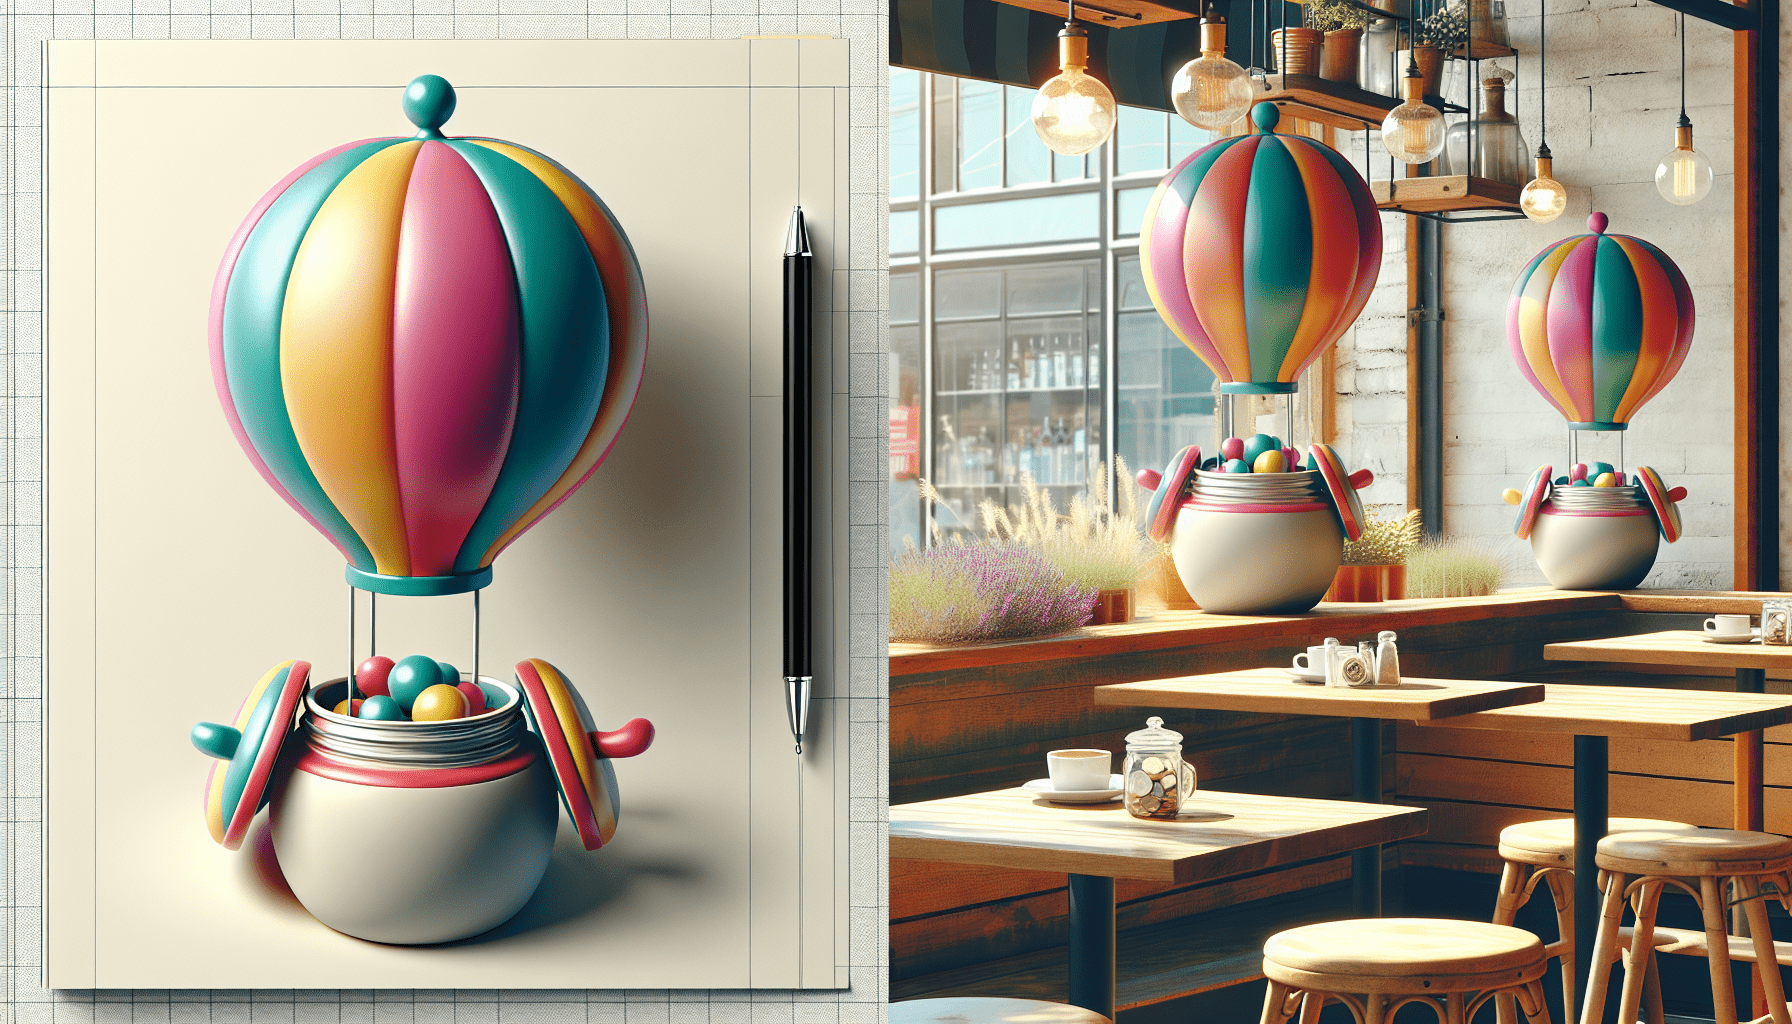
$559.00 (as of April 19, 2025 01:17 GMT +00:00 - More infoProduct prices and availability are accurate as of the date/time indicated and are subject to change. Any price and availability information displayed on [relevant Amazon Site(s), as applicable] at the time of purchase will apply to the purchase of this product.)Can you imagine a world where art and technology blend seamlessly together, creating a symphony of creativity and innovation? In this world, the boundaries between traditional craftsmanship and modern design tools dissolve, giving rise to fresh and exciting possibilities. One such delightful creation is a balloon dog, a classic symbol of whimsy and playfulness that can now be brought to life using 3D CAD software.
Anycubic Coupon – $5 off $50+ sitewide with code DIY5OFF
The Art of 3D Modeling: Bringing Whimsy to Life
The art of 3D modeling is a fascinating realm where creativity knows no bounds. With the help of modern design tools, artists and designers can now breathe life into their most imaginative ideas, transforming them into tangible, three-dimensional wonders. In this guide, we will explore the process of designing a balloon dog using SelfCAD, a powerful yet accessible 3D design software. By following these steps, you’ll be able to craft a realistic and visually engaging model that showcases the unique twists, shapes, and proportions of a classic balloon dog.
Designing the Body of the Balloon Dog
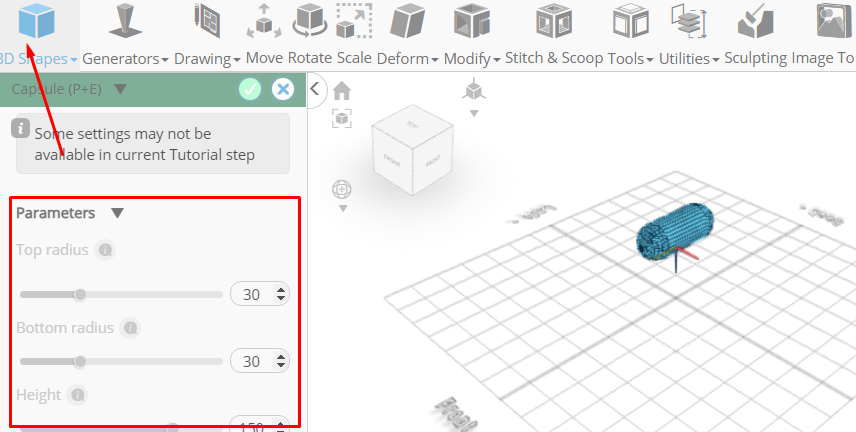
To begin, we need to create the body of our balloon dog. This is where we’ll use SelfCAD’s intuitive tools to shape and mold our design. From the 3D Shapes category on the toolbar, choose the capsule shape and set the following parameters:
| Parameter | Value |
|---|---|
| Top Radius | 30 |
| Bottom Radius | 30 |
| Height | 150 |
| Position Y | 100 |
| Rotation X | 90 |
Click to finalize the capsule shape. Repeat this process for the remaining parts of the body, using the following parameters:
| Parameter | Value |
|---|---|
| Position Y | 109 |
| Position Z | -68 |
| Rotation X | -45 |
| Height | 150 |
| Position Y | 100 |
| Position Z | 60 |
| Rotation X | 20 |
| Top Radius | 20 |
| Bottom Radius | 20 |
| Position X | 15 |
| Position Y | 200 |
| Position Z | 70 |
| Rotation Z | 10 |
Mirroring and Modifying Shapes
Now that we have the basic shapes in place, it’s time to start mirroring and modifying them to create the desired design. From the Utilities category on the toolbar, choose the Mirror tool and set the following parameters:
| Parameter | Value |
|---|---|
| Create Copy | True |
| Direction | Left |
| Offset | -10 |
Click to finalize the mirror operation. Repeat this process for the remaining shapes, using the following parameters:
| Parameter | Value |
|---|---|
| Create Copy | True |
| Direction | Left |
| Offset | 5 |
Refining the Design
As we continue to refine our design, we’ll need to make some adjustments to the shapes and proportions. From the Modify category on the toolbar, choose the Extrusion tool and set the following parameters:
| Parameter | Value |
|---|---|
| Use Vertex Normals | True |
| Extrusion Amount | 1 |
Click to finalize the extrusion operation. Repeat this process for the remaining shapes, using the following parameters:
| Parameter | Value |
|---|---|
| Use Vertex Normals | True |
| Extrusion Amount | 1 |
Adding Thickness and Smoothing
To add a realistic touch to our design, we’ll need to add some thickness and smooth out the edges. From the Modify category on the toolbar, choose the Add Thickness tool and set the following parameter:
| Parameter | Value |
|---|---|
| Thickness | 1 |
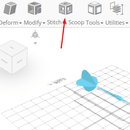
Click to finalize the add thickness operation. To smooth out the edges, use the Stitch & Scoop tool and select the Union option.
Anycubic Coupon – $5 off $50+ sitewide with code DIY5OFF
Mastering SelfCAD: Additional Resources
As you continue to hone your design skills, remember that SelfCAD offers a wealth of resources to support your learning journey. To deepen your understanding and explore more advanced features, consider checking out the interactive tutorials available on the SelfCAD website. The tutorials page provides a treasure trove of guides, tips, and tricks that cater to designers of all levels.
For a more structured learning experience, visit the SelfCAD Academy, which offers in-depth courses taught by industry experts. You can also explore the 3D Modeling 101 series on YouTube, which provides a comprehensive introduction to the world of 3D modeling.
By embracing the possibilities of 3D CAD software, you can unlock a world of creativity and innovation, bringing your most imaginative ideas to life in the most stunning ways. So why wait? Start designing your own balloon dog today and discover the magic of 3D modeling for yourself!
Anycubic Coupon – $5 off $50+ sitewide with code DIY5OFF
Official CR PETG 3D Printer Filament 1.75mm 1KG (2.2lbs), High Precision Strong Toughness, Odorless Better Flow Moistureproof 3D Printing Ender Filament (Black)
$12.99 (as of April 19, 2025 01:17 GMT +00:00 - More infoProduct prices and availability are accurate as of the date/time indicated and are subject to change. Any price and availability information displayed on [relevant Amazon Site(s), as applicable] at the time of purchase will apply to the purchase of this product.)
ERYONE Matte Rainbow 3D Printer PLA Filament 1.75 +/- 0.03mm, Matte Muticolor Filament PLA 1KG(2.2LBS) Spool, Matte Macaron Rainbow
$16.79 (as of April 19, 2025 01:17 GMT +00:00 - More infoProduct prices and availability are accurate as of the date/time indicated and are subject to change. Any price and availability information displayed on [relevant Amazon Site(s), as applicable] at the time of purchase will apply to the purchase of this product.)
[2024 Upgrade] Creality 3D Scanner CR-Scan Otter for 3D Printing, 3D Printer Scanner with Four-Lens Stereo Vision, 10-2000mm Scanning Range, Anti-Shake Tracking, 0.02mm Accuracy for mac OS/Windows
$899.00 (as of April 19, 2025 01:17 GMT +00:00 - More infoProduct prices and availability are accurate as of the date/time indicated and are subject to change. Any price and availability information displayed on [relevant Amazon Site(s), as applicable] at the time of purchase will apply to the purchase of this product.)
Creality Official K2 Plus Combo 3D Printer, Multi Color Printing with CFS 600mm/s High-Speed Full Auto-Leveling Dual Al Camera Next-Gen Direct Drive Extruder Build Volume 13.78x13.78x13.78 inch
$1,699.00 (as of April 19, 2025 01:17 GMT +00:00 - More infoProduct prices and availability are accurate as of the date/time indicated and are subject to change. Any price and availability information displayed on [relevant Amazon Site(s), as applicable] at the time of purchase will apply to the purchase of this product.)