Creality Ender 3 V3 SE 3D Printer, 250mm/s Faster FDM 3D Printers with CR Touch Auto Leveling, Sprite Direct Extruder Auto-Load Filament Dual Z-axis & Y-axis, Printing Size 8.66 * 8.66 * 9.84 inch
$259.00 (as of March 8, 2025 20:51 GMT +00:00 - More infoProduct prices and availability are accurate as of the date/time indicated and are subject to change. Any price and availability information displayed on [relevant Amazon Site(s), as applicable] at the time of purchase will apply to the purchase of this product.)Welcome to Day #3 of Learn Shapr3D in 10 Days for Beginners. In this video, sponsored by Shapr3D, instructor Kevin Kennedy takes you through the process of creating a 3D printable print-in-place hinged box using Shapr3D. This video tutorial covers a range of topics, including using the shell tool, copying 3D bodies, applying colors, creating hinges, extruding side flanges, aligning bodies, and exporting STL files for 3D printing. Throughout the video, Kevin provides step-by-step instructions and helpful tips, making it easy for beginners to follow along. So let’s dive into the world of Shapr3D and learn how to create functional 3D prints!
In this video, Kevin Kennedy walks you through the process of creating a print-in-place hinged box using Shapr3D. The video covers various techniques and tools, such as using the shell tool to hollow out the box, copying 3D bodies, and creating hinges with solid flanges. Kevin demonstrates how to align bodies, apply colors to 3D bodies, and export STL files for 3D printing. The video also includes helpful timestamps for easy navigation. By following along with this tutorial, beginners can gain valuable skills in 3D modeling and create their own functional 3D prints. So let’s get started on Day #3 of Learn Shapr3D in 10 Days for Beginners!

Video Overview
Introduction to the video
Welcome to Day #3 of Learn Shapr3D in 10 Days for Beginners! In this video, sponsored by Shapr3D, we will explore the process of creating a 3D printable print-in-place hinged box using Shapr3D, a powerful 3D modeling tool. Throughout the video, instructor Kevin Kennedy will guide you step-by-step through the creation of this box, providing valuable tips and tricks along the way.
Overview of the 3D printable print-in-place hinged box
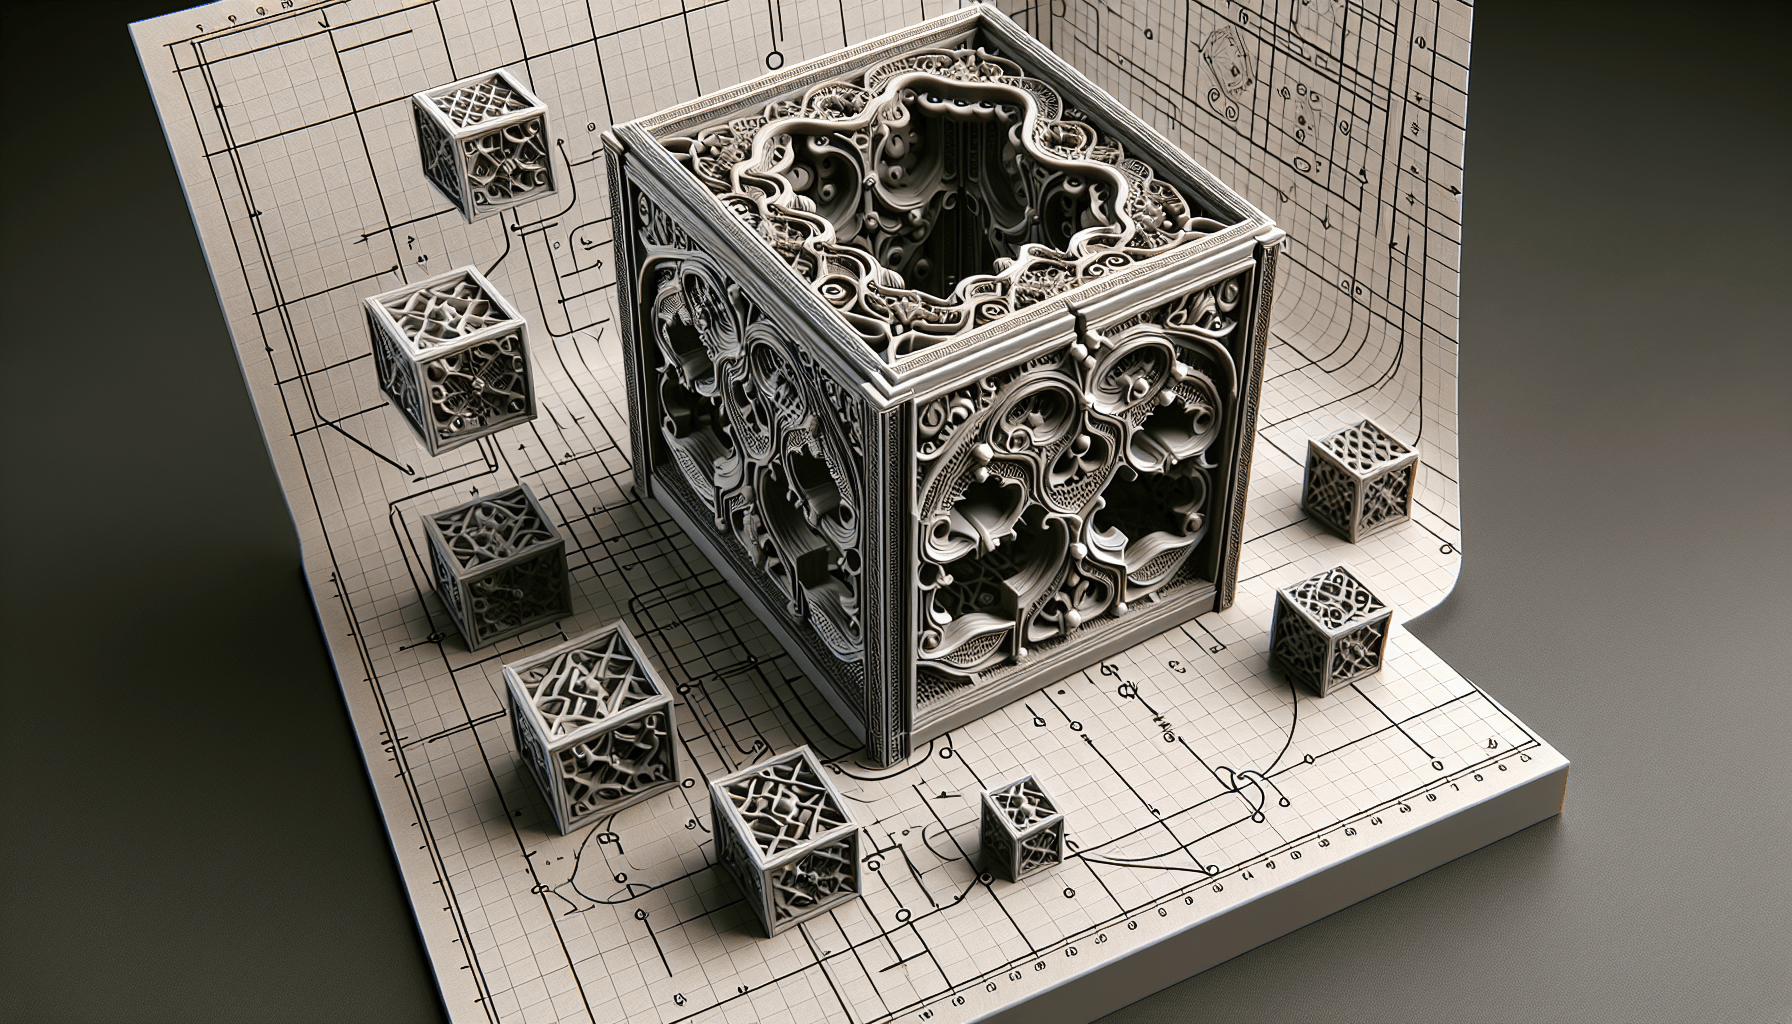
The focus of this video is to create a 3D printable print-in-place hinged box. This type of box is designed to be printed as a single piece, with the hinges and moving parts already in place. By following the instructions provided in the video, you will be able to create your own functional hinged box, ready for 3D printing.
Topics covered in the video
The video covers a wide range of topics related to the creation of the 3D printable hinged box. Some of the key topics include using the shell tool to hollow out the box, copying 3D bodies to create multiple parts, applying colors to enhance the visualization of the model, creating hinges for the moving parts, extruding side flanges, aligning bodies for a seamless design, and exporting STL files for 3D printing.
Creating the Hinged Box
Using the shell tool
To start the process of creating the hinged box, Kevin demonstrates how to use the shell tool in Shapr3D. This tool allows you to hollow out 3D bodies by selecting the desired face and defining the wall thickness. By specifying the appropriate wall thickness, you can achieve a sturdy yet lightweight box.
Copying 3D bodies
Next, Kevin explains how to copy 3D bodies in Shapr3D. This feature is useful when creating multiple parts of the box, such as the top and bottom sections. By simply selecting the body, copying it, and defining the distance between the copies, you can quickly create identical components.
Applying colors
To make the design process more visually appealing, Kevin shows how to apply different colors to the 3D bodies. This feature allows you to customize the appearance of the box according to your preferences. Kevin opts for an orange color to match the material he plans to use for 3D printing.
Creating hinges
The key feature of the hinged box is the hinges that allow the moving parts to function. Kevin walks you through the process of sketching and creating the hinges, which consist of a pin and flanges. The pin is attached to only one set of flanges and serves as a bridge through the openings in the opposite flanges. This design enables the box to be printed as a single piece.
Extruding side flanges
To reinforce the hinges and add strength to the design, Kevin demonstrates how to extrude side flanges. These flanges provide additional support and stability to the moving parts of the box.
Aligning bodies
To ensure a seamless and professional-looking design, aligning the bodies is crucial. Kevin explains how to use the align tool in Shapr3D to easily position the hinge components accurately. This step helps achieve a symmetrical and well-aligned hinged box.
Exporting STL files for 3D printing
Once the design is complete, it is time to prepare it for 3D printing. Kevin guides you through the process of exporting the 3D printable hinge as an STL file. He also provides a shortcut key combination for exporting, making the process more efficient. After exporting the file, it is recommended to save it to your local computer for further processing.


Step-by-Step Instructions
Detailed instructions for each process
Throughout the video, Kevin provides detailed step-by-step instructions for each process involved in creating the 3D printable print-in-place hinged box using Shapr3D. Whether you are new to 3D modeling or an experienced user, these instructions will help you follow along and replicate the project successfully.
Tips and tricks from the instructor, Kevin Kennedy
As an experienced 3D designer and instructor, Kevin shares valuable tips and tricks that can enhance your modeling skills. From keyboard shortcuts to design considerations, these insights provide additional knowledge and guidance throughout the project.
Timestamps for easy navigation
To make it easier to navigate through the video and find specific sections, timestamps are provided. These timestamps allow you to jump to different parts of the video quickly, providing a convenient and efficient learning experience.
Hinge Specifications
Thickness of the outer hinge
The outer hinge of the print-in-place hinged box has a thickness of 1.3mm. This thickness ensures that the hinge is strong and durable while still maintaining functionality.
Clearance required for moving parts
To enable smooth movement of the hinges, a clearance of 0.6mm is needed. This clearance allows the moving parts to operate freely without any friction.
Turning the side hinge back on in the Items Manager
In the Items Manager, the side hinge can be turned back on by selecting the eyeball icon. This feature allows you to hide or display specific components of the hinged box as needed.
Creating a copy of the latest hinge
If you need to create a copy of the latest hinge for any reason, you can do so by double-clicking the body, selecting Copy, and moving it over a distance of 45.2mm. This feature saves time and effort when creating multiple copies of the hinge.
Checking the clearance of 0.6mm
To ensure the clearance of 0.6mm is accurate, you can hold the Shift key and select each edge of the moving parts. By doing so, you can verify that the clearance is in line with the design specifications.
Customizing the Hinge
Selecting hinge bodies in the Items Manager
If you wish to customize the appearance of the hinges, you can select the hinge bodies in the Items Manager. This feature allows you to apply a different color to the hinges, providing a visually appealing design.
Applying a different color to the hinge
Although not required, applying a different color to the hinge can enhance the overall aesthetics of the hinged box. By selecting the hinge bodies in the Items Manager and choosing a different color, you can personalize the design according to your preferences.
Optional step, but not required
It is important to note that customizing the hinge color is an optional step and not necessary for the functionality of the hinged box. Feel free to skip this step if you prefer the default color or simply want to focus on the printing process.
Preparing for 3D Printing
Exporting the 3D printable hinge
Once the design is finalized, it is time to export the 3D printable hinge for 3D printing. Kevin demonstrates how to use the shortcut key combination CMD + Shift + E to export the file quickly. This shortcut saves time and streamlines the exporting process.
Shortcut key combination for exporting
By using the CMD + Shift + E shortcut key combination, you can export the 3D printable hinge in a matter of seconds. This convenient feature allows you to seamlessly transition from the modeling stage to the 3D printing stage.
Selecting the desired mesh type
When exporting the hinge as an STL file, you have the option to select the desired mesh type. The choice of mesh type depends on factors such as printer compatibility and resolution requirements. Kevin explains how to choose the appropriate mesh type for your specific needs.
Saving the model to the local computer
After exporting the 3D printable hinge, it is important to save the model to your local computer. This step ensures that you have a backup copy of the file and enables easy access when preparing for 3D printing.
Importing the model to slicing software
To further process the 3D printable hinge for 3D printing, you need to import the model into slicing software. Kevin recommends using the slicing software that is most compatible with your 3D printer. Importing the model into the software allows you to optimize settings, such as layer height and support structures, before sending the file to your 3D printer.
Organizational recommendation for renaming the file
To maintain good organization throughout the design process, it is recommended to rename the file in a consistent and descriptive manner. Kevin suggests renaming the file as “Day #3 – Hinged Box” to easily identify and locate the file later.

Further Learning and Resources
Encouragement to subscribe for more Shapr3D lessons
If you enjoyed this video and want to learn more about Shapr3D, Kevin encourages you to subscribe to the channel. By subscribing, you will receive updates on new lessons and tutorials, allowing you to expand your 3D modeling skills further.
Visiting ProductDesignOnline.com
For additional resources and information related to 3D design and product development, Kevin suggests visiting ProductDesignOnline.com. This website provides a wealth of valuable content and learning materials to help you master various aspects of product design.
Accessing the full ten-day lessons
If you want to dive deeper into learning Shapr3D and build a solid foundation in 3D modeling, Kevin offers a full ten-day lessons series. This comprehensive course covers a wide range of topics and provides step-by-step instructions for each day’s project. Accessing the full course will enhance your skills and understanding of Shapr3D.
Provided YouTube playlist for additional tutorials
To further expand your knowledge and explore additional tutorials, a YouTube playlist is provided. This playlist contains various tutorials and lessons related to 3D modeling, providing you with more resources to learn and grow as a designer.
Conclusion
Summary of the video content
In conclusion, this video focused on creating a 3D printable print-in-place hinged box using Shapr3D. Kevin Kennedy, the instructor, guided viewers through the step-by-step process of creating the box, covering topics such as using the shell tool, copying 3D bodies, applying colors, creating hinges, extruding side flanges, aligning bodies, and exporting STL files for 3D printing. The video provided detailed instructions and valuable tips from Kevin, ensuring a comprehensive learning experience.
Encouragement to apply the learned techniques
After watching the video and following along with the instructions, it is encouraged to apply the learned techniques to your own projects. The skills and knowledge gained from this video can be applied to a wide range of 3D modeling and printing projects, opening up new horizons for your creativity and design capabilities.
Final thoughts on the 3D printable print-in-place hinged box
The 3D printable print-in-place hinged box is a versatile and functional design that showcases the capabilities of Shapr3D. By mastering the techniques covered in this video, you can create your own unique hinged box designs, explore different variations, and even personalize them to reflect your style and preferences. Let your imagination run wild and unlock the limitless possibilities of 3D modeling and printing with Shapr3D!

ELEGOO PLA+ Filament 1.75mm White 1KG, High Toughness PLA Plus 3D Printer Filament Dimensional Accuracy +/- 0.02mm, 1kg Spool(2.2lbs) for Most FDM 3D Printers
$14.99 (as of March 6, 2025 16:28 GMT +00:00 - More infoProduct prices and availability are accurate as of the date/time indicated and are subject to change. Any price and availability information displayed on [relevant Amazon Site(s), as applicable] at the time of purchase will apply to the purchase of this product.)
ELEGOO PLA Plus Filament 1.75mm White 2KG, PLA+ Tougher and Stronger 3D Printer Filament Pro Dimensional Accuracy +/- 0.02mm, 2 Pcs 1kg Spool(2.2lbs) Fits for Most FDM 3D Printers
$28.98 (as of March 6, 2025 16:28 GMT +00:00 - More infoProduct prices and availability are accurate as of the date/time indicated and are subject to change. Any price and availability information displayed on [relevant Amazon Site(s), as applicable] at the time of purchase will apply to the purchase of this product.)
Official Creality Ender 3 V2 Neo 3D Printer with CR Touch Auto Leveling PC Spring Steel Platform Full-Metal Extruder 95% Pre-Installed 3D Printers Resume Print and Model Preview 8.66x8.66x9.84 inch
$214.00 (as of March 8, 2025 20:51 GMT +00:00 - More infoProduct prices and availability are accurate as of the date/time indicated and are subject to change. Any price and availability information displayed on [relevant Amazon Site(s), as applicable] at the time of purchase will apply to the purchase of this product.)
3DMakerpro Handheld 3D Scanner for 3D Printing Seal Lite, 0.02mm High Detailed Precision, 10FPS Scanning Lightning-Fast Speed with Anti-Shake Lenses, 3D Model Scanner for Windows/MacOS - Premium Kit
$419.00 (as of March 8, 2025 20:51 GMT +00:00 - More infoProduct prices and availability are accurate as of the date/time indicated and are subject to change. Any price and availability information displayed on [relevant Amazon Site(s), as applicable] at the time of purchase will apply to the purchase of this product.)