ANYCUBIC Photon Mono 4, Resin 3D Printer with 7'' 10K Mono LCD Screen, Stable LighTurbo Light Source and 70mm/h Fast Printing, Print Volume 6.04'' x 3.42'' x 6.49''
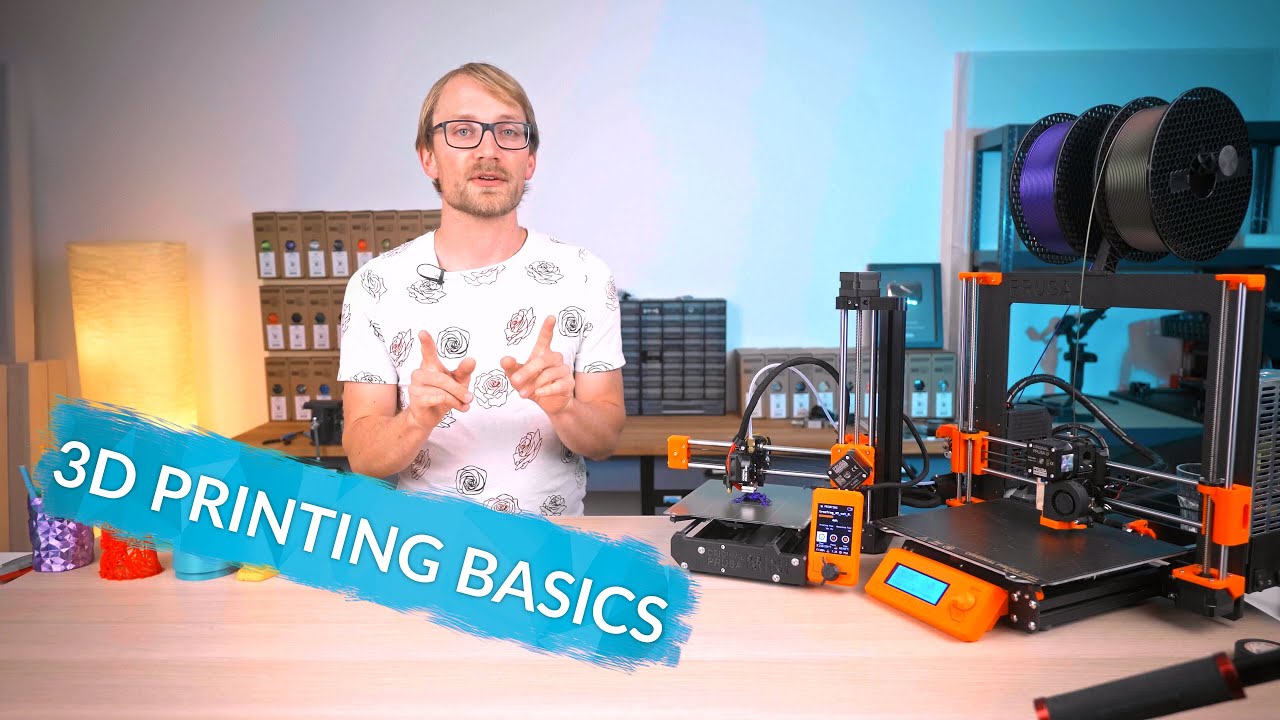
$159.99 (as of June 18, 2025 23:32 GMT +00:00 - More infoProduct prices and availability are accurate as of the date/time indicated and are subject to change. Any price and availability information displayed on [relevant Amazon Site(s), as applicable] at the time of purchase will apply to the purchase of this product.)In “Anycubic M7 Pro – Unboxing and 3D Printing Tips,” the video by J3D Tech offers a meticulous exploration of the Anycubic M7 Pro resin printer’s unboxing process and usage advice. The viewer is introduced to various components of the printer, such as the build plate, VAT, and pump, while gaining insights into their individual functionalities and the overall build quality of the device. Additionally, the video delves into the assembly and initial power-up stages, ensuring a comprehensive understanding of setting up the printer.
Throughout the video, key recommendations are provided to enhance the 3D printing experience. These include practical tips on handling resin safely, preferred tools and accessories, and maintenance suggestions to ensure prolonged printer performance. Observations about the printer’s design aspects and considerations regarding its unintentional features further aid in informed usage, making this video an essential resource for both novice and experienced 3D printing enthusiasts.
Unboxing the Anycubic M7 Pro
Opening the Main Box
When you first receive your Anycubic M7 Pro, the initial step is opening the main box. Carefully cut the cardboard along the seams and avoid damaging the contents inside. The box’s exterior packing is sturdy, designed to protect the components during transit. Upon opening, you are greeted with a neatly organized array of items, each snugly fit to prevent any movement.
Inspecting the Printer
Once the main box is open, you will find the printer itself, securely placed within protective foam. Gently remove the foam inserts, ensuring all portions of the printer remain untouched. Inspect the printer for any signs of damage that might have occurred during shipping. Pay close attention to the build plate, the LCD screen, and other vital parts. Every piece should be pristine, considering the intricate nature of the components involved in 3D printing.
Overview of Packaging and Protection
The Anycubic M7 Pro comes thoroughly protected with multiple layers of foam and packing materials. The thoughtful packaging is crucial in safeguarding against impacts and vibrations that could misalign or damage the delicate electronic and mechanical parts. Additional smaller boxes within contain various accessories, and each item is individually wrapped to provide an extra layer of security.
Components Included
Detailed Look at the Build Plate
The build plate of the M7 Pro stands out due to its unique laser etching and lightweight design. Unlike heavier plates in previous models, this one is designed for ease of leveling and stability. The laser etching aids in better adhesion of prints, a critical factor for high-precision projects. Coupled with the four-screw system, the leveling process is not only simpler but also guarantees longevity and reliability.
Box of Goodies Content
The accompanying box of goodies includes essential tools and accessories. You’ll find leveling paper, a spare screen protector, gloves, and an air purifier. The included gloves, while convenient, are thin and prone to tearing. It’s advisable to procure thicker gloves (4-5 mil) for more reliable protection against resin. The air purifier, however, may not be very effective, and using venting systems and carbon-activated masks are recommended for safety.
Examining the Pump
A dedicated pump for automated resin handling is a new feature in the M7 Pro. This pump facilitates easier resin management but can complicate processes if you frequently switch resins. It can fill and drain the VAT, adding convenience while maintaining a clean workspace. Close examination of the pump reveals its integration with the printer’s software, enabling precise control over resin flow.
Understanding the VAT
The VAT is one of the most critical components. The M7 Pro’s VAT includes a built-in heater, which ensures optimal resin temperature for consistent printing quality. The transparent sheet and the mechanism for switching to opaque ACF film are crucial for preventing UV light from scattering, thereby affecting print accuracy. Proper understanding and maintenance of the VAT are vital for long-term use.
Additional Items and Accessories
Besides the essentials, there are also paint filters, a metal scraper, and a soft silicone squeegee provided. While the metal scraper is helpful for removing prints, it can scratch the build plate if not used carefully. The soft silicone squeegee is preferred for handling the FEP film. Power cables, storage accessories, and a manual are also included to help you get started with the setup and maintenance of your printer.

Find 3D Printing Accessories Here
Build Quality Assessment
Material Quality
The Anycubic M7 Pro is constructed from high-quality materials, combining metal and robust plastics to ensure durability and longevity. The metallic parts are precisely machined, offering a premium feel, while the plastic components are molded to exact specifications, ensuring a snug fit and operational integrity.
Weight and Size Considerations
Weighing approximately 28 lbs, the M7 Pro is relatively hefty, reflecting its sturdy build and the inclusion of high-end components. The printer’s size is substantial, which necessitates adequate space for setup and operation. Ensure you have a dedicated workspace that can accommodate its dimensions comfortably.
Cover Properties and Pros/Cons
The printer’s cover is made from black plastic, offering certain advantages and disadvantages. The black color helps in minimizing visible dirt and fingerprints, maintaining a cleaner look over time. However, it also restricts visibility into the printer, making it harder to monitor print progress without lifting the cover. Make your choice based on your priorities for cleanliness against ease of monitoring.
Assembly Guide
Initial Setup Steps
Begin by removing all protective materials from the printer components. Place the printer on a stable, level surface. Follow the manual’s instructions to attach the build plate and the VAT securely. Ensure all parts align correctly and that no screws or fittings are left loose.
Securing the Components
Carefully secure the build plate using the provided four-screw system. This system ensures the build plate is level, which is critical for successful prints. Attach the VAT, ensuring it sits firmly without gaps. Tighten all screws progressively to avoid undue stress on any single point.
Assembly Tips and Tricks
While assembling, patience and precision are crucial. Avoid using excessive force when tightening screws to prevent stripping or damaging threads. Use the provided tools or any high-quality alternatives you might have. Following the sequence outlined in the user manual can significantly reduce setup errors and improve your experience.

Initial Power-up
Connecting the Power Supply
The power supply connection is straightforward. Plug the power cable into the designated port on the printer, and then connect it to a suitable power outlet. Ensure the voltage setting matches your local supply to avoid damage.
Powering On the Printer
With the power connected, press the power button to turn on the printer. The initial boot sequence will commence, and the front LCD screen will light up, displaying the startup screen. This process takes a few moments, during which the printer runs internal diagnostics.
Initial Boot and Calibration
Once powered on, the printer will prompt you to perform initial calibration. This step is vital for accurate printing. Follow the guided on-screen instructions to calibrate the build plate and ensure all mechanical parts are aligned correctly. Confirm that the VAT heater is functioning and that the resin level sensor is operational.
Navigating the Front LCD
LCD Screen Overview
The front LCD screen of the Anycubic M7 Pro is a touch-enabled interface that provides access to all printer functions. It displays current print status, settings, and various control options. The layout is intuitive, with clear icons and prompts.
Functions and Navigation
Navigating the LCD involves familiar touch gestures such as tapping and scrolling. Key functions like loading and unloading resin, starting a print, and adjusting settings are readily accessible from the main menu. Explore each menu to familiarize yourself with the options available.
Important Settings to Adjust
Several settings need attention before your first print. Adjust the Z-offset to ensure the correct distance between the build plate and the VAT. Set the print resolution and layer height according to your project’s needs. Ensuring these parameters are correctly configured can drastically affect your print quality.
Optimizing Build Plate Usage
Laser Etching and Levelling Mechanism
The build plate’s laser etching aids in adhesion but must be regularly cleaned to maintain effectiveness. The four-screw leveling mechanism is straightforward; always ensure the build plate is level before starting a new print. Regular checks and adjustments can prolong the lifespan of the build plate and enhance print reliability.
Using the Four-Screw System
The four-screw system allows for fine adjustments to the build plate’s level. To use, loosen all four screws, lower the build plate onto the VAT’s surface, and gently tighten the screws sequentially. This method ensures an even level and compensates for any minor deviations in the build surface.
Tips for Maintaining the Build Plate
Regular maintenance of the build plate includes cleaning with isopropyl alcohol to remove any resin residues. Avoid using abrasive materials that could damage the laser etching. A well-maintained build plate performs reliably and leads to fewer print failures.
Efficient Resin Handling
Types of Gloves to Use
Using the right type of gloves is essential for safe resin handling. Thicker gloves (4-5 mil) provide better protection against tears and punctures, reducing the risk of skin exposure to resin. Always check gloves for integrity before and after handling resin.
Recommended Masks and Filters
For respiratory protection, carbon-activated masks and filters are recommended. These masks effectively filter out harmful resin fumes and particulates, offering a safer working environment. Avoid relying on ineffective air purifiers; they do not provide adequate protection.
Handling and Changing Resin Safely
Safe resin handling involves minimizing exposure and avoiding contamination. Use paint filters when pouring resin back into the bottle and during replacement. Clean the VAT thoroughly when switching between different types or colors of resin to prevent cross-contamination.
Automated Resin Handling Insights
The automated resin handling feature simplifies resin management by automatically filling and draining the VAT. While convenient, it requires careful cleaning to avoid complications, especially when changing resins frequently. Regular maintenance of the pump and tubing ensures smooth operation.
Maintaining and Lubricating the VAT
Advantages of Built-in Heater
The VAT’s built-in heater maintains resin at optimal temperatures, which is especially beneficial in cooler environments. Consistent temperature enhances print quality and reduces the chances of failed prints.
Switching Transparent Sheets
Switching the VAT’s transparent sheet involves carefully peeling off the old sheet and applying a new one without introducing bubbles or wrinkles. This maintenance task ensures the clarity and integrity of the VAT’s base, which is crucial for precise printing.
Lubricating VAT Screws
Lubricating the VAT screws prevents them from seizing and ensures smooth operation. Use a light machine oil or appropriate lubricant, and apply sparingly to avoid excessive buildup. Regular lubrication helps maintain the VAT’s mechanical integrity.
Sealing Parts to Prevent Resin Damage
Seal any exposed mechanical parts that may come into contact with resin to protect them from damage. Using silicone or other suitable sealants can extend the parts’ lifespan and prevent issues related to resin spills or leaks.
Conclusion
Summary of Key Points
The Anycubic M7 Pro is a robust and feature-rich 3D printer designed for high-precision resin printing. Key components such as the build plate, VAT, and automated resin handling system are designed for ease of use and reliability. Proper assembly, calibration, and maintenance are crucial for optimal performance.
Final Recommendations
Invest in quality protective gear like thicker gloves and carbon-activated masks. Regularly maintain and calibrate your printer to ensure consistent print quality. Familiarize yourself with the LCD interface and settings to make the most of your M7 Pro’s capabilities.
Encouragement to Join Community Support
Engage with the 3D printing community for support and tips. Joining forums and support groups, such as the Lychee Slicer Discord, can provide valuable insights and help troubleshoot issues. Sharing experiences with fellow users can enhance your 3D printing journey.
Maintain Your 3D Printer with these Tools

eSUN PLA Basic Filament 1.75mm, 3D Printer Filament High Speed PLA for Fast Printing, 1KG Spool (2.2 LBS) 3D Printing Filament for High Speed 3D Printers, White
$11.99 (as of June 18, 2025 23:32 GMT +00:00 - More infoProduct prices and availability are accurate as of the date/time indicated and are subject to change. Any price and availability information displayed on [relevant Amazon Site(s), as applicable] at the time of purchase will apply to the purchase of this product.)
Creality 3D Printer Glue Sticks for Hot Bed Warping Reducing 3D Printer Bed Adhesive PVP Solid 3D Print Glue Stick 3D Gloop for PLA/ABS/PETG/PC/PA/TPU(Pack of 4)
$13.59 (as of June 18, 2025 23:32 GMT +00:00 - More infoProduct prices and availability are accurate as of the date/time indicated and are subject to change. Any price and availability information displayed on [relevant Amazon Site(s), as applicable] at the time of purchase will apply to the purchase of this product.)
Kingdder 200 Pcs 3D Magnetic Tracking Dot for Scanner Scanning Reference Point Marker Diffuse Reflection Positioning Targets for 3D Scanning (Inner 3.0 mm Outer 6 mm)
$25.99 (as of June 18, 2025 23:32 GMT +00:00 - More infoProduct prices and availability are accurate as of the date/time indicated and are subject to change. Any price and availability information displayed on [relevant Amazon Site(s), as applicable] at the time of purchase will apply to the purchase of this product.)
Creality Ender 3 V3 SE 3D Printer, 250mm/s Faster FDM 3D Printers with CR Touch Auto Leveling, Sprite Direct Extruder Auto-Load Filament Dual Z-axis & Y-axis, Printing Size 8.66 * 8.66 * 9.84 inch
$229.00 (as of June 18, 2025 23:32 GMT +00:00 - More infoProduct prices and availability are accurate as of the date/time indicated and are subject to change. Any price and availability information displayed on [relevant Amazon Site(s), as applicable] at the time of purchase will apply to the purchase of this product.)