Creality K1 Max 3D Printer Smart AI Monitoring 600mm/s High-Speed Printing XY Design Auto Leveling Large Build Volume 11.81x11.81x11.81in Dual-Gear Extruder for Precise and Efficient Printing
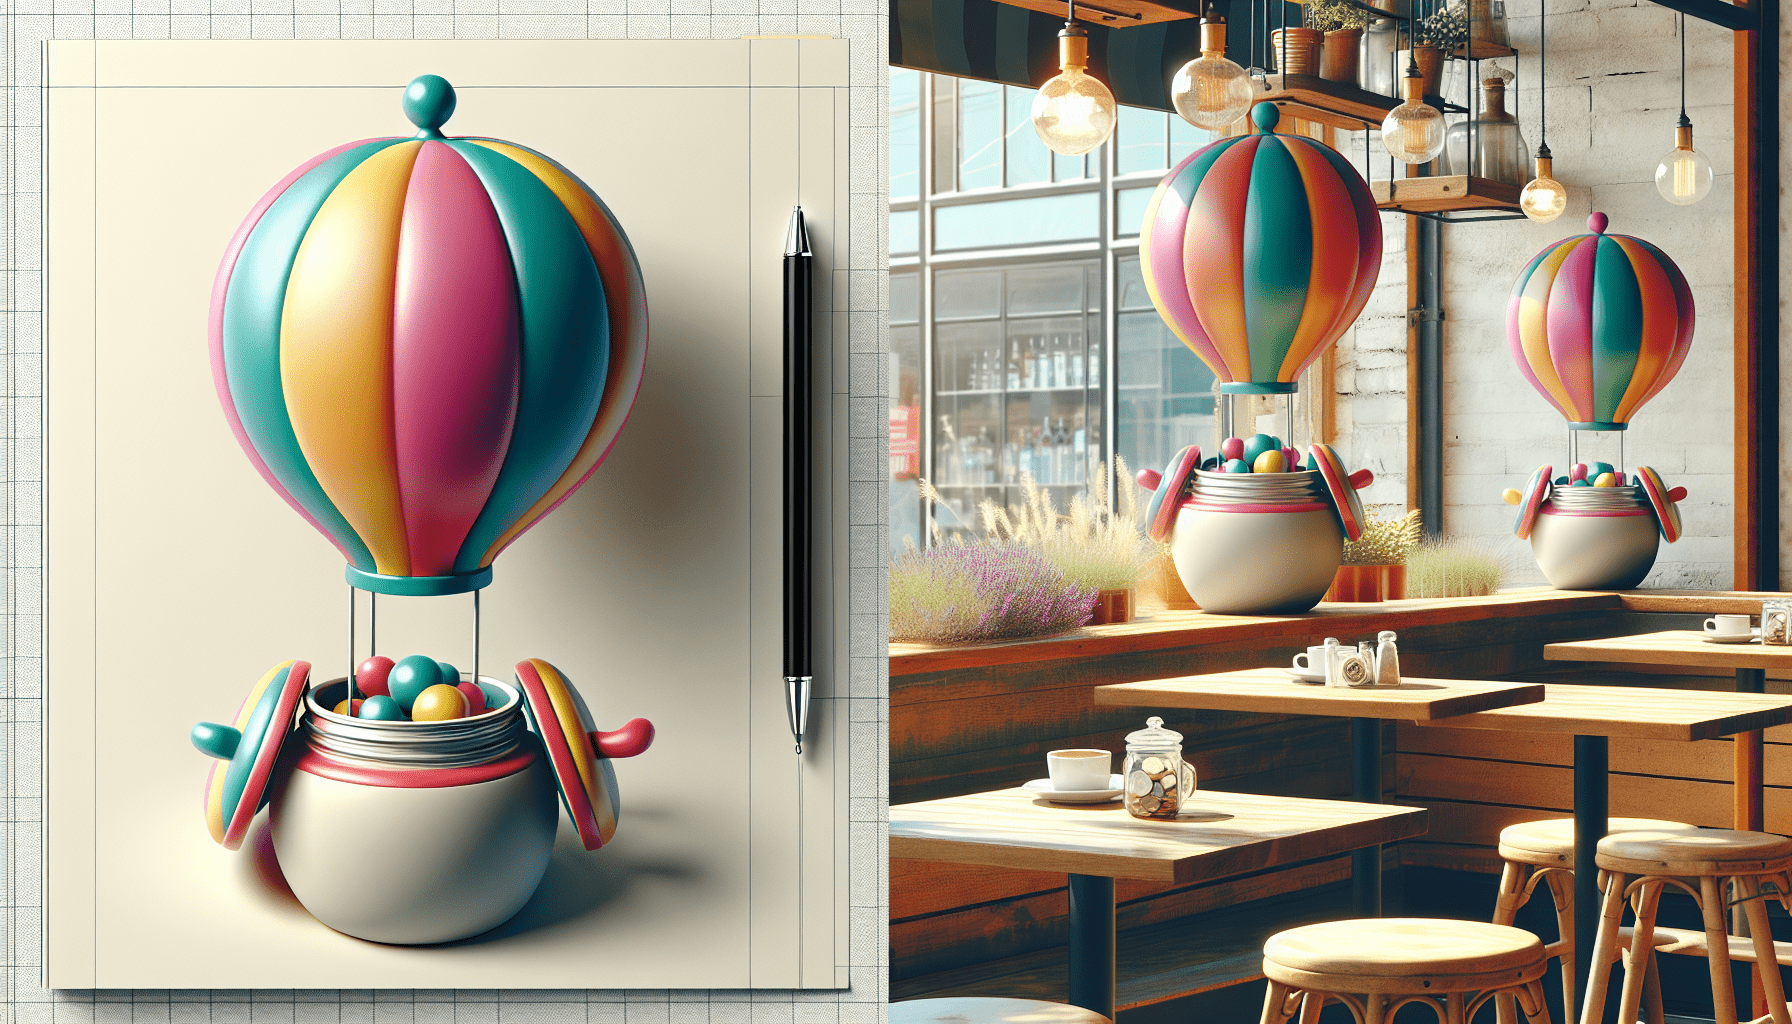
$899.00 (as of June 18, 2025 23:32 GMT +00:00 - More infoProduct prices and availability are accurate as of the date/time indicated and are subject to change. Any price and availability information displayed on [relevant Amazon Site(s), as applicable] at the time of purchase will apply to the purchase of this product.)The innovation of the Balloon Tip Jar or Trash Can represents a significant advancement in functional design for balloon artists and street performers. By utilizing a versatile tip lid that easily mounts onto the front of a standard balloon bag, this accessory provides dual functionality—allowing you to collect tips seamlessly while also serving as a practical container for balloon scraps. The durable ABS plastic construction ensures longevity, making it an indispensable addition to your performance kit.
Through the lens of Joe’s 3Designs, this video guides you through the practicalities and nuances of this innovative tool. You will learn how to integrate the tip lid with various setups, including Zuca carts and Aloha bags, as well as explore customization options like vinyl stickers to make the tip jar uniquely yours. The inclusion of instructional elements further underscores how this simple yet effective tool can enhance your performance environment while maintaining a professional appearance.
Understanding the Balloon Tip Jar/Trash Can Concept
The Inspiration Behind the Dual-Function Lid
The concept of the dual-function lid for a balloon tip jar and trash can was born out of necessity and innovation. Balloon artists, who often perform in public spaces or events, have unique needs for maintaining cleanliness and managing tips. Traditionally, they relied on separate containers for trash and tips, leading to inefficiencies and increased setup complexity. Recognizing this issue, the idea for a lid that could serve both purposes became a practical solution. This dual-function lid not only streamlines the process but also adds versatility to the balloon artist’s toolkit, combining functionality and convenience.
Joe’s 3Designs: The Creator and the Video Guide
The dual-function lid is the brainchild of Joe, who runs Joe’s 3Designs. An experienced balloon artist and 3D designer, Joe has dedicated his expertise to creating practical solutions for his community. In a detailed video guide, Joe explains the design and functionality of the tip lid, showcasing how it can be used effectively with a balloon trash can to transform it into a tip jar. This video serves as a comprehensive resource for balloon artists, providing a step-by-step breakdown of setting up and utilizing the innovative lid.
Key Features of the Tip Lid: Material, Durability, and Design
The tip lid is designed with several key features that highlight its material quality, durability, and practical design. Made from robust materials, such as ABS plastic, the lid ensures longevity and resistance to wear and tear. The design incorporates user-friendly elements that facilitate easy transformation between a trash can and a tip jar. Moreover, the lid’s compatibility with standard balloon bags and kits makes it a versatile option for artists on the go. Its sleek design not only supports functionality but also allows for aesthetic customizations, making it both practical and visually appealing.
Components and Materials Required
ABS Plastic Pipe: Characteristics and Benefits
ABS (Acrylonitrile Butadiene Styrene) plastic pipe is a fundamental component of the balloon trash can/tip jar. Renowned for its sturdiness and resilience, ABS plastic withstands substantial wear and tear, making it ideal for the demanding environments balloon artists often encounter. It is lightweight yet durable, ensuring that the setup remains manageable and long-lasting. Additionally, ABS plastic is cost-effective, providing a budget-friendly solution without sacrificing quality.
The Tip Lid: Design and Functionality
The tip lid is intricately designed to serve a dual purpose effectively. Its construction allows it to be securely attached to the ABS plastic pipe, providing a firm seal that can be used for both trash and tips. The lid features specific slots to deposit trash or tips, and its structure ensures that it remains functional and accessible in various settings. The adaptability of the lid design underscores its versatility, enhancing the utility of the entire ensemble.
Mounting Loops and Slots: Compatibility with the Aloha Bag
An essential feature of the setup is the inclusion of mounting loops and slots, specifically designed to align with the Aloha bag. These loops ensure that the trash can/tip jar can be securely fastened to the bag, preventing unwanted spills and maintaining stability. This compatibility extends the functionality of the Aloha bag, integrating seamlessly to support the everyday needs of balloon artists.
Find 3D Printing Accessories Here
The Benefits of Using the Tip Lid
Sturdiness and Longevity of the ABS Plastic
One of the most significant advantages of using the tip lid with ABS plastic is its robustness. ABS plastic is known for its high impact resistance and ability to withstand extreme conditions. This translates to a durable product that will hold up under the rigors of frequent use, ensuring that users get long-term value from their investment.
Convenience of Dual Functionality: Trash Can and Tip Jar
The dual functionality of the tip lid transforms it into a practical asset for balloon artists. Instead of carrying separate containers for trash and tips, artists can now rely on a single, integrated solution. This dual-purpose lid simplifies the process, making it easier to manage both waste and gratuities, resulting in a more streamlined and efficient setup.
Easy Integration with Existing Kits and Bags
Designed with compatibility in mind, the tip lid integrates effortlessly with existing balloon kits and bags. This ease of integration means that balloon artists do not need to overhaul their current equipment; instead, they can enhance their setup with the addition of the tip lid, promoting a hassle-free transition to this innovative solution.
Setting Up the Balloon Trash Can
Preparing the ABS Plastic Pipe
The first step in setting up the balloon trash can involves preparing the ABS plastic pipe. Measure and cut the pipe to the desired length, ensuring a proper fit for your needs. Use sandpaper to smooth the edges, which will help when attaching the lids and mounting the can to your bag.
Attaching the Top and Bottom Lids
Once the ABS plastic pipe is prepared, the next step is to attach the top and bottom lids. Ensure that the lids fit snugly over the ends of the pipe, creating a secure seal. It is essential to check that the lids are properly aligned and tightly fastened to prevent any leakage or instability during use.
Mounting the Trash Can to the Aloha Bag
After the lids are in place, you can mount the trash can to your Aloha bag. Utilize the mounting loops and slots to attach the can securely. The trash can should hang in a position that is easily accessible yet stable, ensuring it does not interfere with your other equipment or movement.
Converting the Trash Can into a Tip Jar
Attaching the Tip Lid to the ABS Pipe
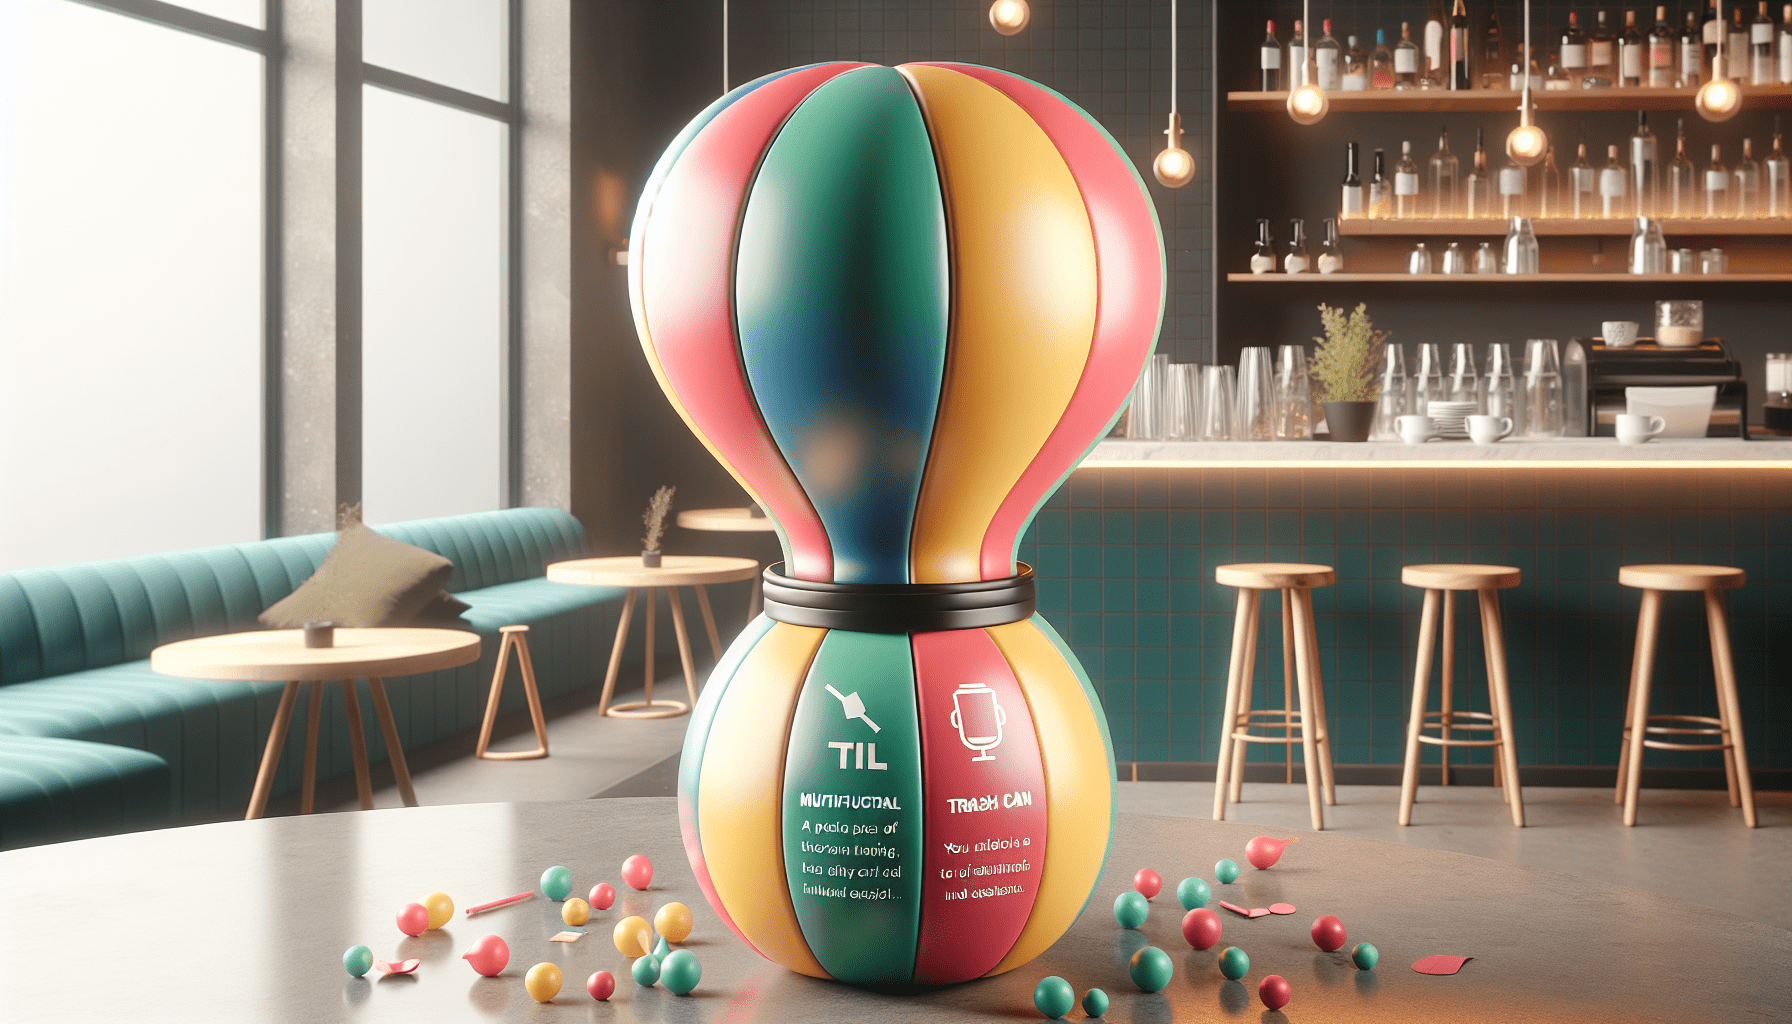
To convert the trash can into a tip jar, you need to replace the regular lid with the tip lid. The tip lid is specially designed to slot over the top of the ABS pipe, providing a secure and accessible entry point for tips. Ensure that the lid is tightly fitted to avoid any detachment during use.
Securing the Tip Jar to Your Balloon Kit
Once the tip lid is attached, secure the entire setup to your balloon kit. This usually involves fastening it to the Aloha bag or other supportive structures within your kit. The goal is to make the tip jar readily accessible to passersby while ensuring it remains stable and secure during your performance.
Ensuring Stability and Easy Access for Tips
To ensure stability, double-check all mounting points and secure any loose components. The tip jar should be prominently displayed, easily accessible, and at a convenient height for those wishing to leave tips. This setup will encourage more tips and make it convenient for your audience to show their appreciation.
Customization Options for the Tip Lid
Color Options and Limitations for ABS Plastic
While ABS plastic is sturdy and durable, it comes with certain color limitations. Typically, ABS plastic is available in standard colors, with black being the most common due to its scratch-resistant properties. However, even within these limitations, you can explore different color options for the lids and other accessories to add a touch of personalization.
Stickers and Decals: Adding a Personal Touch
Custom stickers and decals provide an excellent way to personalize your tip lid. These can range from simple text decals to elaborate designs that reflect your style or brand. Using high-quality vinyl stickers ensures longevity and adherence to the plastic surface without peeling or fading.
Using Vinyl for Enhanced Aesthetics
Vinyl offers a robust customizability option, allowing you to create intricate designs and patterns. You can use vinyl sheets to cover sections of the lid, adding color and enhancing its overall aesthetic appeal. Vinyl is also durable and resistant to elements, making it an ideal material for outdoor use.
Attaching and Using the Stickers
Preparing the Surface for Sticker Application
Before applying stickers, it is crucial to prepare the surface meticulously. Clean the area thoroughly to remove any dust, grease, or other contaminants. This cleaning ensures that the stickers adhere properly and remain intact over time. Use a mild detergent solution and a soft cloth to gently scrub the surface.
Applying the Vinyl Stickers: Step-by-Step
To apply vinyl stickers, first peel the backing away from the sticker to reveal the adhesive side. Position the sticker on the desired surface, and lightly press it down. Use a credit card or a similar object to smooth out any air bubbles, starting from the center and working your way outward. This process ensures a firm and even application.
Personalizing with Text and Designs
Personalize your tip jar further by adding text and unique designs. Use stencils or a stencil cutter like a Cricut to create custom text that encourages tipping or showcases your brand name. By doing so, you add a distinctive touch that sets your setup apart and catches the eye of potential tippers.
Using QR Codes on the Tip Jar
Designing the QR Code
Designing a QR code for your tip jar enables digital tipping. Use an online QR code generator to create a code linked to your preferred online payment platform. Ensure the design is clear, easily scannable, and not too cluttered.
Printing and Cutting: Preparing the QR Code
Once you have designed the QR code, print it on high-quality paper or adhesive vinyl. Cutting the code to a manageable size ensures it fits neatly on your tip jar without obstructing other elements. Be precise to maintain the code’s integrity for easy scanning.
Securing the QR Code with Clear Shelf Paper or Vinyl
To protect the QR code and ensure its longevity, cover it with clear shelf paper or vinyl. This extra layer prevents wear and tear from handling and environmental factors. Apply it carefully to avoid trapping air bubbles, ensuring a smooth and clear finish.
Maintaining the Tip Jar/Trash Can
Cleaning and Upkeep of ABS Plastic
Regular cleaning is essential for maintaining the appearance and functionality of your ABS plastic tip jar/trash can. Use a mild cleaning solution and a soft cloth to wipe down the surface, removing any dirt or smudges. Avoid harsh chemicals that could degrade the plastic material.
Ensuring the Stickers and Decals Remain Intact
To keep stickers and decals looking pristine, gently wipe them with a damp cloth occasionally. Avoid using abrasive materials that could peel or scratch the stickers. If you notice any peeling edges, press them down or consider replacing the sticker to maintain a polished appearance.
Regular Checks for Stability and Secure Attachment
Periodically check your tip jar/trash can for stability and secure attachment. Ensure all mounting loops and slots are intact and that the lids are firmly fastened. Regular maintenance checks prevent any mishaps during use and ensure your equipment remains securely attached and functional.
Conclusion
Summarizing the Dual Functionality and Benefits
In summary, the balloon tip jar/trash can concept epitomizes innovation and practicality. The dual-function tip lid, crafted from durable ABS plastic, provides robustness and longevity. This innovative solution streamlines the workflow for balloon artists, combining a trash can and tip jar into one versatile product.
Encouraging DIY Customizations
Personalization is a key benefit of the tip lid. From color options and vinyl stickers to QR codes, there are numerous ways to customize the tip jar/trash can to reflect your style or brand. Encouraging DIY customizations not only enhances aesthetic appeal but also makes your setup unique and engaging.
Final Thoughts and Future Possibilities
The balloon tip jar/trash can is a testament to practical design and functionality. As artists experiment and innovate, future possibilities abound for further enhancements and accessories. Embrace the dual-function lid as a starting point for creative and efficient solutions, tailored to meet the evolving needs of balloon artists worldwide.
Maintain Your 3D Printer with these Tools


