FLASHFORGE AD5M 3D Printer Fully Auto Calibration Print with 1-Click Max 600mm/s Speed, All-Metal CoreXY Structure Precise Printing, Easy-Maintenance Quick-Swap Nozzle, Print Size 220x220x220mm
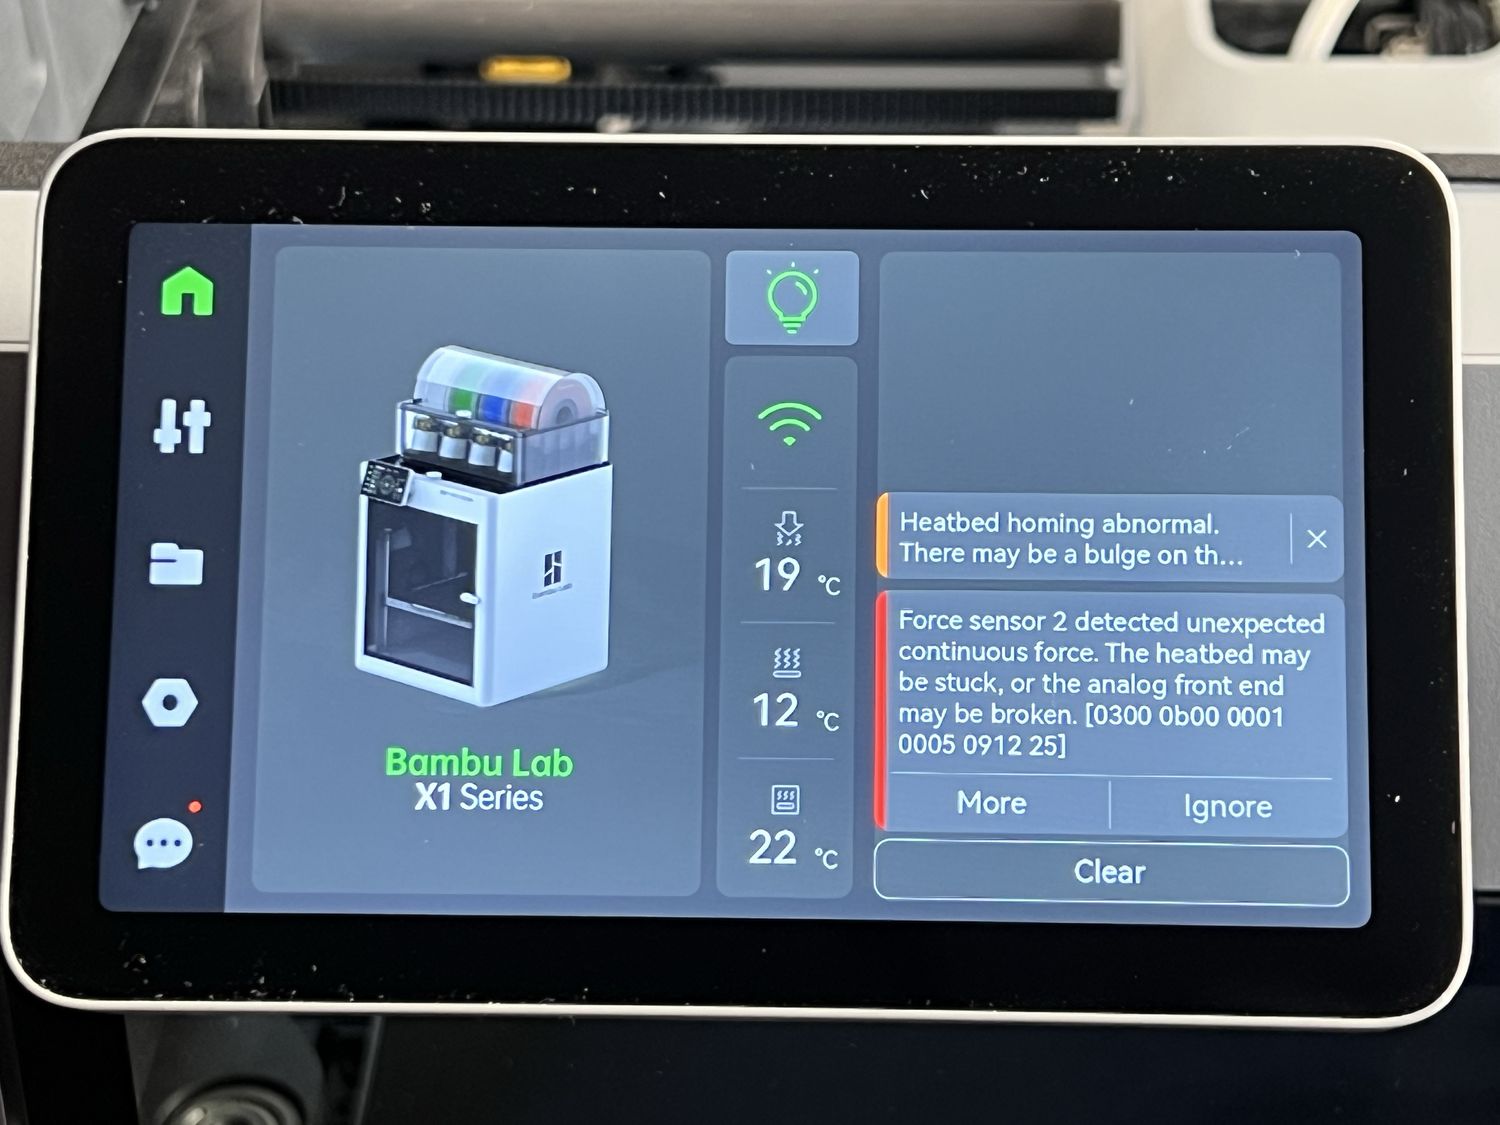
$259.00 (as of June 18, 2025 23:32 GMT +00:00 - More infoProduct prices and availability are accurate as of the date/time indicated and are subject to change. Any price and availability information displayed on [relevant Amazon Site(s), as applicable] at the time of purchase will apply to the purchase of this product.)Have you ever experienced the frustration of unexplained errors and homing abnormalities in your Bambu Lab X1 3D printer? The culprit might be something as simple as your heatbed signal cable. In this guide, I’ll walk you through a simplified method for replacing that cable. Forget the convoluted official guide; this approach is straightforward and less time-consuming. However, note that this is an unofficial method and might void your printer’s warranty.
Anycubic 3D Materials Sale: Resin & PLA from $9.49/kg
Background: The Issue with the Bambu Lab X1 Heatbed Signal Cable
The Bambu Lab X1 is a marvel in the 3D printing world, but even the best machines have their quirks. One of the most frequent issues users encounter with this model is damage to the heatbed signal cable. This cable, which transmits crucial signals for the operation of the heatbed, can wear out due to repeated strain from Z-axis movements. When the cable gets damaged, you may face problems such as force sensor errors and homing abnormalities.
Why a Simplified Method?
The official Bambu Lab guide for replacing the heatbed signal cable is undoubtedly thorough, but it can be overwhelming. There are numerous steps that may seem redundant or overly complicated. I’ve been there and felt the same frustration. That’s why I’ve designed this simplified method to make the replacement process quicker and easier. Remember, though, that this unofficial guide could void your warranty, so proceed at your own risk.
Anycubic 3D Materials Sale: Resin & PLA from $9.49/kg
Tools and Materials You’ll Need
Before diving into the steps, ensure you have all the tools and materials you’ll need for this process. The right tools can make the difference between a smooth procedure and a frustrating ordeal.
| Tool/Material | Purpose |
|---|---|
| Screwdrivers (Philips and Flathead) | For removing screws from the back panel and purge chute |
| Tweezers | For handling small components |
| Small Knife or Snippers | To modify the plastic bracket |
| Replacement 6-pin Heatbed Signal Cable | The new cable to replace the damaged one |
| Cable Ties or Tape | For managing the cables during reassembly |
Step-by-Step Guide to Replacing the Heatbed Signal Cable
Now let’s walk through the simplified method to replace the heatbed signal cable. Each step has been streamlined to make this process as painless as possible.
Step 1: Remove the Back Panel
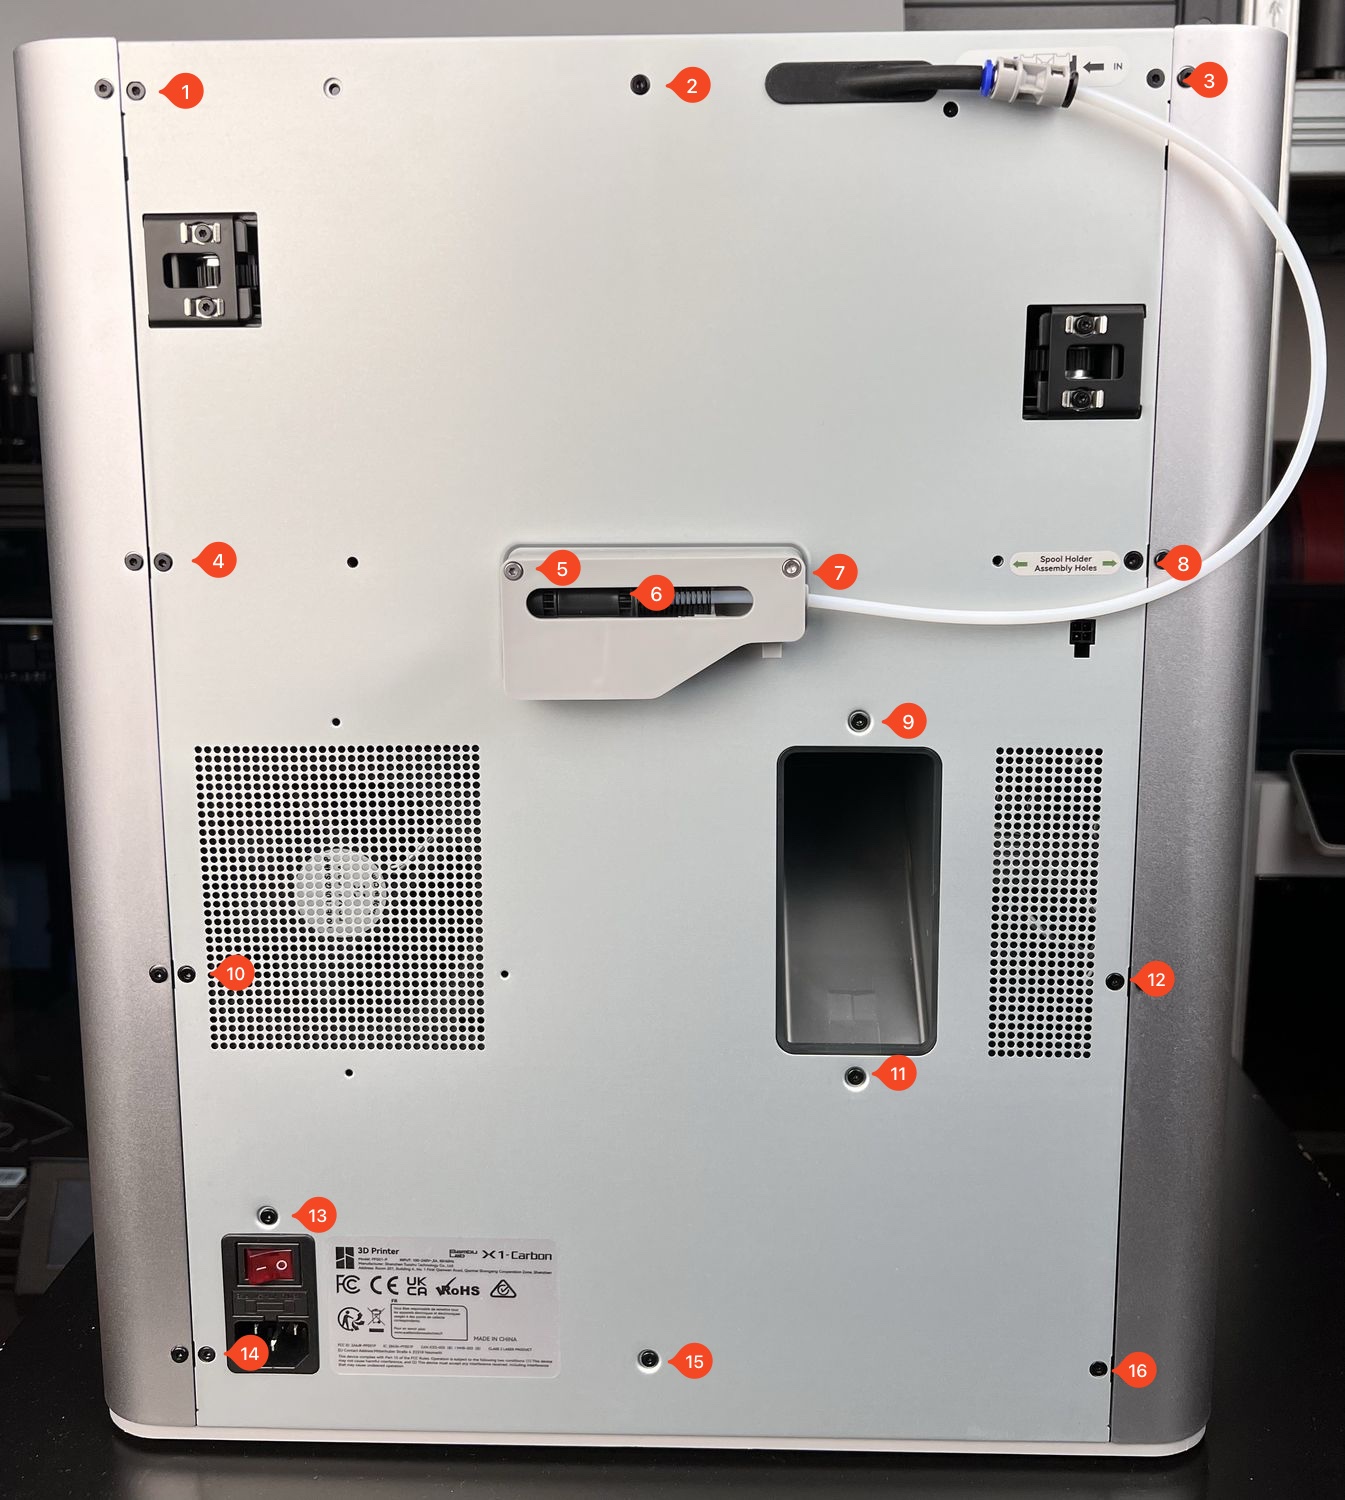
First, you’ll need to remove the back panel of your Bambu Lab X1. Use a Philips screwdriver to unscrew all the screws securing the panel. Place the screws in a small container or magnetic dish, so you don’t lose them.
Step 2: Remove the Purge Chute
Next, you’ll need to unscrew the purge chute, which is used for filament waste. Use your screwdriver again to carefully remove the screws and set them aside. Disconnect the purge chute to expose the underlying components.
Step 3: Remove the Heat Bed
Detach the heat bed by removing the screws and knobs holding it in place. Be gentle to avoid damaging any surrounding parts. Set the heat bed aside safely.
Step 4: Disconnect the Signal Cable
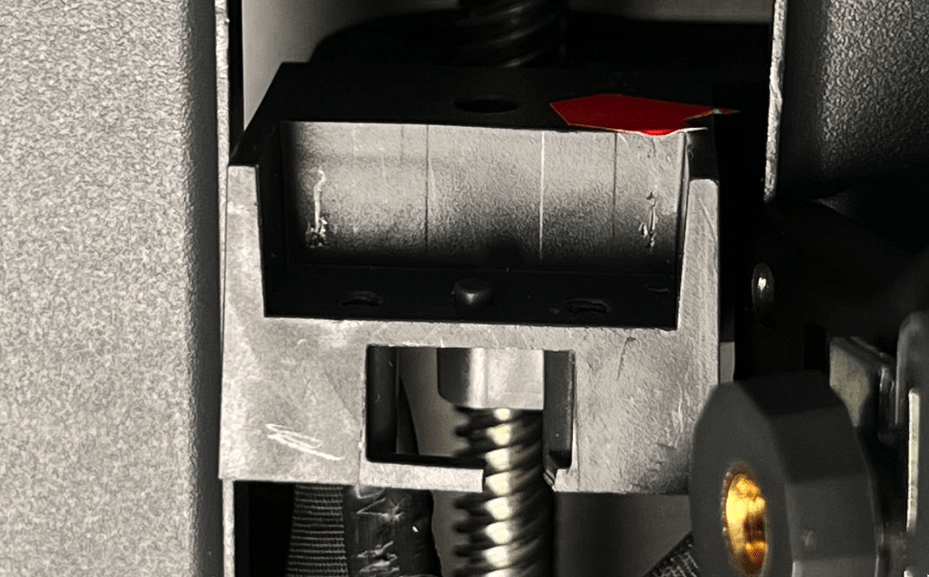
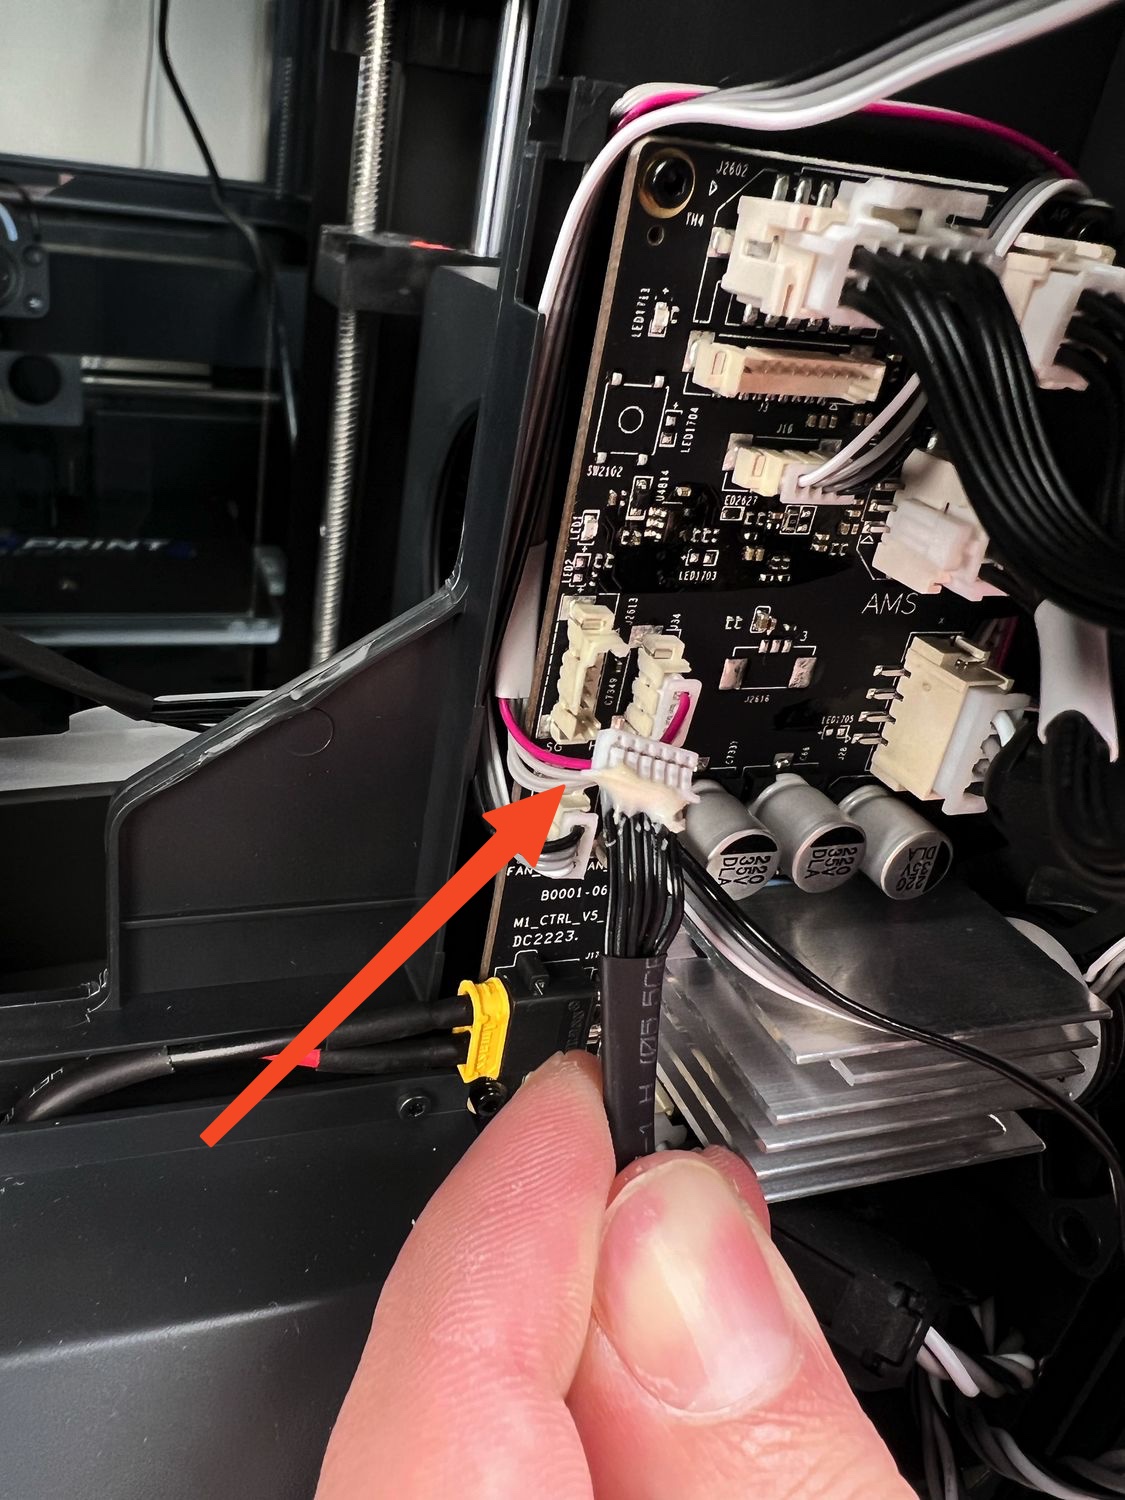
The next step involves carefully removing the glue that might be securing the 6-pin signal cable. Use tweezers to gently peel off the glue. Once the glue is removed, carefully disconnect the cable.
Step 5: Modify the Plastic Bracket
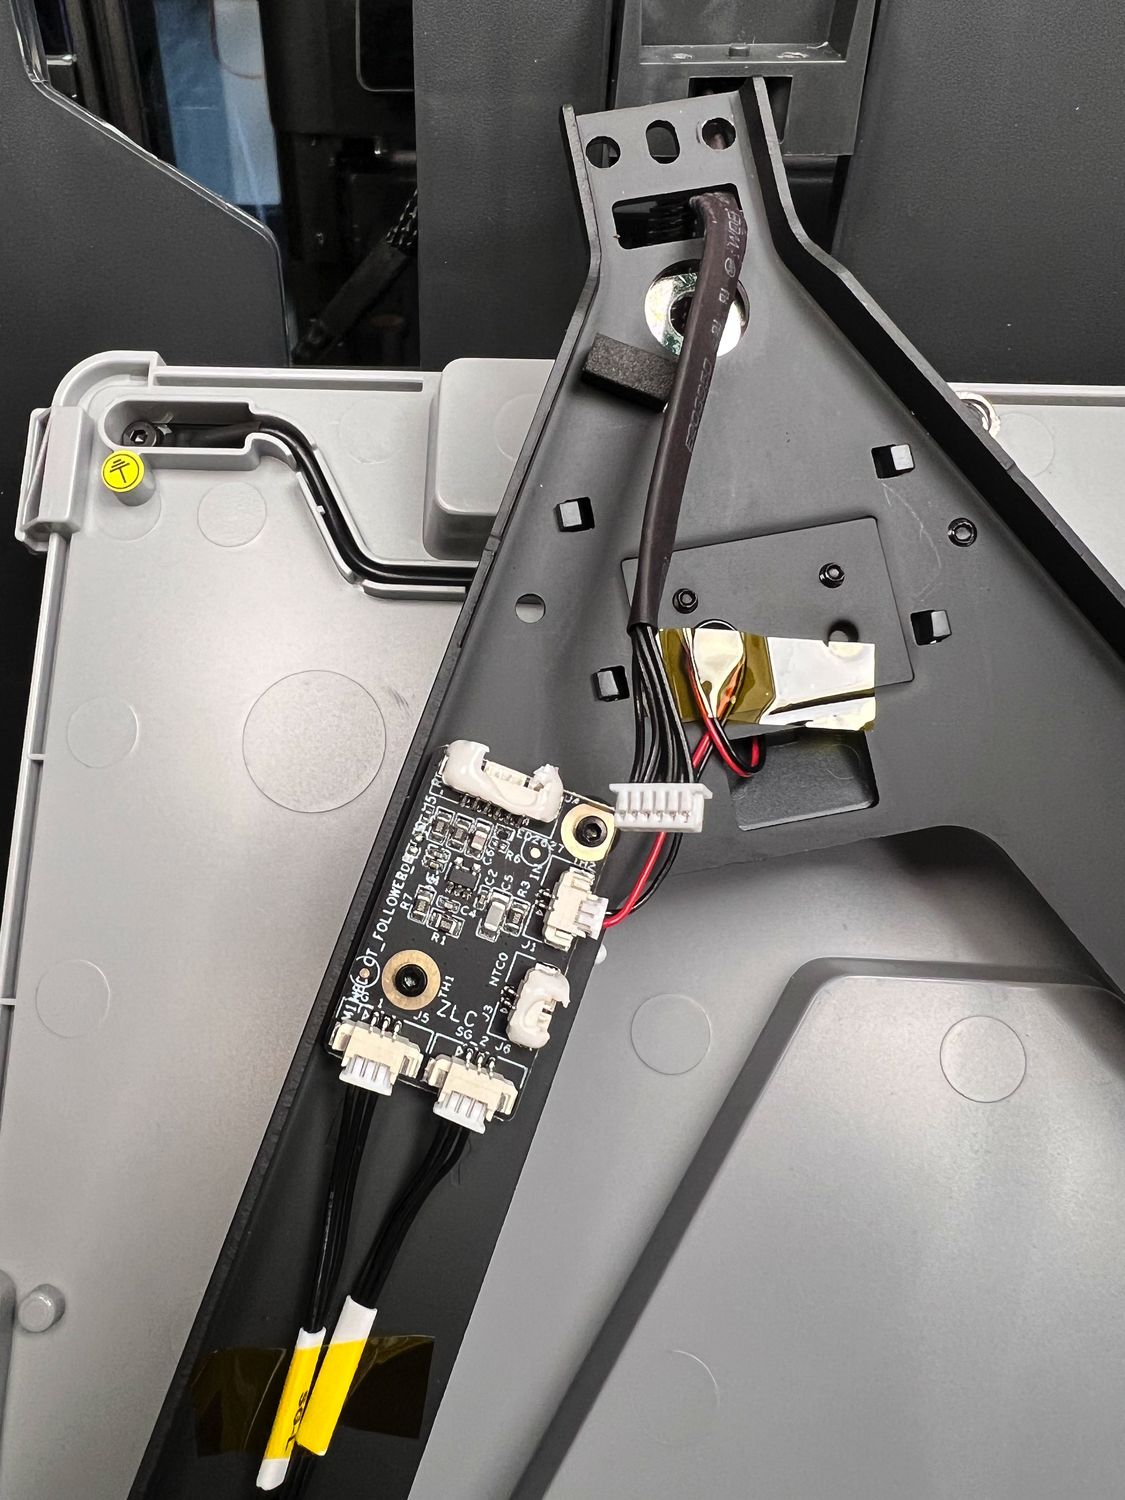
To ease the removal of the old cable and the installation of the new one, you’ll need to cut a small piece of the plastic bracket. Use a small knife or snippers for this task. Ensure the cut is neat and just enough to make room for the cable.
Step 6: Remove the Old Cable
With the plastic bracket modified, gently pull out the old 6-pin cable. Take your time with this step to ensure you don’t damage any internal components.
Step 7: Install the New Cable
Route the new 6-pin cable through the path of the old cable. Make sure it’s placed correctly and securely. Double-check the connections to ensure they are firm.
Step 8: Reassemble Components
With the new cable in place, you can start reassembling the components. Begin by reattaching the purge chute and then the back panel, ensuring proper cable management. Use cable ties or tape to secure the cables and prevent any future strain.
Step 9: Manual Bed Leveling
After replacing the cable, recalibrate the bed level for optimal printing. This step is crucial to avoid print errors and achieve the best results.
Tips for a Smooth Cable Replacement
Here are a few additional tips to make this process even smoother:
- Organize Screws and Small Parts: Use a magnetic dish or small containers to keep track of screws and small parts.
- Handle with Care: When dealing with internal components, always handle them with care to avoid damage.
- Take Your Time: Rushing through the steps can lead to mistakes. Take your time to ensure each step is completed properly.
Conclusion: The Lazy Way Simplified
Replacing the heatbed signal cable on your Bambu Lab X1 doesn’t have to be a daunting task. By following this simplified method, you can save time and effort while effectively resolving the issue. I invite you to share your experiences and feedback on this method. Your insights can help improve this guide and make it even more accessible for others in the 3D printing community.
Anycubic 3D Materials Sale: Resin & PLA from $9.49/kg


