ELEGOO Mercury Plus V3.0 Wash and Cure Station, 7.5 L Large Capacity, Compatible with Mars Saturn Photon Halot MSLA LCD DLP 3D Printers
$149.98 (as of June 19, 2025 23:45 GMT +00:00 - More infoProduct prices and availability are accurate as of the date/time indicated and are subject to change. Any price and availability information displayed on [relevant Amazon Site(s), as applicable] at the time of purchase will apply to the purchase of this product.)The article titled “Best Design Tips for 3D Printing Production” by Slant 3D provides valuable insights and guidelines for designing 3D printed products. The author begins by emphasizing the importance of rounding out the edges of the parts and filling everything, as this creates efficient tool paths and results in dimensionally accurate and reliable prints. By rounding out the motion of the tool head, vibrations are minimized, and the layers can merge more smoothly. The author also highlights the significance of making parts fat and round, as removing material from a 3D printed part increases the surface area and compromises its strength. They suggest designing parts with a closer approximation to a sphere, as this maximizes the efficiency of the surface area. Additionally, the article discusses the importance of designing overhangs with gradual movements to eliminate the need for support material. The author suggests incorporating fillets or chamfers to ensure a smooth transition and minimize post-processing. Lastly, the article advises against using light-colored materials, such as white and yellow, due to a higher risk of visible defects and stains during the printing process.
In summary, the article’s main focus is to provide designers with practical tips on improving 3D printed product design. By following the guidelines presented, designers can achieve better print quality, structural reliability, and overall aesthetic appeal. The article discusses key principles such as rounding out edges, designing fat and round parts, managing overhangs, and making informed color choices to ensure successful 3D prints.
Best Design Tips for 3D Printing Production
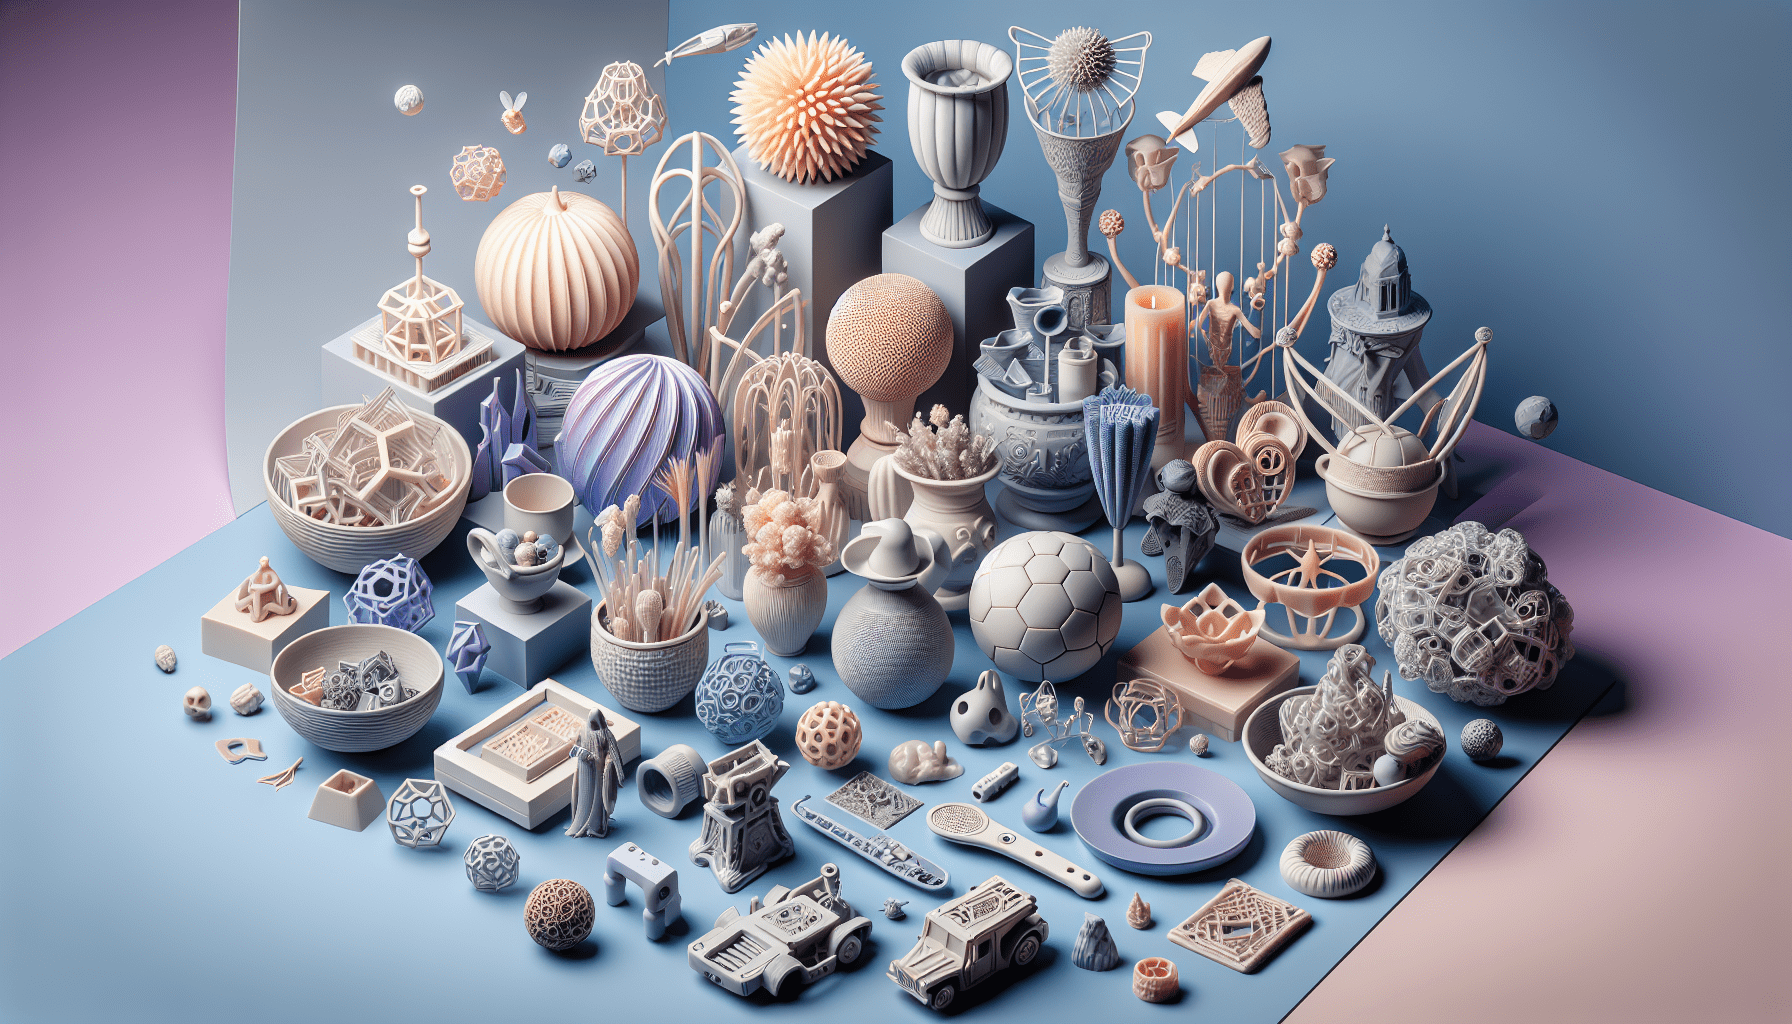
3D printing has become increasingly popular in various industries, offering unique and customizable solutions for product manufacturing. To ensure successful and high-quality 3D printed parts, it is crucial to follow specific design rules. In this article, we will discuss five essential design tips for 3D printing production, focusing on filleting, part thickness, overhangs, lip design, and color selection. By following these guidelines, you can improve the efficiency, dimensional accuracy, and structural reliability of your 3D printed parts.
Design Rule 1: Fillet Everything
Reasons for using fillets
One of the fundamental rules in 3D printing is to always fillet or round out the edges of any part as much as possible. Fillets offer several advantages in the printing process and the final quality of the part.
Firstly, fillets create very efficient tool paths for the print head. When a part is being printed, rounding out the motion instead of moving sharply at corners allows the tool head to move more smoothly. This results in a more dimensionally accurate and reliable part, as sharp corners can cause vibrations and affect the overall quality.
Moreover, filleting the edges of a part contributes to the merging of top surfaces. In cases where the part is not in a perfect 90-degree angle, rounding the corners creates stair steps that enable the sides to merge smoothly into the top. This not only enhances the structural reliability of the part but also improves its visual appeal.
Creating efficient tool paths
By incorporating fillets in the design, the tool paths for the print head become more efficient. Instead of moving at right angles or sharp corners, the tool head follows a rounded trajectory. This smoother movement reduces the chances of vibrations and ensures a more accurate and faster printing process.
Improving dimensional accuracy
When sharp corners are present in a 3D printed part, the print head hits the corner abruptly and changes direction abruptly as well. This sudden change can cause vibrations and inconsistencies in layer deposition, leading to a loss of dimensional accuracy. However, by filleting the edges, the tool head can smoothly transition from one direction to another without experiencing any sudden changes. This results in a more precise and accurate part.
Enhancing structural reliability
Sharp corners in 3D printed parts can weaken their structural integrity. By rounding out the edges with fillets, the stress concentration at corners is minimized, distributing the forces more evenly throughout the part. This leads to a more structurally reliable final product, especially when dealing with load-bearing applications.
Design Rule 2: Make Parts Fat and Round
Importance of thickness and roundness
In the context of 3D printing, it is crucial to avoid removing material from a part. This rule applies specifically to Fused Deposition Modeling (FDM) 3D printing. Instead, designers are advised to make parts as “fat and round” as possible.
The reason behind this design approach is the majority of material and print time is consumed by the surface area of a part. When attempting to remove material or add intricate design features such as cavities or ribs, the surface area of the part increases significantly. This can lead to longer printing times and potentially introduce weak points in the printed part.
By keeping parts thick and round, the surface area is minimized, reducing both the material usage and the overall print time. Additionally, a closer resemblance to a sphere in terms of shape optimizes the surface area-to-volume ratio, making the part more efficient.
Minimizing surface area
A part with complex design features or unnecessary cavities increases the surface area, which in turn requires more material and longer print times. Designers should strive to keep the part as simple as possible, avoiding unnecessary complexity. This not only reduces material consumption and production time but also contributes to more cost-effective and efficient 3D printing production.
Increasing efficiency in 3D printing
Thicker and rounder parts enable more efficient 3D printing processes. Since the surface area is reduced, the printer can deposit layers more quickly and with fewer movements. This optimization leads to faster print times, which is especially crucial for large-scale production or time-sensitive projects.

Find 3D Printing Accessories Here
Design Rule 3: Overhangs
Understanding overhangs in 3D printing
Overhangs refer to any part of a design that extends horizontally beyond the build plate during the printing process. These features often require additional support material to prevent the unsupported section from collapsing or warping during printing.
Designers should aim to minimize overhangs whenever possible, as they increase the complexity of the printing process and require additional support structures. By understanding the characteristics of overhangs, designers can optimize their designs for better printability and minimize the need for support material.
Gradual overhang design
One way to minimize the need for support material is by designing overhangs to be gradual. A gradual overhang gradually slopes from the vertical to the horizontal, eliminating the need for support underneath. This design approach allows the layers to be printed without any gaps or sagginess in the overhanging area while maintaining the structural integrity of the part.
Avoiding the need for support material
Designing parts with minimal or no overhangs eliminates the need for support material and streamlines the 3D printing process. This not only reduces material consumption but also saves time and effort in post-processing, such as removing support structures and achieving a smoother final part finish.
Design Rule 4: Lip Design and Support
Addressing lip design in parts
Lip design refers to the presence of protruding edges or ledges in a part. To ensure the structural integrity and printability of such designs, careful considerations are required during the design phase.
When incorporating lips in a design, it is essential to account for support and post-processing requirements. Without proper support structures or design modifications, lips can be challenging to print accurately and may require additional post-processing to achieve the desired quality.
Using chamfers or fillets to minimize support material
To optimize the printing process, designers can incorporate chamfers or fillets underneath lips. These design features act as gradual transitions from the base of the lip to the surrounding surface. By introducing these transitions, the need for support material can be minimized or even eliminated, improving the printability and reducing post-processing requirements.
Minimizing post-processing requirements
By strategically designing lips with chamfers or fillets, the need for post-processing can be significantly reduced. This not only saves time but also simplifies the overall production process. Minimizing post-processing requirements contributes to more efficient and cost-effective 3D printing production.

Design Rule 5: Color Selection
Choosing suitable colors for production parts
In 3D printing production, the selection of colors for parts plays a crucial role in the overall quality and potential defects. Not all colors are suitable for production parts, especially when considering factors such as failure rates and visual imperfections.
Avoiding colors with high failure rates (white, yellow, light blue)
Certain colors, such as white, yellow, and light blue, have higher failure rates due to their susceptibility to discoloration or visible defects. These colors may exhibit issues like discoloration on the first layer, staining, or visible residues, which can affect the overall quality of the part.
To ensure consistent and high-quality production, designers are advised to avoid using these colors or be aware of the potential defects associated with them. Opting for darker tones can provide better quality control, as any imperfections or discoloration are less noticeable on darker surfaces.
Considering darker tones for better quality control
Designing with darker tones in mind can help improve the overall quality control of 3D printed parts. Darker colors, such as black or other deep tones, are less likely to exhibit visible defects or imperfections caused by the 3D printing process. This allows for a more consistent and aesthetically pleasing final result with minimal post-processing requirements.
Conclusion
In this article, we have explored five essential design tips for 3D printing production. By following these rules, including filleting edges, making parts fat and round, considering overhangs, addressing lip design, and selecting suitable colors, designers can enhance the efficiency, dimensional accuracy, and structural reliability of their 3D printed parts.
It is crucial to adhere to these design rules to achieve successful and high-quality 3D printing production. With improved designs, you can reduce material waste, save time and effort in post-processing, and ultimately deliver superior products to your customers. By continuously striving to improve your 3D printed part designs, you can unlock the full potential of 3D printing in production applications.
Maintain Your 3D Printer with these Tools
Polymaker 3D Printing Filament Storage Box - PolyDryer Box for Continuous Filament Sealing and Protection, 3D Printer Filament Holder Compatible with PA Nylon, PLA, PVB, PETG, ABS, TPU 1.75mm 2.85mm
$29.99 (as of June 19, 2025 23:45 GMT +00:00 - More infoProduct prices and availability are accurate as of the date/time indicated and are subject to change. Any price and availability information displayed on [relevant Amazon Site(s), as applicable] at the time of purchase will apply to the purchase of this product.)
HATCHBOX 1.75mm Black PLA 3D Printer Filament, 1 KG Spool, Dimensional Accuracy +/- 0.03 mm, 3D Printing Filament
$28.00 (as of June 19, 2025 23:45 GMT +00:00 - More infoProduct prices and availability are accurate as of the date/time indicated and are subject to change. Any price and availability information displayed on [relevant Amazon Site(s), as applicable] at the time of purchase will apply to the purchase of this product.)
Einstar 3D Scanner Handheld-3D Scanner Pro, High Quality 3D Scanner for 3D Printing, Realistic 3D Scan, Design & Digital Archiving-Infrared VCSEL Light Scanner with RGB Color Camera 0.1 mm Resolution
$759.00 (as of June 19, 2025 23:45 GMT +00:00 - More infoProduct prices and availability are accurate as of the date/time indicated and are subject to change. Any price and availability information displayed on [relevant Amazon Site(s), as applicable] at the time of purchase will apply to the purchase of this product.)
Revopoint Inspire 3D Scanner for 3D Printing Handheld, 3D Printer Scanner 0.2mm Precision, Full Color 3D Model Scanning for Car Customization, Digital Art, DIY Projects, Support Android/iOS/Mac/Win
$339.99 (as of June 19, 2025 23:45 GMT +00:00 - More infoProduct prices and availability are accurate as of the date/time indicated and are subject to change. Any price and availability information displayed on [relevant Amazon Site(s), as applicable] at the time of purchase will apply to the purchase of this product.)