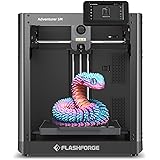
FLASHFORGE Adventurer 5M 3D Printer with Fully Auto Leveling, Max 600mm/s High Speed Printing, 280°C Direct Extruder with 3S Detachable Nozzle, Core XY All Metal Structure, Print Size 220x220x220mm
$259.00 (as of June 18, 2025 23:32 GMT +00:00 - More infoProduct prices and availability are accurate as of the date/time indicated and are subject to change. Any price and availability information displayed on [relevant Amazon Site(s), as applicable] at the time of purchase will apply to the purchase of this product.)In the “Blender 3D Beginner Tutorial: Smooth 3D Living Room,” you will be guided through the process of creating a stylized 3D living room using the software Blender. This tutorial is designed specifically for beginners and focuses on utilizing the subdivision surface modifier and bevel modifier to achieve a smooth and polished look. The tutorial is part of a three-part series, with links provided for the other parts. Throughout the tutorial, you will learn about navigation, setting up the camera, creating objects such as walls and furniture, applying modifiers, and naming objects. Additionally, the tutorial provides tips and shortcuts for effectively using Blender. The tutorial concludes with instructions for saving the project in Blender.
In this captivating tutorial, titled “Blender 3D Beginner Tutorial: Smooth 3D Living Room,” you will embark on a journey to create a stunning and visually appealing 3D living room using the free software Blender. Whether you are a beginner or an intermediate user, this tutorial series, consisting of three parts, will equip you with the knowledge and skills necessary to bring your 3D modeling dreams to life. The tutorial employs various techniques, including the subdivision surface modifier and bevel modifier, to achieve a smooth and polished final look. Along the way, you will learn about navigation, camera setup, object creation, modifier application, and the essential art of effective Blender usage. With step-by-step instructions, handy tips, and clear explanations, this tutorial is a valuable resource for anyone looking to explore the world of 3D modeling using Blender.

Tutorial Overview
This tutorial aims to provide a comprehensive guide for creating a stylized 3D living room using the software Blender. The objective of this tutorial is to teach beginners the necessary skills and techniques to model a 3D scene accurately and efficiently.
Software and Tools
Blender is a free and open-source 3D creation suite that offers a wide range of features and tools for modeling, animation, rendering, and more. In this tutorial, we will be using Blender as the software of choice for creating our 3D living room scene.
To follow along with this tutorial, you will need to have Blender installed on your computer. You can download the latest version of Blender from the official Blender website.
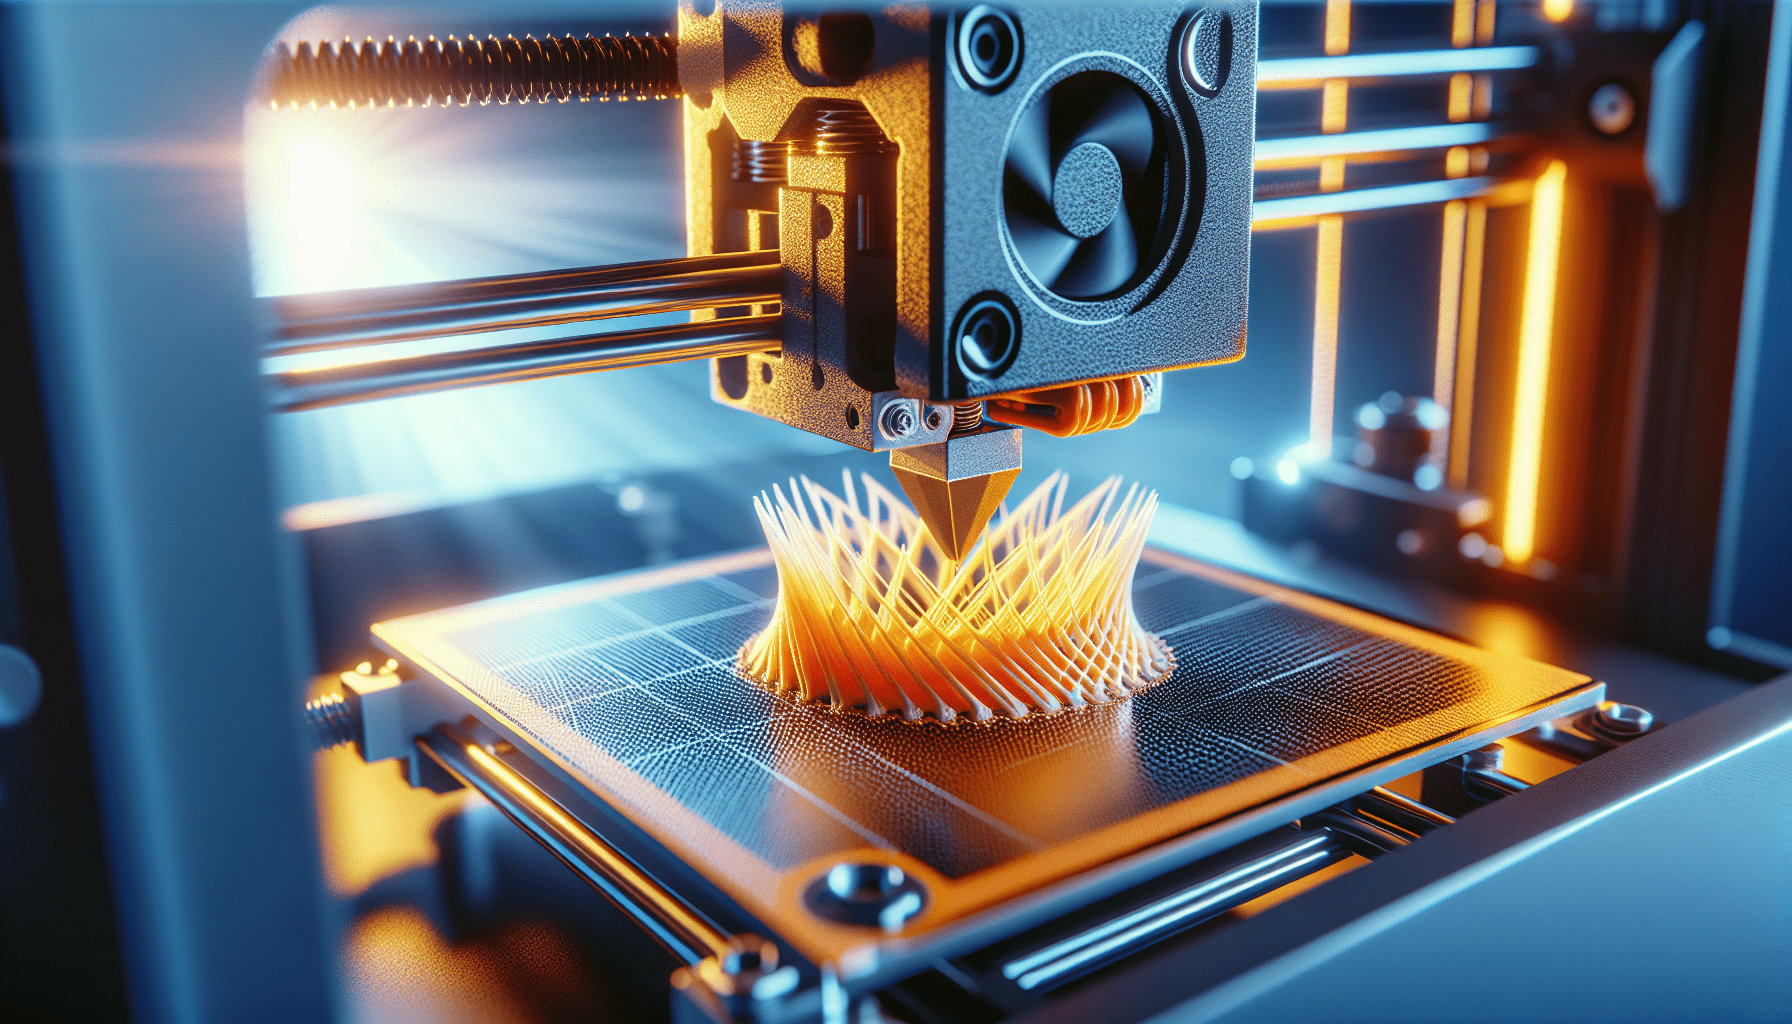
Find 3D Printing Accessories Here
Part 1: Navigation
In this section, we will explore Blender’s navigation controls, which are essential for moving around and viewing the 3D workspace. Understanding and mastering these navigation controls will greatly enhance your modeling experience.
Blender’s navigation controls consist of:
-
Rotation: By clicking and dragging the middle mouse button, you can rotate the view in the workspace. This allows you to view your scene from different angles and perspectives.
-
Panning: Holding down Shift and the middle mouse button allows you to pan the view horizontally and vertically. This is useful for navigating within a large scene.
-
Zooming: Scrolling the mouse wheel forward and backward enables you to zoom in and out of the workspace. Zooming is crucial for getting closer or farther away from objects in your scene.
By practicing and familiarizing yourself with these navigation controls, you will be able to navigate seamlessly within Blender’s 3D workspace.
Part 2: Setting up the Camera
In this section, we will guide you through the process of setting up the camera view for your living room scene. The camera is a crucial element in 3D visualization as it determines what the final rendered image or animation will look like.
To set up the camera, follow these steps:
-
Select the camera object in your scene by right-clicking on it. If there is no camera, you can add one by pressing Shift + A and selecting “Camera” from the menu.
-
In the camera properties panel, adjust the camera settings to achieve the desired view. You can change the lens type to orthographic for a flat, non-perspective view.
-
Use the camera movement controls, such as G to grab and move the camera, to position it in the scene. You can also adjust the camera’s scale to change the field of view.
-
Experiment with different camera angles and positions to find the best composition for your living room scene.
Choosing appropriate camera settings and composition is crucial in creating visually appealing and accurate 3D scenes. Take the time to experiment and adjust the camera until you achieve the desired results.

Part 3: Creating Objects
Creating objects is a fundamental aspect of 3D modeling. In this section, we will provide step-by-step instructions for creating walls, furniture objects like a couch and window frame, and other necessary elements for your living room scene.
To create walls using mesh primitives, follow these steps:
-
In Blender, go to the Add menu by pressing Shift + A.
-
Select the appropriate mesh primitive, such as a cube, and adjust its dimensions to create a wall.
-
Use the transformation controls, such as G to grab and move, R to rotate, and S to scale, to position and shape the wall object according to your scene’s requirements.
-
Repeat the process to create additional walls or modify existing walls to create the desired room layout.
To create furniture objects like a couch and window frame, follow similar steps:
-
Again, go to the Add menu and select the appropriate mesh primitive, such as a cube, to create the basic shape of the object.
-
Use the transformation controls to position and shape the object, refining it to resemble a couch or window frame.
-
Experiment with modifiers and additional tools, such as subdivision surface modifiers and bevel modifiers, to achieve a more polished and realistic look for your furniture objects.
By following these instructions and practicing object creation techniques, you will be able to populate your living room scene with the necessary elements to bring it to life.
Part 4: Applying Modifiers
Modifiers in Blender allow you to apply various effects and transformations to your objects without permanently altering their base geometry. This section will introduce you to the subdivision surface modifier and bevel modifier, which can be used to achieve a smooth and polished look for your 3D models.
The subdivision surface modifier is commonly used to create smooth, rounded surfaces on objects. To apply the subdivision surface modifier to an object, follow these steps:
-
Select the object to which you want to apply the modifier.
-
In the Properties panel, navigate to the Modifiers tab.
-
Click on the “Add Modifier” button and select “Subdivision Surface” from the dropdown menu.
-
Adjust the settings of the modifier, such as the subdivision level and type of smoothing, to achieve the desired smoothness for your object.
Applying the bevel modifier to furniture objects can add a subtle roundness or chamfered edges, enhancing their visual appeal. To apply the bevel modifier, follow these steps:
-
Select the object to which you want to apply the modifier.
-
In the Properties panel, navigate to the Modifiers tab.
-
Click on the “Add Modifier” button and select “Bevel” from the dropdown menu.
-
Adjust the settings of the modifier, such as the bevel width and segments, to customize the appearance of the beveled edges.
By understanding and utilizing these modifiers effectively, you can achieve smooth and polished surfaces for your 3D models and enhance the overall visual quality of your living room scene.
Part 5: Naming Objects
Naming objects in Blender is essential for better organization and management of your 3D scene. In this section, we will emphasize the importance of naming objects and provide guidelines on how to assign appropriate names to different elements in your living room scene.
Naming objects allows you to easily identify and locate specific objects in a complex scene, making it easier to work with and modify your 3D models. To assign appropriate names to your objects, follow these guidelines:
-
Use descriptive and meaningful names that reflect the purpose or function of the object. For example, “Couch,” “Wall,” or “Window Frame.”
-
Avoid using generic or vague names that can cause confusion or ambiguity.
-
Group related objects together by using a common tag or prefix. For example, you can use “LivingRoom_” as a prefix for all objects in your living room scene.
-
Update object names whenever you make significant changes or modifications to ensure the names accurately reflect the object’s current state.
By following these guidelines and establishing a consistent naming convention, you can significantly improve the organization and usability of your Blender projects.
Part 6: Tips and Shortcuts
Efficiency and productivity are key in 3D modeling, and Blender provides various tips and shortcuts to help you work more effectively. This section will introduce some useful tips and shortcuts for efficient modeling in Blender and explain common workflows and techniques.
Here are a few tips and shortcuts to enhance your modeling experience in Blender:
-
Use the hotkeys: Blender offers a wide range of hotkeys that can speed up your workflow. Some commonly used hotkeys include G (grab), R (rotate), S (scale), Tab (toggle between edit mode and object mode), and Ctrl + Z (undo).
-
Customize your workspace: Blender allows you to customize your workspace based on your preferences and commonly used tools. Rearrange panels, create custom layouts, and save your workspace presets for easy access.
-
Utilize snapping tools: Blender’s snapping tools can help you align and position objects precisely. Activate snapping options such as vertex snapping, edge snapping, and grid snapping to ensure accurate object placement.
-
Take advantage of object duplication techniques: Blender offers various duplication techniques that can save you time when creating repetitive objects. Use shortcuts like Shift + D to duplicate selected objects, and rely on tools like the array modifier for creating arrays of objects.
By incorporating these tips and shortcuts into your modeling workflow, you can streamline your processes, work more efficiently, and maximize your productivity in Blender.
Part 7: Creating a Couch
In this section, we will walk you through the step-by-step process of creating a 3D model of a couch for your living room scene. Follow these instructions carefully to achieve an accurately modeled and visually appealing couch object.
-
Start by adding a cube mesh primitive from the Add menu.
-
Adjust the dimensions of the cube to match the desired size of the couch.
-
Use the transformation controls to shape the cube into the basic form of a couch. Resize and manipulate the vertices, edges, and faces to achieve the desired couch shape.
-
Apply modifiers like the subdivision surface modifier and bevel modifier to add smoothness and realistic details to the couch.
-
Use shortcuts like Shift + D to duplicate and Ctrl + P to parent objects together to create additional components of the couch, such as cushions and legs.
-
Collaborate with the tips and shortcuts discussed earlier to optimize your workflow and enhance the final look of the couch.
Following these instructions meticulously will result in a well-modeled and visually appealing 3D couch that fits perfectly into your living room scene.
Part 10: Conclusion and Saving
This section serves as a summary of the tutorial and provides key takeaways from the entire process of creating a stylized 3D living room in Blender. Additionally, we will guide you on how to save your project in Blender.
To conclude, throughout this tutorial, we covered crucial aspects of creating a 3D living room in Blender, including navigation, camera setup, object creation, modifiers, naming conventions, tips, and shortcuts. By following these instructions and exploring Blender’s features, you are now equipped with the necessary knowledge to create your own stunning 3D scenes.
Finally, to save your project in Blender:
-
Click on the “File” menu in the top-left corner of the Blender interface.
-
Select “Save” or “Save As” to save your project. Choose a location on your computer and provide a name for your Blender file.
-
Ensure that all necessary files, such as textures and external references, are included in the saved project folder.
Saving your project effectively is crucial to preserving your progress and allowing for further modifications or rendering in the future.
In conclusion, this tutorial has provided you with a comprehensive guide for creating a stylized 3D living room in Blender. By following the steps outlined in this tutorial and exploring Blender’s features further, you can continue to hone your skills and create even more complex and visually stunning 3D scenes.
Maintain Your 3D Printer with these Tools
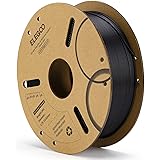
ELEGOO PLA Filament 1.75mm Black 1KG, 3D Printer Filament Dimensional Accuracy +/- 0.02mm, 1kg Cardboard Spool(2.2lbs) 3D Printing Filament Fits for Most FDM 3D Printers
$13.99 (as of June 18, 2025 23:32 GMT +00:00 - More infoProduct prices and availability are accurate as of the date/time indicated and are subject to change. Any price and availability information displayed on [relevant Amazon Site(s), as applicable] at the time of purchase will apply to the purchase of this product.)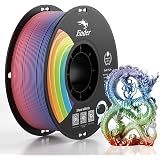
Creality 3D Printer Filament, PLA Plus Filament 1.75mm Rainbow, PLA Pro Toughness Upgraded Dimensional Accuracy +/- 0.03mm, 1KG Spool(2.2lbs) Ender PLA+ Filament for Most 3D Printer
$21.99 (as of June 18, 2025 23:32 GMT +00:00 - More infoProduct prices and availability are accurate as of the date/time indicated and are subject to change. Any price and availability information displayed on [relevant Amazon Site(s), as applicable] at the time of purchase will apply to the purchase of this product.)
Kingdder 200 Pcs 3D Magnetic Tracking Dot for Scanner Scanning Reference Point Marker Diffuse Reflection Positioning Targets for 3D Scanning (Inner 3.0 mm Outer 6 mm)
$25.99 (as of June 18, 2025 23:32 GMT +00:00 - More infoProduct prices and availability are accurate as of the date/time indicated and are subject to change. Any price and availability information displayed on [relevant Amazon Site(s), as applicable] at the time of purchase will apply to the purchase of this product.)
YOOPAI 6.0 mm 3D Scanning Markers for 3D Scanners, 3D Scanning Marker Dot Stickers, Diffuse Markers for 3D Scanners (10 Sheets of 500 dots)
$11.99 (as of June 18, 2025 23:32 GMT +00:00 - More infoProduct prices and availability are accurate as of the date/time indicated and are subject to change. Any price and availability information displayed on [relevant Amazon Site(s), as applicable] at the time of purchase will apply to the purchase of this product.)