ANYCUBIC Photon Mono M7 PRO 14K Resin 3D Printer, 170mm/h Fast Printing, 10.1'' Mono LCD with COB LighTurbo 3.0 Source, Dynamic Temperature Control Resin Vat, Build Volume 8.77''x4.96''x9.05''
$689.99 (as of June 18, 2025 23:32 GMT +00:00 - More infoProduct prices and availability are accurate as of the date/time indicated and are subject to change. Any price and availability information displayed on [relevant Amazon Site(s), as applicable] at the time of purchase will apply to the purchase of this product.)In “Building a Muzzleloading 3D-Printed Nerf Blaster | DIY Step-by-Step Guide,” you will navigate through the intricacies of crafting a custom Nerf blaster using 3D printing technology. Presented by LeeMerie3D, this guide delves into the construction of The HYPR, designed by Captain Slug, offering a comprehensive approach suitable for beginners and experienced hobbyists alike.
You will explore various facets of the project, including utilizing CAD software for part design, optimizing 3D printing settings, and meticulously assembling components. Essential tips for achieving high-performing and durable blaster parts are provided, alongside thorough instructions on assembling components and adjusting elastic bands to modify the blaster’s performance.
Understanding the HYPR Nerf Blaster
Overview of the HYPR Design by Captain Slug
The HYPR Nerf blaster is an innovative muzzle-loading blaster designed by Captain Slug. This blaster is unique due to its open-source design and modular construction, enabling enthusiasts to customize and build it using 3D-printed components. The design by Captain Slug incorporates advanced engineering principles to create a high-performance blaster that balances aesthetics, functionality, and durability. The HYPR stands out due to its distinctive mechanical architecture, which includes advanced air-seal mechanisms and a robust plunger system.
Key Features and Functionality
Key features of the HYPR Nerf blaster include its modularity, allowing for easy customization and upgrades. It comes equipped with a precision air-seal system that ensures consistent firing power, a plunger mechanism designed for maximum efficiency, and durable 3D-printed components that provide a solid build. The blaster’s functionality hinges on a well-designed pneumatic system, which propels Nerf darts with remarkable accuracy and force, thanks to the precise alignment and fit of its parts.
Components Included in the Kit
The HYPR kit includes a variety of specialized components necessary for assembly. These components typically encompass a glass tube for the main barrel, a small bottle of oil for lubrication, multiple stretchy elastic bands, hardware sets comprising screws and pins, and a selection of rubber seals, differentiated by size. Each component plays a crucial role in ensuring the integrity and functionality of the blaster once fully assembled.
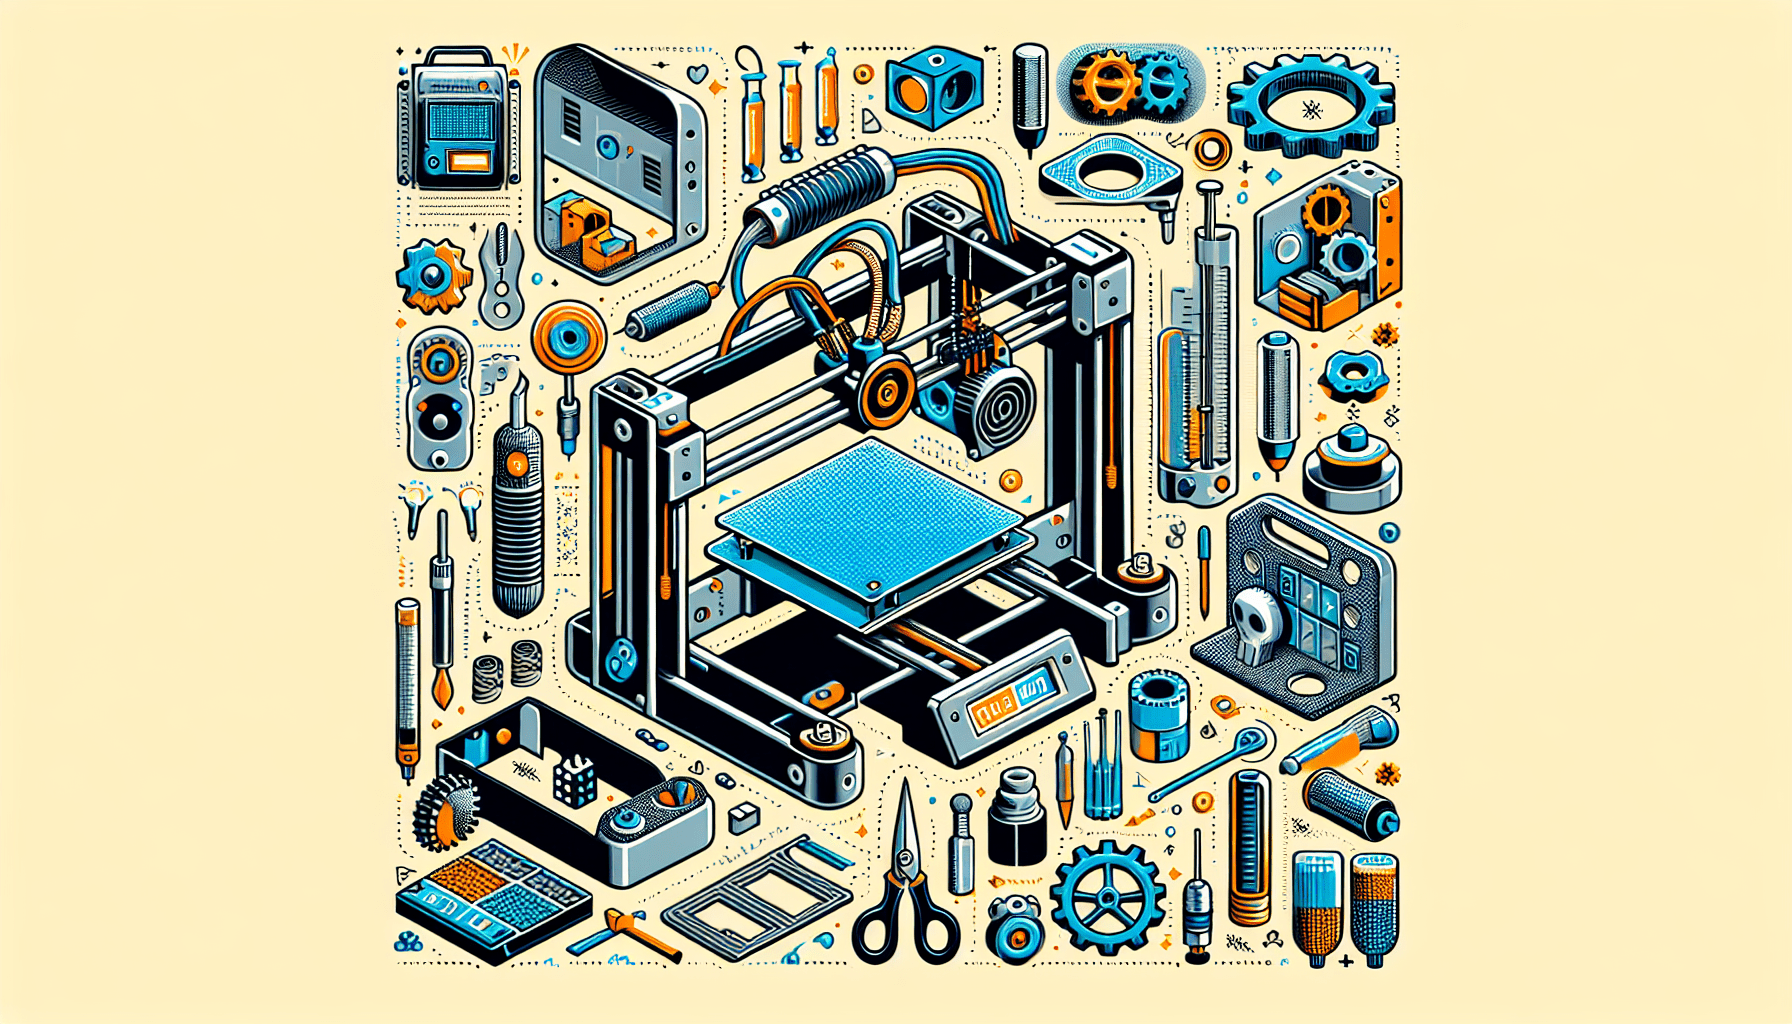
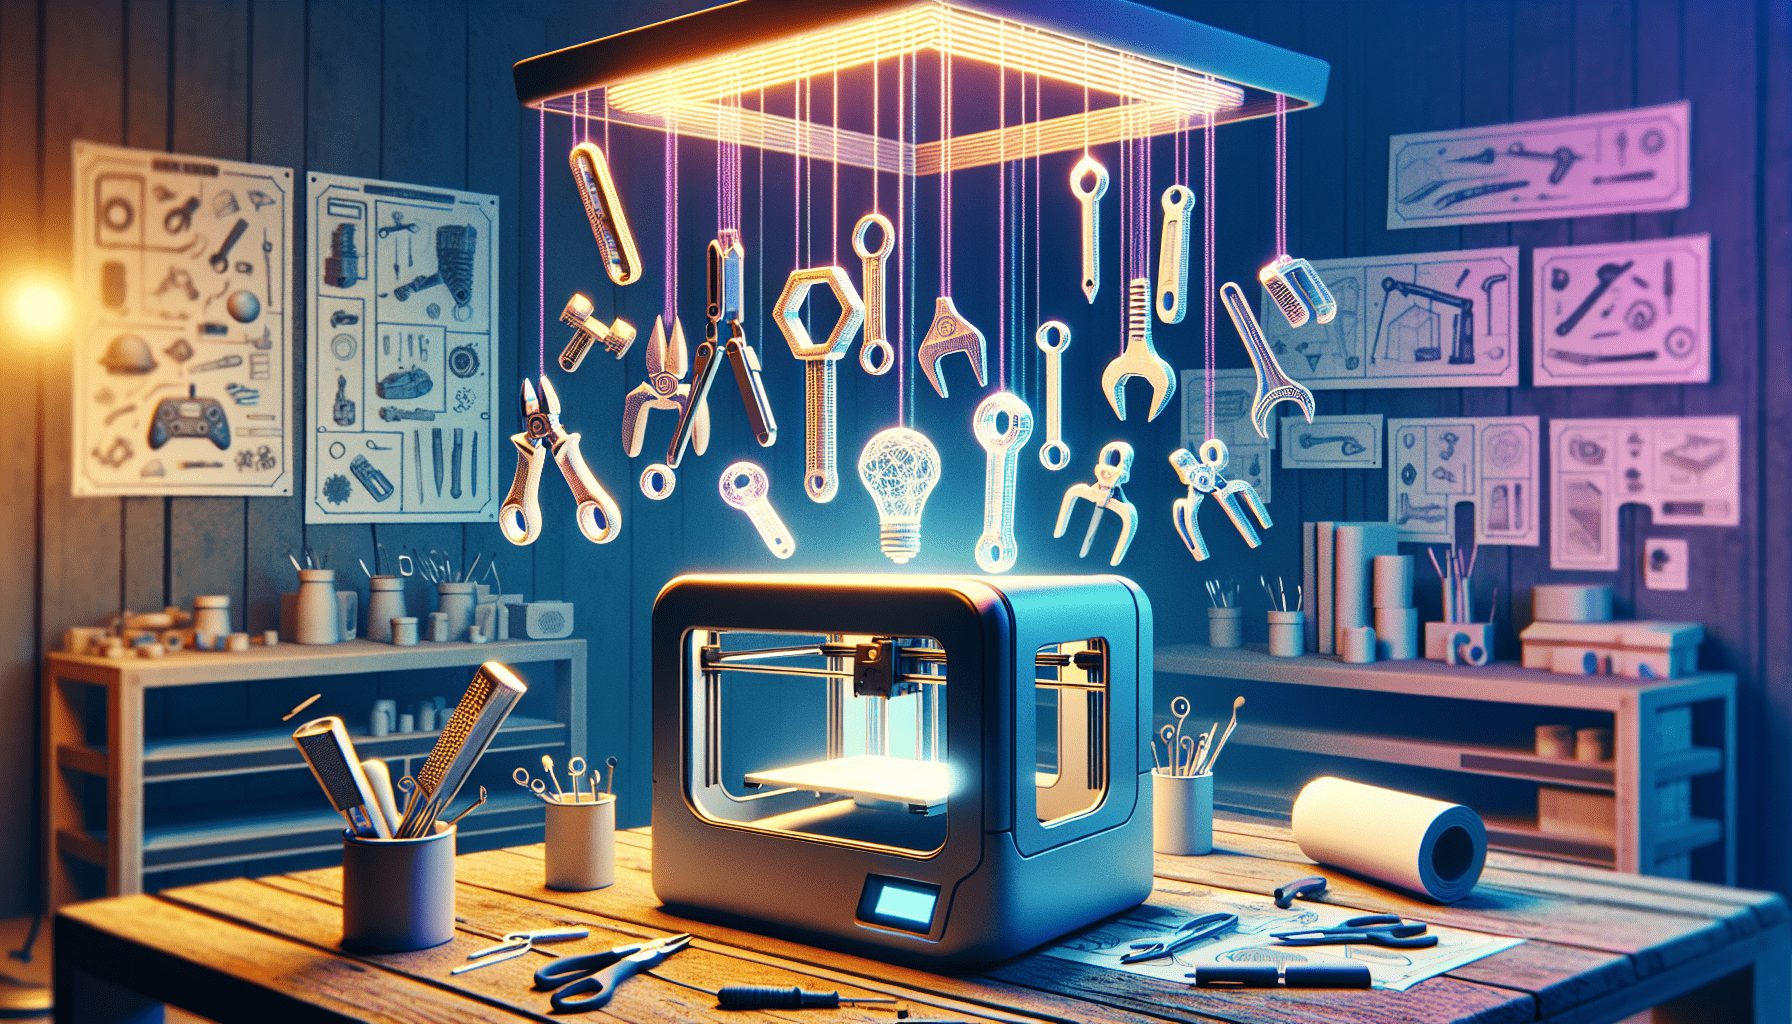
Tools and Materials Needed
3D Printer and Filament Selection
To build the HYPR Nerf blaster, you require a reliable 3D printer capable of producing high-resolution prints. Filament selection is critical; filament types such as PLA or ABS are recommended for their strength and ease of printing. For optimal performance, filament from reputable suppliers like West 3D and Polymaker is advisable.
Required Hardware and Tools
The following hardware and tools are essential: a set of 3D-printed parts, screws of varying sizes, aluminum rods, and rubber seals for airtight connections. Additionally, tools like a screwdriver set, hex keys, and precision calipers are needed for accurate assembly. Lubricant for the seals and cutting tools may also be required for precise fitting.
Safety Gear and Workspace Setup
Safety is paramount when working with hardware and 3D printing equipment. Protective eyewear, a dust mask, and gloves should be worn to prevent injury. Your workspace should be well-lit and ventilated, with a stable workbench to securely hold your components during assembly.

Find 3D Printing Accessories Here
Designing the Blaster
Introduction to CAD Software
Computer-aided design (CAD) software is integral in customizing and designing parts for the HYPR. Software like Fusion 360 or Tinkercad offers intuitive interfaces for beginners, allowing you to design detailed 3D models of the blaster’s components.
Creating and Modifying Parts
Using CAD software, you can create intricate parts by starting with basic geometric shapes and modifying them to fit the design specifications of the HYPR. Techniques like extruding, beveling, and adding fillets are critical skills to develop. Precision is vital to ensure parts fit together tightly.
Exporting Designs for 3D Printing
Once your design is complete, the final step is to export it as a file format compatible with 3D printers, typically STL or OBJ files. Ensure the model is watertight without any hidden gaps and optimize it for layer height, infill, and support structures before printing.
3D Printing Tips
Optimal Print Settings for Strength and Precision
For durable and precise parts, it is crucial to fine-tune your print settings. Recommended layer height is around 0.2mm with an infill density of 20-30% for most parts. Print slowly, around 50mm/s, to enhance accuracy and surface finish.
Material Recommendations and Filament Types
Choosing the right filament is key. PLA is easy to print and cost-effective, ideal for non-critical components. ABS or PETG are preferable for parts requiring higher strength and heat resistance, such as those subject to mechanical stress.
Post-Processing Printed Parts
After printing, parts may require post-processing. This includes removing any support structures, sanding rough edges, and potentially further surface finishing like painting or treating for enhanced durability and aesthetics.

Unboxing the HYPR Kit
Overview of Kit Components
Upon receiving the HYPR kit, you will find various components neatly organized. These include a glass barrel tube, lubrication oil, elastic bands for compression, sets of screws, and rubber seals essential for ensuring airtight connections.
Detailed Breakdown of Each Part
- Glass Tube: Forms the primary barrel of the blaster.
- Lubrication Oil: Used for reducing friction and maintaining part longevity.
- Elastic Bands: Function as the propulsion mechanism.
- Hardware (Screws and Pins): Crucial for assembling parts securely.
- Rubber Seals: Ensure airtight connections and efficient air pressure handling.
Quality Check and Preparation
Before beginning assembly, verify all components are intact and free from defects. Check for cracks in the glass tube, and ensure all screws and pins are accounted for. Prepare parts by cleaning and organizing them on your workspace.
Assembly Process
Assembling the Base Parts
Begin by taking the main body components, Base 2A and Base 2B, and fitting them together using corresponding screws. Ensure the big seal is placed around the designated section to maintain an airtight fit. Align and screw the parts together securely.
Installing Seals and Aluminum Rod
Fit the small rubber seal onto the aluminum rod as directed. This involves carefully stretching and positioning the seal to prevent leaks. Insert the rod into the base assembly, ensuring it is half an inch out on one side, and secure it in place.
Adding the Plunger and Connected Rod
Next, prepare the plunger system. Attach the plunger and the connecting rod by aligning them with the designated slots and screwing them together. Lubricate the plunger as needed to facilitate smooth operation and insert it into the main body.
Installing O-Rings and Wonder Bar
Types of O-Rings Included
The kit includes various O-rings of different sizes to ensure airtight seals throughout the blaster. Identifying the correct type for each part of the assembly process is crucial for optimal performance.
Proper Placement and Fit
Install each O-ring by stretching it over the designated areas, ensuring a snug fit without any twists or overlaps. Proper placement is essential to prevent air leaks and ensure efficient propulsion.
Assembly of Wonder Bar and Its Role
The Wonder Bar serves as a critical component for the mechanical operation of the blaster. Assemble it by fitting it into the corresponding notches on the base, ensuring it locks firmly in place. Secure it with screws and verify its functionality within the assembly.
Rail Assembly and Final Components
Attaching the Rail
Attach the rail to the top of the blaster by aligning it with the pre-drilled holes and securing it with screws. The rail provides a mounting point for additional accessories and enhances the structural integrity of the blaster.
Securing Final Components
Ensure all remaining components, such as the trigger mechanism and magazine, are securely attached. Double-check all screws and fittings to confirm they are tightly fastened, and lubricate any moving parts to ensure smooth operation.
Ensuring All Parts Move Smoothly
Test the blaster’s mechanical movement by manually operating the plunger and trigger mechanisms. All parts should move freely without any resistance or friction. Lubricate additional areas as necessary to achieve smooth, efficient functionality.
Installing Bands
Selecting and Preparing Elastic Bands
Choose the elastic bands based on desired performance characteristics. Bands differ in strength and stretchability, affecting the final projectile speed and force. Prepare bands by cutting them to appropriate lengths and ensuring they are not damaged.
Wrapping and Tying Techniques for Different FPS Rates
To achieve different FPS rates, wrap and tie the elastic bands using specific techniques:
- Single Wrap (60 FPS): Wrap the band once around the designated grooves and secure it.
- Double Wrap (75 FPS): Wrap the band twice for increased tension and secure it securely.
- Triple Wrap (90 FPS): For the highest power, wrap the band thrice, ensuring it is evenly distributed and tightly tied.
Safety and Testing Considerations
Safety considerations include testing the blaster in a controlled environment, ensuring it does not exceed safe projectile speeds. Wear protective eyewear during testing, and avoid shooting at hard surfaces or people. Regularly inspect the blaster for wear and tear to maintain safety and performance.
Acknowledgments and Support
Thanks to Silver Fox Industries
An acknowledgment is extended to Silver Fox Industries for providing the HYPR kit and supporting this innovative project. Their contribution has enabled the creation and dissemination of this comprehensive guide.
Appreciation for Filament Suppliers West 3D and Polymaker
A special thank you to West 3D and Polymaker for supplying high-quality filaments that ensure the durability and performance of the printed components. Their products have significantly contributed to the success of this project.
Viewer Encouragement to Engage with More Content
Viewers are encouraged to engage further by liking, commenting, and subscribing to the channel for more exciting 3D printing content. Your support and feedback are invaluable and help drive the continuous production of informative and innovative projects.
Maintain Your 3D Printer with these Tools

Comgrow 3D Printer Filament Dryer Box, Comgrow 3D Filament Storages, Keeping Filaments Dry During 3D Printing, Compatible with 1.75mm/2.85mm PLA ABS Material, Filament Dehydrator, Spool Holder
$44.99 (as of June 18, 2025 23:32 GMT +00:00 - More infoProduct prices and availability are accurate as of the date/time indicated and are subject to change. Any price and availability information displayed on [relevant Amazon Site(s), as applicable] at the time of purchase will apply to the purchase of this product.)
FLASHFORGE Rapid PLA Filament 1.75mm Ruby Red, 500mm/s High Speed Printing, 3D Printer Filament 1kg Spool, Dimensional Accuracy +/- 0.02mm, Enjoy Exceptional Print Quality
$23.99 (as of June 18, 2025 23:32 GMT +00:00 - More infoProduct prices and availability are accurate as of the date/time indicated and are subject to change. Any price and availability information displayed on [relevant Amazon Site(s), as applicable] at the time of purchase will apply to the purchase of this product.)
Slamtec RPLIDAR A1M8 2D 360 Degree 12 Meters Scanning Radius LIDAR Sensor Scanner for Obstacle Avoidance and Navigation of Robots
$99.00 (as of June 18, 2025 23:32 GMT +00:00 - More infoProduct prices and availability are accurate as of the date/time indicated and are subject to change. Any price and availability information displayed on [relevant Amazon Site(s), as applicable] at the time of purchase will apply to the purchase of this product.)
Creality Official 3.0 mm 3D Scanning Marker for 3D Scanner, 3D Tracking Dot Reference Point Markers, Diffuse Reflection Markers (5 Sheet 420 Dots)
$19.99 (as of June 18, 2025 23:32 GMT +00:00 - More infoProduct prices and availability are accurate as of the date/time indicated and are subject to change. Any price and availability information displayed on [relevant Amazon Site(s), as applicable] at the time of purchase will apply to the purchase of this product.)