In the video titled “Can You 3D Print a HELMET on a SMALL 3D printer? | TUTORIAL |,” Frankly Built addresses a commonly asked question about the feasibility of printing a helmet on a small 3D printer. The purpose of the video is to instill confidence in viewers and demonstrate that large items can be successfully printed on any size printer. The video highlights the use of a discount code for 20% off Do3D Files, and also mentions other tutorials on Cura tips, printer maintenance, and PLA welding. Additionally, Frankly Built provides contact information and social media platforms for further engagement and offers support through Patreon. The video includes timestamps for different sections of the content, and a disclaimer states that it is not sponsored and all opinions expressed are the creator’s own.
Hey guys! Welcome to Frankly Built’s channel, where today we’ll be tackling a question that I get asked all the time: “Can You 3D print a helmet on a SMALL 3D Printer?” In this tutorial, I’ll be demonstrating how to print a helmet on a small 3D printer like the Ender 3. We’ll discuss the process of cutting and slicing 3D models using Meshmixer, tips for fusing the separate parts back together, as well as sanding and finishing techniques for a polished final look. So, let’s dive right in and conquer the challenge of printing large helmets on smaller printers!
Print a Helmet on a Small 3D Printer

Introduction
Are you wondering if it’s possible to 3D print a helmet on a small 3D printer? This is a common question among 3D Printing enthusiasts, and it’s understandable. Printing something larger than the printer itself can be intimidating. However, in this article, we’ll show you how to print large items like helmets on any size printer, using the example of an Ender 3 printer. So, let’s dive in and explore the process of printing helmets with a small 3D printer.
Using an Ender 3 Printer for Demonstration
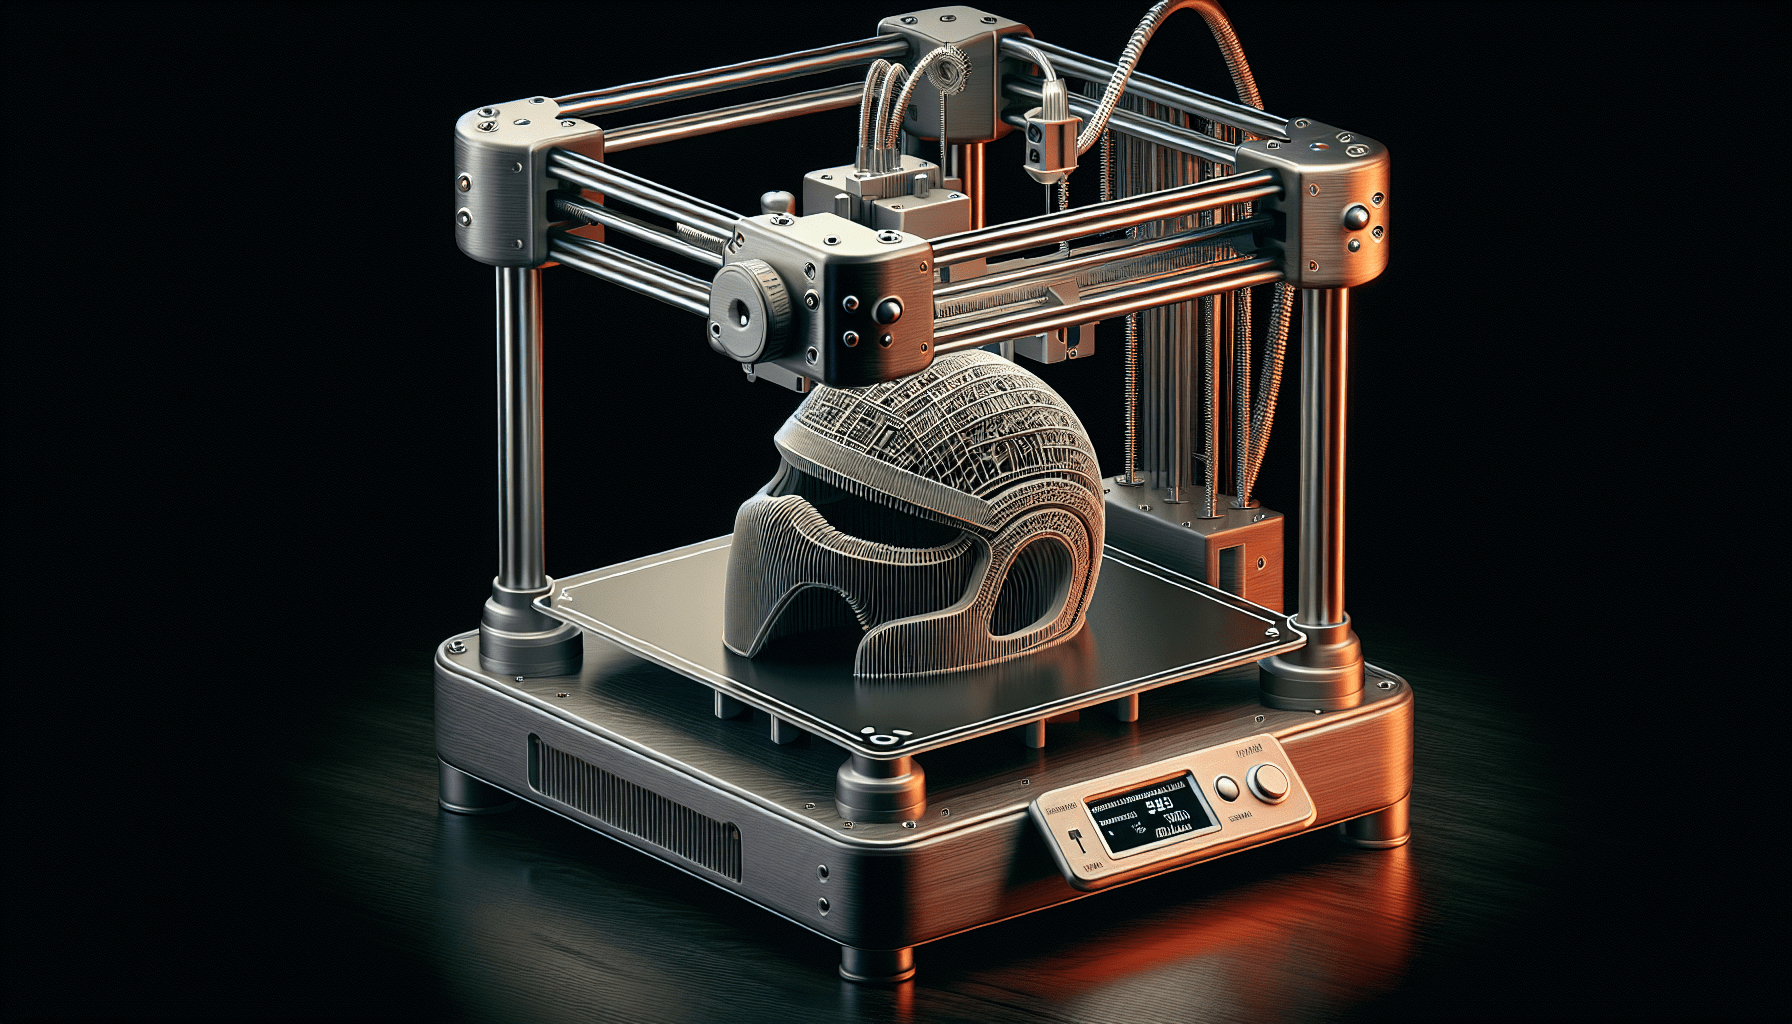
The Ender 3 printer is a popular choice among 3D printing enthusiasts due to its affordability and reliability. It’s a widely used printer that has a small build surface, making it a suitable candidate for demonstrating how to print large helmets. By following the techniques discussed in this article, you can adapt them to your own 3D printer, whether it’s an Ender 3 or a different model.


Choosing Iron Man Helmets for Easy Printing
When it comes to printing helmets, it’s important to choose a design that’s suitable for printing in multiple sections. Iron Man helmets are a great option because they are often available in separate parts, making it easy to print them on smaller printers. The individual sections can be printed separately and then fused together later. This allows you to print a large helmet that wouldn’t fit on a small build surface in one piece. So, for the purposes of this article, we’ll be using Iron Man helmets as our example.
Cutting and Slicing 3D Models
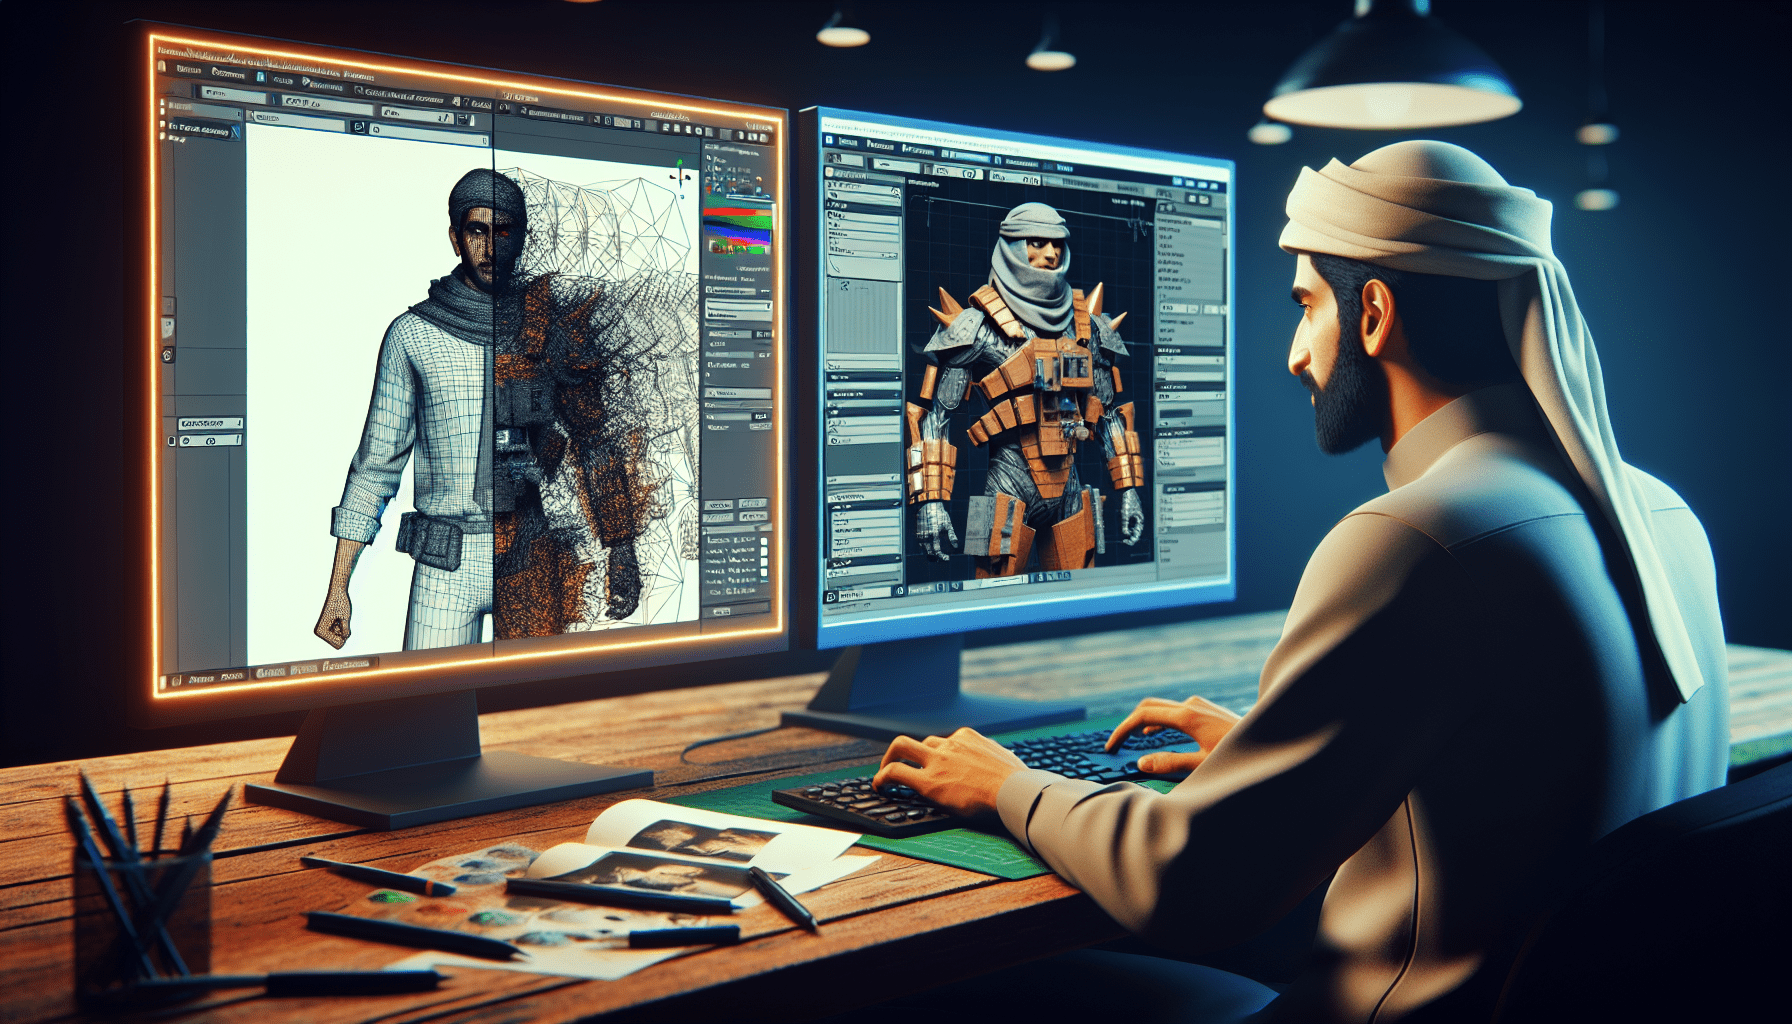
To print a large helmet on a small 3D printer, you’ll need to cut and slice the 3D model into separate parts. For this purpose, we recommend using a free program called Meshmixer. Meshmixer is an excellent tool for editing and manipulating 3D models, and it’s particularly useful for cutting and slicing. In the following sections, we’ll discuss the benefits of using Meshmixer, the step-by-step process of cutting a helmet into separate parts, and provide tips for cutting without damaging important details.
Using Meshmixer for Cutting and Slicing
Meshmixer offers a range of features that make it ideal for cutting and slicing 3D models. It allows you to separate shells, manipulate cuts in different directions, and even fine-tune the degree of each cut. This versatility makes Meshmixer an invaluable tool for adapting large helmets to fit on smaller printers. By utilizing the plane cut feature in Meshmixer, you can divide the helmet into manageable parts that can be printed separately.
Benefits of Using Meshmixer
One of the biggest advantages of using Meshmixer is its user-friendly interface. It’s easy to navigate and provides intuitive tools for editing and manipulating 3D models. Additionally, Meshmixer offers precise control over cuts, allowing you to create clean divisions between parts. The program also provides the option to export each part individually, making it easier to manage and print them separately. Overall, Meshmixer streamlines the process of cutting and slicing 3D models, making it an excellent choice for this task.
Step-by-Step Process of Cutting a Helmet into Separate Parts
To demonstrate the process of cutting a helmet into separate parts, let’s use the example of a Samus helmet. This helmet is too big to fit on the build surface of a small printer, so we need to divide it into sections. After importing the helmet into Meshmixer, the first step is to click “Edit” and then “Separate Shells”. This action breaks the helmet into its individual parts, such as the main helmet, the visor, and the pipes. From there, we can use the “Plane Cut” feature to make precise cuts along horizontal axes, separating the helmet into more manageable pieces. By fine-tuning the cuts and exporting each part individually, we can prepare the helmet for printing on a small 3D printer.
Tips for Cutting Without Damaging Important Details
When cutting a helmet into separate parts, it’s crucial to be mindful of the details and avoid damaging them. Some areas may have intricate designs or fragile components that should be preserved during the cutting process. One way to achieve this is by planning the cuts strategically, avoiding critical areas. Additionally, you can utilize Meshmixer’s tools to rotate and position the cuts for optimal results. By taking these precautions, you can divide the helmet into separate parts without compromising its important details.

Fusing Separate Parts Together
After cutting the helmet into separate parts and printing them individually, the next step is to fuse these parts back together. There are several methods you can use to achieve a strong and seamless fusion.
Methods for Fusing the Parts Back Together
Two common methods for fusing the parts of a 3D-printed helmet back together are using a soldering iron and using epoxy.
Using a Soldering Iron for Fusion
A soldering iron can be used to melt and join the different parts of the helmet together. By carefully applying heat to the edges and surfaces of the parts, you can create a strong bond that fuses them together. This method requires precision and caution to avoid overheating or damaging the parts. It’s essential to practice on scrap material or less critical parts before attempting to fuse the actual helmet.
Using Epoxy for Fusion
Epoxy is another effective option for fusing 3D-printed parts. It’s a type of adhesive that forms a strong bond when applied to the surfaces of the parts. Epoxy provides a more forgiving and less time-sensitive alternative to using a soldering iron. It allows you to adjust and align the parts before the adhesive sets. However, it’s important to choose an epoxy that is compatible with the material used for 3D printing and follow the manufacturer’s instructions for the best results.
Other Fusion Techniques
Apart from using a soldering iron or epoxy, there are other fusion techniques you can explore. These include using specific adhesives designed for 3D-printed parts, heat-based methods such as friction welding, or even utilizing 3D printing itself to create connectors or brackets that join the parts together. The choice of fusion technique will depend on the materials used, the complexity of the helmet design, and personal preferences.
Sanding and Finishing Techniques
Once the separate parts of the helmet are fused back together, it’s time to refine the surface and achieve a polished final look. Sanding and finishing techniques play a crucial role in giving your helmet a professional appearance.
Importance of Sanding and Finishing
Sanding removes any visible layer lines and imperfections on the surface of the printed parts. It smooths out rough edges and creates a uniform texture, making the helmet look more refined. Finishing techniques, such as priming and painting, further enhance the appearance and durability of the helmet. These steps add a layer of protection and allow for customization with different colors and finishes.
Step-by-Step Guide to Sanding and Finishing a Printed Helmet
To sand and finish a printed helmet, start by using coarse-grit sandpaper to remove any prominent imperfections and layer lines. Gradually progress to finer grits for a smoother finish. Once you’re satisfied with the smoothness, clean the helmet to remove any dust or debris. Next, apply a primer to create an even surface for painting and improve paint adhesion. After the primer has dried, apply multiple layers of paint, allowing each layer to dry before applying the next. Finish with a clear coat to protect the paint and give the helmet a glossy or matte finish, depending on your preference.
Achieving a Polished Final Look
To achieve a polished final look, take your time with sanding and finishing. Patience and attention to detail are essential to achieve a smooth and professional appearance. Don’t rush through the sanding process and be mindful of the layers of paint, allowing them to cure properly. By following these steps, you can transform your 3D-printed helmet into a polished and visually appealing prop.

Tips and Tricks for Printing Large Helmets
Printing large helmets on small printers can present some challenges. However, with the right settings, materials, and techniques, you can overcome these challenges and achieve excellent results.
Experimenting with Settings and Materials
When printing large helmets, it’s crucial to experiment with different settings and materials to find what works best for your specific printer. Adjusting the layer height and infill density can significantly impact the quality and strength of the printed parts. Higher layer heights may compromise detail but can reduce print time, while lower layer heights provide better surface quality at the cost of increased print time. Similarly, choosing the appropriate infill density can ensure a solid and sturdy helmet without excessive material usage.
Overcoming Challenges of Printing Large Helmets on Small Printers
Printing large helmets on small printers can pose challenges due to the limited build volume. However, these challenges can be overcome by breaking the helmet into smaller, printable sections, as discussed earlier. By cutting the helmet into separate parts and then fusing them together, you can create a larger prop that fits within the build volume of your printer.
Adjusting Layer Height and Infill for Better Results
To optimize the printing process for large helmets, adjusting the layer height and infill density can yield better results. By finding the right balance between print quality and print time, you can ensure that the individual parts are printed accurately and efficiently. Additionally, adjusting the infill density can help maintain structural integrity while reducing material usage.
Optimizing Printing Speed
Printing large helmets can be time-consuming, especially on small printers. However, optimizing the printing speed can help reduce the overall print time without sacrificing quality. Experiment with different speeds and settings to find the optimal balance between speed and quality. Keep in mind that not all printers are the same, so what works for one model may not work for another. It’s essential to monitor the printing process closely and make adjustments as needed.
Related Tutorials and Resources
To further enhance your 3D printing knowledge and skills, there are several related tutorials and resources you can explore. These include tips for using Cura, a popular slicing software, a guide on printer maintenance to keep your printer in optimal condition, and techniques for PLA welding to fuse 3D prints. These resources can provide valuable insights and support for your 3D printing journey.
Support for the Creator
If you find the information in this article valuable and would like to support the creator, there are several ways you can do so. You can reach out to the creator through their contact information, follow them on social media platforms for updates and discussions, or consider supporting them on Patreon. Additionally, the creator may have affiliate and discount codes for certain products, which allow them to earn a small commission at no additional cost to the customer. By utilizing these support options, you can contribute to the creator’s work and help them continue providing valuable content.
Timestamps for Content Sections
For your convenience, here are timestamps for the different sections of this article:
- Introduction and printer demonstration: 0:00
- Process of cutting and slicing the helmet: 2:00
- Fusing the separate parts together: 10:16
- Sanding and finishing techniques: 12:35
- Tips and tricks for printing large helmets: 13:57
- Related tutorials and resources: 15:21
- Support options for the creator: 17:11
Conclusion
In conclusion, you can indeed 3D print a helmet on a small 3D printer by employing the techniques and tips discussed in this article. By using Meshmixer to cut and slice the 3D model, fusing the separate parts together, and applying sanding and finishing techniques, you can create a polished and visually appealing helmet. Don’t be intimidated by the size of the helmet or the limitations of your printer. Through experimentation and perseverance, you can achieve outstanding results and build your confidence in printing large items. So, go ahead and start printing those impressive helmets!
This is a SUPER common question across my social medias- and for good reason! 3D printing something that is larger than your printer can be a bit intimidating. I hope this video gives you the confidence to print large items on any size printer!
▼ MENTIONED IN THIS VIDEO
- Ultimaker Cura | https://bit.ly/3F8HBZW
- Mesh Mixer | https://www.meshmixer.com/
- MK 85 Helmet | https://bit.ly/3FaG2ue
- MK 1 Helmet | https://bit.ly/3HdtlAV
- ☞ Use Code “FBT20” at checkout for 20% off Do3D Files!
- Dr. Fate Helmet | https://bit.ly/3kqMCVy
- White Rhino Helmet | https://bit.ly/3kvNgRI
- Iron Blade | https://bit.ly/30gXCh1
- Nova Helmet | https://bit.ly/3C8mUeK
- Samus Helmet | https://bit.ly/3kpFCIv
- ☞ Use Code “FBT20” at checkout for 20% off Do3D Files!
- Soldering Iron | https://amzn.to/3C83qXm
▼ RELATED TUTORIALS
- Cura Tips | • My BEST TIPS for AWESOME 3D Prints! |…
- Printer Maintenance | • 3D Printer Maintenance | How to Keep …
- PLA Welding | • How To Fuse 3D Prints – Combining …
▼ SOCIAL MEDIA / CONTACT
- Inquiries | https://bit.ly/3xQmgAS
- Instagram | / frankly_built
- TikTok | / frankly_built
- Twitter | / frankly_built
- Facebook | / franklybuilt
- Reddit | / njtricker609
- Discord Community | / discord
▼ SUPPORT THE CHANNEL!
- Patreon | / franklybuilt
- Frankly Built Merch | https://bit.ly/3AechHF
▼AFFILIATE AND DISCOUNT CODES!
- CREALITY | https://bit.ly/3gV8iIo
- ☞ Visit Creality for my favorite FDM 3D printers, from entry level to advanced!
- EPAX 3D | https://epax3d.com?ref=25
- ☞ Visit EPAX 3D for my favorite resin 3D printers! Use code “franklybuilt” for 10% off of E10 Series Resin Printer
- DO3D | https://bit.ly/3zWo8tC
- ☞ Use Code “FBT20” at checkout for 20% off awesome 3D models and files!
- AMAZON | https://www.amazon.com/shop/franklybuilt
- ☞ Visit my Amazon Store Front and explore my favorite printers, filaments, build supplies and more!
- SUNLU FILAMENT | https://bit.ly/3gXbSAo
- ☞ Use Code “VQLDTFWBMQ” at checkout for 10% off filament!
- PRINT BED FILAMENT | www.printbed.com
- ☞ Use Code “Frank” at checkout for $4 off a roll of filament!
- NIKKO INDUSTRIES| https://www.nikkoindustries.com/
- ☞ Use Code “Franklybuilt” at checkout for 20% off awesome files!
▼TIME STAMPS 0:00 – Intro 0:19 – Let’s Talk About it 1:06 – Other Helpful Tutorials 1:52 – The Programs 2:00 – Will it Fit? 2:46 – Meshmixer 101 9:22 – Will it Fit Now?! 9:46 – Things to Keep in Mind… 10:16 – Fusing the Parts Together (PLA Welding) 12:35 – That transition tho.. (Finished product). 13:13 – Video Requests? Leave a Comment! 13:32 – Thank You Patrons! 13:57 – Blooper Reel!
Disclaimer- This video is NOT sponsored by any of the brands mentioned above or throughout this video. Honesty is very important to me and my channel- all thoughts and opinions mentioned are my own. The links provided above are affiliate links. Affiliate links allow me to make a small commission from purchases made on my recommendations, with no additional cost to you as the customer!
Thank you for supporting me!

Creality PETG Filament 1.75, 3D Printer Filament, Excellent Toughness High Precision, Odorless Non-Toxic Moistureproof, 1kg(2.2lbs) Glossy 3D Printing Filament for 3D Printer (Black)
$14.99 (as of June 5, 2025 21:38 GMT +00:00 - More info)
ELEGOO Rapid PETG Filament 1.75mm Black 1KG, High Speed 30-600mm/s 3D Printer Filament Dimensional Accuracy +/- 0.02 mm, 1kg Cardboard Spool(2.2lbs) Fits for Most FDM 3D Printers
$14.99 (as of June 5, 2025 21:38 GMT +00:00 - More info)