
ANYCUBIC Photon Mono M7 PRO 14K Resin 3D Printer, 170mm/h Fast Printing, 10.1'' Mono LCD with COB LighTurbo 3.0 Source, Dynamic Temperature Control Resin Vat, Build Volume 8.77''x4.96''x9.05''
$689.99 (as of June 18, 2025 23:32 GMT +00:00 - More infoProduct prices and availability are accurate as of the date/time indicated and are subject to change. Any price and availability information displayed on [relevant Amazon Site(s), as applicable] at the time of purchase will apply to the purchase of this product.)Are you ready to unlock the secrets of creating a stunning 3D printed concrete oasis that showcases your creativity and skills? With the right guidance, you can transform your space with a unique and functional planter that’s as beautiful as it is durable.

Anycubic Coupon – $5 off $50+ sitewide with code DIY5OFF
Understanding the Basics of 3D Printed Concrete Planters
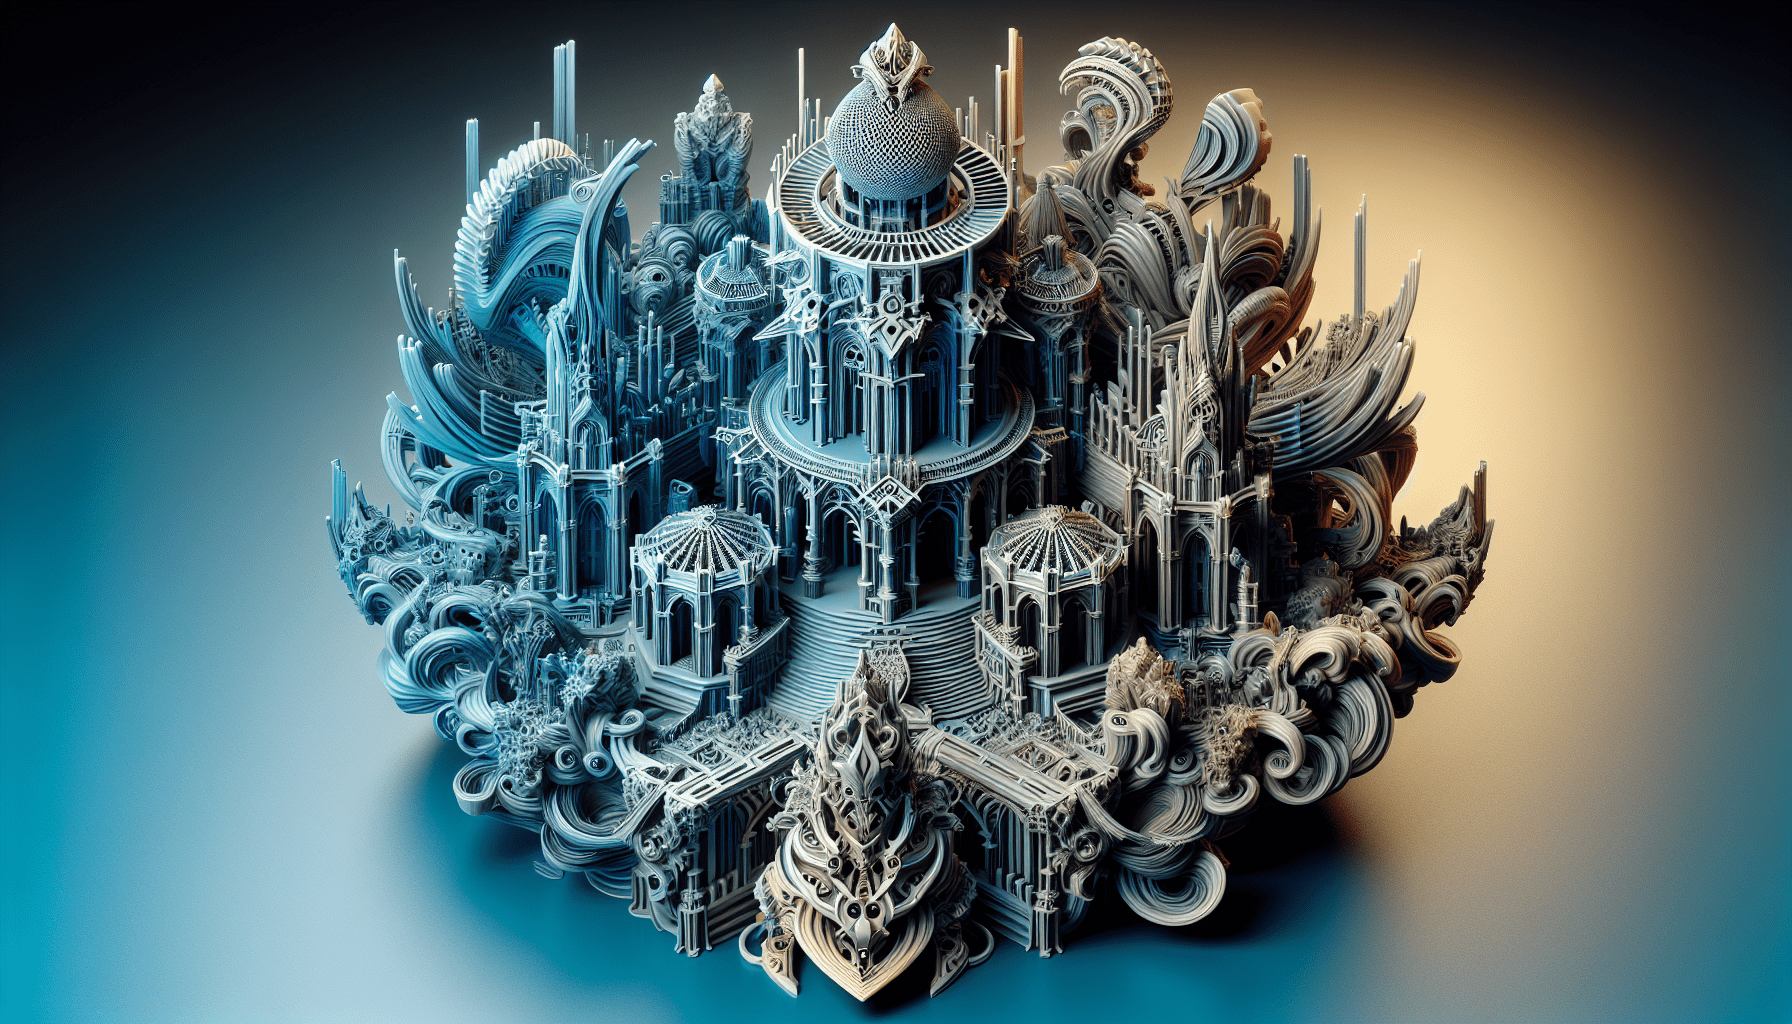
Before you start, it’s essential to grasp the fundamentals of 3D printed concrete planters. These innovative planters are created by combining 3D printing technology with concrete, a versatile and durable material that can be molded into various shapes and forms. The 3D printing process allows for the creation of complex designs and geometries that would be impossible to achieve with traditional methods.
The Benefits of 3D Printed Concrete Planters
| Benefit | Description |
|---|---|
| Unique Designs | 3D printing technology enables the creation of complex and intricate designs that can add a touch of elegance to any space. |
| Durable | Concrete is a robust material that can withstand the elements and last for years to come. |
| Sustainable | 3D printed concrete planters can be made from recycled materials, reducing waste and minimizing environmental impact. |
| Functional | These planters can be customized to fit your specific needs, from small herb gardens to large outdoor planters. |
Designing Your 3D Printed Concrete Planter
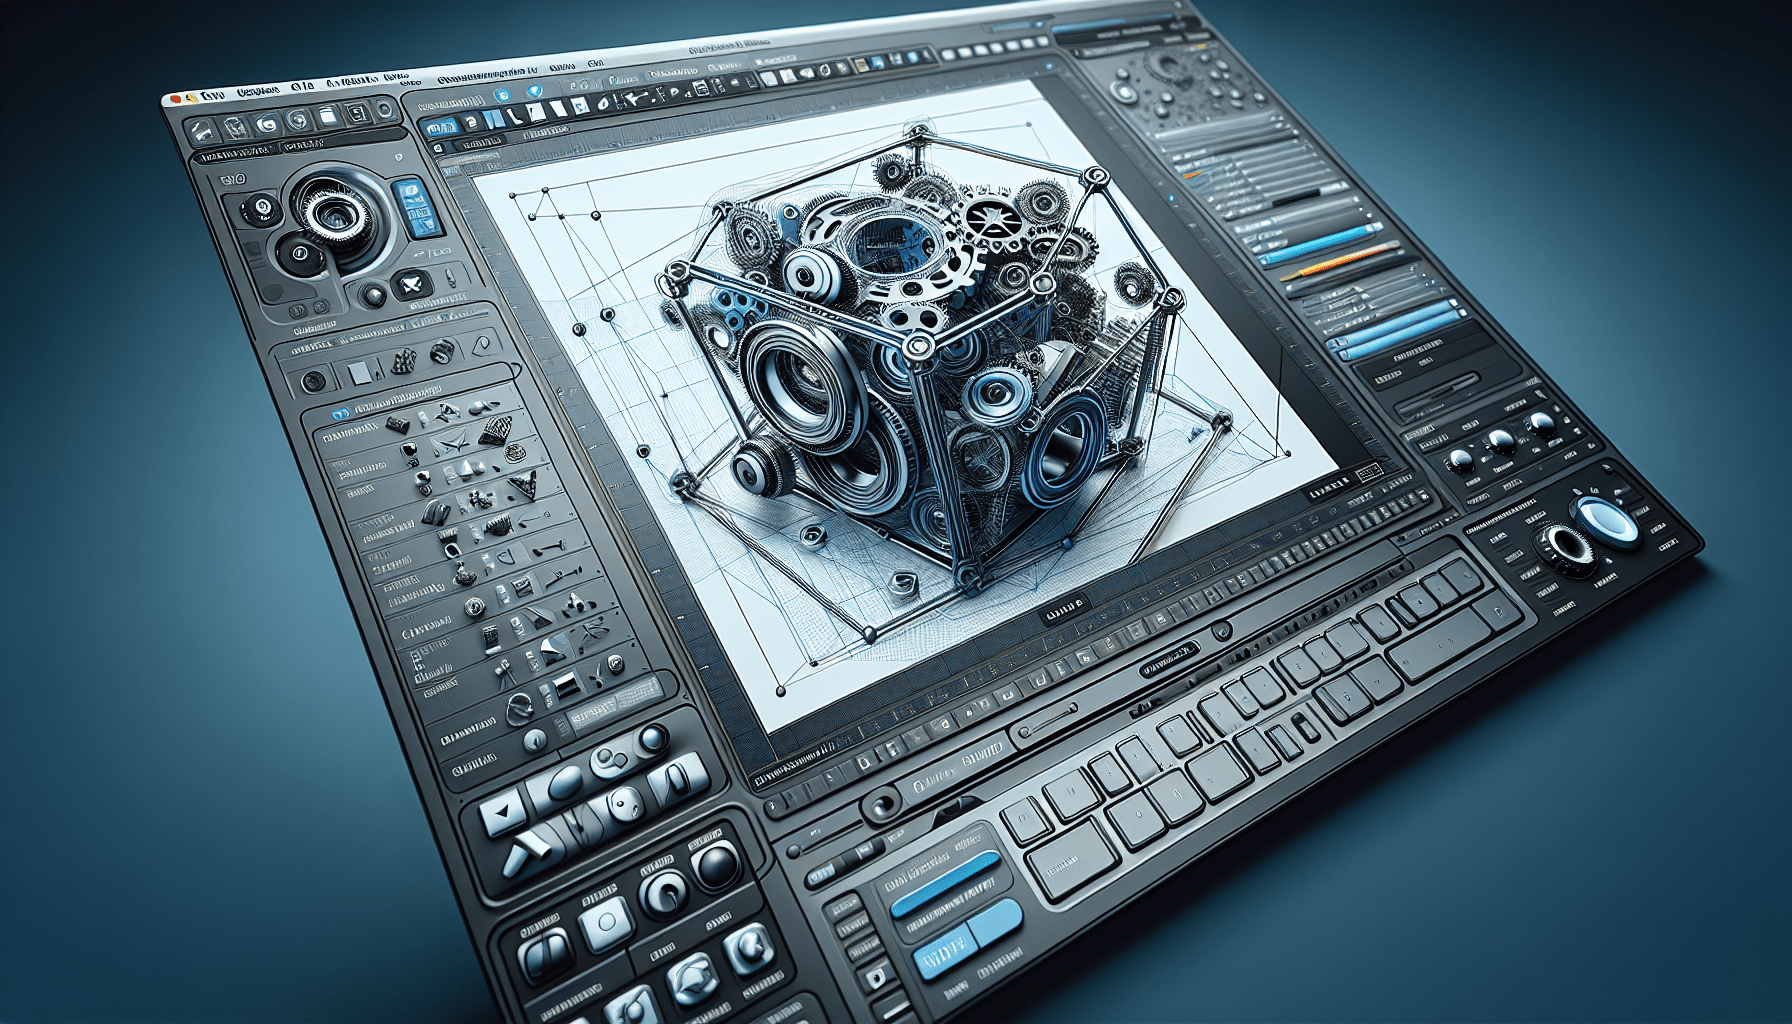
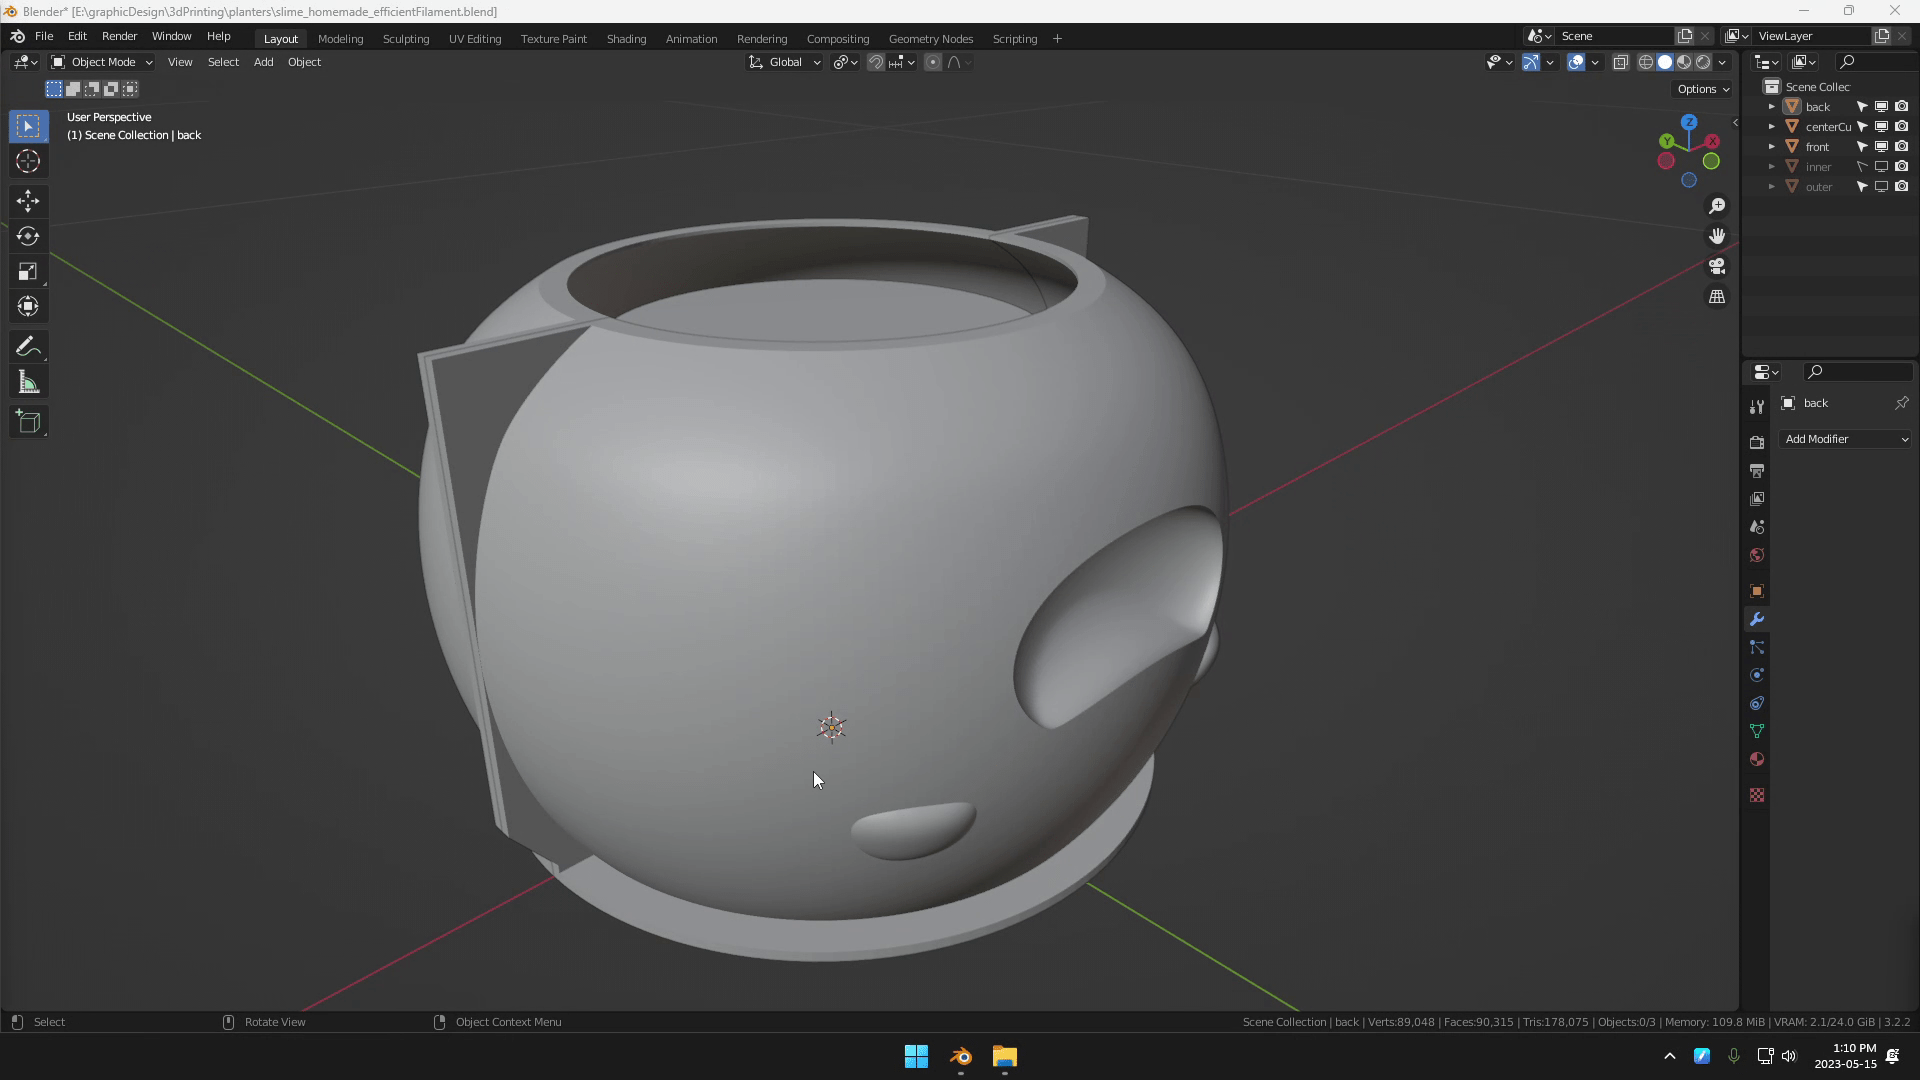
The design process is where your creativity shines. To get started, you’ll need to choose a design software that suits your needs. Popular options include Blender and Fusion360.
Choosing the Right Design Software
| Software | Description |
|---|---|
| Blender | A free, open-source 3D creation software that’s ideal for beginners and experienced designers alike. |
| Fusion360 | A powerful 3D CAD/CAM/CAE software that’s popular among professionals and hobbyists. |
When designing your planter, consider the following factors:
- Inspiration: Draw inspiration from nature, architecture, or art to create a unique design that reflects your style.
- Constraints: Take into account the physical limitations of your 3D printer and the concrete material.
- Physical Limitations: Ensure your design is feasible and can be printed and assembled with ease.

Anycubic Coupon – $5 off $50+ sitewide with code DIY5OFF
Preparing the Mold for Printing
With your design ready, it’s time to prepare the mold for printing. This involves slicing the design into layers that your 3D printer can understand.
Slicing Software
| Software | Description |
|---|---|
| Cura | A popular slicing software that’s compatible with a wide range of 3D printers. |
When preparing the mold, make sure to:
- Apply Mold Release: Use a mold release agent to prevent the concrete from sticking to the mold.
- Caulk the Seam: Apply caulk to the seam where the mold meets to prevent concrete from seeping in.
Printing the Mold
With your mold design sliced and prepared, it’s time to print the mold using your 3D printer.
Printing Settings
| Setting | Description |
|---|---|
| Layer Height | Adjust the layer height to achieve the desired level of detail. |
| Infill Density | Adjust the infill density to ensure the mold is strong and durable. |

Mixing and Pouring the Concrete
With the mold printed, it’s time to mix and pour the concrete. This involves combining cement, sand, and water to create a workable mix.
Concrete Mix Recipe
| Ingredient | Quantity |
|---|---|
| Cement | 1 part |
| Sand | 2 parts |
| Water | 0.5 parts |
When mixing the concrete, make sure to:
- Sift the Mix: Sift the dry ingredients to ensure they’re well combined and evenly distributed.
- Add Water: Gradually add water to achieve the right consistency.
Deaerating the Concrete Mix
Deaerating the concrete mix is crucial to removing air pockets that can weaken the final product.
Deaeration Methods
| Method | Description |
|---|---|
| Tapping | Tap the mold gently to dislodge air pockets. |
| Vibrating | Use a vibrating tool to remove air pockets. |
Demolding and Curing the Concrete
With the concrete mix deaerated, it’s time to demold and cure the concrete.
Demolding Tips
| Tip | Description |
|---|---|
| Wait | Wait for the concrete to set before demolding. |
| Apply Pressure | Apply gentle pressure to release the concrete from the mold. |
Curing Methods
| Method | Description |
|---|---|
| Air Curing | Allow the concrete to cure in the air. |
| Water Curing | Submerge the concrete in water to accelerate the curing process. |
Finishing Touches
With the concrete cured, it’s time to add the finishing touches.
Sanding and Painting
| Step | Description |
|---|---|
| Sanding | Sand the planter to smooth out rough edges. |
| Painting | Paint the planter to enhance its appearance. |
Applying a Concrete Sealer
Apply a concrete sealer to protect the planter from the elements and enhance its appearance.
Sealer Options
| Sealer | Description |
|---|---|
| Acrylic Sealer | A water-based sealer that’s easy to apply and maintain. |
| Silane-Based Sealer | A penetrating sealer that provides long-lasting protection. |
By following these steps, you’ll be able to create a stunning 3D printed concrete oasis that showcases your creativity and skills. Remember to always follow safety guidelines and best practices when working with concrete and 3D printing technology. Happy making!
Anycubic Coupon – $5 off $50+ sitewide with code DIY5OFF
OVERTURE Matte PLA 3D Printer Filament 1.75mm, Matt Surface & Low Warping Filament 1kg Spool (2.2 lbs), Accuracy +/- 0.02 mm, Fit Most FDM Printers (Matte Light Brown)
$18.99 (as of June 18, 2025 23:32 GMT +00:00 - More infoProduct prices and availability are accurate as of the date/time indicated and are subject to change. Any price and availability information displayed on [relevant Amazon Site(s), as applicable] at the time of purchase will apply to the purchase of this product.)
Polymaker 3D Printing Filament Storage Box - PolyDryer Box for Continuous Filament Sealing and Protection, 3D Printer Filament Holder Compatible with PA Nylon, PLA, PVB, PETG, ABS, TPU 1.75mm 2.85mm
$29.99 (as of June 18, 2025 23:32 GMT +00:00 - More infoProduct prices and availability are accurate as of the date/time indicated and are subject to change. Any price and availability information displayed on [relevant Amazon Site(s), as applicable] at the time of purchase will apply to the purchase of this product.)
Slamtec RPLIDAR A1M8 2D 360 Degree 12 Meters Scanning Radius LIDAR Sensor Scanner for Obstacle Avoidance and Navigation of Robots
$99.00 (as of June 18, 2025 23:32 GMT +00:00 - More infoProduct prices and availability are accurate as of the date/time indicated and are subject to change. Any price and availability information displayed on [relevant Amazon Site(s), as applicable] at the time of purchase will apply to the purchase of this product.)
3D Scanning Tracking Markers Dots,6mm Diffuse Reflection 3D PositioningTarget Stickers,HogarDeco Reference Point Markers for Industrial and Interest Optical 3D Scanner (300pcs, Inner 6mm Outer 10mm
$9.99 (as of June 18, 2025 23:32 GMT +00:00 - More infoProduct prices and availability are accurate as of the date/time indicated and are subject to change. Any price and availability information displayed on [relevant Amazon Site(s), as applicable] at the time of purchase will apply to the purchase of this product.)