Creality K1 SE 3D Printer, 2024 New Version 600mm/s High-Speed Hands-Free Auto Leveling Flagship-Level Direct Extruder Quick-swap Tri-Metal Nozzle K1 Upgrade 3D Printer
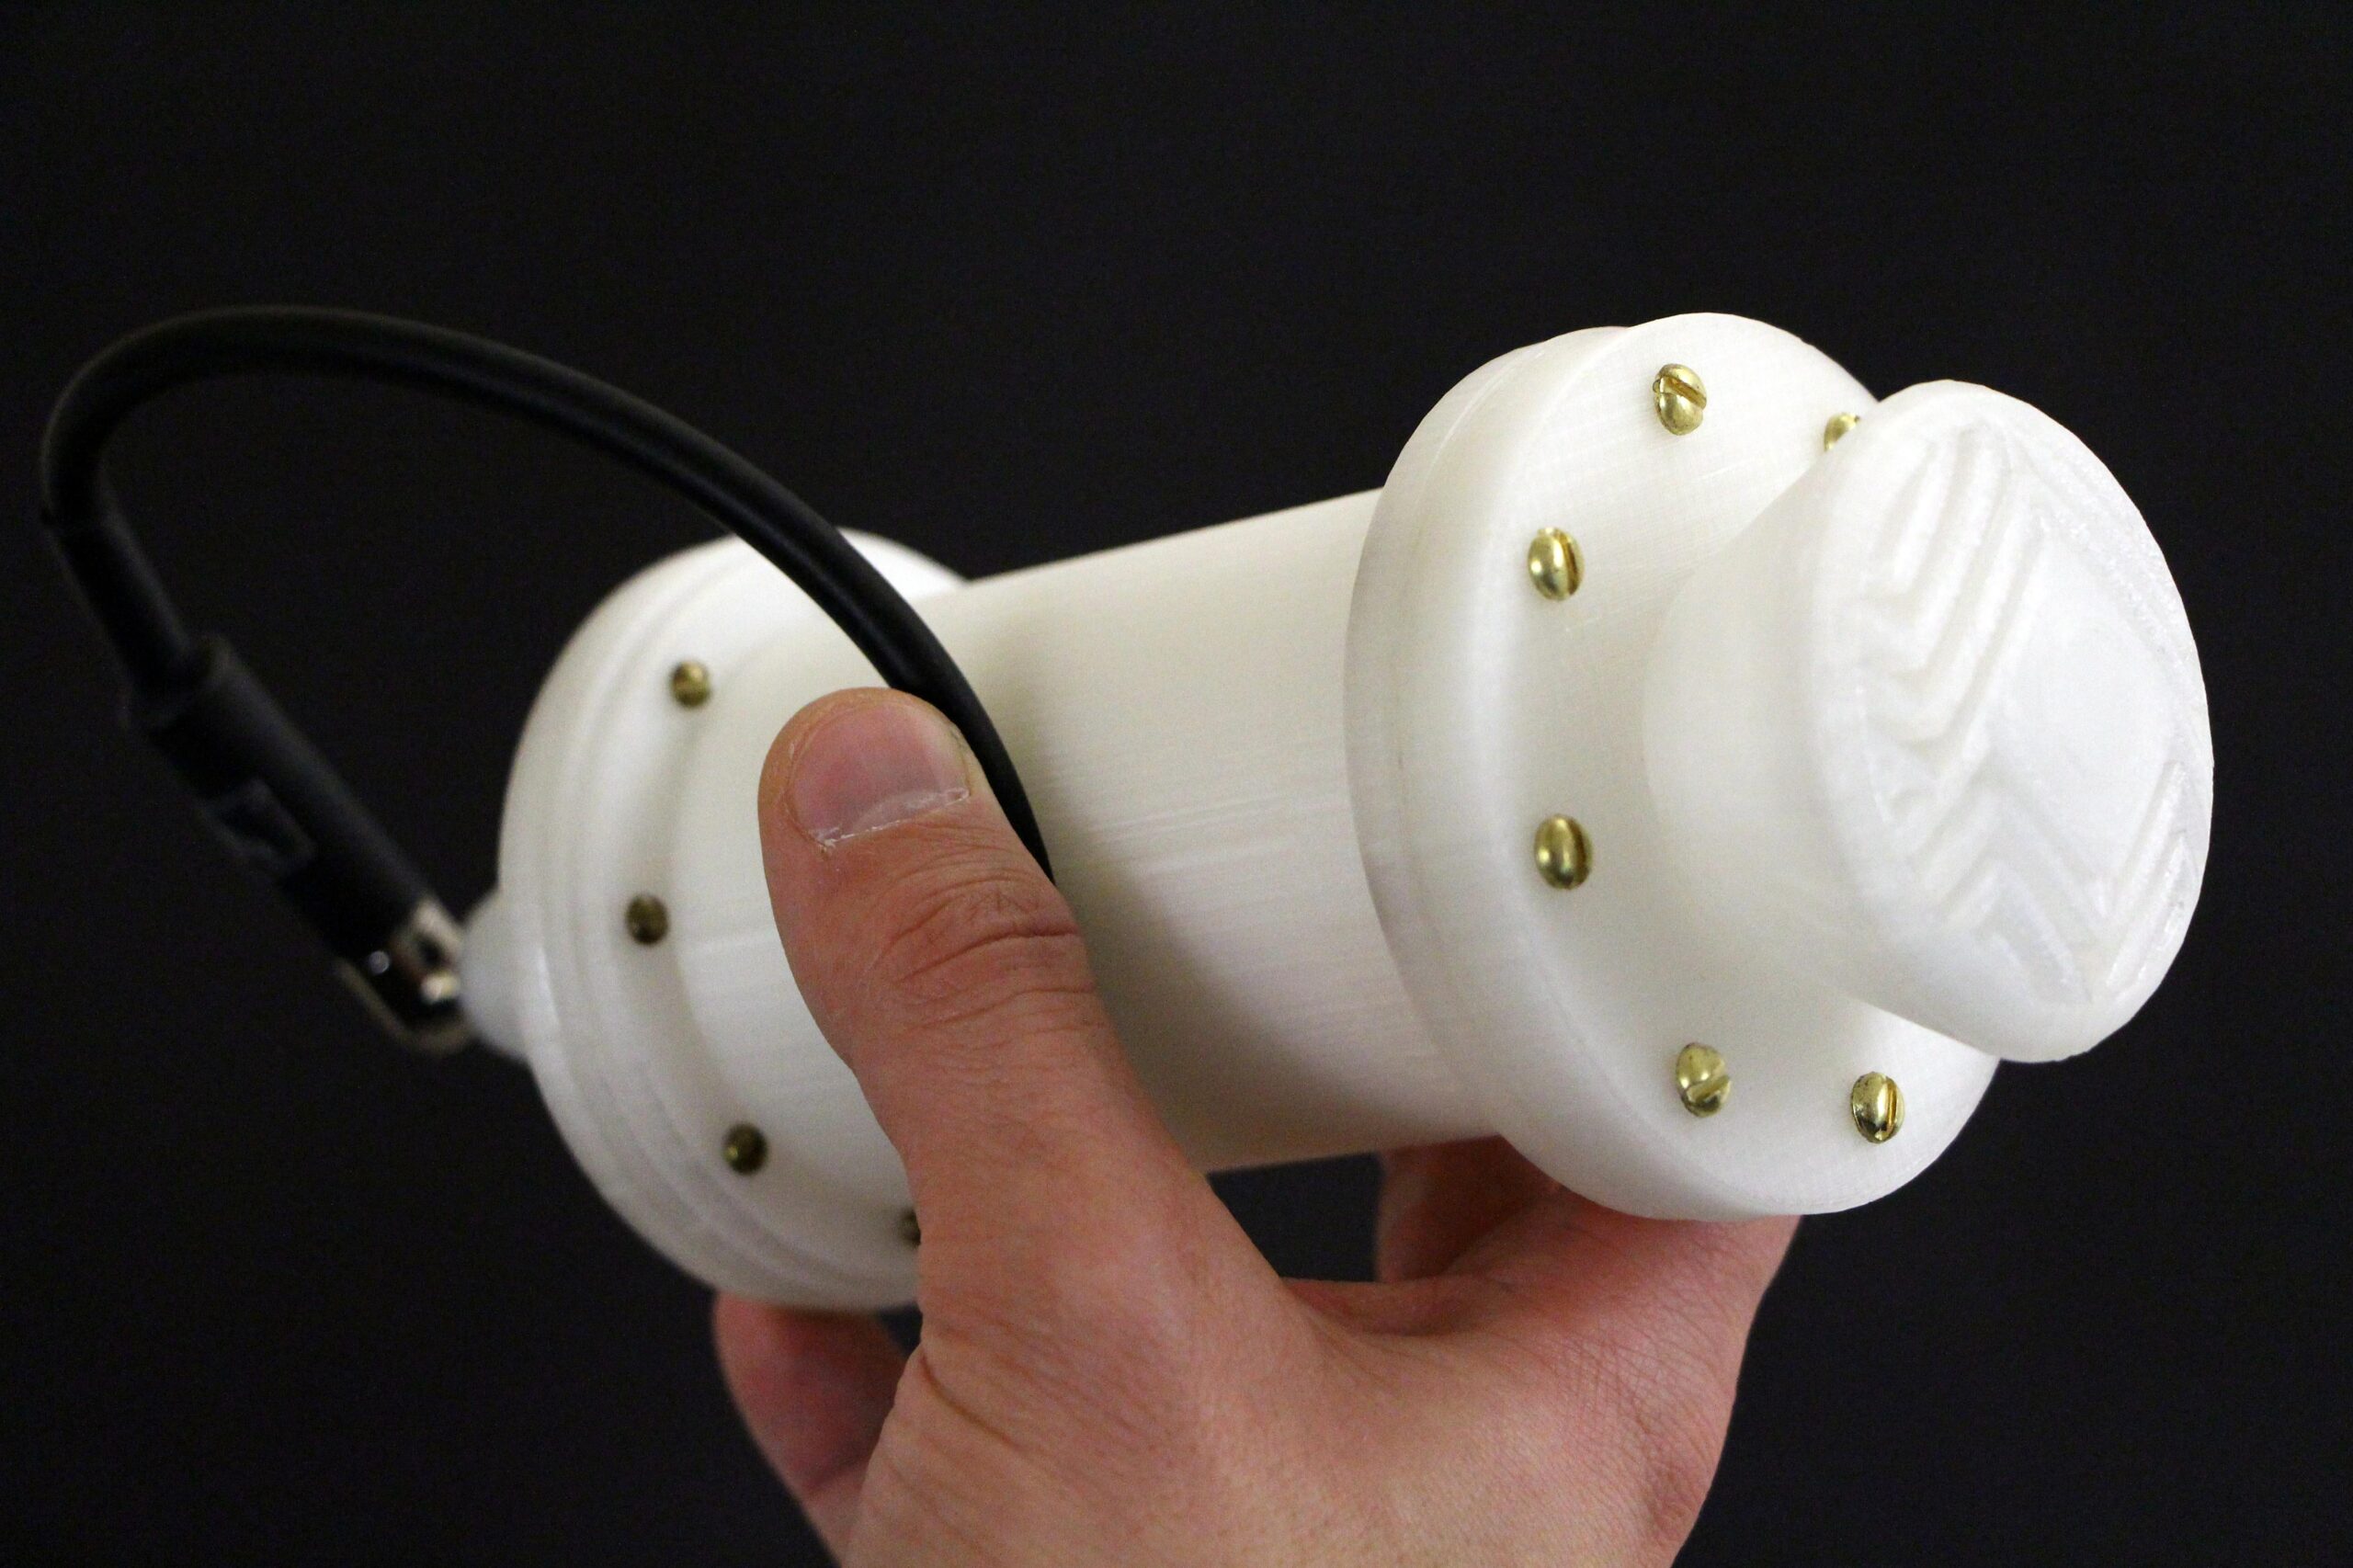
$279.00 (as of June 17, 2025 23:14 GMT +00:00 - More infoProduct prices and availability are accurate as of the date/time indicated and are subject to change. Any price and availability information displayed on [relevant Amazon Site(s), as applicable] at the time of purchase will apply to the purchase of this product.)Ever wonder how to craft your own unique sound? Well, get ready to embark on a journey into the mesmerizing world of audio manipulation as you learn to build a 3D-printed spring reverb microphone, blending the charm of analog effects with the precision of modern technology. This step-by-step guide will walk you through the process of creating a one-of-a-kind instrument that adds a distinctive, vintage-inspired reverb to your recordings.
Anycubic Coupon – $5 off $50+ sitewide with code DIY5OFF
Rediscovering Spring Reverb
Spring reverb is a classic audio effect that has captivated musicians and producers for decades. Understanding why it’s making a comeback will really help you put it to good use.
The Allure of Analog
In the music industry, the use of spring reverb has a strong history. Back in the day, spring reverb units were all the craze, adding a certain feel to songs that you couldn’t find anywhere else. As new tech came out, these units were replaced by digital versions because they were easier to deal with. But now, old-school analog gear like spring reverbs are making a big return, giving musicians a way to get real, unique sounds.
Project Goal: A 3D-Printed Spring Reverb Microphone
This project combines the best of both worlds: old-school sound and modern tech. You’re going to craft a microphone with its very own physical spring reverb built right in, all thanks to the magic of 3D printing. This means you’ll get that special, springy reverb sound in a way that’s totally unique and hands-on.
Gathering Your Arsenal
Before you start your project, you should have all the right tools and materials. Having everything ready to go will really help you to move ahead smoothly.
Essential Components
- 3D Printer: This is the heart of your project. You’ll need a reliable 3D printer to bring your microphone design to life.
- Filament: Choose a sturdy filament like PLA or ABS for printing the microphone body and membranes.
- Piezo Element: This little guy is your sound transducer, turning vibrations into electrical signals.
- Music Wire or Guitar String: This will serve as your spring, the source of that sweet reverb.
- Small Gauge Wire: You’ll need this for connecting the piezo element to the audio jack.
- Audio Jack: This is your output, where you’ll plug in your microphone to record or amplify your sound.
- CA Glue and Hot Glue: These adhesives will help you assemble the various parts of your microphone securely.
- Small Machine Screws: To hold the lower half of the microphone, these will really help you out.
Tools of the Trade
- Tinkercad: A user-friendly, free online 3D modeling tool.
- Soldering Iron and Solder: For connecting the electronics.
- Wire Strippers: To prepare the ends of your wires for soldering.
- Scissors or Wire Cutters: For cutting the spring and wires to the correct length.
- Lighter (optional): To speed up the hot glue heating process.
Anycubic Coupon – $5 off $50+ sitewide with code DIY5OFF
Designing Your Sonic Weapon
Now that you’ve got all your stuff, it’s time to start designing your 3D-printed spring reverb creation. We are going to use Tinkercad!
Tinkercad Basics
Tinkercad is going to be your friend during this project. It is really easy to use, even if you have not used a 3D modeling software before. It’s free, online, and has everything you need to craft your microphone.
Crafting the Microphone Body
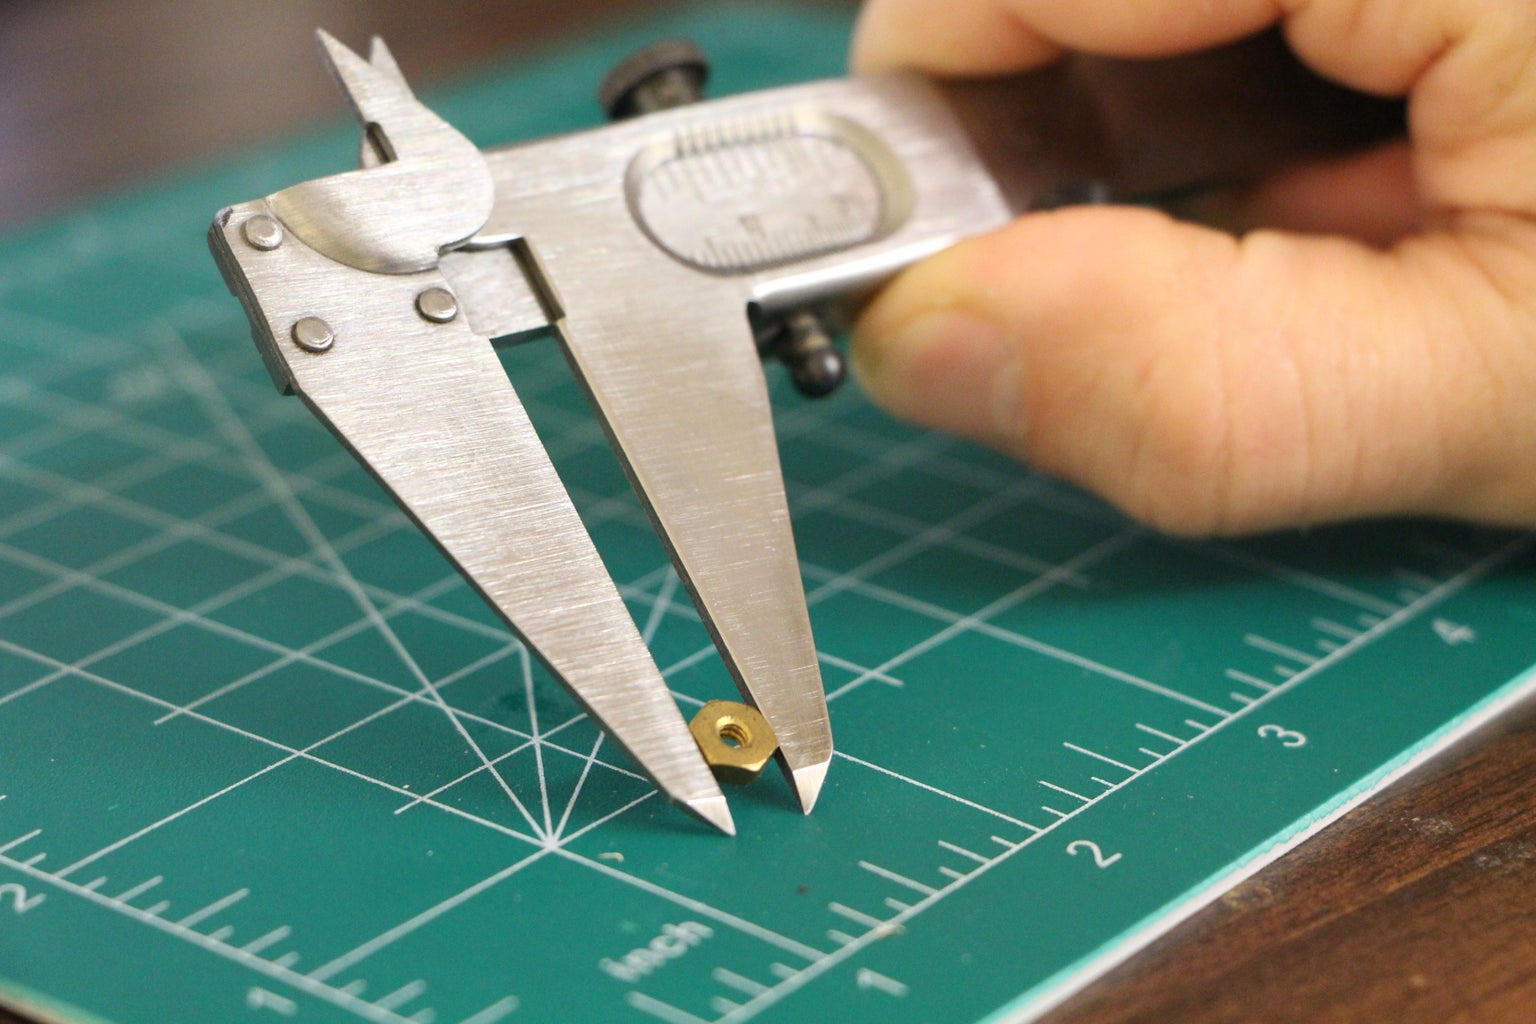
- Measurements: Start by measuring the components you’ll be housing inside the microphone body. This includes the piezo element, spring, and any additional support structures. You want to make sure it will all fit inside.
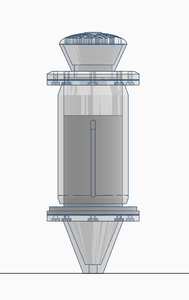
- Basic Shape: Create a cylindrical shape for the body of the microphone. Adjust the dimensions to comfortably fit the components inside.
- Hollowing: Use the “hole” function in Tinkercad to hollow out the cylinder. Leave enough wall thickness for structural integrity, about 2-3mm should do the trick.
- Compartments: Design internal compartments to hold the piezo element and spring. These compartments should keep the components in place and prevent unwanted movement or contact.
Designing the Membranes
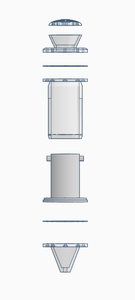
- Circular Shapes: Create two thin, circular shapes to serve as the membranes that will hold the spring in place.
- Attachment Points: Add small posts or ridges to the membranes where the spring will be attached. These should be positioned in the center of each membrane to ensure even distribution of vibration.
- Integration: Design a way for the membranes to attach securely to the microphone body. This could involve threading, snap-fit connections, or simple slots for adhesive.
Pro Tip: Hexagonal Bolts
To create hexagonal bolts in Tinkercad, use the polygon tool and adjust the number of sides to six. This is a simple way to add a professional touch to your design.
Pro Tip: Hollow Cones
You can create hollow cones by duplicating a cone shape, making the duplicate slightly smaller, and then using the “hole” function to subtract the smaller cone from the larger one. This is useful for creating lightweight support structures or decorative elements.
Pro Tip: Bolt Pattern Layout
Create a symmetrical bolt pattern by placing a cylinder, then duplicating and rotating it around a central axis. This trick ensures that your bolts are evenly spaced and aligned.
Printing Your Parts
With your designs finalized, it’s time to bring them to life through the magic of 3D printing.
Setting Up Your Printer
- Slicing: Import your Tinkercad designs into a slicing software like Cura or Simplify3D. Adjust the settings for your printer and filament.
- Layer Height: A layer height of 0.2mm is a good balance between print speed and quality.
- Infill: Use an infill percentage of 20-30% for the microphone body to provide enough strength without adding excessive weight.
- Supports: Enable supports for any overhanging features, such as the compartments inside the microphone body.
Printing the Body and Membranes
- Orientation: Orient the parts on the print bed to minimize the need for supports and to ensure that the layers are aligned for maximum strength.
- Adhesion: Use a brim or raft to improve bed adhesion, especially for parts with a small footprint.
- Monitoring: Keep a close eye on the first few layers to ensure that the print is adhering properly to the bed.
Assembling the Sonic Device
Now comes the fun part: putting everything together and seeing your microphone take shape.
Spring Creation
- Material Selection: Using something like music wire or a guitar string, the first step is to get your spring material. This will be a big part in the sound of the reverb.
- Coiling: Wrap the wire around a cylindrical object like a pen or dowel to create the spring shape. The tighter the coils, the denser the reverb effect will be.
- Length Adjustment: Cut the spring to the desired length using wire cutters. Experiment with different lengths to find the sweet spot for your reverb effect.
Electronics Integration
- Piezo Wiring: Solder the small gauge wires to the terminals of the piezo element. Make sure the connections are secure and insulated to prevent shorts.
- Audio Jack Connection: Solder the other ends of the wires to the appropriate terminals on the audio jack. Typically, one wire goes to the tip (signal) and the other to the sleeve (ground).
- Testing: Before final assembly, test the piezo element and audio jack by tapping on the piezo and listening for a signal through headphones or an amplifier.
Microphone Assembly
- Lower Half Assembly: Use hot glue and small machine screws to assemble the lower half of the microphone body. This section will house the piezo element and the audio jack.
- Piezo Placement: Secure the piezo element inside its designated compartment using a dab of hot glue. Ensure that it is in contact with the microphone body to capture vibrations effectively.
- Spring Attachment: Attach one end of the spring to the center of one of the membranes using hot glue. Make sure the bond is strong but flexible enough to allow the membrane to vibrate freely.
- Final Enclosure: Attach the second membrane to the other end of the spring, again using hot glue. Carefully align the membranes and ensure that the spring is suspended freely between them.
- Sealing: Seal the upper half of the microphone body to the lower half using hot glue or CA glue. This will create a closed acoustic chamber that enhances the reverb effect.
Pro Tip: Hot Glue Acceleration
Speed up the hot glue heating process by waving a lighter under a stick of hot glue. Be careful not to overheat the glue, as this can cause it to become brittle.
Fine-Tuning Your Creation
Now that your 3D-printed spring reverb microphone is assembled, it’s time to fine-tune it to achieve the best possible sound.
Testing and Adjustments
- Initial Test: Plug your microphone into an amplifier or recording device and test its basic functionality. Tap on the microphone body and listen for the reverb effect.
- Spring Tension: Adjust the tension of the spring by stretching or compressing it slightly. This will alter the character of the reverb, making it either more subtle or more pronounced.
- Membrane Sensitivity: Experiment with different materials for the membranes to adjust their sensitivity. Thinner membranes will be more responsive to vibrations, while thicker membranes will be more durable.
- Chamber Acoustics: Adjust the acoustics of the microphone chamber by adding or removing damping materials such as foam or felt. This will affect the overall tone and decay of the reverb effect.
Troubleshooting
- Weak Signal: If the signal from the piezo element is weak, check the wiring and ensure that the connections are secure. You may also need to adjust the gain on your amplifier or recording device.
- Unwanted Noise: If you’re experiencing unwanted noise or feedback, try isolating the microphone from external vibrations. You can also experiment with different grounding techniques to minimize interference.
- Rattling: If the spring is rattling excessively, make sure that it is properly suspended between the membranes and that there are no loose parts inside the microphone body.

Expanding Your Sonic Horizons
With your 3D-printed spring reverb microphone complete and fine-tuned, you can now explore the endless possibilities of this unique instrument.
Recording Techniques
- Vocal Effects: Use the microphone to add a vintage-inspired reverb to your vocals. Experiment with different microphone placements and recording techniques to achieve the desired effect.
- Instrument Effects: Apply the spring reverb to instruments such as guitars, keyboards, and drums. This can add a warm, organic texture to your recordings.
- Sound Design: Use the microphone to create unique sound effects for film, video games, and other media. The possibilities are endless.
Customization
- Aesthetic Design: Customize the appearance of your microphone by adding paint, decals, or other decorative elements. Let your creativity run wild.
- Material Experimentation: Experiment with different materials for the microphone body and membranes to alter the sound and feel of the instrument.
- Circuit Modification: Modify the electronic circuit to add additional features such as gain control, tone shaping, or even a built-in preamp.
A Note of Thanks
Crafting your microphone is not just about making a piece of equipment; it’s about becoming part of an audio revolution, where tradition meets innovation. And just like that, you’ve crafted not just a microphone, but a sonic time machine, a portal to a world where sound bends to your will and creativity knows no bounds.
Anycubic Coupon – $5 off $50+ sitewide with code DIY5OFF
