
Anycubic 3D Printer Kobra S1 Combo, Multi-Color 3D Printer Max 600mm/s High Speed Printing High Precision, Works Right Out of Box Sealed Storage Intelligent Mult-Filament Drying 9.8"x9.8"x9.8"
$599.99 (as of June 21, 2025 23:57 GMT +00:00 - More infoProduct prices and availability are accurate as of the date/time indicated and are subject to change. Any price and availability information displayed on [relevant Amazon Site(s), as applicable] at the time of purchase will apply to the purchase of this product.)Embarking on the journey of 3D printing can be exhilarating but also quite daunting if you’re faced with software you’ve never tamed before. Fear not, as the video “Cura 3D Slicer For Beginners! In-Depth Tutorial” by 3D Now is your trusty guide through the labyrinth of slicing 3D models with finesse. You’ll start by getting familiar with how to download and install Cura, a leading slicing software that’s both free and user-friendly, all while being the brainchild of the well-known 3D printer company, Ultimaker.
Once you’ve got Cura up and running, thanks to the informative walkthrough, you’ll be taken step by step through setting up your printer, which includes configuring build size and shape, to the more intricate steps of importation and preparation of your model for printing. Say goodbye to guesswork as you learn to navigate through the interface, tweak settings for optimal print quality, and fathom the nuances of print speed and cooling. Whether you’re dealing with supports, build plate adhesion options, or post-processing features like scaling and mirroring, you’re in capable hands that ensure you can produce superb prints from the comfort of your own home.

This image is property of i.ytimg.com.

Understanding Cura 3D Slicer and Its Importance
Explanation of Cura 3D Slicer
Cura 3D Slicer is a cutting-edge software tool designed to convert your 3D model into a format that your 3D printer can understand and execute. This process is known as slicing, as it essentially slices your 3D model into thin horizontal layers and generates the necessary instructions for printing each layer.
Why Cura 3D slicer is important for 3D printing
The importance of Cura cannot be overstated when it comes to 3D printing. It acts as the middleman between your ideas and the physical reality they become – interpreting your 3D designs and turning them into a language your printer speaks. Without it, your printer would be like a skilled craftsman without tools – full of potential but unable to create.
Understanding the role of a slicing software in 3D printing
A slicing software is imperative in 3D printing as it translates your three-dimensional model into a set of instructions – a G-code file – that guides the printer on the path to follow, the speed, the temperature, and other critical variables needed for your creation.
Downloading and Installing Cura
Detailed steps for downloading Cura
You start by seeking out the Cura software online. A simple search with the words ‘Cura software’ should lead you straight to the source. When you’ve located the software, proceed to download it, opting not to provide information if you so choose.
Guidance on installing Cura for both Mac and Windows
Once downloaded, the installation process is relatively smooth. If you’re on a Mac, drag the Cura application into your applications folder. Windows users will follow a series of prompts that guide through the process.
Troubleshooting common issues during installation
It’s possible to run into issues during installation, such as permission warnings or installation hangs. If this happens, ensure you have the latest version of your operating system and try running the installer as an Administrator on Windows or checking your security preferences on Mac.

Setting Up 3D Printer in Cura
Guidance for setting up a new printer within Cura
Upon initial startup or within the preferences section, you can set up a new printer by inputting your printer’s details. This includes build size, shape, nozzle size, and filament diameter. Ensuring that these settings are accurate is essential for precise printing.
Defining build size, shape, and other initial settings
You will specify the dimensions of your printer’s build plate and the shape – whether rectangular or circular. You also set the origin point, decide if your bed is heated, and input the nozzle and filament sizes.
Navigating the Cura Interface
Understanding Cura’s user interface
The Cura interface is intuitively designed. On the right, you have settings and on the left tools for manipulating your model. At the top, you can toggle between different views of your model and the actual slicer settings.
How to zoom, orbit, and adjust view settings
With simple mouse controls or trackpad gestures, you can zoom in and out, orbit to rotate the view, and pan across the build plate. This allows you to examine your model from all angles before printing.

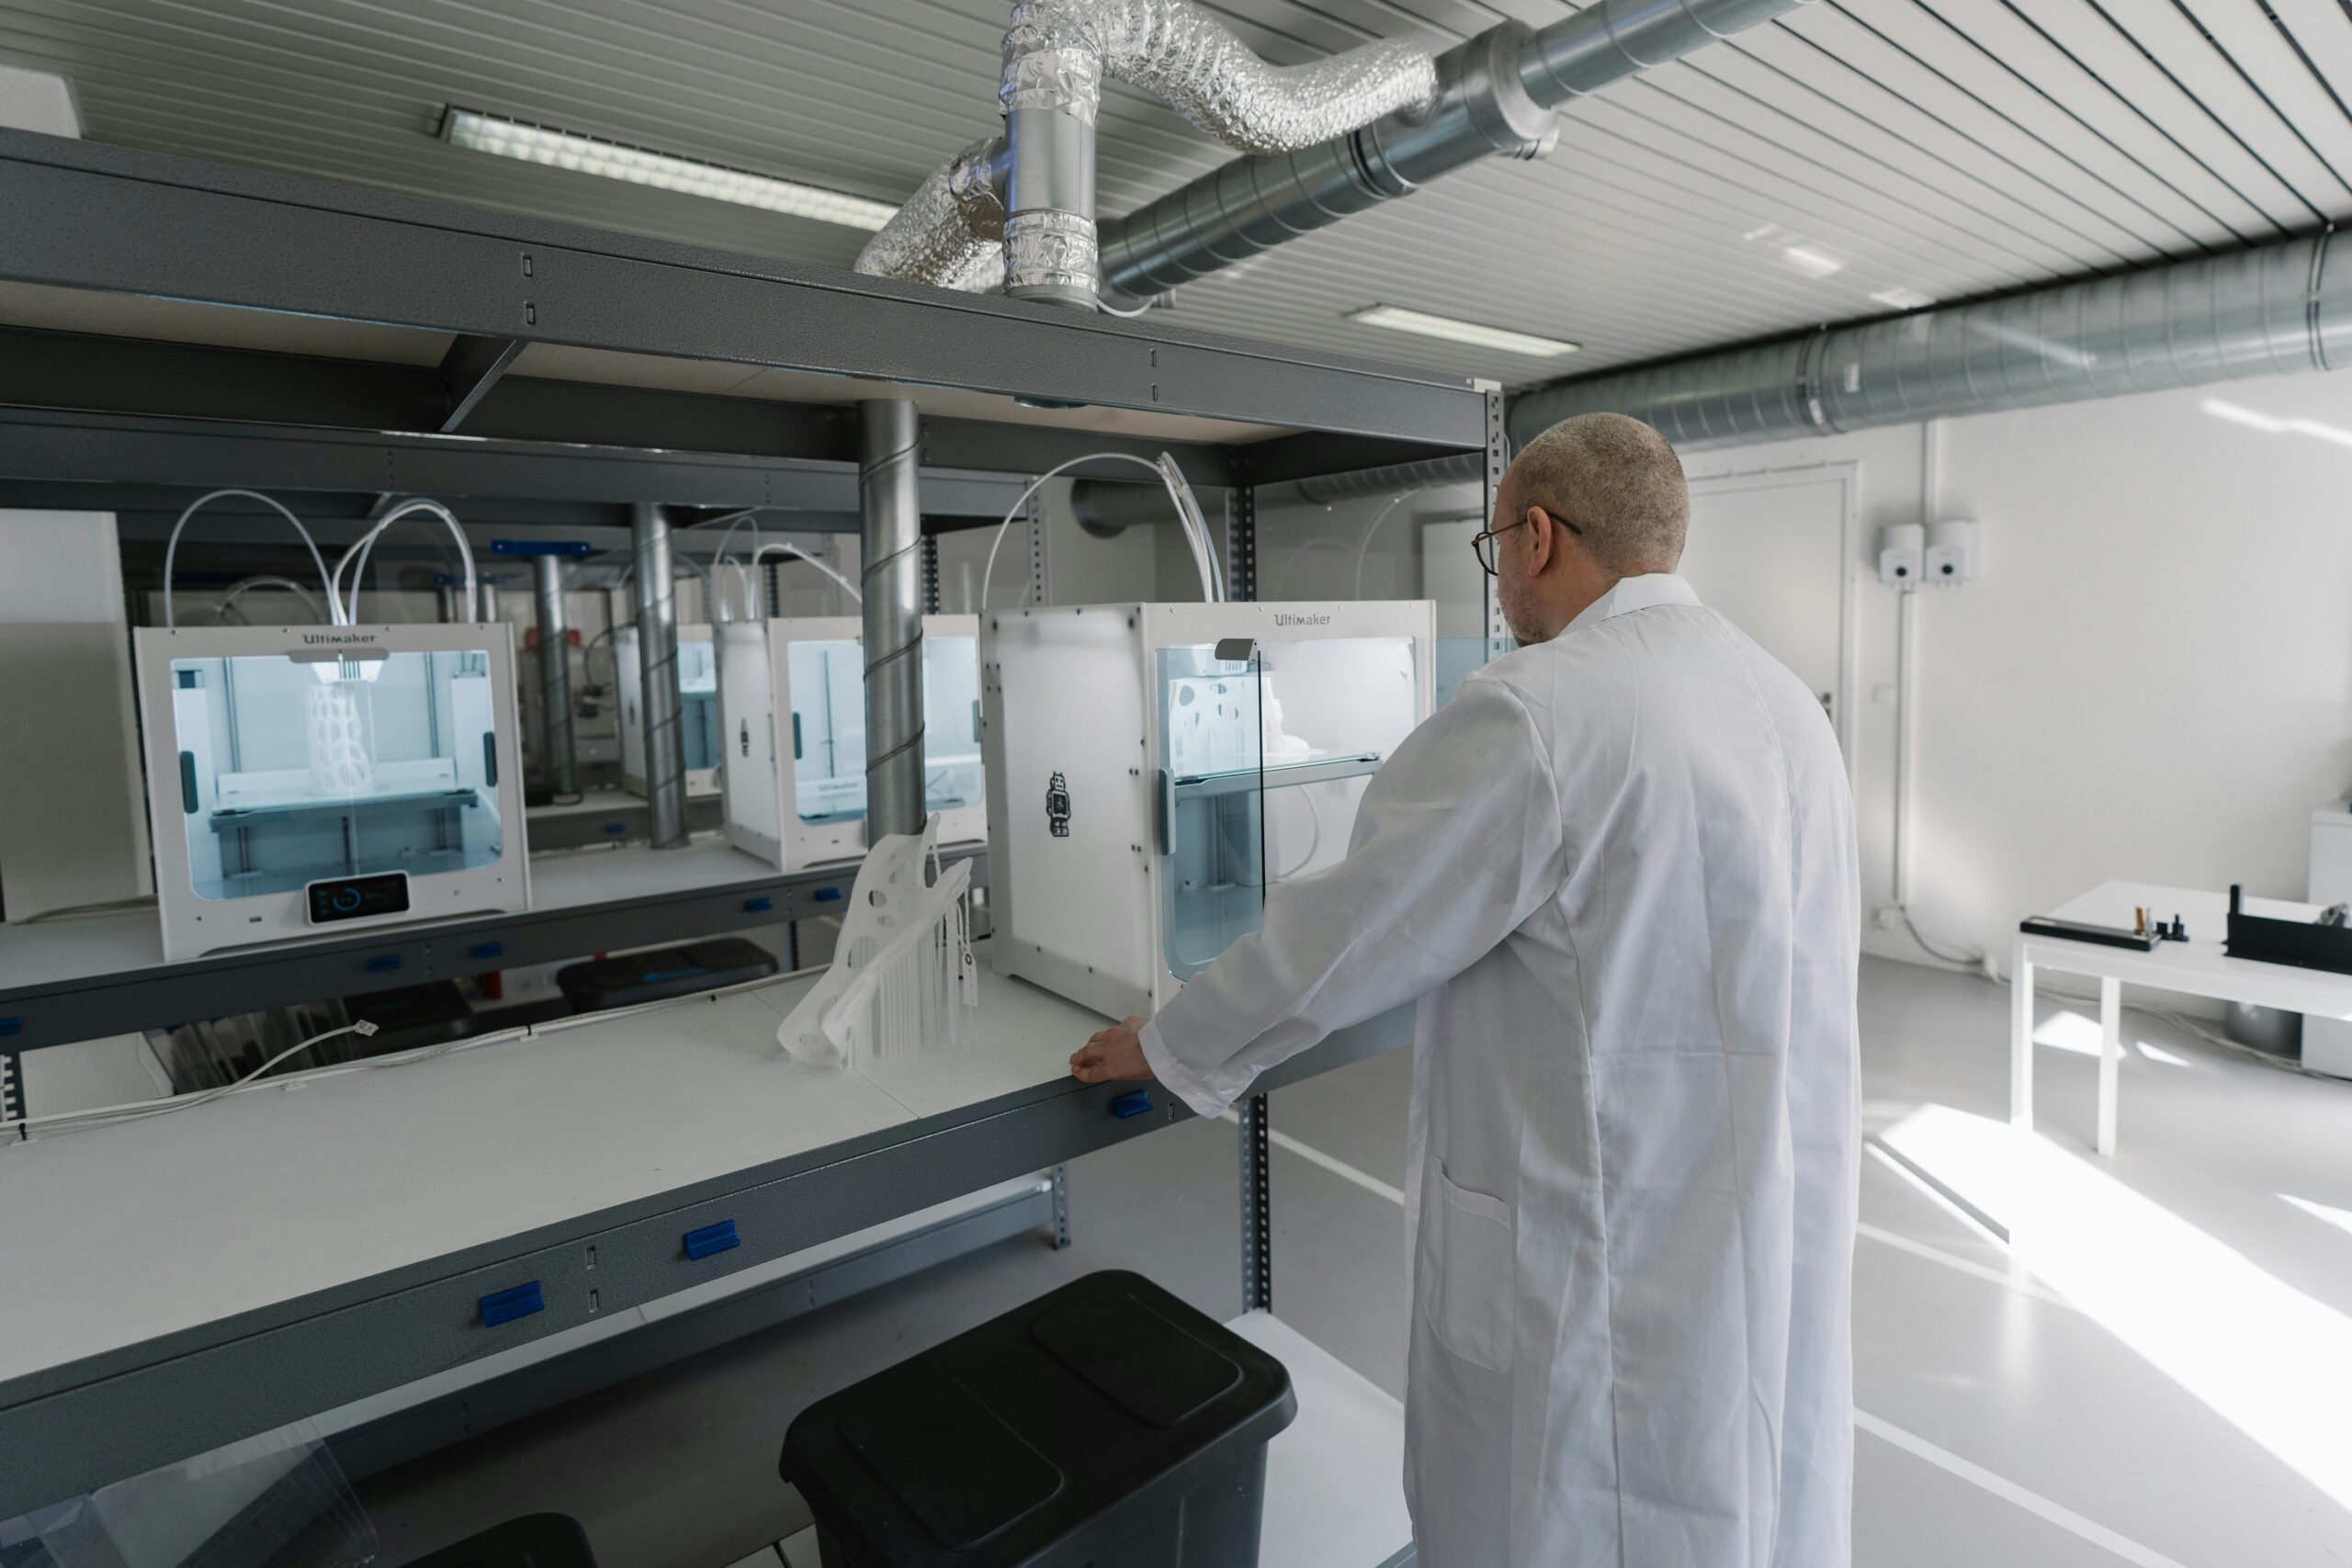
This image is property of images.unsplash.com.
Importing and Preparing a Model for Printing
Steps to import a 3D model into Cura
You can import your 3D model by either using the ‘Open File’ icon or by dragging and dropping the file directly into the build area within Cura. The model will appear centered on the build plate.
How to prepare a model for printing
Once imported, you can scale, rotate, and move your model. Look for overhangs indicated in red, which might require support, and assess the most efficient orientation for printing.
Adjusting Print Settings for Optimal Quality
Explanation of layer height, shell thickness, and infill percentage
The layer height will affect the print’s detail (the finer the layer, the higher the resolution), while the shell thickness determines the strength and surface finish. Infill percentage is how solid the printed object will be – a higher percentage means a sturdier object but uses more filament.
Understanding the impact of each setting on print quality
Each setting entails a tradeoff. Finer resolution prints take longer but are more detailed, thicker shells improve surface durability but increase print times, and higher infill means stronger prints but uses more material.

This image is property of images.unsplash.com.
Understanding and Adjusting Material Settings
Insight on material settings
Each material has its own set of optimal printing conditions that include the print temperature and speed. These settings can vary widely between different types of filament like PLA, ABS, or TPU.
Determining optimal print temperature and filament diameter
The optimal print temperature ensures that the filament melts and extrudes smoothly. Ensure you know your filament’s diameter (1.75mm or 2.85mm are common) for accurate extrusion rates.
How to improve print cleanliness with retraction
Retraction helps in preventing stringing, which is when small hairs-like strings of plastic are left between different parts of the print. Properly configuring retraction can significantly improve the finish of your prints.
Mastering Print Speed and Cooling Settings
Importance of print speed and cooling settings
Print speed affects the quality and timing of a print. Faster prints can reduce quality and sometimes adhesion. Cooling is essential as it solidifies the filament quickly to maintain shape, especially for overhangs and bridges.
Tips for adjusting these settings for best results
Finding the right balance of speed and cooling is vital – too fast and the print may not adhere well; too cool and overhangs might sag. Experimentation and experience will guide you to find optimal settings for your printer and material.

This image is property of images.unsplash.com.
Applying and Using Supports and Adhesion Options
Understanding the need for supports in 3D printing
Supports are necessary for overhangs and to prevent collapse during printing. They act as scaffolding for your model, which can be removed post-printing.
Features of build plate adhesion options such as brim, skirt, and raft
Adhesion options help the first layers of your print stick to the bed – a skirt outlines the first layer, a brim adds additional rings around your model, and a raft lays down a thicker, removable base under your model.
Ensuring the model sticks to the build bed
Effective bed adhesion is key to a successful print. Choosing the right adhesion method can save you from failures like warping or dislodging during the print process.
Conclusion
Summary of the tutorial
You’ve just walked through a thorough tutorial from understanding Cura and its importance, to downloading, installing, and setting up your printer within the software. You’ve learned to navigate the interface, import and prepare models, adjust settings for quality, understand material specifics, and ensure adhesion and support for your prints.
Encouragement to explore more on 3D printing with Cura
Don’t stop here. The world of 3D printing is vast and incredibly rewarding. Keep exploring Cura’s advanced features and find new ways to bring your incredible designs to life.
Invitation for feedback and further discussion
Your journey will surely be filled with successful prints and learning moments. Share your experiences, ask questions, and join the broader conversation to elevate your skills even further. Happy printing!
UPDATED VIDEO:
• [Updated] Your Complete Beginner’s Guid…
Download Cura:
This video is a comprehensive tutorial for using the Cura Slicer software to prepare and 3D print your models!
Join your fellow enthusiasts on the community discord:
Great 3D Printing Products You Might Like (Affiliate Links):
Gearbest:
FilamentOne:
Slice Engineering:
Check out my website:
Stay connected with me on Instagram –
Get updates and follow me on Twitter –
Song: Footsteps by Jef


Creality PETG Filament 1.75, 3D Printer Filament, Excellent Toughness High Precision, Odorless Non-Toxic Moistureproof, 1kg(2.2lbs) Glossy 3D Printing Filament for 3D Printer (Black)
$14.99 (as of June 21, 2025 23:49 GMT +00:00 - More infoProduct prices and availability are accurate as of the date/time indicated and are subject to change. Any price and availability information displayed on [relevant Amazon Site(s), as applicable] at the time of purchase will apply to the purchase of this product.)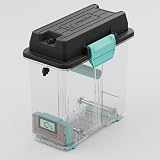
Polymaker 3D Printing Filament Storage Box - PolyDryer Box for Continuous Filament Sealing and Protection, 3D Printer Filament Holder Compatible with PA Nylon, PLA, PVB, PETG, ABS, TPU 1.75mm 2.85mm
$29.99 (as of June 21, 2025 23:49 GMT +00:00 - More infoProduct prices and availability are accurate as of the date/time indicated and are subject to change. Any price and availability information displayed on [relevant Amazon Site(s), as applicable] at the time of purchase will apply to the purchase of this product.)
Official Creality Ender 3 3D Printer Fully Open Source with Resume Printing Function DIY Printers Build Volulme 8.66x8.66x9.84 inch
$179.00 (as of June 21, 2025 23:57 GMT +00:00 - More infoProduct prices and availability are accurate as of the date/time indicated and are subject to change. Any price and availability information displayed on [relevant Amazon Site(s), as applicable] at the time of purchase will apply to the purchase of this product.)
ANYCUBIC Photon Mono M7 Resin 3D Printer, 10.1 inch 14K HD Screen with COB LighTurbo 3.0 System, 150mm/h Fast Printing, Intelligent 3D Resin Printer, Build Volume of 8.77''x4.96''x9.05''
$299.99 (as of June 21, 2025 23:57 GMT +00:00 - More infoProduct prices and availability are accurate as of the date/time indicated and are subject to change. Any price and availability information displayed on [relevant Amazon Site(s), as applicable] at the time of purchase will apply to the purchase of this product.)