Upgraded Tina2S 3D Printer, HEPHI3D 3D Printers WiFi Cloud Printing Auto Bed Leveling, Fully Assembled Mini 3D Printers for Beginners, Silent Print, Fully Open Source DIY 3D Printers for Home, School
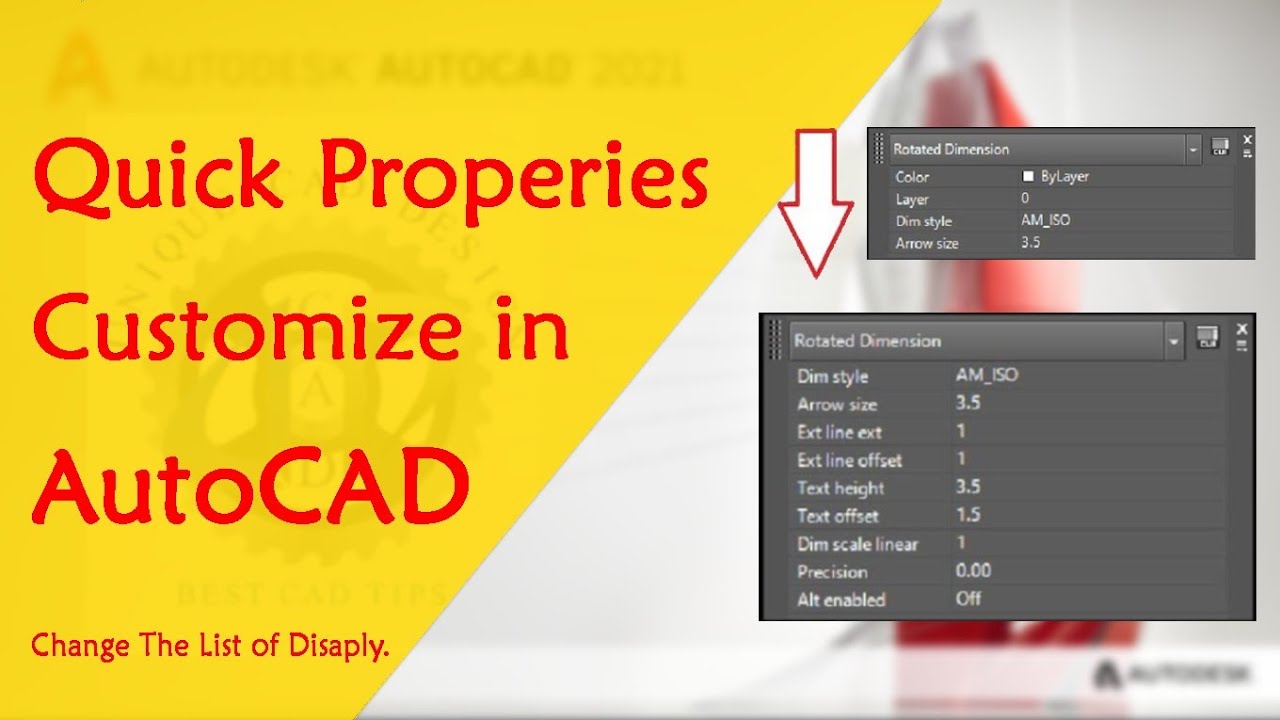
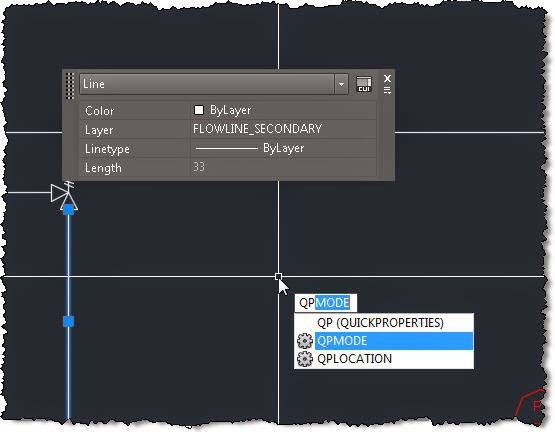
$204.99 (as of June 19, 2025 23:45 GMT +00:00 - More infoProduct prices and availability are accurate as of the date/time indicated and are subject to change. Any price and availability information displayed on [relevant Amazon Site(s), as applicable] at the time of purchase will apply to the purchase of this product.)Have you ever found yourself frustrated with the Quick Properties palette in AutoCAD because it seems to always get in your way? Or maybe you avoid using it altogether because it doesn’t display the information you find most relevant. There’s a chance you might not even know this feature exists. These are all understandable reasons, but let’s be real—utilizing Quick Properties can significantly boost your workflow efficiency. Let’s go through how you can customize the Quick Properties palette to better serve your needs in AutoCAD.
Customize Your Quick Properties in AutoCAD
Anycubic 3D Materials Sale: Resin & PLA from $9.49/kg
Enabling Quick Properties
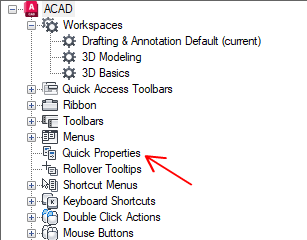
First things first, let’s make sure Quick Properties is enabled. This isn’t always turned on by default, so you might have missed its existence altogether. To enable it, click on the three-horizontal bar “customize” icon located in the corner of your screen. Scroll through the list and find “Quick Properties.” Once located, click on it. Its icon will then appear in the status bar. When the icon is light blue, it means Quick Properties has been enabled.
Customize Your Displayed Quick Properties
The most common complaint about Quick Properties is that it doesn’t display the object information that’s useful to you. We can fix that by customizing the displayed properties. Open the CUI Editor by clicking on “CUI User Interface” in the Customization panel under the Manage tab of the Ribbon. Alternatively, you can simply type CUI in the Command Line.
Your CUI dialog might look different from mine, and this is due to different versions or interface customizations. If you’re having trouble navigating the dialog, look for two small red squares—they help in expanding and collapsing panels.
Anycubic 3D Materials Sale: Resin & PLA from $9.49/kg
General and Specific Properties
Quick Properties is divided into two categories:
- General Properties: These are common properties that apply to all objects.
- Specific Properties: These apply to particular types of objects.
Changing General Properties
In the Customize tab of the CUI Editor, click on “Quick Properties” in the “Customize in All Files” panel. On the right side, you’ll see a list of available objects. The general properties will be displayed to the right of these objects. You can add or remove properties from this list. Remember to click the “Reset Overrides” button to save any changes.
Adding Specific Properties
Say you frequently work with 2D Polylines and need to track the global width frequently. Click on “2D Polyline” in the left panel of the CUI Editor. Its properties will appear in the right panel. Select “Global Width” and click OK to save and exit.
From now on, whenever you click a 2D Polyline, the Quick Properties palette will include the Global Width. You can do this for any object type listed. Just make your selection and save it.
Adding New Object Types
Perhaps the object type you frequently use isn’t listed in the default options. No problem. Right-click in the objects panel and select “Edit Object Type List.” A dialog box will appear. Find and check the boxes for the object types you use, such as Rays and Xlines, and click OK. This ensures that Quick Properties are customized to include these specific types.
| Action | Description |
|---|---|
| Enable Quick Properties | Click on the customize icon and select Quick Properties to add its icon to the status bar. |
| Access CUI Editor | Go to Manage tab > Customization panel > CUI User Interface or type CUI in the Command Line. |
| Add/Remove General Properties | Customize tab > Quick Properties > Customize in All Files. |
| Include Specific Object Properties | Select the object type > choose relevant properties > Save. |
| Add New Object Types | Right-click in objects panel > Edit Object Type List > Find and check boxes for new types > OK. |
Managing the Display of Quick Properties
Even with the right properties listed, the palette can still feel intrusive. Thankfully, you can manage how and where it displays.
Accessing Quick Properties Tab
To do this, you need to access the Quick Properties tab in the Drafting Settings dialog. You can get there by right-clicking on the Quick Properties icon in the status bar and selecting “Settings.”
Limiting Display to Specific Objects
Within the settings, the top panel allows you to limit the display of Quick Properties to only objects with specified properties. This can be particularly useful for keeping the displayed information relevant without overcrowding your workspace.
Adjusting Location
The palette’s default position is 50 pixels to the top-right of your cursor location, which might not work for everyone. Select the middle area to define a new location. You can change it to another quadrant or alter the distance from your cursor (ranging from 0 to 400 pixels).
Alternatively, you can choose a static location by dragging the Quick Properties palette to a spot on your screen. It will always appear there, minimizing disruption to your workflow.
Displaying Rows
Finally, you can specify how many rows of properties the palette should display when collapsed. Roll over the edge of the palette to expand it fully when needed, keeping your workspace neat and efficient.
| Function | Description |
|---|---|
| Access Quick Properties Settings | Right-click Quick Properties icon > Settings. |
| Limit Display | Display Quick Properties only for objects with certain specified properties. |
| Adjust Location | Change the quadrant or distance from cursor. Alternatively, set a static location by dragging the palette. |
| Manage Row Display | Specify the number of rows to display when collapsed and expand as needed. |
Additional Insights
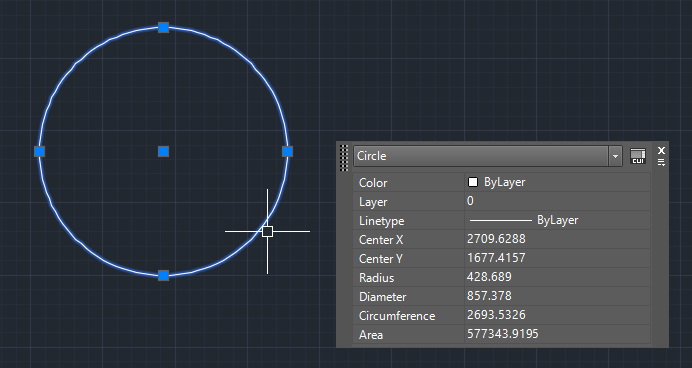
To offer maximum flexibility, you can also access these settings from within the palette itself. Clicking on the Options icon on the sidebar will take you to these controls. If it only shows general properties, a link will take you to the CUI dialog directly.
A Personal Note
This particular Tuesday Tip marks my 100th installment in this series, a milestone that brings immense pride and gratitude. Reflecting on where we started back in 2018 with the fifth-ever tip, to now, it’s been an incredible journey. I’m grateful to my AutoCAD team, my various contacts over the years, and most importantly, you—the dedicated readers. Here’s to the next 100 tips!
More Tuesday Tips
For more such tips and tricks, check out our comprehensive Tuesday Tips series. Do you have any favorite AutoCAD tips? Feel free to share them in the comments!
For a deeper dive into improving your AutoCAD experience, read the full article Customize Your Quick Properties in AutoCAD: Tuesday Tips With Frank. You’d be amazed at how these simple customizations can streamline your workflow!
Anycubic 3D Materials Sale: Resin & PLA from $9.49/kg


