FLASHFORGE AD5M 3D Printer Fully Auto Calibration Print with 1-Click Max 600mm/s Speed, All-Metal CoreXY Structure Precise Printing, Easy-Maintenance Quick-Swap Nozzle, Print Size 220x220x220mm
$259.00 (as of June 18, 2025 23:32 GMT +00:00 - More infoProduct prices and availability are accurate as of the date/time indicated and are subject to change. Any price and availability information displayed on [relevant Amazon Site(s), as applicable] at the time of purchase will apply to the purchase of this product.)Step up your sanding game with the 3D printable sanding blocks collection by Printables contributor Jan Štech. Whether you’re working on small, curved, or angled surfaces, these sanding blocks offer a convenient and effective way to achieve smooth finishes on your 3D prints. With three different shapes to choose from – a flat surface, a curved surface, and a precision sharper curved surface – you’ll have the perfect tool for any geometry. Plus, the blocks come with a cover that can be secured with a standard M6 bolt and nut, ensuring that your sandpaper stays in place. Say goodbye to the tedious task of sanding with a loose piece of sandpaper and say hello to precision and efficiency with the 3D printable sanding block collection.
Overview of Sanding Blocks


Introduction to sanding blocks
Have you ever found yourself frustrated with the rough surfaces on your 3D prints? Sanding blocks may be the solution you’ve been looking for. In this article, we will explore the importance of sanding blocks for 3D printing, the different types available, and additional hardware requirements. We will also discuss the other designs by Jan Štech and the honeycomb wall holder, as well as the benefits of using sanding blocks, tips for using them effectively, and their various applications. Finally, we will share user reviews and feedback and conclude with a recap of the importance and benefits of sanding blocks.
Importance of sanding blocks for 3D printing
Sanding is an essential part of achieving smooth and polished surfaces on your 3D prints. While 3D printers can produce intricate and detailed designs, the layer lines and imperfections can be a drawback. This is where sanding blocks come in. They provide a convenient and efficient way to sand down the surfaces and eliminate any visible layer lines or defects. Sanding blocks allow for better control and precision in sanding small, curved, or angled surfaces, making the entire process much easier and more effective.
Types of sanding blocks
When it comes to sanding blocks, there are various types to choose from, each with its own unique shape and design. These blocks are specifically designed to hold small sections of sandpaper securely, enabling you to sand with precision and accuracy. Some common types include flat surface sanding blocks, curved surface sanding blocks, and precision sharper curved surface sanding blocks. Each of these types serves a specific purpose and caters to different surface shapes and contours. By having a variety of sanding blocks at your disposal, you can tackle any sanding task with ease and achieve professional results.
Description of the Sanding Blocks collection by Printables
One notable collection of sanding blocks is the Sanding Blocks collection by Printables contributor Jan Štech. This collection offers a set of three differently-shaped sanding blocks that are designed to hold small sections of sandpaper. The collection includes a flat surface block, a curved surface block, and a precision sharper curved surface block. These blocks are 3D printable, making them easily accessible and customizable to your specific needs. With the Sanding Blocks collection, you can elevate your sanding experience and ensure smoother and more polished surfaces on your 3D prints.
Different shapes and designs of the sanding blocks
The Sanding Blocks collection by Jan Štech stands out because of its range of shapes and designs. Each sanding block in the collection serves a specific purpose and caters to different surface shapes and contours. The flat surface sanding block is ideal for sanding large, flat areas, ensuring even and consistent sanding. The curved surface sanding block is perfect for sanding rounded or cylindrical surfaces, allowing you to follow the contours of the design with ease. The precision sharper curved surface sanding block is designed for sanding intricate and detailed areas, providing the ultimate control and precision. With these different shapes and designs, you can achieve exceptional results on various surface types.
Benefits of using these sanding blocks
Using the Sanding Blocks collection by Printables offers several benefits. Firstly, these blocks provide a secure and stable platform for sanding, ensuring that the sandpaper stays in place and doesn’t slip while you work. This increases the efficiency and effectiveness of your sanding process. Secondly, the different shapes and designs of the sanding blocks allow for greater versatility and adaptability. You can easily switch between blocks depending on the surface you’re working on, making it easier to achieve the desired finish. Lastly, these sanding blocks are 3D printable, which means you can customize them to fit your specific needs and preferences. This level of personalization enhances your overall experience and results in higher-quality prints.
Explanation of additional hardware needed
To use the Sanding Blocks collection by Printables, you will need some additional hardware. This includes an M6 bolt and nut to fasten the sandpaper cover onto the block. The bolt and nut serve as a secure and reliable way to hold the sandpaper in place, preventing it from shifting or coming loose during sanding. This hardware requirement ensures that the sandpaper cover remains tightly secured to the block, allowing you to focus on the sanding process without any interruptions. While this additional hardware may seem like a small detail, it plays a crucial role in the overall functionality and effectiveness of the sanding blocks.
Use of M6 bolt and nut to fasten the sandpaper cover
The M6 bolt and nut serve as integral components in the sanding block’s design. By using these fasteners, you can easily attach and secure the sandpaper cover onto the block. The M6 bolt and nut provide a strong and reliable connection, ensuring that the sandpaper remains in place throughout the sanding process. This eliminates the risk of the sandpaper becoming loose or shifting, which could result in less accurate sanding and potentially damage to your 3D prints. The use of these fasteners may require some additional tools and effort, but it greatly enhances the overall functionality and effectiveness of the sanding blocks.

Introduction to Jan Štech’s other designs
Jan Štech, the contributor behind the Sanding Blocks collection, has also created numerous other designs that cater to the needs of 3D printing operations. These designs showcase Štech’s expertise and passion for enhancing the 3D printing process. From practical tools to decorative accessories, Štech’s collection offers a wide range of options for 3D printing enthusiasts. By exploring Štech’s other designs, you can unlock new possibilities and further elevate your 3D printing experience.
Overview of the 23 unique models on Printables by Jan Štech
Štech’s contributions to the Printables platform are impressive, with a total of 23 unique models available. These models cover a wide range of applications and functionalities, providing solutions for various aspects of 3D printing operations. Whether you need tools for post-processing, organizational accessories, or decorative additions, Štech’s designs have you covered. The diverse range of models ensures that there is something for everyone, regardless of their specific needs or preferences. By exploring these unique models, you can discover innovative ways to enhance your 3D printing workflow and create even better prints.
Importance of these designs for 3D printing operations
Jan Štech’s designs play a vital role in improving the overall efficiency and quality of 3D printing operations. By addressing specific needs and challenges faced by 3D printing enthusiasts, Štech’s designs provide practical solutions that streamline the process and enhance the end result. For example, the sanding blocks in the collection greatly simplify the sanding process, resulting in smoother surfaces and better overall finishes. Similarly, the honeycomb wall holder ensures convenient storage and easy access to tools and accessories, reducing clutter and promoting organization. These designs demonstrate the value of innovation in 3D printing and showcase the potential for continuous improvement in the field.
Description of the honeycomb wall holder
The honeycomb wall holder is another notable design by Jan Štech. This accessory serves as a practical and stylish solution for storing and organizing various tools and accessories, including the sanding blocks from the collection. The honeycomb design not only adds a visually appealing touch to your workspace but also allows for easy access and retrieval of items. The holder can be mounted on the wall, maximizing available space and keeping your tools within reach. With the honeycomb wall holder, you can maintain a tidy and efficient workspace while showcasing your 3D printing tools in an elegant and functional manner.
Design and functionality of the wall holder
The honeycomb wall holder features a unique and eye-catching design that adds a touch of sophistication to any workspace. The honeycomb structure consists of hexagonal compartments that can accommodate various tools, including the sanding blocks. This design promotes organization and prevents items from getting tangled or misplaced. The wall-mounted functionality ensures that the holder is easily accessible and doesn’t take up valuable workspace. With the honeycomb wall holder, you can keep your tools within arm’s reach and maintain a clean and efficient workspace, enhancing your overall 3D printing experience.
How to use the wall holder for sanding blocks
Using the honeycomb wall holder for your sanding blocks is a simple and straightforward process. First, mount the holder on a suitable wall surface, ensuring it is at a convenient height and location. Once securely mounted, place the sanding blocks in the hexagonal compartments, ensuring they fit comfortably and securely. This arrangement allows for easy access and retrieval of the sanding blocks whenever they are needed. The honeycomb wall holder not only ensures that your sanding blocks are within reach but also adds a decorative element to your workspace. By utilizing the wall holder, you can optimize your organization and workflow, making your 3D printing process more efficient and enjoyable.
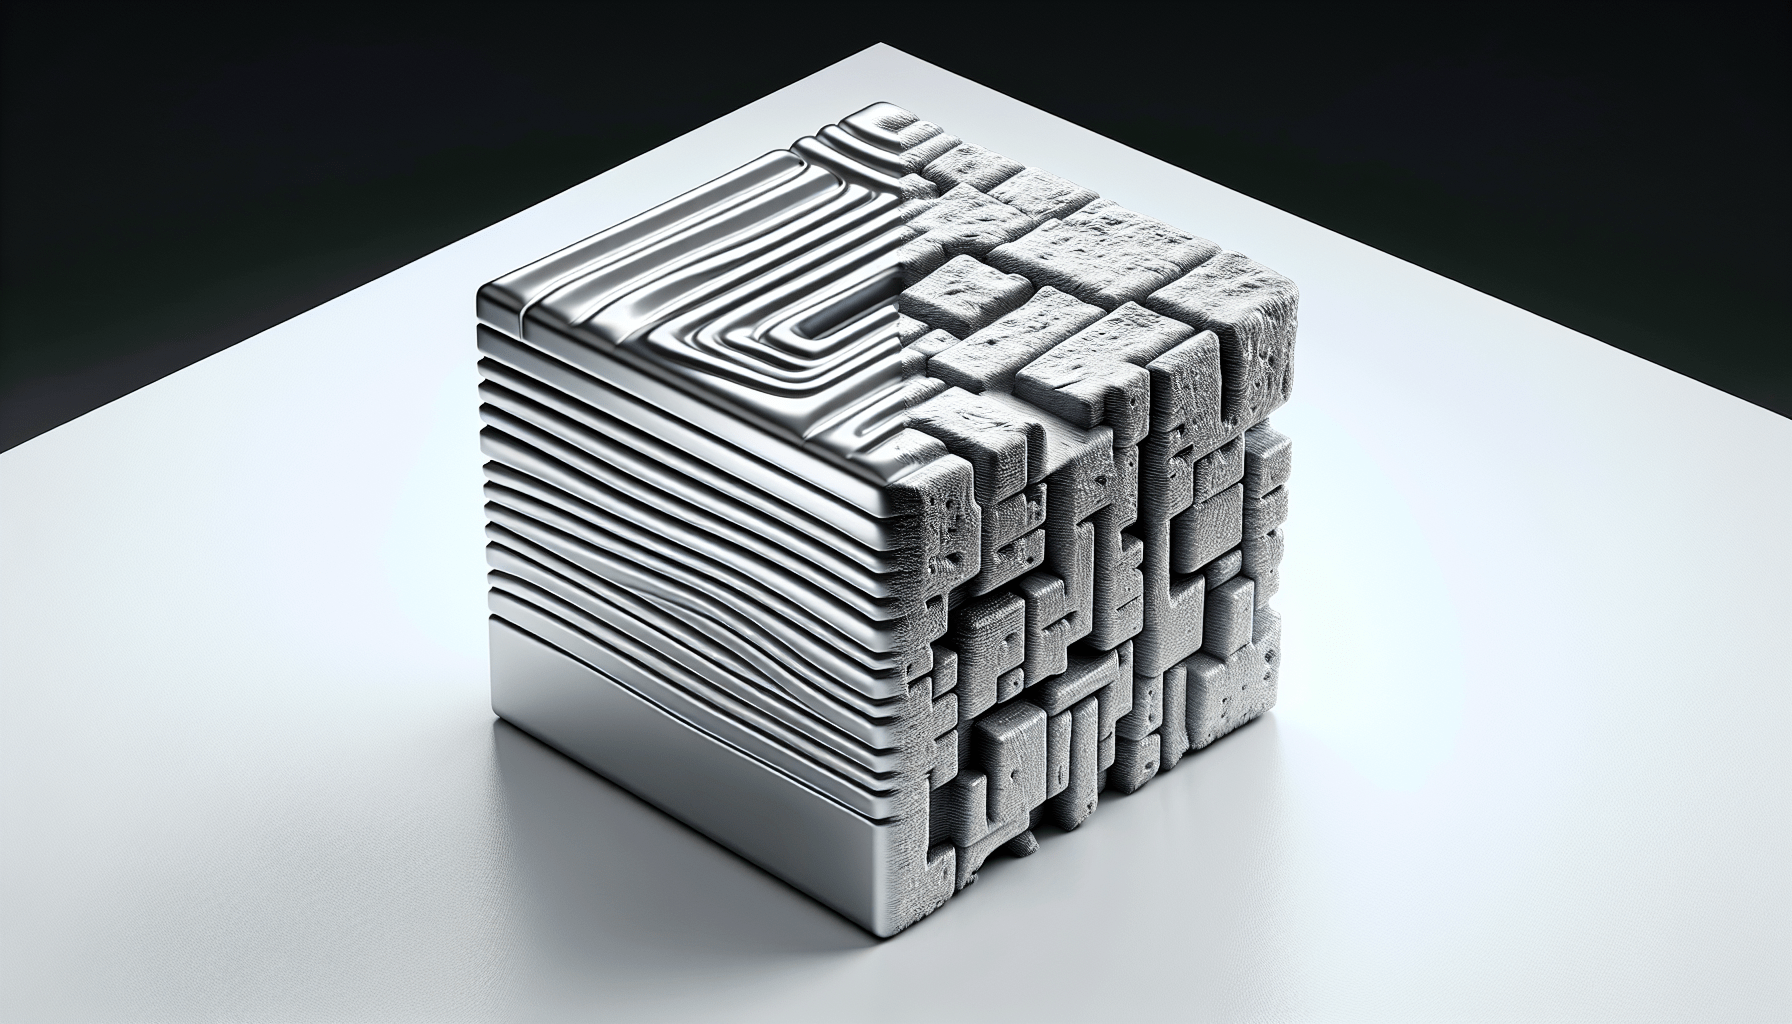
Smooth and polished surfaces
One of the primary benefits of using sanding blocks is the ability to achieve smooth and polished surfaces on your 3D prints. Sanding blocks allow you to remove layer lines, imperfections, and roughness, resulting in a high-quality finish. By using the appropriate sandpaper and following the proper sanding technique, you can effectively eliminate visible defects and create a flawless surface. Sanding blocks provide the necessary support and control, ensuring that the sanding process is precise and effective. With sanding blocks, you can transform your 3D prints from rough prototypes to polished masterpieces.
Efficient sanding process
Sanding blocks offer a more efficient alternative to traditional sanding methods. The blocks provide stability and control, allowing you to apply consistent pressure and achieve even results. Unlike manually sanding with a loose piece of sandpaper, using sanding blocks eliminates the need for constant adjustments and repositioning. The sanding blocks securely hold the sandpaper in place, enabling you to focus on the sanding motion rather than worrying about the sandpaper slipping or shifting. This increased efficiency translates to time saved and a more productive sanding process overall. With sanding blocks, you can work more effectively and achieve superior results in less time.

Easy handling of small, curved, and angled surfaces
One of the challenges of sanding 3D prints is the need to navigate small, curved, and angled surfaces. These intricate designs require a steady hand and precise control to ensure that the sanding is done correctly. Sanding blocks excel in addressing this challenge by providing a stable platform and better grip. Their ergonomic design allows for comfortable handling and improved maneuverability, even in tight spaces. By using sanding blocks, you can confidently tackle any surface shape and contour, knowing that the blocks will provide the necessary support and control. This ease of handling makes sanding smaller, curved, and angled surfaces a breeze, resulting in consistently smooth and polished finishes.
Proper technique for sanding with the blocks
To get the most out of your sanding blocks, it’s essential to follow the proper sanding technique. Begin by selecting the appropriate grit sandpaper for the task at hand. Coarser grits are suitable for removing material and smoothing rough surfaces, while finer grits are ideal for achieving a polished finish. Secure the sandpaper onto the block using the M6 bolt and nut, ensuring that it is tightly fastened and covers the surface area of the block. Hold the block firmly in your hand and apply even pressure as you move the block across the surface to be sanded. Remember to move in a consistent and continuous motion, checking your progress frequently to ensure that you are achieving the desired results. Finally, as you near the end of the sanding process, switch to a finer grit sandpaper to refine the surface further and achieve a smooth and polished finish. Following these steps will ensure that you make the most of your sanding blocks and obtain professional-quality results.
Choosing the right grit sandpaper
Selecting the appropriate grit sandpaper is crucial for achieving optimal results. Different grits of sandpaper are suited for different stages of the sanding process. Coarser grits, such as 80 or 120, are ideal for initial rough sanding and removing visible layer lines or imperfections. As you progress, you can move to finer grits, such as 220 or 320, for refining the surface and achieving a smoother finish. Finer grits, such as 400 or 600, can be used for final sanding and achieving a polished appearance. It’s important to choose the right grit sandpaper for the specific task and desired outcome. Starting with a coarser grit and gradually progressing to finer grits will ensure that you achieve a flawless finish on your 3D prints.
Preventing damage to the 3D prints
While sanding is essential for achieving smooth and polished surfaces, it’s crucial to exercise caution to prevent damage to your 3D prints. One common mistake is applying too much pressure or sanding for an extended period. This can result in sanding through the outer layer of the print or causing unwanted deformations. To avoid this, it’s important to start with a light touch and gradually increase pressure as needed. Additionally, regularly check your progress and inspect the surface for any signs of over-sanding or damage. Making small adjustments and taking breaks throughout the process can help prevent excessive sanding and preserve the integrity of your 3D prints. By taking the necessary precautions, you can achieve excellent results without compromising the structural integrity of your prints.
Various industries and applications that benefit from sanding blocks
Sanding blocks are not limited to a specific industry or application. They are versatile tools that can be used in various fields to enhance the quality and finish of 3D prints. Whether in the automotive industry, where smooth surfaces are crucial for aerodynamics, or in the medical field, where intricate and detailed designs are required, sanding blocks find utility across different sectors. Additionally, hobbyists and DIY enthusiasts can greatly benefit from sanding blocks when working on artistic or functional prints. By using sanding blocks, individuals in these industries and applications can achieve professional-level results and elevate the overall quality of their 3D prints.
Examples of specific use cases
To further illustrate the versatility of sanding blocks, let’s explore some specific use cases. In the automotive industry, sanding blocks can be used to achieve smooth and aerodynamic surfaces on 3D printed components, such as spoilers or air ducts. In the medical field, sanding blocks can assist in refining intricate anatomical models or prosthetic devices, ensuring a precise fit and finish. For artists and designers, sanding blocks can be used to polish decorative prints, sculptures, or jewelry, creating a flawless surface for a visually striking result. These examples demonstrate how sanding blocks can be applied across different industries and applications, showcasing their wide-ranging potential for improving the quality and aesthetics of 3D prints.
Improving the overall quality and finish of 3D prints
By incorporating sanding blocks into your 3D printing workflow, you can significantly improve the overall quality and finish of your prints. Sanding blocks provide a convenient and effective way to remove imperfections, smooth out surfaces, and achieve a polished appearance. Their versatility and ease of use make them essential tools for any 3D printing enthusiast, whether for professional or personal projects. By investing in sanding blocks and following the proper sanding techniques, you can elevate the quality and aesthetics of your 3D prints, creating stunning and professional-grade results.
Compilation of user reviews and feedback on the sanding blocks
To provide a well-rounded perspective, let’s take a look at some user reviews and feedback on the sanding blocks. Users have consistently praised the collection for its functionality, versatility, and overall effectiveness in sanding 3D prints. Many have found that the different shapes and designs of the blocks allow for precise and efficient sanding on various surface contours. Users have also highlighted the convenience of the honeycomb wall holder, which not only keeps the sanding blocks organized but also adds a decorative touch to their workspace. Overall, the sanding blocks have received positive feedback, with users noting their transformative impact on the quality and finish of their 3D prints.
Positive experiences and success stories
Users have shared several positive experiences and success stories when using the sanding blocks. Many have expressed their satisfaction with the improved finish and professional-looking results that the blocks help achieve. Users have found that the sanding blocks allow for greater control and accuracy in sanding, enabling them to tackle even the most complex surface shapes and curves. Some users have also highlighted the time-saving aspect of the sanding blocks, noting that they can complete their sanding tasks more efficiently and effectively. These positive experiences and success stories further emphasize the value and effectiveness of using sanding blocks for 3D printing operations.
Suggestions for improvement and potential enhancements
While the sanding blocks have received mainly positive feedback, some users have provided suggestions for improvement and potential enhancements. One common suggestion is to offer additional sizes or shapes of the sanding blocks to cater to a wider range of surface contours. Another suggestion is to explore alternative materials for the blocks that may provide better grip or cushioning. Additionally, some users have recommended further customization options for the honeycomb wall holder, such as adjustable compartments or modular designs. These suggestions highlight the ongoing drive for innovation and improvement in the 3D printing community, as users continually seek to enhance their tools and accessories for optimal results.
Recap of the importance and benefits of sanding blocks
In conclusion, sanding blocks are essential tools for achieving smooth and polished surfaces on your 3D prints. They offer increased control, efficiency, and precision, making the sanding process easier and more effective. The Sanding Blocks collection by Jan Štech provides a range of shapes and designs to cater to various surface contours. By using these sanding blocks, you can transform your 3D prints from rough prototypes to professional-quality masterpieces. The addition of the honeycomb wall holder further enhances the organization and accessibility of your sanding blocks. By following proper sanding techniques and selecting the right grit sandpaper, you can achieve flawless results and improve the overall quality of your 3D prints.
Encouragement to try the Sanding Blocks collection by Printables
If you’re looking to elevate the quality and finish of your 3D prints, we highly encourage you to try the Sanding Blocks collection by Printables. This collection offers a comprehensive solution for all your sanding needs, with its range of shapes and designs. By incorporating these sanding blocks into your workflow, you can simplify the sanding process, achieve professional-grade results, and enhance the overall aesthetics of your prints. The addition of the honeycomb wall holder ensures that your sanding blocks are neatly organized and easily accessible, further optimizing your 3D printing experience. Give the Sanding Blocks collection a try and unlock the full potential of your 3D prints.
Final thoughts on improving the 3D printing process
Innovations such as sanding blocks play a significant role in improving the 3D printing process. They enable enthusiasts and professionals alike to overcome the challenges of achieving smooth and polished surfaces on their prints. By embracing tools and accessories designed specifically for 3D printing operations, users can enhance their workflow, achieve exceptional results, and continually push the boundaries of what is possible with 3D printing. As the field of 3D printing continues to evolve, it is essential to stay informed and open to new possibilities. By embracing innovative solutions like sanding blocks, you can take your 3D printing journey to new heights and create prints that truly stand out.

BIQU PC4-M10 Pneumatic Connector Fittings Bowden Tube Coupler Male Straight PTFE Tube Push for E3D-V6 Bowden Extruder Compatible with Ender-3 Ender-3 V2 3D Printers (Pack of 10pcs)
$5.99 (as of June 18, 2025 23:32 GMT +00:00 - More infoProduct prices and availability are accurate as of the date/time indicated and are subject to change. Any price and availability information displayed on [relevant Amazon Site(s), as applicable] at the time of purchase will apply to the purchase of this product.)
ELEGOO Matte PLA Filament Navy Blue 1KG, 1.75mm 3D Printer Filament Dimensional Accuracy +/- 0.02mm, 1kg Carboard Spool (2.2lbs) for Most FDM 3D Printers
$19.99 (as of June 18, 2025 23:32 GMT +00:00 - More infoProduct prices and availability are accurate as of the date/time indicated and are subject to change. Any price and availability information displayed on [relevant Amazon Site(s), as applicable] at the time of purchase will apply to the purchase of this product.)
ELEGOO Neptune 3 Pro FDM 3D Printer with Auto Bed Leveling, Dual-Gear Direct Extruder, Dual Lead Screw Drive, Removable Capacitive Screen, 8.85x8.85x11in Large Printing Size
$209.99 (as of June 18, 2025 23:32 GMT +00:00 - More infoProduct prices and availability are accurate as of the date/time indicated and are subject to change. Any price and availability information displayed on [relevant Amazon Site(s), as applicable] at the time of purchase will apply to the purchase of this product.)
Creality K1 SE 3D Printer, with 600 mm/s Printing Speed CoreXY Auto Leveling and Z-Offset, 300℃ Dual-Gear Direct Extruder Full Metal Die Cast Solid Frame Printing Size 8.66x8.66x9.84 inch
$279.00 (as of June 18, 2025 23:32 GMT +00:00 - More infoProduct prices and availability are accurate as of the date/time indicated and are subject to change. Any price and availability information displayed on [relevant Amazon Site(s), as applicable] at the time of purchase will apply to the purchase of this product.)