The article titled “Design Tips for Support-Free 3D Printing Models (FDM)” explores the techniques and strategies for designing 3D models that do not require support material during the printing process, specifically focusing on Fused Deposition Modeling (FDM) technology. The video, created by Maker’s Muse, covers various aspects of design, such as utilizing self-supporting geometries, avoiding overhangs, and incorporating support features into the design itself. The tips and techniques discussed in the video aim to help users save time, reduce material waste, and achieve better print results when creating support-free 3D printing models with FDM technology.
The article emphasizes the importance of understanding 45-degree overhangs as the ideal for good print quality, as well as the possibility of bridging, which involves printing across a gap between two surfaces. It also highlights the significance of providing a solid first layer and clever print orientation to minimize overhangs and improve print quality. In cases where overhangs are too challenging to overcome, the article suggests splitting the model into separate pieces as a viable option. The overall goal of the article is to provide users with design tips that can lead to successful prints without the need for support material when using FDM technology.
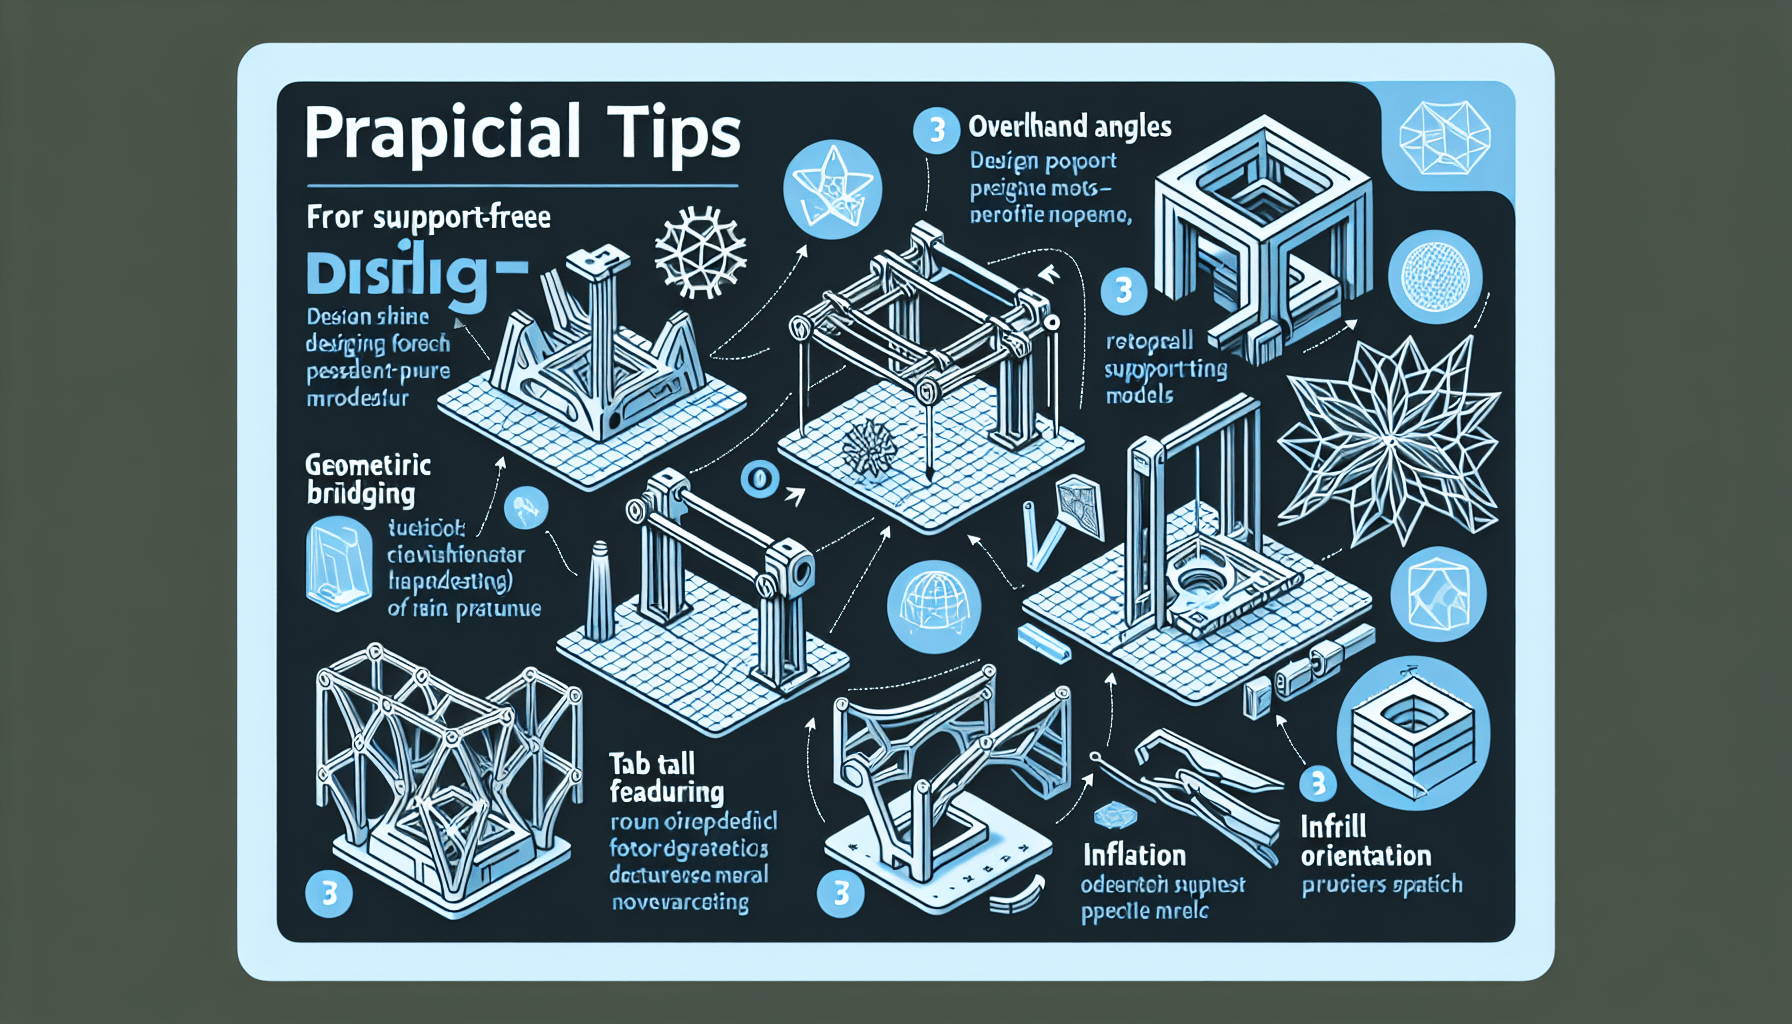
Utilizing self-supporting geometries
Designing with structural integrity in mind
When designing support-free 3D printing models, it is crucial to consider the structural integrity of the design. By utilizing self-supporting geometries, you can create models that are capable of standing on their own without the need for additional support material. This not only saves time and reduces material waste but also ensures better print results.
To design with structural integrity in mind, it is important to consider the orientation of the model and its features. Avoid designs that have large overhangs or intricate and delicate details, as these can be challenging to print without support material. Instead, opt for designs that have angled surfaces and chamfers, as they provide more stability and help distribute the load evenly.
Creating angled surfaces and chamfers
Angled surfaces and chamfers are effective design elements that can contribute to the self-supporting nature of a 3D printing model. By incorporating these features into the design, you can reduce the need for support material, resulting in cleaner prints and faster print times.
One way to create angled surfaces is by using the chamfer tool in CAD software. This tool allows you to create slanted edges between two surfaces, which not only adds visual appeal to the design but also improves its ability to be printed without support material. By angling the surfaces at a 45-degree angle or less, you can achieve optimal print quality.
Using fillets and rounded edges
In addition to angled surfaces, fillets and rounded edges can also contribute to the self-supporting nature of a 3D printing model. By adding fillets to sharp corners and edges, you can distribute the stress more evenly throughout the design, reducing the likelihood of print failures. Rounded edges also provide better adhesion to the print bed and improve the overall stability of the model.
When designing with fillets and rounded edges, it is important to consider the size and radius of the feature. A larger radius will provide more support and stability, while a smaller radius may still require the use of support material. Experimentation and testing may be necessary to determine the optimal size and shape of fillets and rounded edges for a specific design.
Avoiding overhangs
Understanding the limitations of FDM 3D printing
Fused Deposition Modeling (FDM) 3D printing is a popular method that utilizes plastic filaments to create objects layer by layer. While FDM 3D printing offers many advantages, it also has limitations when it comes to printing overhangs. Overhangs refer to the portions of a design that extend horizontally or at an angle without any support underneath.
In FDM 3D printing, overhangs can be challenging to print without the use of support material. Overhangs greater than 45 degrees from vertical can lead to poor print quality or even failure, as gravity causes the unsupported layers to sag or collapse. Therefore, understanding the limitations of FDM 3D printing is crucial when designing support-free models.
Designing with minimal overhangs
To achieve better print quality and minimize the need for support material, it is essential to design models with minimal overhangs. By incorporating angles and support features strategically, you can reduce the number and severity of overhangs in your design.
One approach to minimizing overhangs is to design with a 45-degree angle or less. This angle allows for better adhesion to the print bed and reduces the chance of unsupported layers sagging or collapsing. By paying attention to the orientation of features and designing them to have minimal overhangs, you can improve the overall printability of the model.
Using support features strategically
In cases where overhangs cannot be completely avoided, it is important to strategically incorporate support features into the design itself. Support features can provide temporary stability to overhanging sections during the printing process and can be removed afterward.
When designing with support features, consider adding structures such as angles, struts, or bridges to support the overhanging areas. These features can be designed to be easily removable or break away once the print is complete. By strategically placing support features and considering their ease of removal, you can achieve better print results while minimizing the need for additional support material.
Find 3D Printing Accessories Here
Incorporating support features into the design
Designing integrated supports
To further optimize the printing process and reduce the reliance on external support material, consider designing the supports directly into the model. This approach, known as designing integrated supports, allows for seamless and efficient printing.
When designing integrated supports, it is important to identify the areas of the model that require additional support during printing. These areas may include overhangs, delicate features, or intricate details. By adding support structures within the design itself, you can ensure that these areas are adequately supported without the need for external support material.
Utilizing bridges and ear features
Bridges and ear features are design elements that can be used to provide support and stability without the use of additional support material. Bridges refer to sections of the model that span a gap between two surfaces, while ear features are small protrusions that act as temporary support structures during printing.
By strategically incorporating bridges and ear features into the design, you can create self-supporting models that are capable of being printed without external supports. However, it is important to consider the limitations of your 3D printer and its ability to accurately print bridges and small features. Experimentation and testing may be necessary to determine the optimal size and placement of bridges and ear features for a specific design.
Avoiding delicate and intricate designs
While delicate and intricate designs may be visually appealing, they can be challenging to print without additional support material. Therefore, it is advisable to avoid such designs when aiming to create support-free models.
Delicate and intricate designs often have thin sections, small details, or complex geometries that may not be able to withstand the printing process without external support. By opting for simpler and more robust designs, you can improve the printability of the model and increase the chances of achieving successful prints without the need for support material.
Creating a good solid first layer
Understanding the importance of a solid foundation
A good solid first layer is crucial for successful 3D prints, particularly when aiming to print support-free models. The first layer acts as the foundation for the rest of the print, providing stability and ensuring proper adhesion to the print bed.
When the first layer is not solid or properly adhered to the print bed, it can result in print failures, warping, or poor overall print quality. Therefore, understanding the importance of a solid foundation is essential when designing support-free models.
Using adhesion techniques
To achieve a good solid first layer, it is important to utilize adhesion techniques that enhance the bond between the print and the bed. Adhesion techniques can include using materials such as rafts, brims, or skirts, as well as adjusting the print bed temperature or using adhesion aids like glue or hairspray.
By experimenting with different adhesion techniques and finding the one that works best for your printer and materials, you can improve the overall stability and success rate of support-free prints. It is important to note that adhesion techniques may vary depending on the printer, filament, and specific design requirements.
Optimizing bed leveling
Having a properly leveled print bed is crucial for achieving a good solid first layer. When the print bed is not level, it can result in uneven adhesion, poor layer adhesion, or even failed prints.
To optimize bed leveling, it is important to follow the manufacturer’s instructions for your specific printer. This typically involves adjusting the leveling screws or knobs to ensure that the print bed is parallel to the printer’s gantry or hotend. Regularly checking and maintaining proper bed leveling can greatly improve the print quality and success rate of support-free models.
Clever print orientation
Analyzing model orientation for optimal print quality
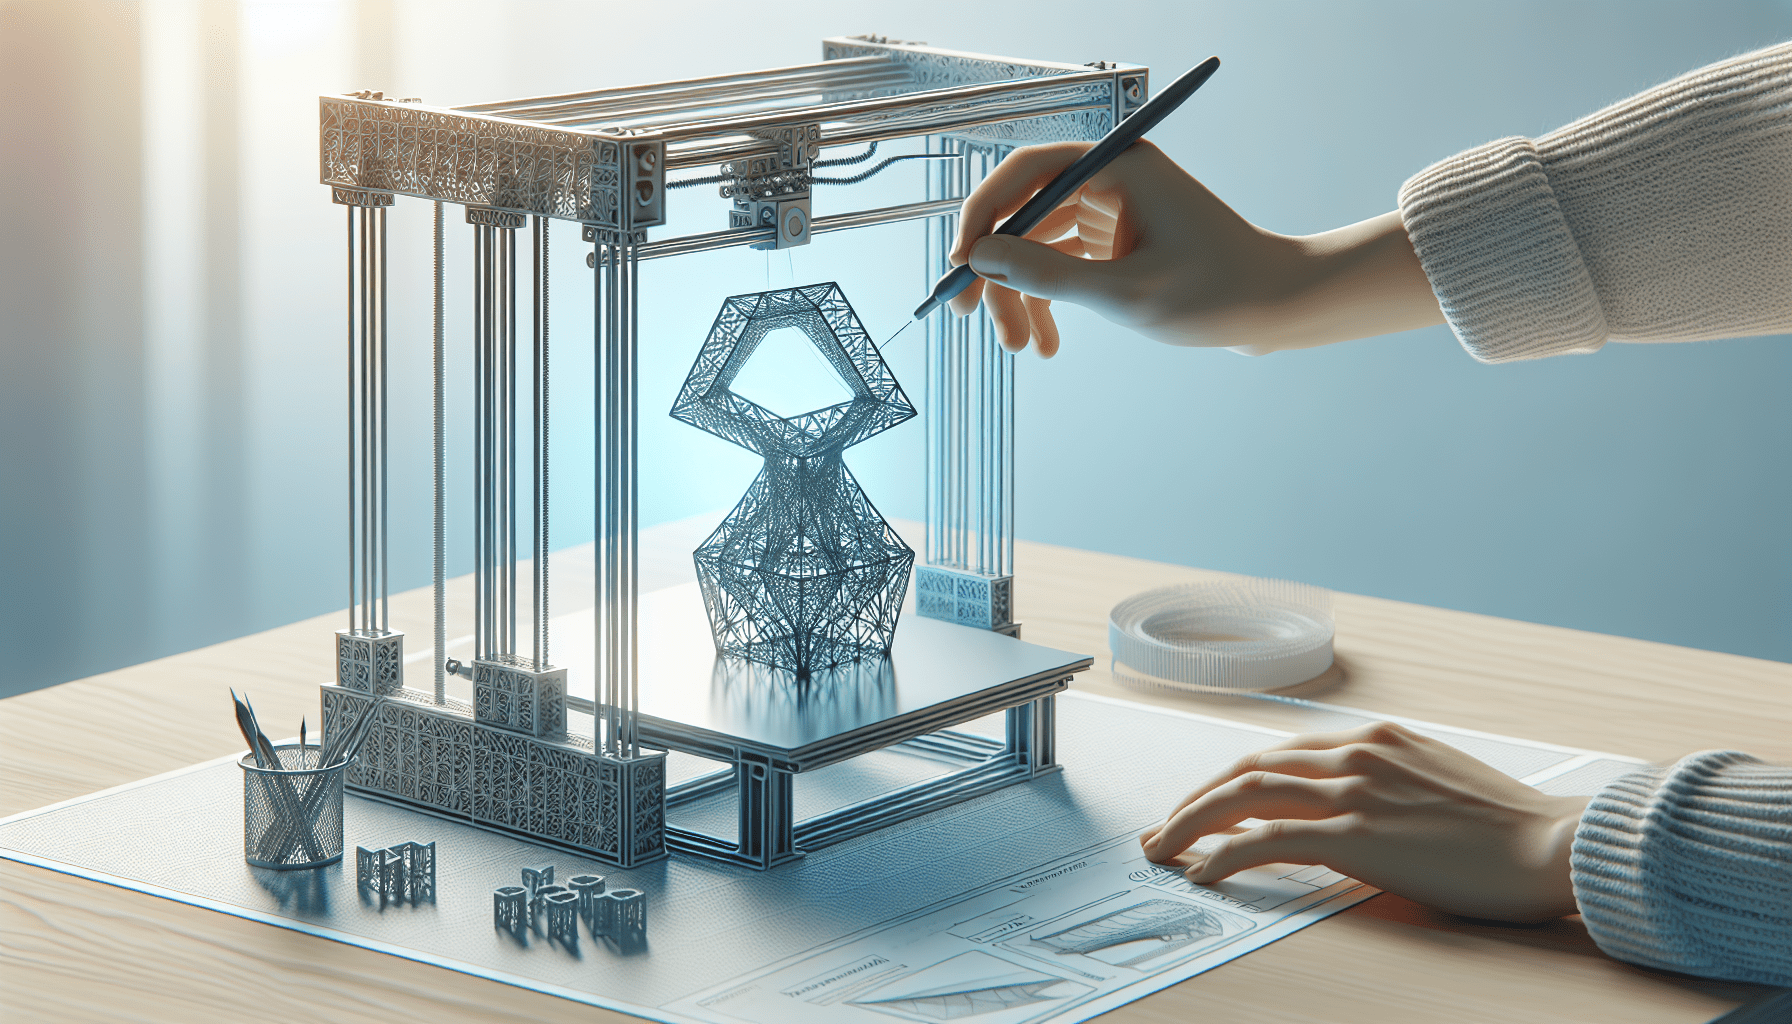
Print orientation plays a significant role in achieving optimal print quality, especially when attempting to print support-free models. By analyzing the model’s orientation, you can minimize overhangs, maximize support surfaces, and improve overall print quality.
When evaluating the print orientation of a model, consider the specific characteristics of the design, such as overhangs, delicate features, or texturing. By orienting the model in a way that maximizes support surfaces and minimizes the need for support material, you can achieve better print results.
Avoiding overhangs and maximizing support surfaces
One key aspect of clever print orientation is avoiding overhangs and maximizing support surfaces. Overhangs greater than 45 degrees from vertical can be challenging to print without support material, so it is crucial to orient the model in a way that reduces or eliminates these overhangs.
By rotating or repositioning the model, you can take advantage of existing features or structures that provide natural support. Additionally, by using angles, chamfers, fillets, and rounded edges discussed earlier, you can create more support surfaces that enhance the stability of the print.
Considering the impact on overall print time
While achieving optimal print quality is essential, it is also crucial to consider the impact of print orientation on overall print time. Certain orientations or angles may result in longer print times, which may not be ideal for time-sensitive projects.
When considering print orientation, weigh the trade-offs between print quality and print time. Striking a balance between the two is crucial to achieve efficient and effective support-free prints. Experimentation and testing may be necessary to find the optimal print orientation for each specific design.
Splitting the model into separate pieces
Identifying complex areas of the model
In some cases, complex areas of a model may be challenging to print without support material, regardless of the design orientation or support features. In these instances, splitting the model into separate pieces can be a viable solution.
Complex areas can refer to sections with intricate details, overhangs that cannot be overcome, or features that are not self-supporting. By identifying these areas, you can determine if splitting the model into separate pieces is necessary.
Determining appropriate splitting points
When splitting a model into separate pieces, it is important to determine the appropriate splitting points. These points should be strategically chosen to minimize the need for support material and ensure proper alignment and assembly of the final printed model.
Consider the structural integrity, visual appeal, and functionality of the model when determining the splitting points. By carefully selecting these points, you can achieve a successful print without compromising the overall design.
Ensuring proper alignment and assembly
Splitting a model into separate pieces requires careful consideration of alignment and assembly. Proper alignment ensures that the pieces can be printed and assembled accurately, while assembly considerations focus on how the separate pieces come together to form the final model.
To ensure proper alignment, it is important to incorporate alignment features such as tabs, slots, or matching patterns. These features can aid in the alignment of the separate pieces during assembly. Additionally, designing the pieces with clear assembly instructions or markings can help simplify the process and ensure a successful final print.
Increasing extrusion width and using lower layer height
Understanding the impact of extrusion width
Extrusion width plays a significant role in achieving successful support-free prints. By increasing the extrusion width, you can enhance the stability and strength of the printed model, particularly in areas with overhangs or unsupported features.
A larger extrusion width provides more material for each printed layer, resulting in better adhesion and stability. However, it is important to consider the limitations of your printer and extruder when increasing the extrusion width, as going too large may negatively impact the print quality or lead to extrusion issues.
Optimizing layer height for overhangs
Layer height is another parameter that can be optimized to improve the printability of support-free models. By using a lower layer height for areas with overhangs or fine details, you can achieve better print quality and reduce the need for additional support material.
A lower layer height allows for finer details to be captured in the print and improves the overall resolution of the model. However, it is important to note that using a lower layer height may increase the print time, so a balance between print quality and print time must be considered.
Fine-tuning slicer settings
When aiming to print support-free models, fine-tuning slicer settings can greatly optimize the printing process. Slicer settings control parameters such as print speed, temperature, filament flow rate, and support generation.
Experimentation and testing with different slicer settings can help achieve the desired print results. By adjusting these settings, you can optimize the print quality, stability, and overall success rate of support-free models.
Tips for successful prints without support material
Combining the previously discussed techniques
To achieve successful prints without the need for support material, it is advisable to combine the previously discussed techniques. Each technique contributes to the overall printability and stability of support-free models.
By utilizing self-supporting geometries, avoiding overhangs, incorporating support features, creating a good solid first layer, employing clever print orientation, and considering splitting the model if necessary, you can greatly improve the chances of successful support-free prints.
Considering the specific requirements of each model
While the techniques discussed in this article serve as general guidelines, it is important to consider the specific requirements of each model. Different designs may have unique characteristics or complexities that require tailored approaches.
By taking into account the specific requirements of each model, including its geometry, features, and intended use, you can determine the most suitable techniques and adjustments needed to achieve support-free prints.
Iterating and refining as needed
Designing support-free models is often an iterative process that requires experimentation, testing, and continuous refinement. Not every design will be successful on the first attempt, and adjustments may need to be made to optimize the printability and stability of the model.
Through iteration and refinement, you can learn from each print and make the necessary adjustments to improve future prints. Embrace the opportunity to experiment and explore different techniques, as it is through this process that you will achieve better print results.
Conclusion
Recap of the importance of designing support-free models
Designing support-free 3D printing models using FDM technology offers numerous benefits, including time savings, reduced material waste, and improved print results. By utilizing self-supporting geometries, avoiding overhangs, incorporating support features, creating a good solid first layer, employing clever print orientation, considering splitting the model, increasing extrusion width, using lower layer height, and combining these techniques, you can optimize the printing process and achieve successful prints without the need for support material.
Encouragement to experiment and explore different techniques
The field of 3D printing is constantly evolving, and there is always room for exploration and experimentation. Don’t be afraid to push the boundaries and test new techniques when designing support-free models.
By experimenting and exploring different techniques, you can discover innovative approaches and achieve better results. Embrace the learning process and use each print as an opportunity to refine your design skills and improve the quality of your prints.
Final thoughts on achieving better print results
Designing support-free 3D printing models requires careful consideration, attention to detail, and a deep understanding of the printing process. By incorporating the techniques discussed in this article and taking a systematic approach to design, you can achieve better print results and unlock the full potential of your FDM 3D printer.
Remember to design with structural integrity in mind, analyze model orientation for optimal print quality, utilize support features strategically, create a solid first layer, split the model if necessary, optimize extrusion width and layer height, and iterate and refine as needed. With practice and perseverance, you can master the art of designing support-free models and elevate your 3D printing skills.
Maintain Your 3D Printer with these Tools


