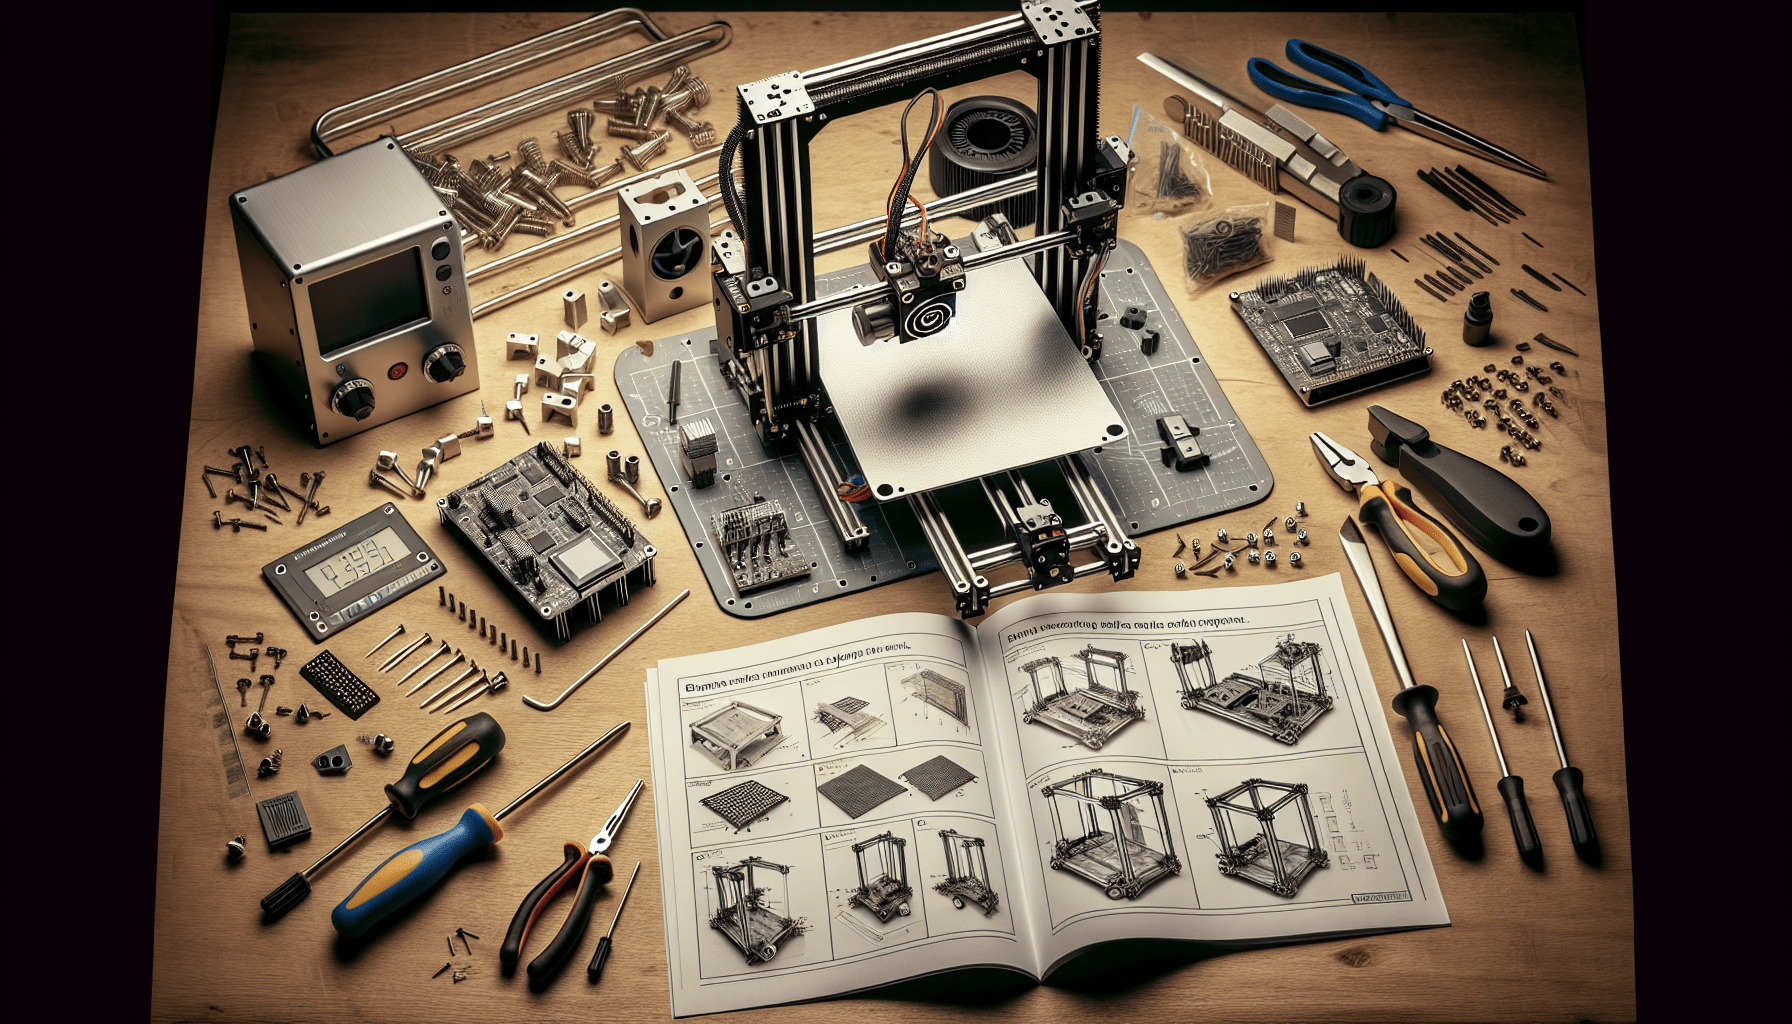
Official Creality Ender 3 3D Printer Fully Open Source with Resume Printing Function DIY Printers Build Volulme 8.66x8.66x9.84 inch
$179.00 (as of June 18, 2025 23:32 GMT +00:00 - More infoProduct prices and availability are accurate as of the date/time indicated and are subject to change. Any price and availability information displayed on [relevant Amazon Site(s), as applicable] at the time of purchase will apply to the purchase of this product.)Are you ready to embark on a creative journey that combines music, technology, and innovation?

Anycubic Coupon – $5 off $50+ sitewide with code DIY5OFF
Getting Started with 3D CAD Software
Designing a record player using 3D CAD software is an exciting project that requires precision, creativity, and attention to detail. SelfCAD is an intuitive and comprehensive tool that makes it accessible for users of all skill levels to bring their innovative ideas to life. To begin, you’ll need to launch the editor and familiarize yourself with the interface.
Setting Up the Workspace
| Step | Description |
|---|---|
| 1 | From the 3D Shapes category on the toolbar, choose cube and set the width to 162, height to 40, depth to 162. |
| 2 | Click to finalize the cube. |
| 3 | From the modify category on the toolbar, choose fillet and click to finalize. |
| 4 | Repeat the process, choosing round object and setting the smoothness to 2. Click to finalize. |

Anycubic Coupon – $5 off $50+ sitewide with code DIY5OFF
Creating the Main Components
The next step is to create the main components of the record player, including the base, tonearm, and platter. To do this, you’ll need to use a combination of 3D shapes and modify tools.
Base Component
| Step | Description |
|---|---|
| 1 | From the 3D Shapes category on the toolbar, choose cylinder and set the top radius to 65, bottom radius to 65, height to 2, and position y to 39. |
| 2 | Click to finalize the cylinder. |
| 3 | Repeat the process, choosing cylinder and setting the top radius to 2, bottom radius to 2, height to 7, and position y to 37. |

Tonearm Component
| Step | Description |
|---|---|
| 1 | From the 3D Shapes category on the toolbar, choose cylinder and set the top radius to 5, bottom radius to 5, height to 10, position x to -55, position y to 15, position z to 81, rotation y to 90, and rotation z to 90. |
| 2 | Click to finalize the cylinder. |
| 3 | Click the copy button to copy the selected objects and click move on the toolbar. Set x to -36 using the highlighted gizmo. |
Platter Component
| Step | Description |
|---|---|
| 1 | From the 3D Shapes category on the toolbar, choose cube and set the width to 2, height to 50, depth to 3, position x to 55, position y to 42, position z to -47, rotation y to 90, and rotation z to 90. |
| 2 | Click to finalize the cube. |
| 3 | Click to activate face selection and click on the highlighted region to select it. From the modify category on the toolbar, choose extrusion and set the extrusion amount to 25. |
Assembling the Components
Once you’ve created the individual components, it’s time to assemble them. To do this, you’ll need to use a combination of move, rotate, and scale tools.
| Step | Description |
|---|---|
| 1 | Click the copy button to copy the selected objects and click move on the toolbar. Set x to 43 using the highlighted gizmo. |
| 2 | Click the copy button to copy the selected objects and click rotate on the toolbar. Set x to 90. |
| 3 | Click move on the toolbar and set y to 34 using the highlighted gizmo. Set z to -63 using the highlighted gizmo. |
Finalizing the Design
After assembling the components, you’ll need to make any final adjustments and refine the design.

Additional Resources
SelfCAD offers a wealth of resources to support your learning journey. To deepen your understanding and explore more advanced features, consider checking out the interactive tutorials available on the SelfCAD website. The tutorials page provides a treasure trove of guides, tips, and tricks that cater to designers of all levels.
Conclusion
Designing a record player using 3D CAD software is a fun and rewarding project that requires precision, creativity, and attention to detail. With SelfCAD, you can bring your innovative ideas to life and create a customized record player that combines aesthetic appeal with functional precision. By following the steps outlined in this tutorial, you’ll be well on your way to creating a beautiful and functional record player that will make your music sound amazing.
Anycubic Coupon – $5 off $50+ sitewide with code DIY5OFF
Creality Original Ultra Removable Magnetic 3D Printer Build Surface Heated Bed Cover for Ender 3/Ender 3 Pro/Ender 3 V2/Ender 3 V2 Neo/Ender 3 Neo/Ender 3 S1/3 S1 Pro/Ender 5 Pro 235X235mm
$9.99 (as of June 18, 2025 23:32 GMT +00:00 - More infoProduct prices and availability are accurate as of the date/time indicated and are subject to change. Any price and availability information displayed on [relevant Amazon Site(s), as applicable] at the time of purchase will apply to the purchase of this product.)
Creality 2 PCS Ender 3 Bed Ultra-Flexible Removable Magnetic Removable Build Surface Hotbed Cover Print Platform Kit for Ender 3 Neo/Ender 3 V2 Neo/Ender 3 S1/Ender 3 S1 Pro/Ender 3 V3 SE 235x235mm
$15.99 (as of June 18, 2025 23:32 GMT +00:00 - More infoProduct prices and availability are accurate as of the date/time indicated and are subject to change. Any price and availability information displayed on [relevant Amazon Site(s), as applicable] at the time of purchase will apply to the purchase of this product.)
Revopoint Inspire 3D Scanner for 3D Printing Handheld, 3D Printer Scanner 0.2mm Precision, Full Color 3D Model Scanning for Car Customization, Digital Art, DIY Projects, Support Android/iOS/Mac/Win
$339.99 (as of June 18, 2025 23:32 GMT +00:00 - More infoProduct prices and availability are accurate as of the date/time indicated and are subject to change. Any price and availability information displayed on [relevant Amazon Site(s), as applicable] at the time of purchase will apply to the purchase of this product.)
3D Scanning Spray for 3D Scanners, No Cleaning Needed, for Transparent, Reflective or Highly Textured Surfaces Objects, 400ml
$39.99 (as of June 18, 2025 23:32 GMT +00:00 - More infoProduct prices and availability are accurate as of the date/time indicated and are subject to change. Any price and availability information displayed on [relevant Amazon Site(s), as applicable] at the time of purchase will apply to the purchase of this product.)