Upgraded Tina2S 3D Printer, HEPHI3D 3D Printers WiFi Cloud Printing Auto Bed Leveling, Fully Assembled Mini 3D Printers for Beginners, Silent Print, Fully Open Source DIY 3D Printers for Home, School
$204.99 (as of June 21, 2025 23:57 GMT +00:00 - More infoProduct prices and availability are accurate as of the date/time indicated and are subject to change. Any price and availability information displayed on [relevant Amazon Site(s), as applicable] at the time of purchase will apply to the purchase of this product.)In the video titled “Designing STRONG parts: tips and tricks – 3D design for 3D printing pt5,” viewers are taken through a step-by-step tutorial on designing 3D printed parts using the free 3D CAD program Onshape. The focus of this episode is on designing a strong bracket and mount, and the video covers various techniques to achieve strength, such as designing separate parts with the strongest print orientation and using bolts and trapped nuts for joining the parts. Additionally, the video provides guidance on design features and slicer tips for increased strength, as well as information on where to purchase quality filament and resins for 3D printing projects.
Throughout the tutorial, viewers are guided through the entire process, from taking measurements to slicing, printing, test fitting, and final assembly of the parts. The tutorial emphasizes the importance of considering print orientation and layer line direction for optimal strength. It also covers designing a tray or shelf for holding objects, adding holes for screws, and creating a bracket for attaching the parts to a drill. The design is thoroughly tested for fit and strength, leading to a successful final result. The video concludes by encouraging viewers to subscribe to the Teaching Tech channel for more helpful content on 3D design for 3D printing.
Designing a Strong Bracket and Mount
Introduction
In this tutorial series on designing 3D printed parts using Onshape, we will focus on designing a strong bracket and mount. The goal is to create parts that can withstand the necessary load and stress, while also considering the limitations and capabilities of 3D printing technology. Throughout the tutorial, we will explore various design considerations, print orientations, joining methods, and additional features to enhance the strength of the parts. By following this step-by-step guide, you will be able to design and print your own strong bracket and mount efficiently and effectively.
Considerations for Strength
Before delving into the design process, it is crucial to understand the factors that contribute to the overall strength of a 3D printed part. One of the primary considerations is load and stress, which refers to the forces and pressures that the part will experience when in use. By accurately determining the expected load and stress, you can choose the appropriate material and printing parameters to ensure the part’s strength and durability. Additionally, analyzing the design for potential weak points and identifying areas for reinforcement will further enhance the overall strength of the part.

Find 3D Printing Accessories Here
Designing Separate Parts
To achieve optimal strength for the bracket and mount, it is advisable to split the design into separate parts. By doing so, each part can be printed in the strongest print orientation, which will enhance the part’s overall strength. In this section, we will discuss how to identify the components of the bracket and mount, split the design, and determine the dimensions and clearances for each part.
Choosing the Strongest Print Orientation
Print orientation plays a crucial role in the strength and integrity of 3D printed parts. By understanding the layer orientation and adhesion, you can optimize the strength of the parts. This section will delve into the considerations for print orientation, including the impact of layer lines on strength. We will explore how to choose the best print orientation to maximize the overall strength of the bracket and mount.

Joining Parts with Bolts and Trapped Nuts
Joining the separate parts of the bracket and mount is essential to create a strong and sturdy structure. In this section, we will explore different methods for securely joining the parts together. Specifically, we will focus on using bolts and trapped nuts for strong connections. By integrating trapped nuts into the design, we can achieve a more robust and reliable joint between the parts.
Using Bolts that Cut Their Own Thread
Bolts that can cut their own thread offer numerous advantages in 3D printing applications. They provide a secure and strong connection without the need for additional tools or devices. In this section, we will introduce self-tapping screws and discuss the benefits of using them. Additionally, we will explore how to design the parts with self-tapping screws in mind to ensure a reliable and efficient assembly.
Design Features for Increased Strength
Incorporating specific design features can significantly enhance the overall strength of 3D printed parts. This section will discuss various design techniques, such as adding ribs and fillets for reinforcement and utilizing gussets for enhanced strength. Additionally, we will explore the integration of support structures in the design to ensure optimal strength and stability.
Slicer Tips for Stronger Prints
To achieve stronger 3D prints, it is crucial to optimize the slicing settings in the software. This section will highlight the importance of slicer settings and provide tips for adjusting layer height, wall thickness, and infill density to enhance the strength of the printed parts. Additionally, we will discuss how to effectively use support structures to ensure successful and robust prints.
Step-by-Step Guide for Designing and Printing
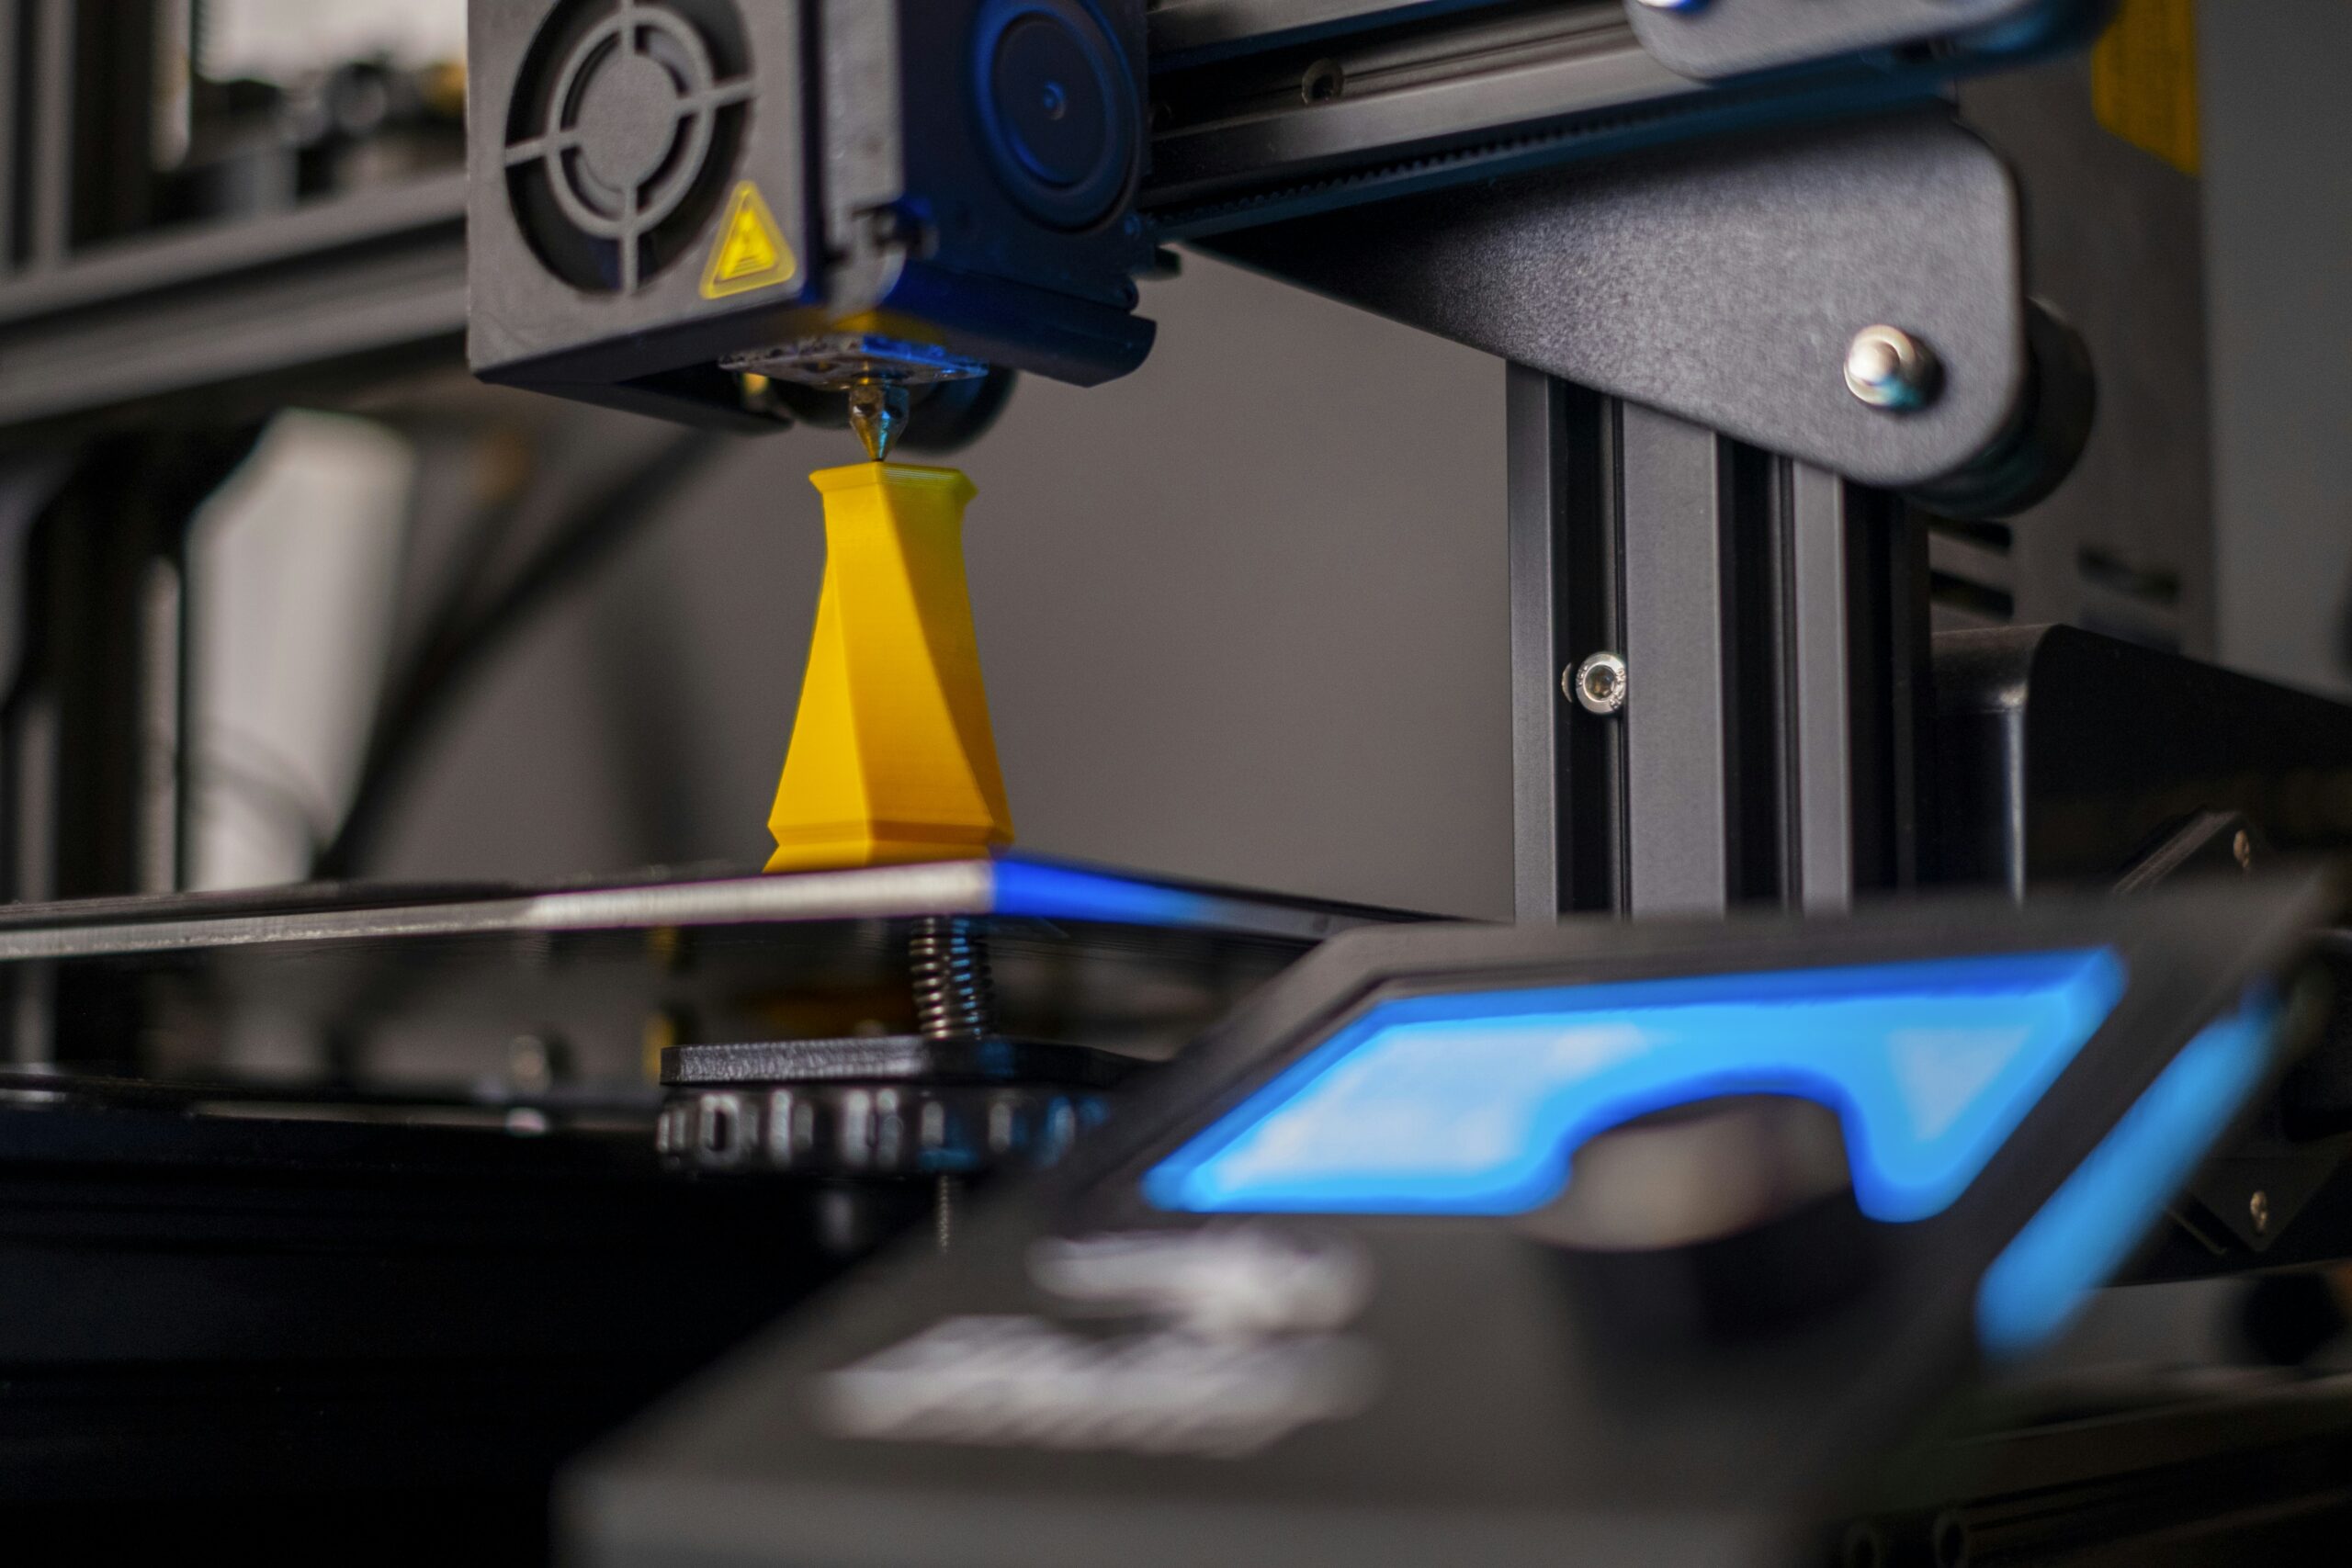
In this section, we will provide a comprehensive step-by-step guide for designing and printing the strong bracket and mount. This guide will cover everything from taking accurate measurements to slicing the parts, printing them, test fitting, and final assembly. By following this detailed guide, you will be able to create your own strong bracket and mount efficiently and effectively.
Testing Fit and Strength
After completing the design and printing process, it is crucial to test the fit and strength of the parts. This section will discuss the importance of conducting fit tests to ensure that the parts align and connect as intended. Additionally, we will explore methods for testing the overall strength and durability of the bracket and mount. By thoroughly testing the parts, you can identify any potential weaknesses and make the necessary adjustments for an optimized final product.
Conclusion
In conclusion, designing a strong bracket and mount requires careful considerations and strategic decisions throughout the design and printing process. By understanding the factors that contribute to strength, utilizing the strongest print orientation, and implementing design features for increased strength, you can create robust and reliable parts for your 3D printing projects. By following this comprehensive tutorial series, you will gain the knowledge and skills necessary to design and print strong parts using Onshape and 3D printing technology. Remember to subscribe to the Teaching Tech channel for more helpful tutorials and guidance in the world of 3D design and printing.
Maintain Your 3D Printer with these Tools

ELEGOO Rapid PETG Filament 1.75mm Black 1KG, High Speed 30-600mm/s 3D Printer Filament Dimensional Accuracy +/- 0.02 mm, 1kg Cardboard Spool(2.2lbs) Fits for Most FDM 3D Printers
$14.99 (as of June 19, 2025 23:45 GMT +00:00 - More infoProduct prices and availability are accurate as of the date/time indicated and are subject to change. Any price and availability information displayed on [relevant Amazon Site(s), as applicable] at the time of purchase will apply to the purchase of this product.)
FLASHFORGE Adventurer 5M Nozzle, 0.4mm 280℃ High Flow 32mm³/s Nozzle for Stable High-Speed Printing, Adventurer 5M Pro Hotend, 3S Quick-Detachable Nozzle
$35.00 (as of June 21, 2025 23:49 GMT +00:00 - More infoProduct prices and availability are accurate as of the date/time indicated and are subject to change. Any price and availability information displayed on [relevant Amazon Site(s), as applicable] at the time of purchase will apply to the purchase of this product.)
Slamtec RPLIDAR A1M8 2D 360 Degree 12 Meters Scanning Radius LIDAR Sensor Scanner for Obstacle Avoidance and Navigation of Robots
$99.00 (as of June 21, 2025 23:58 GMT +00:00 - More infoProduct prices and availability are accurate as of the date/time indicated and are subject to change. Any price and availability information displayed on [relevant Amazon Site(s), as applicable] at the time of purchase will apply to the purchase of this product.)
FLASHFORGE Adventurer 5M 3D Printer,600mm/s Max High-Speed FDM 3D Printers with Fully Auto Leveling, 280°C Direct Extruder with Quick Detachable Nozzle, Effective Cooling, Core XY Structure
$259.00 (as of June 21, 2025 23:57 GMT +00:00 - More infoProduct prices and availability are accurate as of the date/time indicated and are subject to change. Any price and availability information displayed on [relevant Amazon Site(s), as applicable] at the time of purchase will apply to the purchase of this product.)