
ANYCUBIC Photon Mono 4, Resin 3D Printer with 7'' 10K Mono LCD Screen, Stable LighTurbo Light Source and 70mm/h Fast Printing, Print Volume 6.04'' x 3.42'' x 6.49''
$159.99 (as of June 8, 2025 21:50 GMT +00:00 - More infoProduct prices and availability are accurate as of the date/time indicated and are subject to change. Any price and availability information displayed on [relevant Amazon Site(s), as applicable] at the time of purchase will apply to the purchase of this product.)Are you ready to take your 3D printing skills to the next level? In this video, you’ll learn how to design your own functional 3D printed parts using Fusion 360. The article outlines the steps involved in creating your own prints, from brainstorming ideas to sketching and measuring your design, to 3D modeling using Fusion 360, and finally, printing at a prototype quality. The video provides examples of two simple designs – an air vent clip and a dishwasher door clip. You’ll also learn about the tools you’ll need, the importance of sketches, and how to make adjustments and revisions to your designs. The process may not be as difficult as it seems, and with Fusion 360’s powerful capabilities and user-friendly interface, you’ll be able to create amazing functional prints in no time!
Designing Your First Functional 3D Printed Parts

This image is property of i.ytimg.com.

Choosing the Right Software
When it comes to designing functional 3D printed parts, choosing the right software is crucial. One excellent software option for this purpose is Fusion 360. There are several advantages to using Fusion 360 for your designs. Firstly, Fusion 360 is a powerful software that enables you to create complex designs with ease. It offers a range of tools and features that make the design process more efficient and intuitive. Additionally, Fusion 360 is available for free, making it accessible to beginners who are just starting out in 3D printing. It is also compatible with various operating systems, including Windows and macOS, making it convenient to use on different devices.
Gathering the Necessary Tools
Before you can start designing your 3D printed parts, it is important to gather the necessary tools. These tools will help you throughout the different stages of the design process. Here are the tools you will need:
-
Measuring Device: To accurately measure the dimensions of your design, you will need a measuring device such as a ruler or digital caliper. Digital calipers are particularly useful for precise measurements and can be purchased at an affordable price online.
-
Sketching Materials: You will also need sketching materials like a notebook and a pen or pencil. Sketching is an essential part of the design process as it allows you to visualize and plan your design before creating it in a software.
-
Computer with Fusion 360 Software: Finally, you will need a computer with the Fusion 360 software installed. Fusion 360 is a cloud-based software, meaning you can access your designs from any computer with an internet connection. This flexibility allows you to work on your designs wherever you are.

Sketching Your Design
Sketching is a crucial step in the design process as it helps you translate your ideas onto paper before bringing them to life in a 3D modeling software like Fusion 360. While it may seem tempting to skip this step and dive right into the digital design process, taking the time to sketch your design can save you time and help you visualize your ideas more effectively.
When sketching your design, it is important to remember that your sketches don’t need to be artistically accurate or visually appealing. The main goal of sketching is to have a clear representation of your design and its dimensions. You can use a notebook, a piece of paper, or even a post-it note to sketch your design. Focus on capturing the key aspects and dimensions of your design, as these will guide your modeling process.
To ensure accuracy in your sketches, it is recommended to use a measuring device such as a ruler or digital caliper to measure the dimensions of your design. This will help you capture the exact proportions and sizes of your design elements, making it easier to transfer them into the 3D modeling software later on.
Modeling Your Sketches in Fusion 360
Once you have sketched your design, it’s time to bring it to life by modeling it in Fusion 360. Fusion 360 is a powerful 3D modeling software that allows you to create complex designs using a range of tools and features. Importing your sketches into Fusion 360 is the first step in the modeling process.
To import your sketches into Fusion 360, start by creating a sketch on the desired plane. In the top left corner of the software, select the plane you want to build your design on. This could be the X-Y plane or any other plane that suits your design.
Once you have created the sketch, you can start drawing out the rough shape of your design using lines. It’s okay if the shape is not perfect at this stage, as you will have the opportunity to refine it later on. Use the Sketch Dimensions tool to start constraining the sizes of different elements in your design. This will ensure that your design meets the desired dimensions.
After defining the dimensions of your design, you can finish the sketch and move on to extruding the sketch. The extrusion feature allows you to turn your 2D sketch into a 3D object by adding depth to it. Simply select the sketch and choose the desired depth for the extrusion. Fusion 360 provides a range of tools to customize and modify your design further.

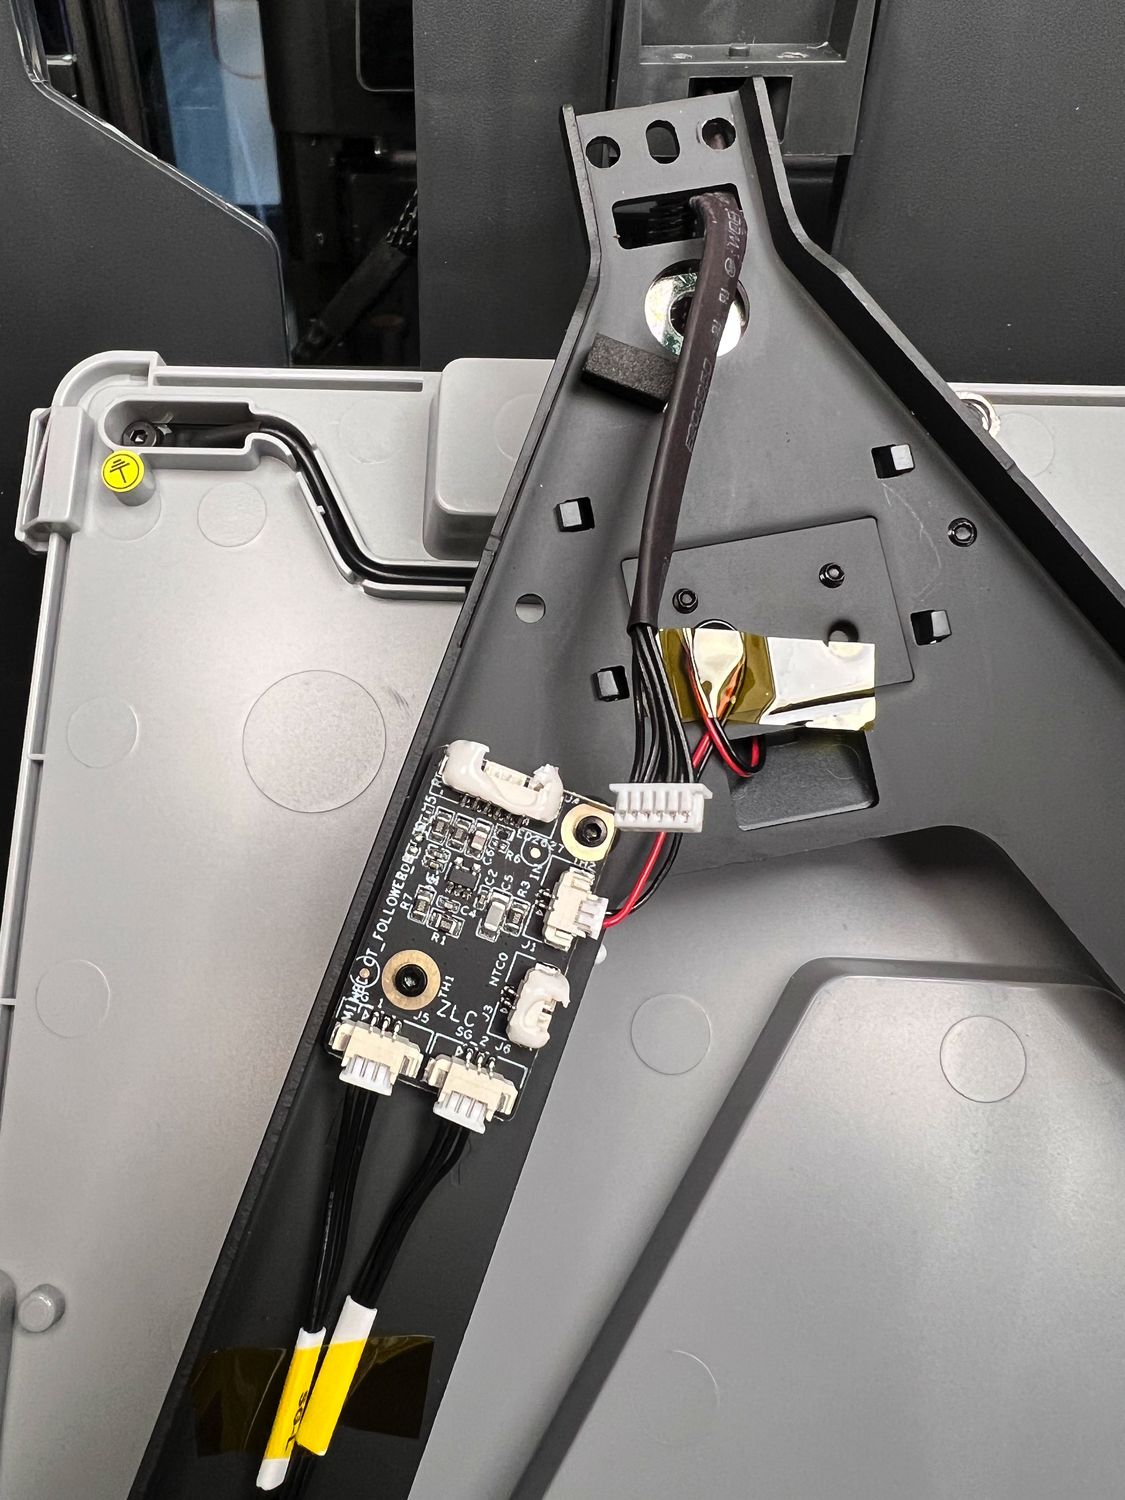
This image is property of images.unsplash.com.
Adjusting Dimensions and Adding Fillets
After you have modeled your design in Fusion 360, you may need to make adjustments to the dimensions and add fillets to improve the appearance of your design.
Changing dimensions in a design can impact all subsequent operations, so it is important to consider the implications of dimension changes. It’s advisable to take measurements and iterate on your designs before finalizing them. Keep in mind that 3D printing materials may have certain limitations, so adjusting dimensions within those limitations is crucial for successful printing.
Adding fillets and chamfers to your design can enhance its appearance by smoothing out sharp edges and corners. Fillets help create rounded edges, while chamfers create angled edges. Both of these features can make your design look more polished and professional. Fusion 360 offers a range of tools to easily add fillets and chamfers to your design.
Selecting 3D Printing Parameters
Before printing your 3D design, it is important to select the appropriate 3D printing parameters. These parameters determine the quality, strength, and speed of the print. Understanding different printing parameters and their impact on the final product is crucial for successful 3D printing.
Common 3D printing parameters include layer height, print speed, infill density, and support structures. Layer height refers to the thickness of each layer in the print and impacts the resolution of the final product. Print speed determines how quickly the printer moves during the printing process and affects the overall print time. Infill density determines the amount of material inside the print, impacting its strength and weight. Support structures are temporary structures that help support overhanging parts of the design during printing.
To select the appropriate 3D printing parameters, consider the desired level of detail, strength, and speed for your specific design. It may be necessary to experiment and iterate on different parameter settings to achieve the desired result.

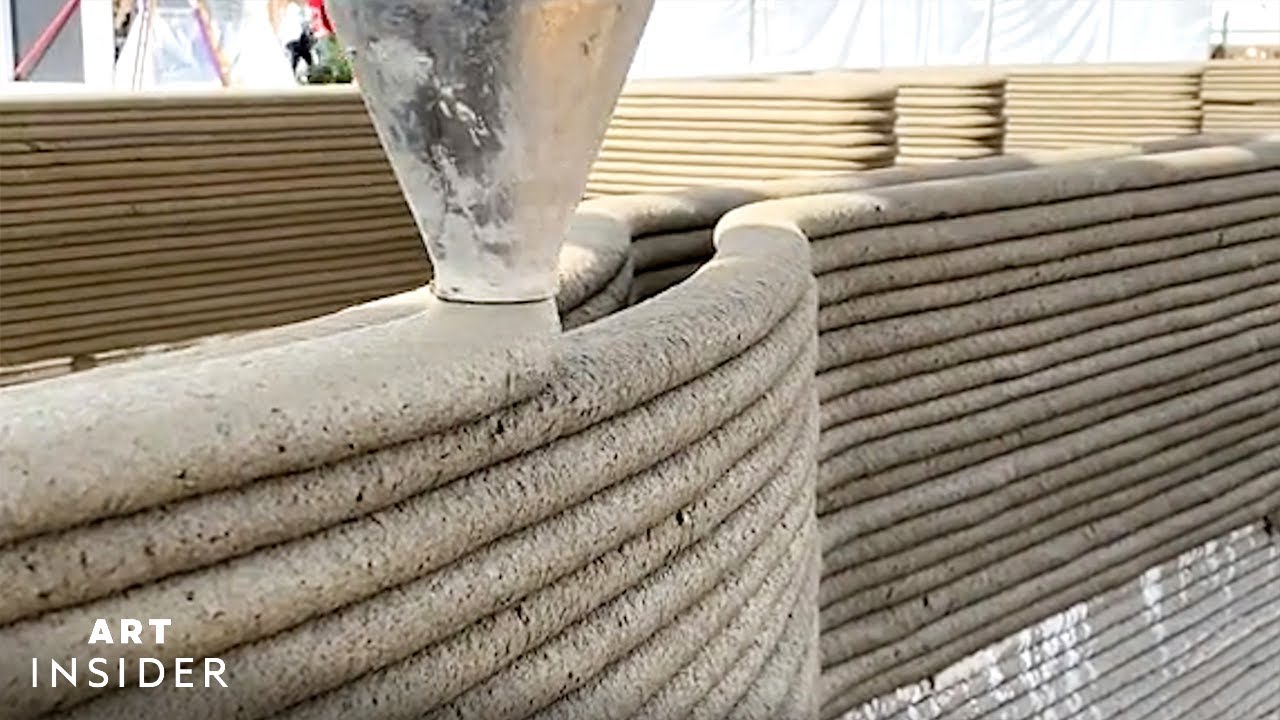
This image is property of images.unsplash.com.
Evaluating and Iterating the First Print
Once you have selected the 3D printing parameters, it’s time to evaluate and iterate on the first print. The first print may not be perfect, and it’s important to evaluate its quality and functionality. This evaluation allows you to identify any necessary changes or improvements for the next version of your design.
Evaluating the first print involves closely examining the print for any defects, such as warping, layer misalignment, or weak spots. Additionally, test the functionality of the design to ensure it performs as expected. If any issues or shortcomings are identified, take note of them and make necessary adjustments for the next version of the design.
Iterating on your design involves making revisions and improvements based on the evaluation of the first print. This may include adjusting dimensions, refining the design, or optimizing the 3D printing parameters. Continue the iterative process until you are satisfied with the functionality and quality of your design.
Making Adjustments for Version 2
After evaluating the first print and identifying necessary changes, it’s time to make adjustments for the next version of your design. Some common adjustments include flattening surfaces, increasing length, or modifying the shape of hooks or connectors.
Flattening surfaces can be done by modifying the design in the 3D modeling software. This may involve adjusting the angles or removing unnecessary curves to create flat surfaces. Increasing the length of certain elements can be achieved by adjusting the dimensions in the software as well.
Modifying the shape of hooks or connectors can improve the functionality and compatibility of the design with other components. It is important to consider the intended use and any specific requirements for the design when making these adjustments.
Remember to iterate and evaluate each version of the design to ensure it meets your requirements before moving on to the final printing stage.

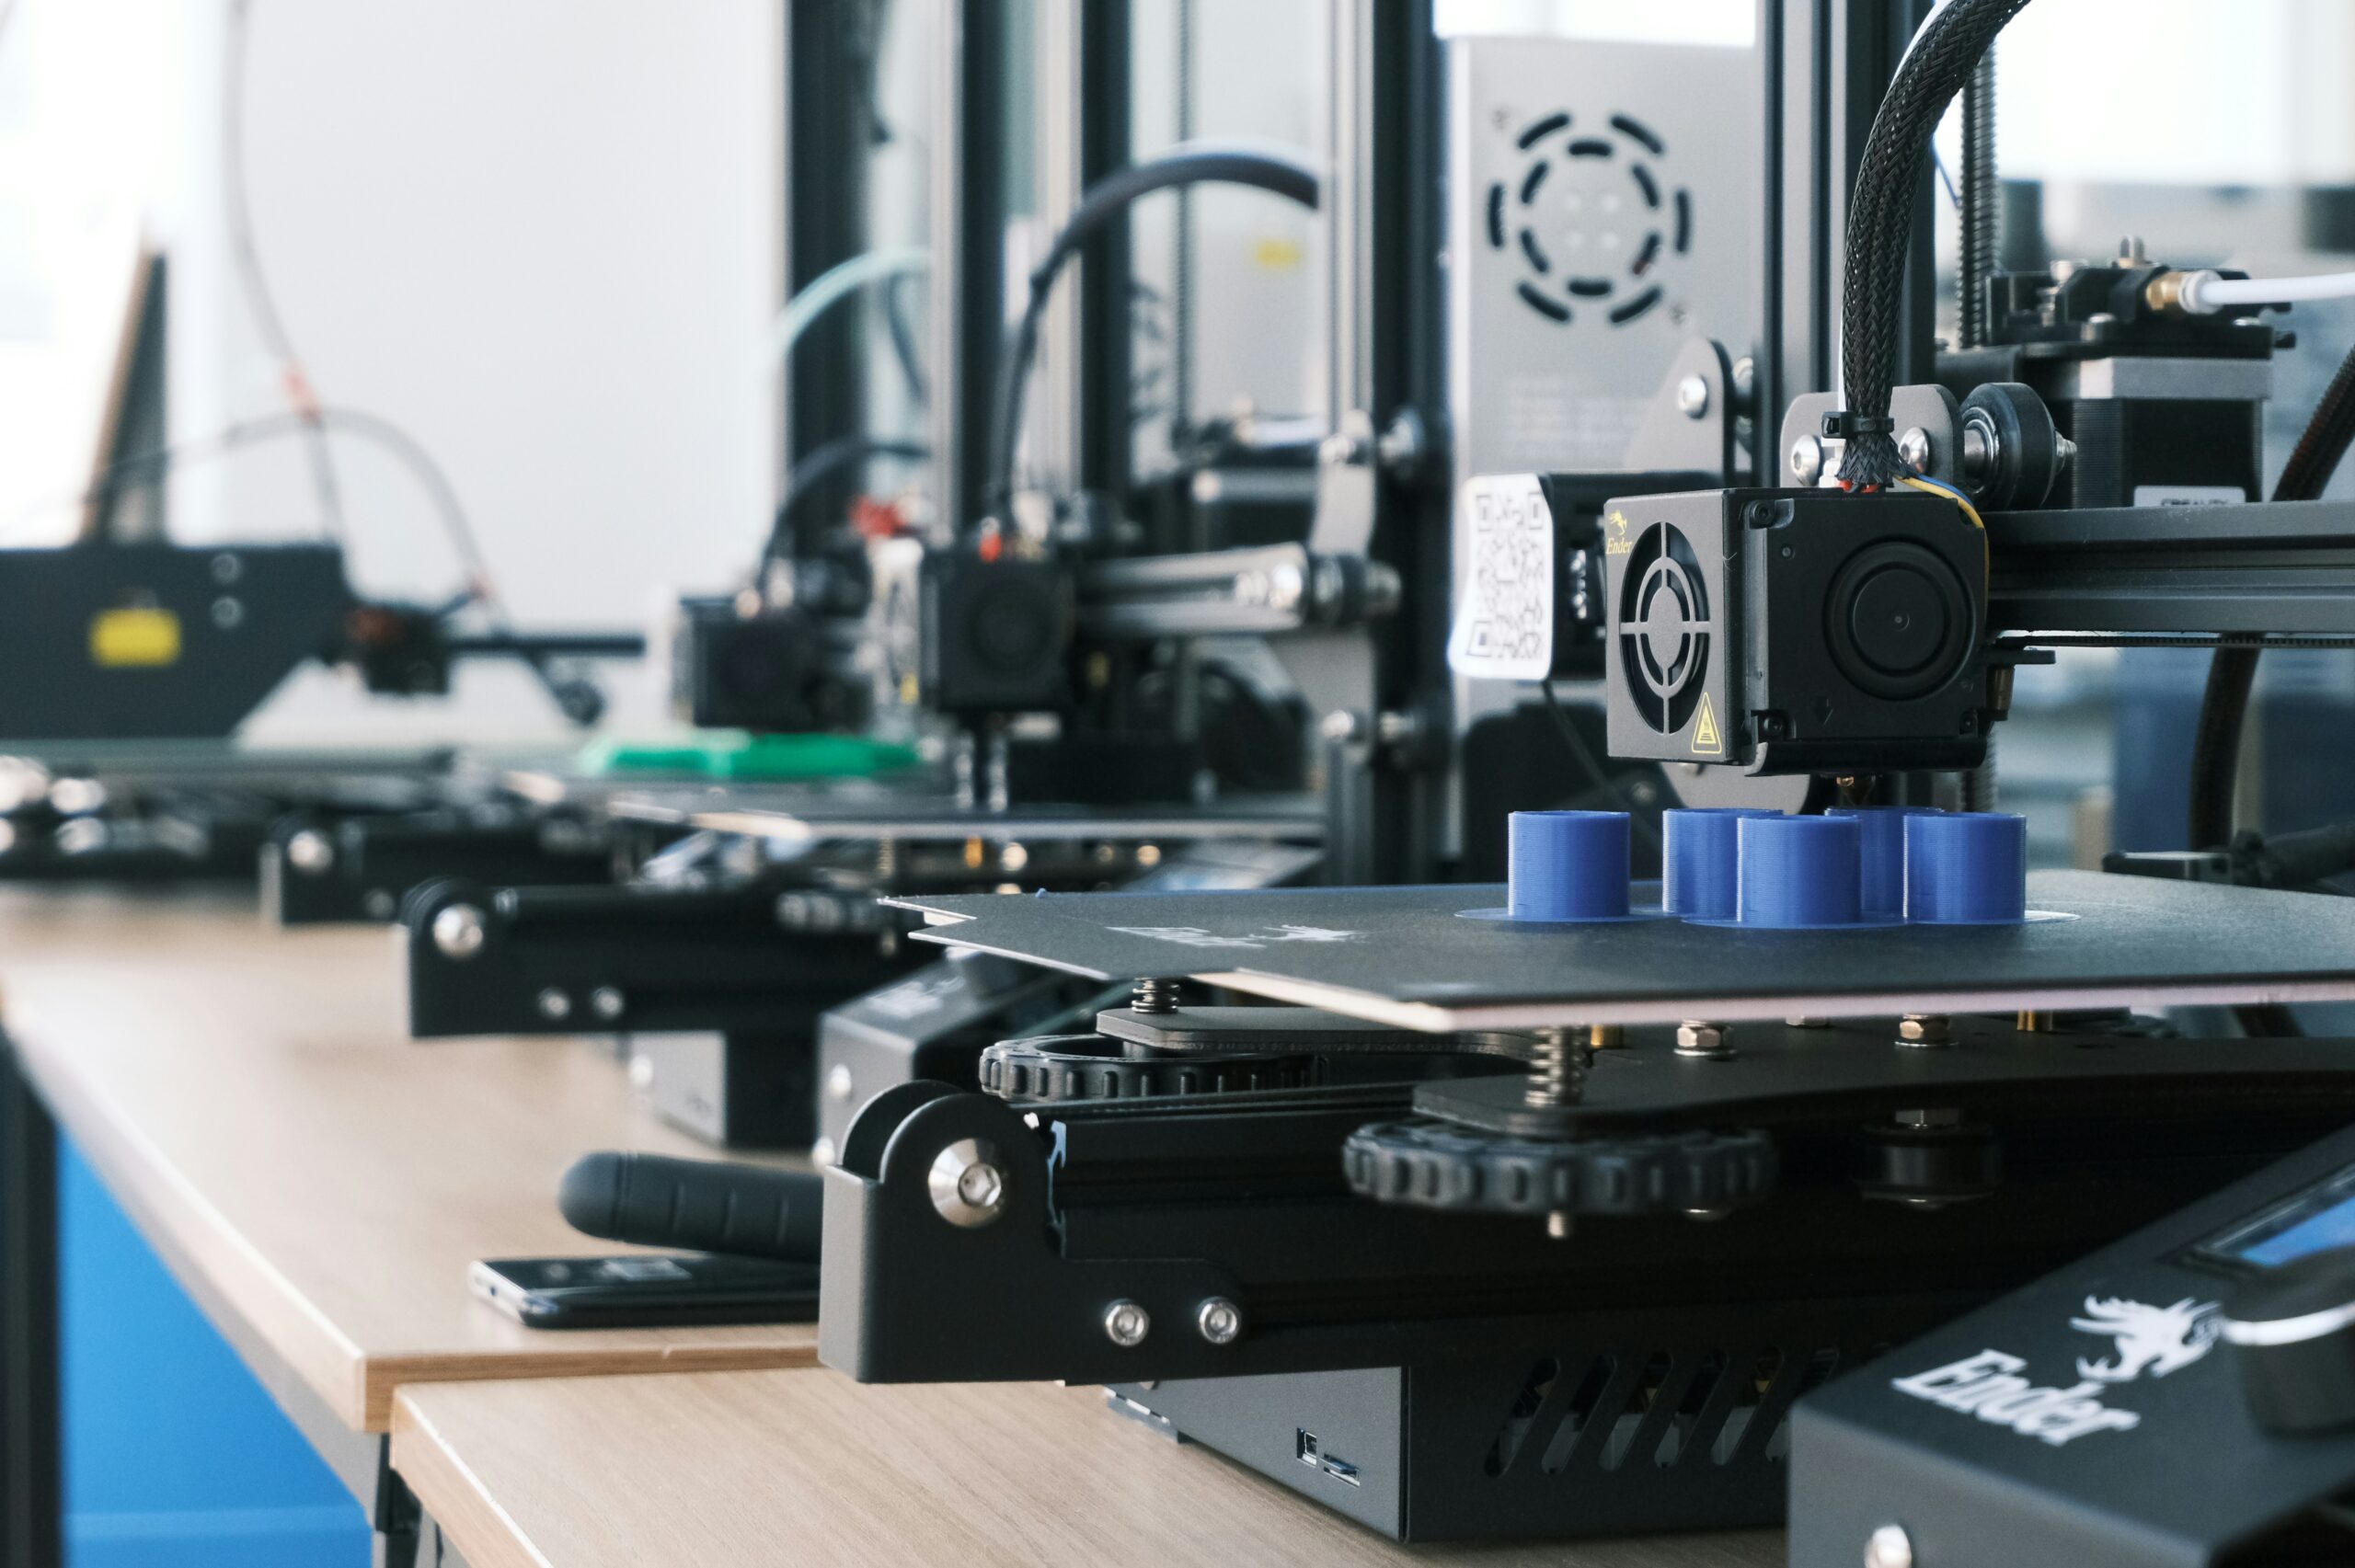
This image is property of images.unsplash.com.
Prototyping Your Designs
Before finalizing and printing your designs, it is recommended to create prototypes to test their functionality and performance. Prototyping allows you to identify any potential issues or areas of improvement before committing to the final print.
Prototyping can be done by printing scaled-down versions of your design or creating physical prototypes using alternative materials like foam or cardboard. This allows you to test the fit, functionality, and aesthetics of the design before investing time and material into the final print.
During the prototyping phase, it is important to document any necessary changes or improvements and incorporate them into your design for the final print.
Finalizing and Printing Your Designs
After iterating on your designs and prototyping them, it’s time to finalize and print the designs. The final version of your designs should reflect all the necessary adjustments and improvements identified throughout the design process.
Before printing, double-check that the 3D printing parameters are set correctly for the final print. Ensure that the printer is calibrated and the bed is leveled to achieve a successful print.
Once the final design is printed, evaluate its quality and functionality against your initial goals and requirements. If any further changes are necessary, iterate on the design and reprint as needed.
By following these comprehensive steps, you will be able to design and create your first functional 3D printed parts. Don’t be discouraged if your first prints are not perfect, as iteration and prototyping are key to refining and improving your designs. With practice and persistence, you will be able to create functional and innovative 3D printed parts.
Remember, the process of designing functional 3D printed parts is not as hard as it may seem. Fusion 360 offers powerful capabilities and ease of use, making it an ideal software choice for beginners and professionals alike. Don’t be afraid to explore and create something amazing with 3D printing!
It’s time for you to take your 3D printing skills to the next level and design your own functional parts. Don’t worry, the process is easier than you think, especially with the free version of Fusion 360 for modeling that I’m using.
There are 4 basic steps to creating your own prints.
-
First, think about what you want to make. It may seem simple, but this step is crucial. For your first design, start with something functional that will be useful around your house. Don’t make it too advanced, as you don’t want to get discouraged.
-
Second, sketch and measure your design. Digital Calipers are affordable and will make this step a breeze. Remember, your sketches don’t have to be perfect. They just need to help you understand what you want to create.
-
Next, it’s time to create a 3D model of your sketches. I highly recommend using Fusion 360 because it’s a powerful tool that simplifies the process of creating basic designs once you get the hang of it. TinkerCAD, on the other hand, would have made even a simple design like this much more challenging. With Fusion 360, it only took me 5 minutes.
-
The final step is printing your design. For your first project, I suggest printing at a prototype quality. That means the print may be weaker and faster than what you would normally do because your initial design might need some adjustments.
Here are the gears I use:
- Main Camera
- Perfect Prime Lens
- Sharpest Wide Lens
- Telephoto Nikon Beast
- Favorite Not RODE Mic
- Best Portable Vlog Mic
- Perfectly Smooth Gimbal
- Camera Strap
- Atomos Ninja V Recorder
- Affordable Studio Light
- Drone
- Great Camera Bag
For any business inquiries, feel free to contact me at goattoaster9@gmail.com.


BIQU CryoGrip Pro Glacier 257x257mm Panda Build Plate for Bambu-Lab P1S/P1P/X1C/X1E/A1 3D Printer Double Sided Upgrade Build Plate Removable Surface Platform
$29.99 (as of June 8, 2025 21:49 GMT +00:00 - More infoProduct prices and availability are accurate as of the date/time indicated and are subject to change. Any price and availability information displayed on [relevant Amazon Site(s), as applicable] at the time of purchase will apply to the purchase of this product.)
HzdaDeve 2 Pack A1 Mini/A1 Hotend Print Head Hot End Kit Extruder Upgrade High-Temperature 0.4MM Hardened Steel Nozzle Replacement with 4PCS Silicone Cover Sock for Bambu Lab 3D Printer Accessories
$17.50 (as of June 8, 2025 21:49 GMT +00:00 - More infoProduct prices and availability are accurate as of the date/time indicated and are subject to change. Any price and availability information displayed on [relevant Amazon Site(s), as applicable] at the time of purchase will apply to the purchase of this product.)
FLASHFORGE Adventurer 5M 3D Printer with Fully Auto Leveling, Max 600mm/s High Speed Printing, 280°C Direct Extruder with 3S Detachable Nozzle, Core XY All Metal Structure, Print Size 220x220x220mm
$259.00 (as of June 8, 2025 21:50 GMT +00:00 - More infoProduct prices and availability are accurate as of the date/time indicated and are subject to change. Any price and availability information displayed on [relevant Amazon Site(s), as applicable] at the time of purchase will apply to the purchase of this product.)
Creality CR-Scan Ferret Pro 3D Scanner, Wireless Scanning with 24-Bit Full-Color & Anti-Shake Tracking, Fast High-Quality Scanning, Compatible with Windows, Mac, iOS & Android
$449.00 (as of June 8, 2025 21:49 GMT +00:00 - More infoProduct prices and availability are accurate as of the date/time indicated and are subject to change. Any price and availability information displayed on [relevant Amazon Site(s), as applicable] at the time of purchase will apply to the purchase of this product.)