ELEGOO Mercury Plus V3.0 Wash and Cure Station, 7.5 L Large Capacity, Compatible with Mars Saturn Photon Halot MSLA LCD DLP 3D Printers
$159.99 (as of June 18, 2025 23:32 GMT +00:00 - More infoProduct prices and availability are accurate as of the date/time indicated and are subject to change. Any price and availability information displayed on [relevant Amazon Site(s), as applicable] at the time of purchase will apply to the purchase of this product.)Ever stop to think about the things you can bring to life with a 3D printer? How about crafting your own whistle, shaped exactly to your fancy, and turning it into a unique necklace? This project lets you unleash your inner artist and create a functional and fashionable piece. Let’s embark on this journey of creation together.
Echoes in 3D: A Whistle of One’s Own
This project guides you through designing a 3D-printed whistle necklace utilizing Tinkercad. It’s a blend of functionality and personalization, allowing you to craft a unique accessory. Let’s explore what you’ll need and how to bring this idea to life.
Anycubic Coupon – $5 off $50+ sitewide with code DIY5OFF
Supplies You’ll Need
Before you begin, gather your tools and materials. Having everything at hand will streamline the crafting process, making it smooth and enjoyable. Let’s get ready to roll.
- 3D Printer
- Slicer Software (e.g., Cura)
- Filament (PLA / PETG)
- Necklace chain
Anycubic Coupon – $5 off $50+ sitewide with code DIY5OFF
Step 1: Designing the Inner Whistle Structure
Your whistle’s sound production relies on the inner structure. We’ll create this core using simple shapes and precise dimensions. Let’s start building the heart of your whistle.
Cylinder Creation: Laying the Foundation
Start by dragging a cylinder shape onto your Tinkercad workspace. Set its diameter to 10mm and its height to 2.5mm. This cylinder forms the base of your whistle’s sound chamber. Think of it as the canvas on which you will create your artwork.
Creating the Airflow Channel: The Cylinder Hole
Next, introduce a cylinder hole with a diameter of 5mm and a height of 2.5mm. This hole forms the channel through which air will flow, creating the whistle’s sound. It needs to have the right dimensions and placement.
Alignment and Grouping: Uniting the Components
Use the Align Tool to center the smaller cylinder hole within the larger cylinder. Once aligned, group these shapes together to form a single, cohesive unit. This grouping ensures that the hole remains perfectly centered as you proceed. This can be the key to successfully completing this project.
Integrating the Roof and Box: Fine-Tuning the Sound
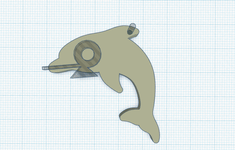
Drag a roof shape onto your workspace and rotate it 90 degrees. Resize it to dimensions of 10mm x 5mm x 2.5mm. Then, drag a box with dimensions of 1mm x 15mm x 2.5mm. Place and adjust these components according to the image. Finally, group these shapes to create the complete inner whistle structure.
Experimenting with Sound: Adjusting the Box Length
Adjusting the length of the box can significantly impact the pitch of your whistle. Shorter box lengths generally result in higher pitches. Let your ears guide you as you experiment with different lengths to find your ideal sound. Finding the right sound is a key element in this project.
Quick Start Option: Downloading the STL File
If you prefer a quicker start, you can download the provided STL file of the inner whistle structure. This allows you to skip the initial design steps and move directly to customizing the outer shape. Sometimes shortcuts can be helpful.
Download the Inner Whistle STL File
You can download the file using the button below.
[Inner Whistle- JustSpring Attachments](Inner whistle.stl)

Step 2: Designing the Outer Whistle Shape
This is where your creativity takes center stage. You can choose any outer shape that resonates with you, transforming your whistle into a personalized masterpiece. Let your imagination run wild.
Shape Selection: Choosing Your Aesthetic
Select a shape that reflects your personality or interests. Ensure the shape is available in SVG format, which is compatible with Tinkercad’s import function. A quick online search for “your chosen shape + SVG” should yield a plethora of options. Remember that you want it to reflect you.
SVG Import: Bringing Your Shape to Life
In Tinkercad, use the import button to insert your chosen SVG file. This brings your selected shape into the digital realm, ready to be molded into your whistle’s outer shell. This is where you can watch your vision slowly becoming reality.
Inserting the Inner Part as a Hole
Insert the inner whistle structure created in Step 1 as a hole into your outer shape. This ensures the perfect alignment of the two components. Sometimes you need to go backwards, in order to successfully move forwards.
Adjustments and Arrangements: Achieving the Perfect Fit
Adjust the height of the outer shape to 4mm and the inner shape to 2.5mm. Raise the inner shape by 0.75mm by dragging the black arrow above the object. Arrange the shapes to your liking, ensuring only the edge of the inner whistle is visible. Remember to take your time.
Grouping: Solidifying Your Design
Select both the inner whistle and the imported shape, then group them together. This unites the two elements into a single, cohesive object, ready for the final touches. Grouping the elements is important when creating a new shape.
Necklace Addition: Transforming into Wearable Art
Add a hole cylinder with dimensions of 2mm x 2mm to one of the edges to transform your whistle into a necklace. This allows you to thread a chain through the whistle, making it wearable. A wearable whistle is a great piece of ingenuity.
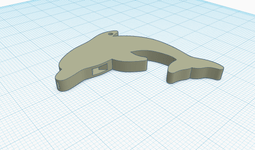
Download the Dolphin Whistle STL File
This is the dolphin shape that was used for the project. Download the file using the button below.
[Dolphin whistle attachments](Dolphin whistle.stl)

Step 3: 3D Printing and Assembly
With your design complete, it’s time to bring your whistle to life through 3D printing. Careful preparation and execution are key to a successful outcome. Printing is an imporant step to bring your project to light.
Slicing: Preparing for Printing
Download your whistle design as an STL file from Tinkercad. Import the STL file into your preferred slicer software, such as Cura. Configure the slicer settings according to the guidelines below. You need the right configuration in order to successfully print your product.
Slicer Settings for Optimal Results
| Setting | Value |
|---|---|
| Layer height | 0.2mm |
| Supports | None |
| Infill | 20% |
3D Printing: Bringing Your Design to Life
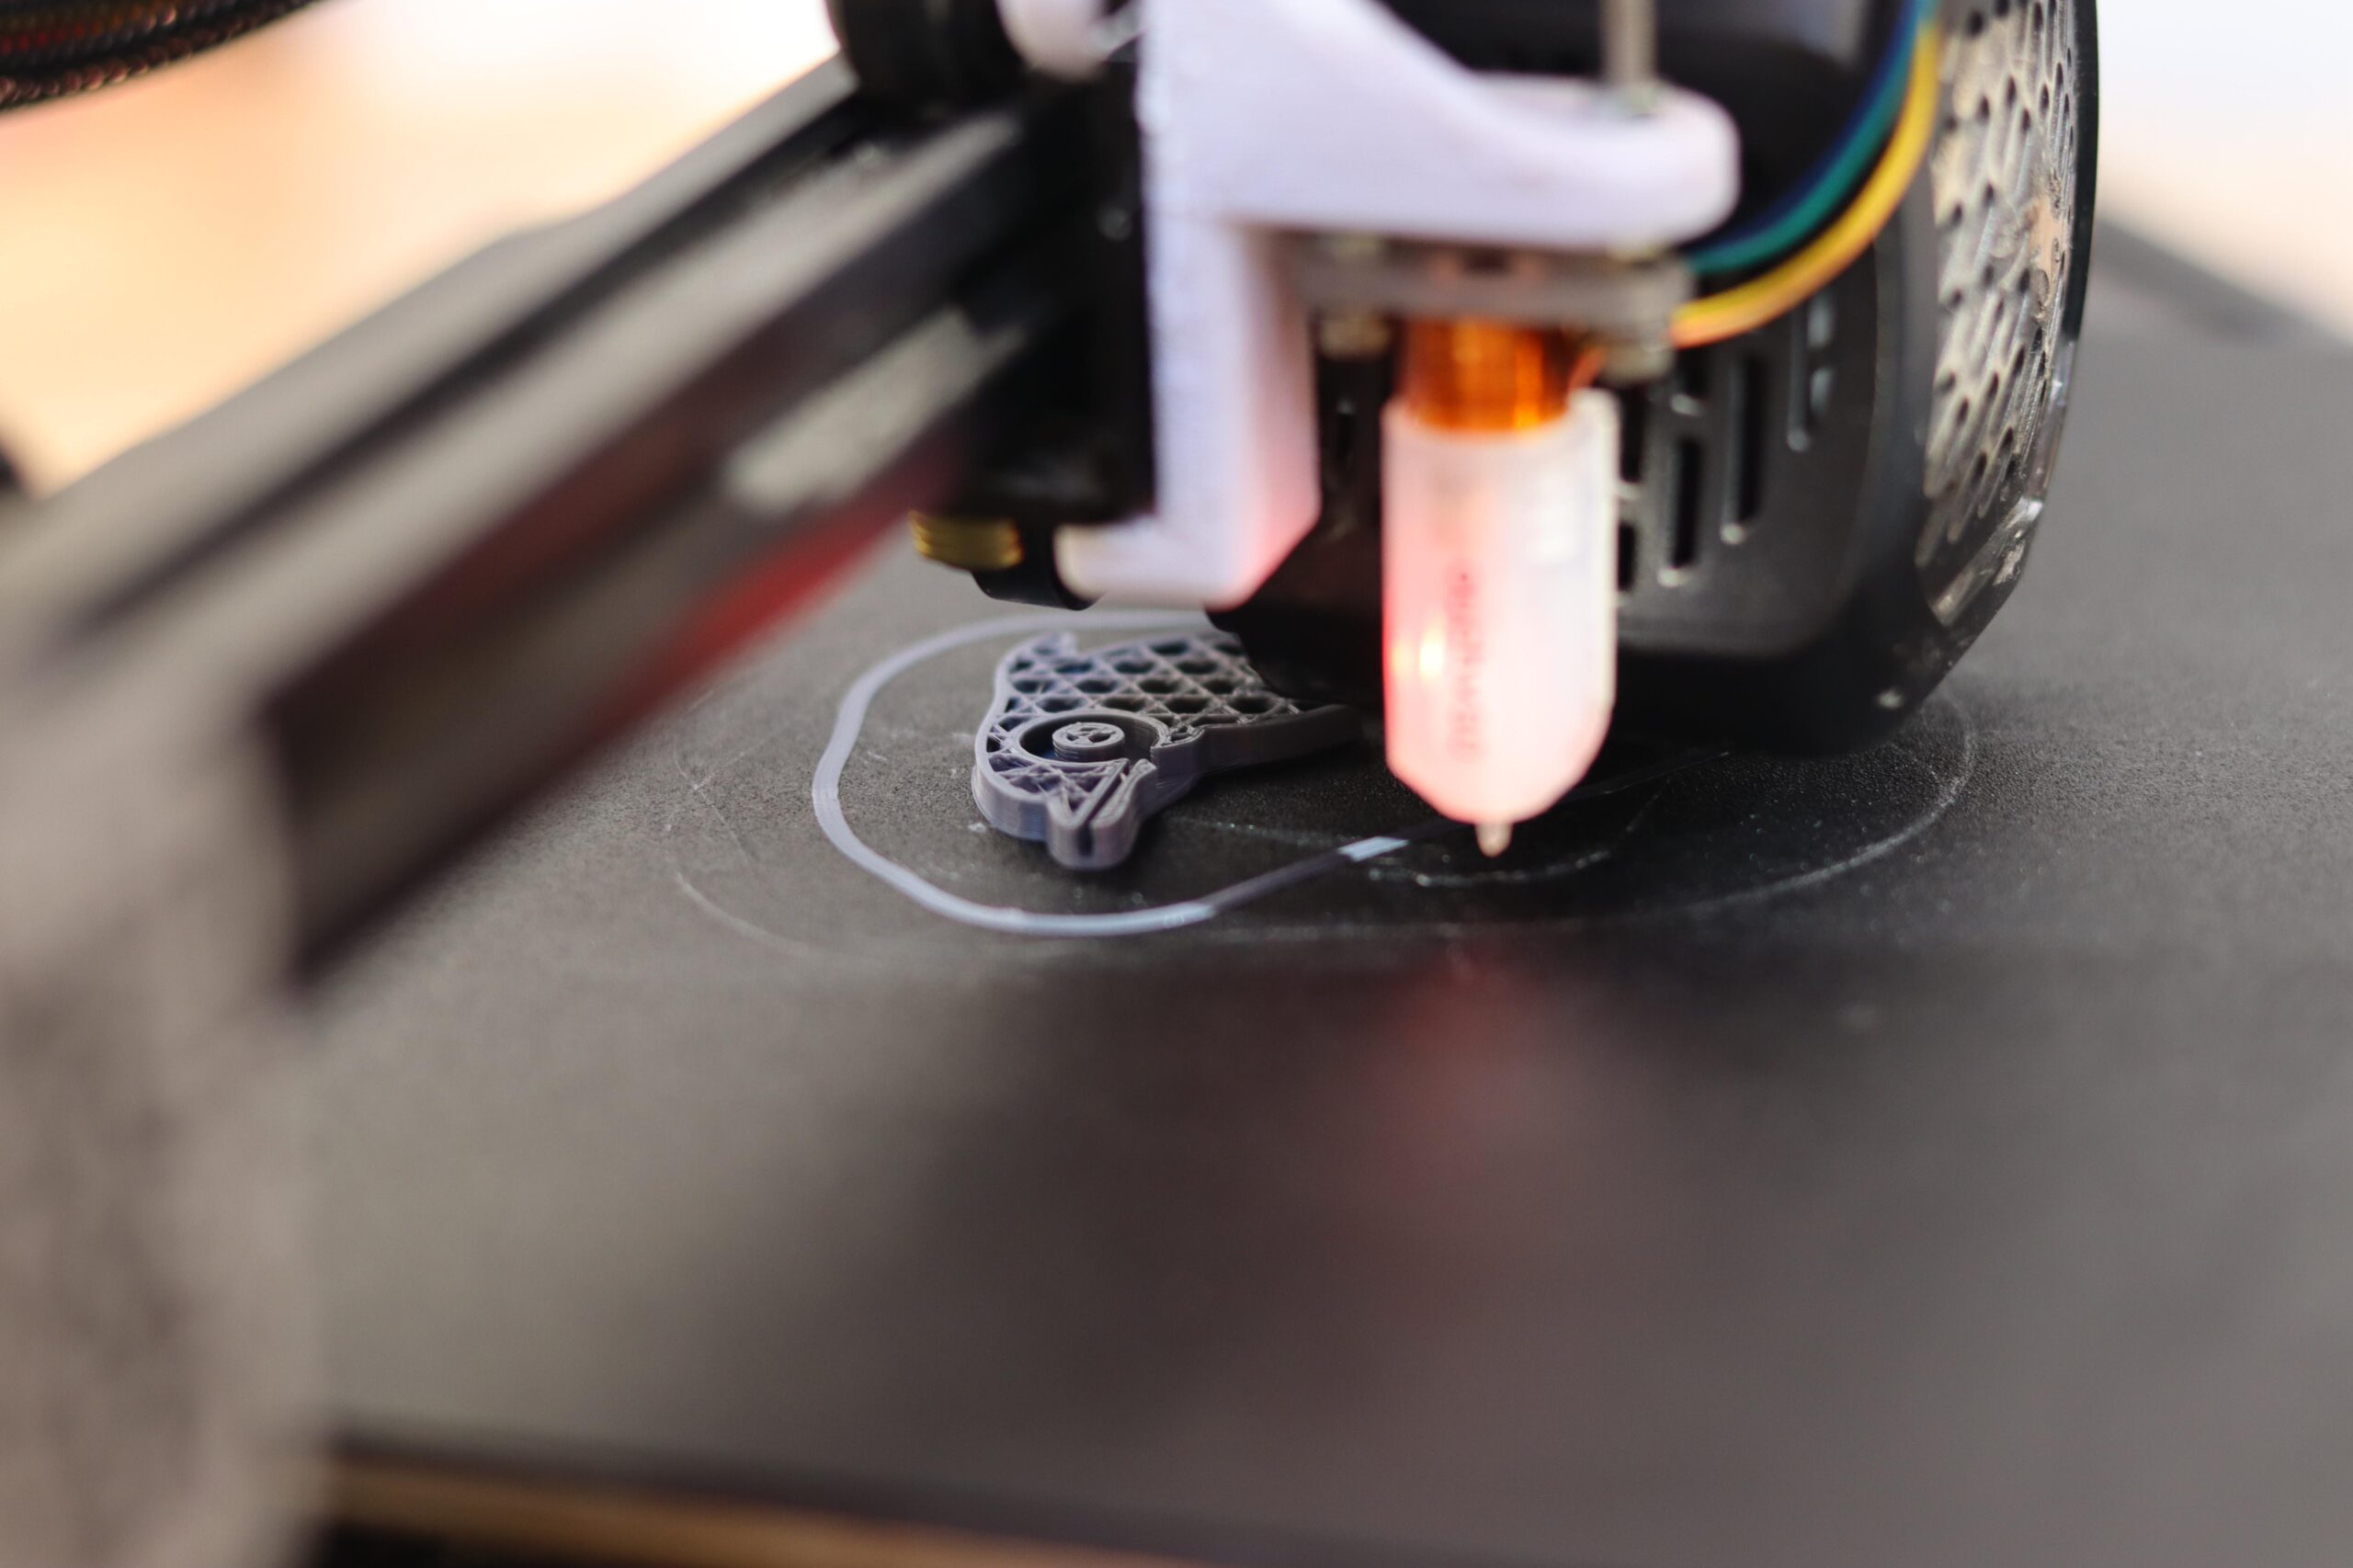
Transfer the sliced files to your 3D printer and initiate the printing process. On an Ender 3 v2, this process typically takes around 24 minutes. Ensure you keep an eye on the priting progress to make sure no issues arise.
Assembly: Completing Your Masterpiece
Once the 3D printing is complete, carefully remove the printed whistle from the printer bed. Thread the necklace chain through the designated hole in the whistle. Now your whistle is a wearable accessory.
Step 4: Finished Whistle
Congratulations! Your personalized whistle is now ready to be gifted to loved ones or worn with pride. Embrace the joy of creating and sharing your unique 3D-printed masterpiece. You are now the proud owner of your very own whistle.
As you create, remember that each whistle can be as unique as you are. This project isn’t just about following steps; it’s about letting your personality shine through. Whether it’s a gift or a personal keepsake, the whistle you’ve crafted carries a piece of you.
Anycubic Coupon – $5 off $50+ sitewide with code DIY5OFF
