
Official Creality Ender 3 3D Printer Fully Open Source with Resume Printing Function DIY Printers Build Volulme 8.66x8.66x9.84 inch
$179.00 (as of June 18, 2025 23:32 GMT +00:00 - More infoProduct prices and availability are accurate as of the date/time indicated and are subject to change. Any price and availability information displayed on [relevant Amazon Site(s), as applicable] at the time of purchase will apply to the purchase of this product.)I’ve always been fascinated by the transformative power of science and creativity, especially when it comes to making things with my own hands. That’s why I was drawn to a method that combines the precision of 3D printing with the ancient art of electroplating. The process, detailed in a tutorial by HEN3DRIK, promises to turn simple 3D prints into stunning, metal-coated objects. The video tutorial not only outlines the step-by-step process but also the materials and tools needed, including a focus on the use of graphite paint for conductivity—a crucial component for successful electroplating.
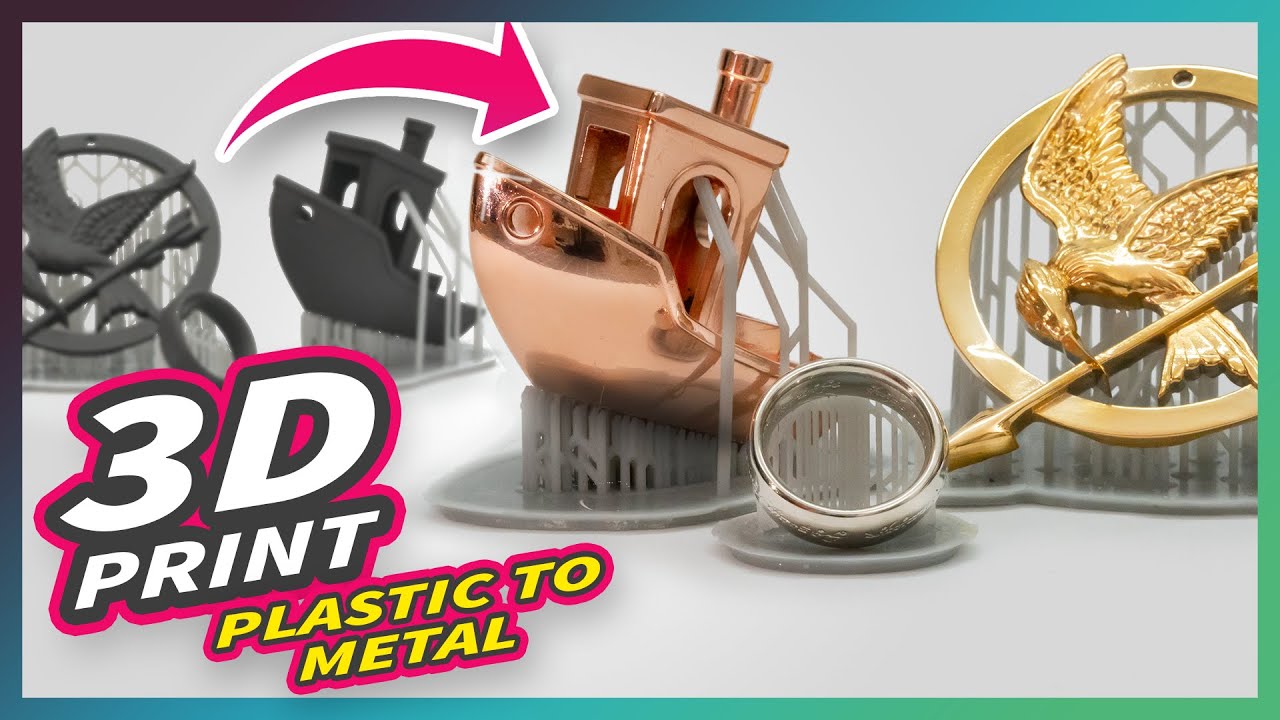
The journey begins with the creation of a 3D print, which serves as the base for the electroplating process. By meticulously preparing the print, painting it with graphite for conductivity, and then undergoing the electroplating itself, the tutorial unlocks the possibility of creating items with an authentic metallic finish. These can range from intricate cosplay props like the mockingjay brooch to unique personal artifacts. This technique opens up a realm where the boundaries between the digital and the tangible blur, allowing me, and potentially others, to bring our virtual creations into the real world with a professional and polished look.

Overview of Electroplating 3D Prints with Graphite
Electroplating 3D prints has opened a gateway to achieving highly detailed and metallic-looking objects that are perfect for a wide array of applications, including prop and costume making. My fascination with this technique grew as I explored the endless possibilities it offers, especially when combined with graphite.
Importance of electroplating in prop and costume making
In the realm of prop and costume making, authenticity is key. Electroplating adds a layer of metal onto 3D printed objects, giving them a genuine metallic finish that can significantly elevate the quality of props and costumes. This process allows for the creation of items that not only look real but feel real as well.
Benefits of using graphite for electroplating 3D prints
I’ve discovered that using graphite as a conductive layer for electroplating 3D prints offers several benefits. Graphite is readily available and provides an even and conductive surface that adheres well to plastics commonly used in 3D printing. This ensures a smooth electroplating process and results in a beautifully finished product.
General steps in the electroplating process
The electroplating process involves several key steps: starting with selecting a suitable 3D print, preparing it by applying a conductive layer of graphite, setting up the electroplating bath, and then immersing the coated print to electroplate it with metal. Each step needs to be performed with care to ensure the best results.
Selecting Your 3D Print for Electroplating
The choice of the 3D print is crucial for a successful electroplating project. Understanding the factors that affect this selection can save time and energy in the long run.
Criteria for choosing 3D prints suitable for electroplating
Not every 3D print is suitable for electroplating. I look for prints with smooth surfaces and details that can be enhanced by the metallic finish. The object’s shape and size also influence the electroplating process, as complex shapes may require more preparation.
Comparing resin vs. FDM prints for electroplating
In my experience, resin prints are generally more suitable for electroplating due to their smooth surface finish, which requires less preparation. However, FDM prints can also be electroplated successfully with adequate surface smoothing and proper application of the conductive coating.
Preparation tips for your 3D print before electroplating
Preparing the 3D print involves smoothing the surface, which can be achieved through sanding or applying filler. Ensuring the print is clean and free of any residues is also essential to ensure the graphite coating adheres properly.


Graphite Painting 3D Prints
The application of graphite paint is a critical step in preparing a 3D print for electroplating.
Step-by-step guide on applying graphite paint
I start by ensuring the 3D print’s surface is clean and smooth. Then, I apply the graphite paint in thin, even coats, allowing each layer to dry completely. It usually takes several coats to achieve a uniform conductive layer.
The role of graphite in electroplating
Graphite serves as the conductive layer that allows the metal to deposit on the non-conductive 3D printed plastic. Its effectiveness in creating a uniform coat is pivotal in achieving a smooth and even metal plating.
Common mistakes to avoid when painting with graphite
It’s easy to apply too much graphite paint or to forget to allow each layer to dry completely. These mistakes can lead to a less effective conductive surface, affecting the quality of the electroplating. Patience and precision are key here.
Increasing Graphite Paint Conductivity
For successful electroplating, high conductivity of the graphite coating is essential.
Why conductivity matters in electroplating
The electrical current that facilitates metal deposition during electroplating needs to flow evenly across the object’s surface. Higher conductivity ensures a more uniform and efficient plating process.
Techniques to increase graphite paint’s conductivity
I’ve found that gently polishing the dried graphite coat with a soft cloth can significantly improve its conductivity. This compacts the graphite particles, reducing resistance and enhancing the electroplating readiness of the print.
Polishing graphite coated surfaces for better results
Polishing not only increases conductivity but also smooths out any irregularities, resulting in a better surface for metal deposition. This can make a noticeable difference in the final appearance of the electroplated object.

Setting Up the Electroplating Bath
Preparing the electroplating bath correctly is crucial for the success of the process.
Equipment needed for an effective electroplating bath
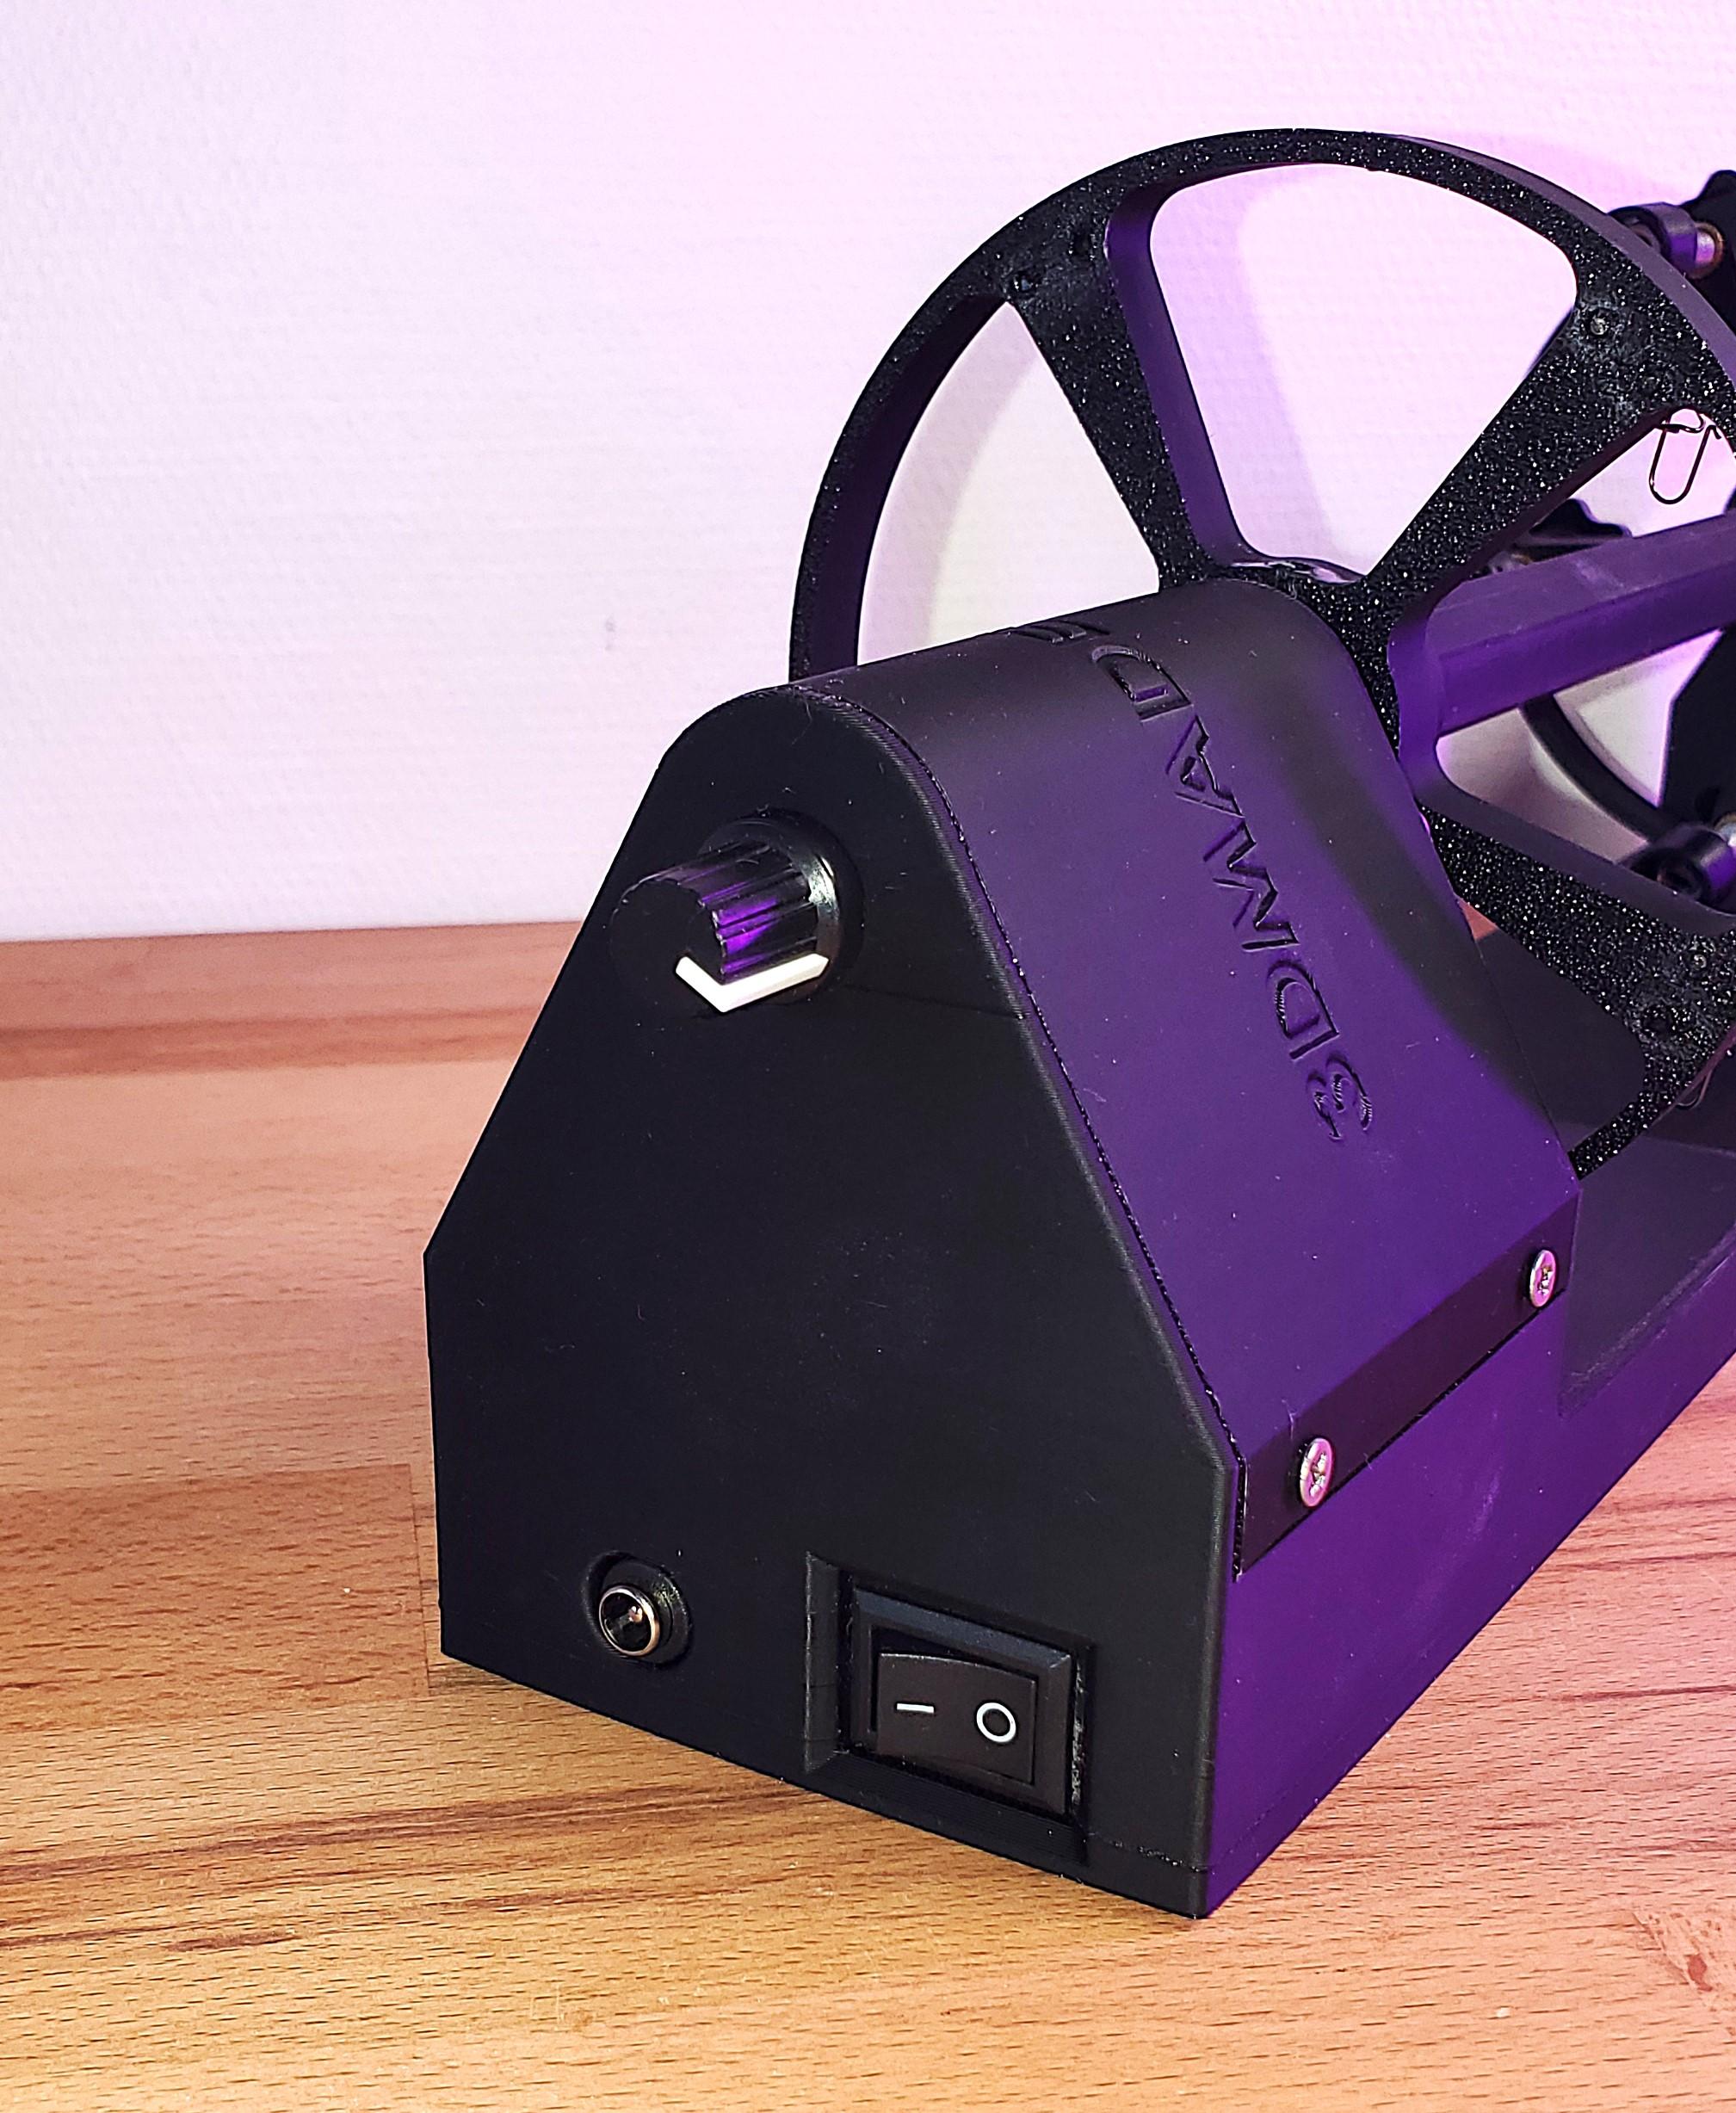
The setup requires a container for the bath, an acidic copper electrolyte solution, copper anodes, and a power supply. Ensuring all equipment is clean and properly configured is essential for a safe and effective electroplating process.
Preparing the acidic copper electrolyte solution
Mixing the electrolyte solution according to the manufacturer’s instructions is crucial. The solution’s composition directly affects the quality and rate of metal deposition on the 3D print.
Attaching copper anodes and configuring the power supply
Copper anodes are connected to the positive pole of the power supply, with the 3D print linked to the negative. Proper spacing and immersion of the anodes and the print ensure even plating across the object.
Electroplating Process for Graphite Painted 3D Prints
The actual electroplating process requires careful monitoring and adjustment to achieve optimal results.
Step-by-step electroplating process
I start by immersing the graphite-painted 3D print in the electrolyte solution, ensuring it’s properly connected to the power supply. Adjusting the current and voltage according to the object’s size and desired plating thickness is a balancing act that requires attention.
Adjusting current and voltage for optimal plating
The ideal current and voltage settings depend on the specific setup and the object being plated. I often start with lower settings and gradually increase them as the plating progresses, monitoring the process closely.
Monitoring the electroplating progress and troubleshooting
Watching the electroplating process unfold allows me to make necessary adjustments on the fly. Troubleshooting common issues like uneven plating or poor adhesion early on prevents wasted time and materials.

Post-Electroplating Procedures
After electroplating, some final steps ensure the durability and appearance of the plated object.
Cleaning and neutralizing the 3D print post-plating
Rinsing the object in distilled water and neutralizing any remaining acid are crucial steps in preserving the electroplated surface. Proper cleaning also prepares the surface for any further finishing, such as polishing.
Inspecting the electroplated layer for uniformity and defects
A thorough inspection helps identify any imperfections or areas that need rework. Uniformity in the electroplated layer is crucial for both appearance and structural integrity.
Safety precautions for disposing of used electroplating solution
Disposing of chemicals responsibly is paramount to ensuring safety and environmental protection. Following local regulations and guidelines for disposal is something I take very seriously.
Polishing Electroplated 3D Prints
Polishing the electroplated prints can enhance their appearance significantly.
Benefits of polishing electroplated prints
Polishing not only improves the aesthetic appeal of the object by adding shine and luster but also removes any minor surface imperfections that may have occurred during the electroplating process.
Techniques and tools for polishing copper plated prints
Using fine-grit sandpaper, polishing cloths, and specialized polishing compounds, I carefully buff the surface of the electroplated print. The choice of tool and technique depends on the level of detail and the desired finish.
Ensuring a mirror finish on electroplated surfaces
Achieving a mirror finish requires patience, precision, and a gentle touch. Working through progressively finer grits and finishing with a high-quality polishing compound can produce stunning results that truly showcase the beauty of electroplated 3D prints.
Advanced Techniques and Troubleshooting
As with any craft, mastering electroplating involves learning to navigate challenges and experimenting with advanced techniques.
Adjusting for complex 3D print shapes
Complex shapes require special attention in both the preparation and electroplating stages. Techniques such as strategic positioning in the bath and the use of auxiliary anodes can help achieve an even metal coating on intricate designs.
Troubleshooting common issues in electroplated 3D prints
Common issues include uneven coating, adhesion problems, and surface imperfections. Identifying the root cause is the first step in troubleshooting these challenges, whether it’s adjusting the electrolyte composition, refining the preparation process, or tweaking the electroplating parameters.
Using walnut granules for polishing hard-to-reach areas
For objects with intricate details or hard-to-reach areas, walnut granules can be an effective polishing medium. Used in a rotary tumbler, they can gently polish and increase the conductivity of the graphite layer, preparing it for a successful electroplating process.
Conclusion
Recap of the electroplating process and its importance
The journey of electroplating 3D prints with graphite from preparation to polishing is a fascinating process that combines art with science. It’s a technique that adds value and authenticity to props and costumes, making them stand out with a professional metallic finish.
Future trends in electroplating 3D prints
As both 3D printing and electroplating technologies evolve, we can expect to see even more innovative applications and materials being developed. This progress will likely make the process more accessible and provide even better results.
Encouragement to experiment and refine electroplating skills
I hope sharing my experiences and insights encourages others to explore the world of electroplating 3D prints. Experimentation and practice are key to refining your skills in this area. There’s always something new to learn, and the results are incredibly rewarding.
They will guide you on crafting exquisite, authentic props, such as this mockingjay brooch, by #electroplating your 3D prints. Merging #3dprinting with metal plating, they bring to life objects that add realism to your prop collection or your appearance at the next comic con. #cosplay
💚 Show your support 💚
If you appreciate their work and would like to offer support, consider buying them a coffee:
https://www.buymeacoffee.com/hen3drik
These are the materials they utilized for electroforming/electroplating in the tutorial.
Requirements for the prints:
🛒 Copper Anode: https://amzn.to/42XdwZS *
🛒 Bright Copper Electrolyte: https://amzn.to/3zk2S1F *
🛒 GRAPHIT Paint https://amzn.to/3YtPZhD *
🛒 Gold Electrolyte https://amzn.to/44NNwRp *
🛒 Palladium Electrolyte https://amzn.to/3DDr8hD *
Optional materials:
🛒 Conductive Copper Paint https://amzn.to/47cpbpR *
🛒 Galvanic Degreaser https://amzn.to/3rV4v5r *
The printer they employed:
🛒 ELEGOO Saturn 2 8K https://amzn.to/44Js3Ja *
(*) These links are affiliate links. They occasionally recommend products they are familiar with and use themselves, and as a result, they might receive a commission if you purchase through these affiliate links. Buying via affiliate links incurs no additional cost to you.
▶ Chapters
▶ For setting up the galvanic bath:
-
a receptacle
-
acidic copper electrolyte
-
Palladium electrolyte
-
one or two copper anodes
-
banana plug & alligator clips
▶ You might need:
-
Degreaser
-
Distilled water
-
galvanic brush + pen
Enjoy and give it a try. 🧡
▶ Mockingjay by Hitoprl
https://www.thingiverse.com/thing:120…
▶ 3DBenchy by CreativeTools
https://www.thingiverse.com/thing:763622
▶ One Ring by Tato_713
https://www.thingiverse.com/thing:371…

GIANTARM Silk Metallic Silver PLA 3D Printer Filament 1kg Spool, 1.75mm Dimensional Accuracy +/-0.03mm, 1080 Feet per Roll, Vacuum Packaging
$17.99 (as of June 18, 2025 23:32 GMT +00:00 - More infoProduct prices and availability are accurate as of the date/time indicated and are subject to change. Any price and availability information displayed on [relevant Amazon Site(s), as applicable] at the time of purchase will apply to the purchase of this product.)
ELEGOO PLA+ Filament 1.75mm White 1KG, High Toughness PLA Plus 3D Printer Filament Dimensional Accuracy +/- 0.02mm, 1kg Spool(2.2lbs) for Most FDM 3D Printers
$14.99 (as of June 18, 2025 23:32 GMT +00:00 - More infoProduct prices and availability are accurate as of the date/time indicated and are subject to change. Any price and availability information displayed on [relevant Amazon Site(s), as applicable] at the time of purchase will apply to the purchase of this product.)
FLASHFORGE 3D Printer AD5M, CoreXY 600mm/s High-Speed Printer with 1-Click Auto Leveling, High-Temp Direct Drive Extruder, 3s Quick-Swap Nozzle, 220×220×220mm Build Volume
$259.00 (as of June 18, 2025 23:32 GMT +00:00 - More infoProduct prices and availability are accurate as of the date/time indicated and are subject to change. Any price and availability information displayed on [relevant Amazon Site(s), as applicable] at the time of purchase will apply to the purchase of this product.)
Creality Official 3.0 mm 3D Scanning Marker for 3D Scanner, 3D Tracking Dot Reference Point Markers, Diffuse Reflection Markers (5 Sheet 420 Dots)
$19.99 (as of June 18, 2025 23:32 GMT +00:00 - More infoProduct prices and availability are accurate as of the date/time indicated and are subject to change. Any price and availability information displayed on [relevant Amazon Site(s), as applicable] at the time of purchase will apply to the purchase of this product.)