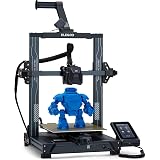
ELEGOO Neptune 3 Pro FDM 3D Printer with Auto Bed Leveling, Dual-Gear Direct Extruder, Dual Lead Screw Drive, Removable Capacitive Screen, 8.85x8.85x11in Large Printing Size
$209.99 (as of June 18, 2025 23:32 GMT +00:00 - More infoProduct prices and availability are accurate as of the date/time indicated and are subject to change. Any price and availability information displayed on [relevant Amazon Site(s), as applicable] at the time of purchase will apply to the purchase of this product.)Eliminate Seams in Your 3D Print
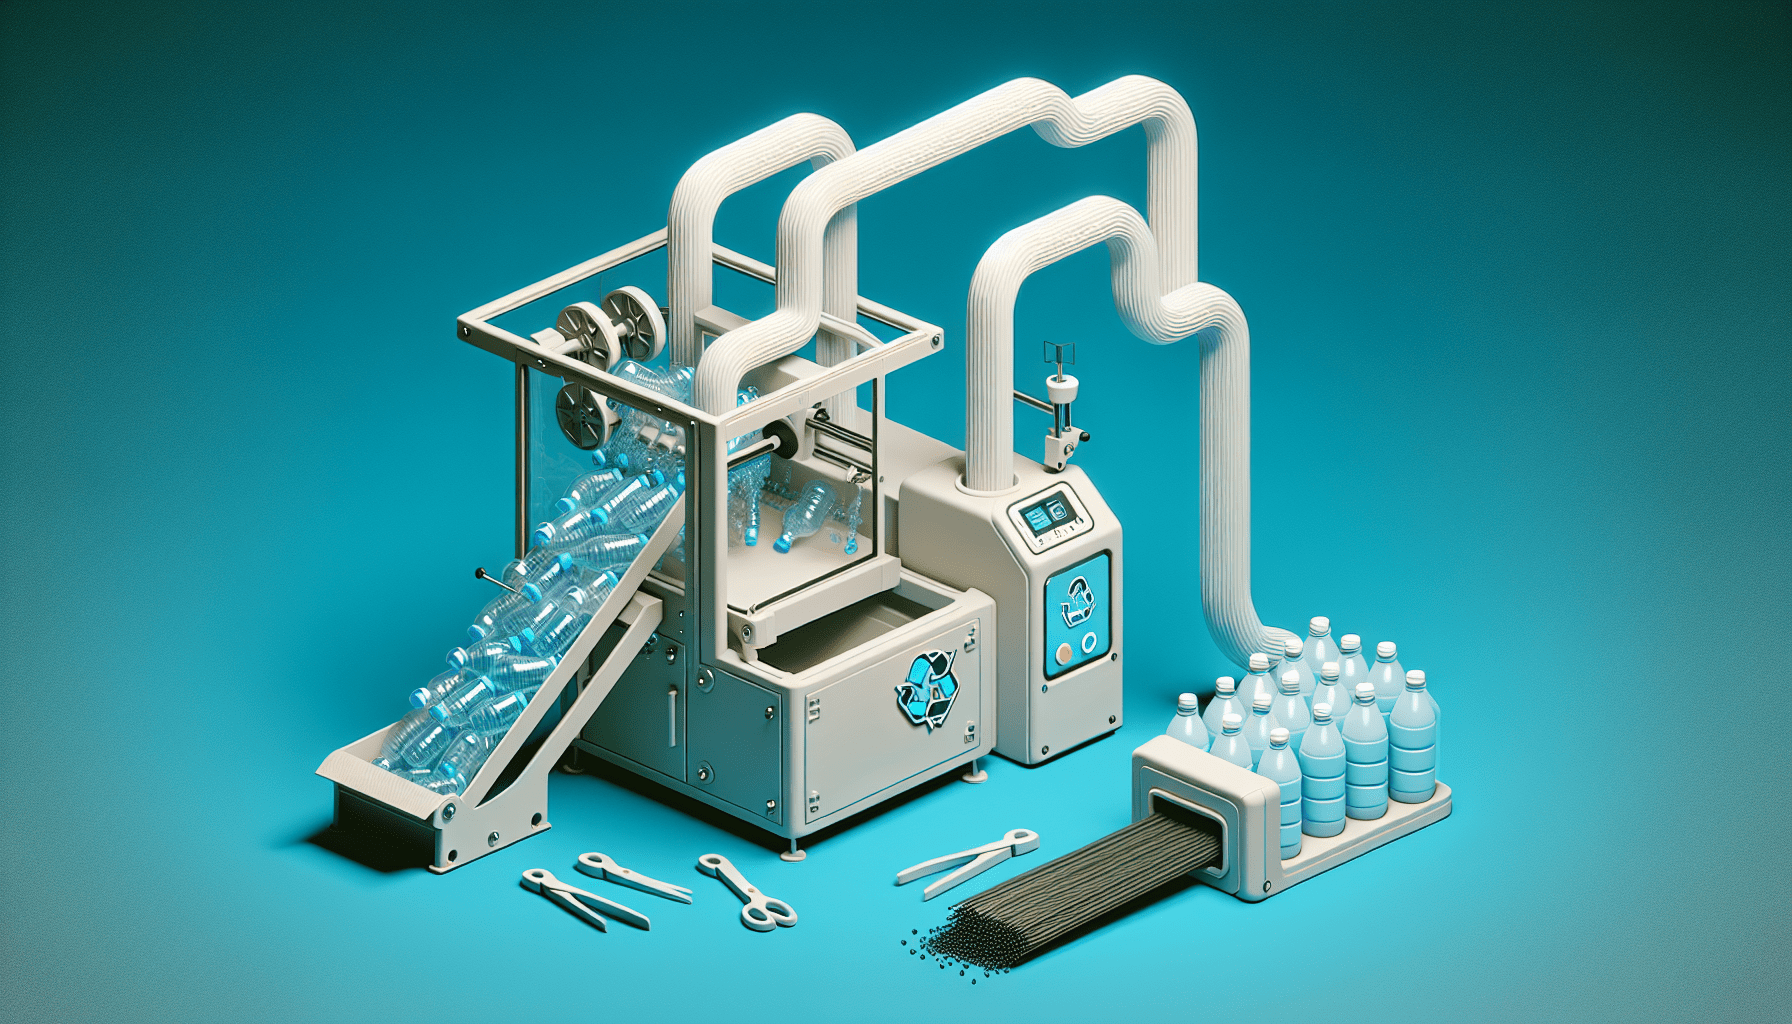
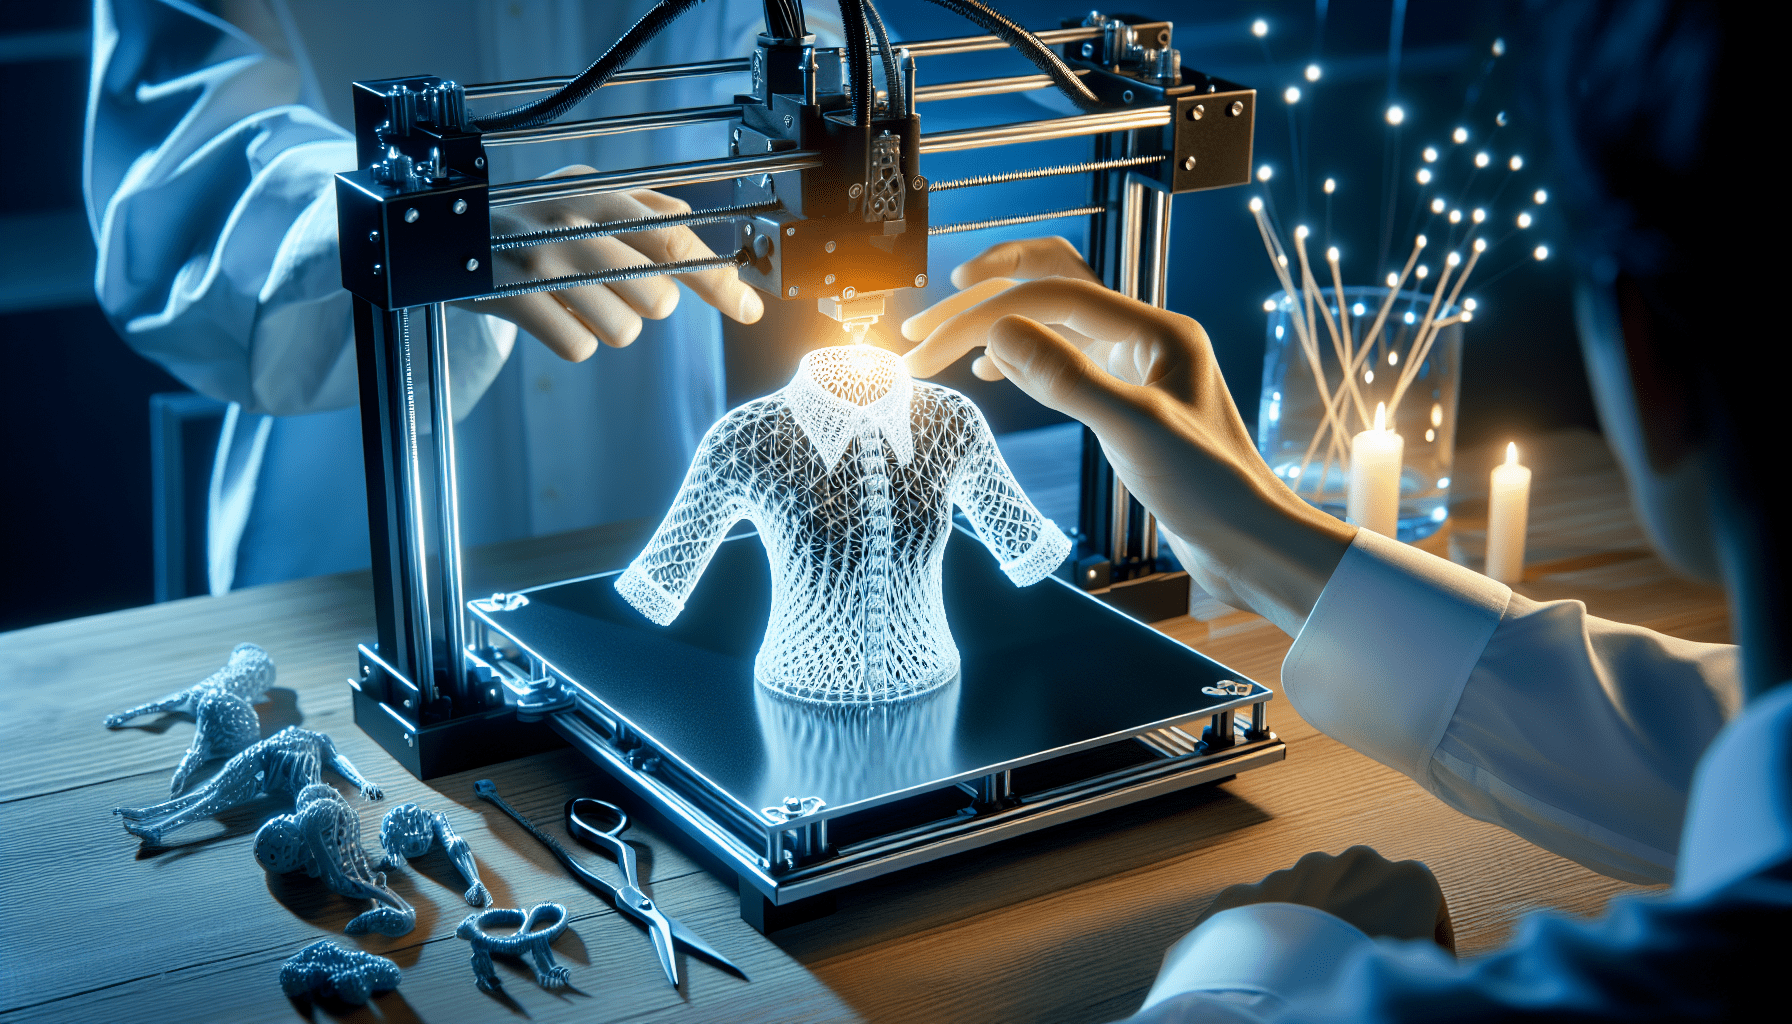
3D printing has revolutionized the manufacturing industry, allowing for the creation of complex and customized objects with ease. However, one common challenge that 3D printing enthusiasts face is the presence of seams or visible layer lines on their prints. These seams can detract from the overall quality and aesthetics of the object. In this article, we will explore various techniques and strategies to eliminate seams in your 3D prints, resulting in a smoother and more professional finish.
The Importance of Seam Elimination
Seams occur when the 3D printer transitions from one layer to the next, leaving behind a visible line where the layers meet. While these seams may seem like a minor issue, they can significantly impact the appearance and functionality of the printed object. Here are a few reasons why seam elimination is crucial:
- Aesthetics: Seams can be unsightly, especially on objects with smooth surfaces or intricate designs. Eliminating seams enhances the overall visual appeal of the print.
- Structural Integrity: Seams can weaken the structural integrity of the object, making it more prone to breakage or failure. By eliminating seams, you can ensure that your prints are stronger and more durable.
- Post-Processing: If you plan to post-process your 3D prints by sanding, painting, or applying a finish, seams can become even more pronounced. Eliminating seams reduces the amount of post-processing required, saving you time and effort.
Techniques to Eliminate Seams
Now that we understand the importance of seam elimination, let’s explore some effective techniques to achieve seamless 3D prints:
1. Adjusting Print Settings
The first step in eliminating seams is to optimize your print settings. Here are a few settings you can adjust to minimize the appearance of seams:
- Layer Height: Decreasing the layer height can help reduce the visibility of seams. However, keep in mind that this may increase print time.
- Print Speed: Slowing down the print speed allows for better layer adhesion, resulting in smoother transitions between layers.
- Retraction Settings: Proper retraction settings can minimize stringing and oozing, which can contribute to the formation of seams.
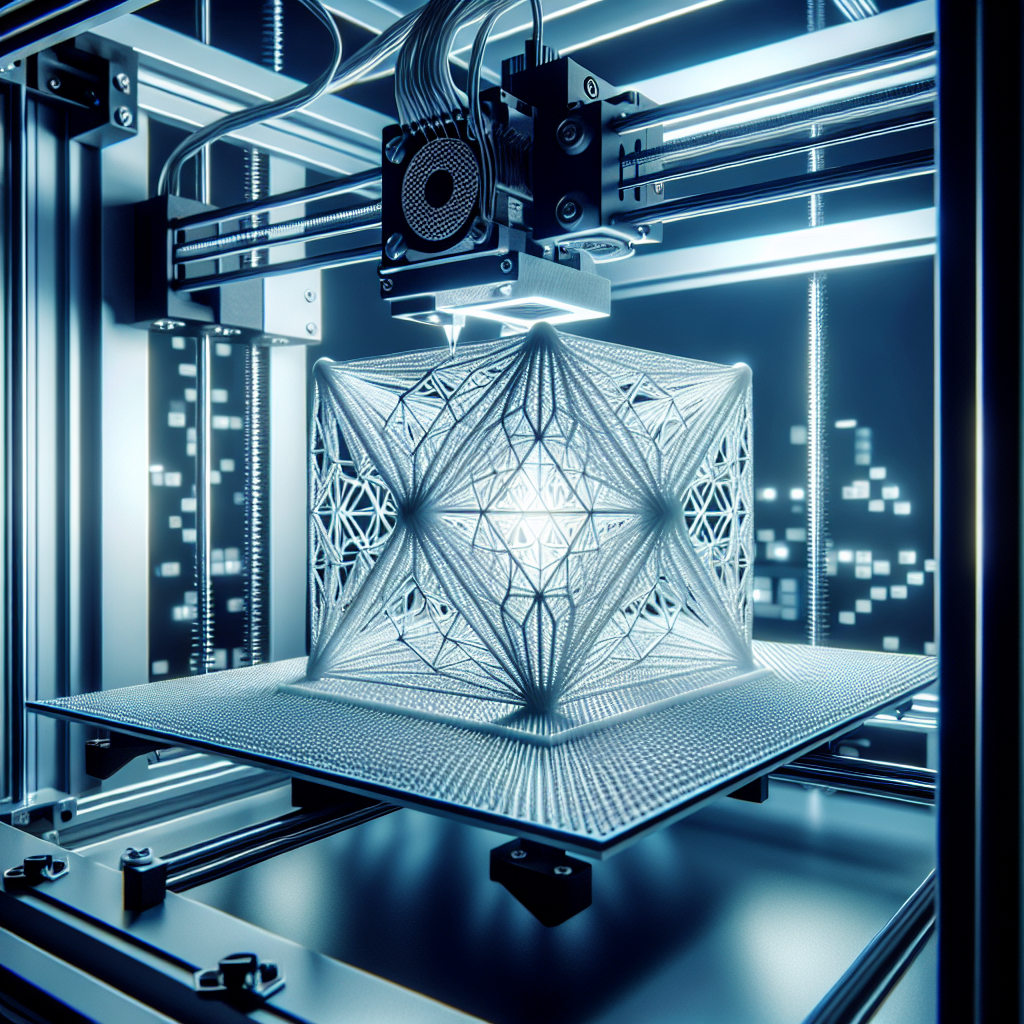
2. Using Seamless Design Techniques
Designing your 3D models with seam elimination in mind can greatly improve the final print quality. Here are a few design techniques to consider:
- Continuous Surfaces: Avoid designing objects with abrupt changes in geometry, as these can create visible seams. Instead, aim for continuous surfaces and gradual transitions.
- Hidden Seams: Conceal seams by incorporating them into areas that are less visible or by strategically placing them where they can be easily post-processed.
- Overlapping Layers: Overlapping layers can help blend the seams together, making them less noticeable. Experiment with overlapping techniques to find the best result for your specific print.
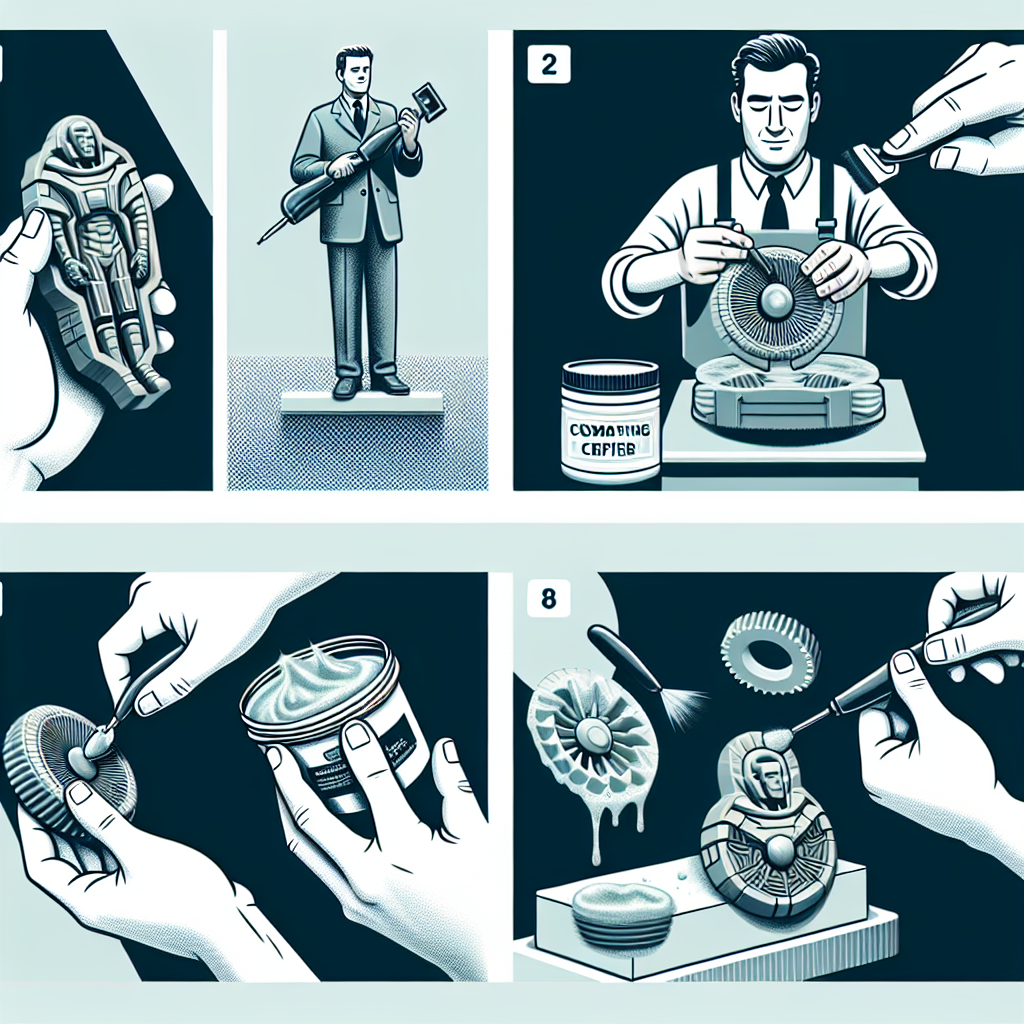
3. Post-Processing Techniques
If you still have visible seams after adjusting print settings and optimizing your design, post-processing techniques can help further eliminate or minimize their appearance:
- Sanding: Sanding the surface of the print can smooth out visible seams. Start with a coarse grit sandpaper and gradually move to finer grits for a polished finish.
- Filling and Priming: Fill in the seams with a suitable filler material, such as epoxy putty or filler primer. This helps create a seamless surface for painting or other finishing techniques.
- Acetone Vapor Bath: For prints made from ABS filament, an acetone vapor bath can help smooth out seams and give the object a glossy finish. However, exercise caution and follow proper safety guidelines when working with acetone.
Case Study: Seam Elimination in Automotive Prototyping
One industry where seam elimination is of utmost importance is automotive prototyping. Automotive manufacturers often use 3D printing to create prototypes of various components, such as interior panels, exterior body parts, and engine components. These prototypes need to be visually appealing and structurally sound to accurately represent the final product.
A leading automotive manufacturer recently faced challenges with visible seams on their 3D printed prototypes. The seams were particularly noticeable on the exterior body panels, affecting the overall aesthetics of the prototypes. To address this issue, the manufacturer implemented the following strategies:
- Optimized Print Settings: The manufacturer adjusted the print settings to decrease layer height and increase print speed, resulting in smoother transitions between layers.
- Redesigned Models: The design team modified the models to incorporate hidden seams and minimize abrupt changes in geometry.
- Post-Processing Techniques: After printing, the prototypes underwent extensive post-processing, including sanding, filling, and priming, to achieve a seamless finish.
By implementing these strategies, the automotive manufacturer successfully eliminated visible seams on their 3D printed prototypes. This not only improved the aesthetics of the prototypes but also allowed for better evaluation of the design and functionality of the components.
Conclusion
Seam elimination is a crucial aspect of achieving high-quality 3D prints. By adjusting print settings, designing with seam elimination in mind, and utilizing post-processing techniques, you can significantly reduce or eliminate visible seams on your prints. Whether you are a hobbyist or a professional, incorporating these strategies will help you create seamless and visually appealing 3D prints that showcase the true potential of additive manufacturing.

OVERTURE PLA Plus (PLA+) Filament 1.75mm, Stronger & More Durable, Professional Toughness 3D Printer Filament 1kg (2.2lbs), High Precision +/- 0.02mm, Tangle-Free (Black)
$20.99 (as of June 18, 2025 23:32 GMT +00:00 - More infoProduct prices and availability are accurate as of the date/time indicated and are subject to change. Any price and availability information displayed on [relevant Amazon Site(s), as applicable] at the time of purchase will apply to the purchase of this product.)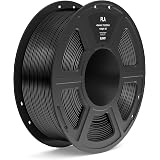
ELEGOO PLA Filament 1.75mm Black 1KG, 3D Printer Filament Dimensional Accuracy +/- 0.02mm, 1kg Spool(2.2lbs) Fit Most FDM 3D Printers
$13.99 (as of June 18, 2025 23:32 GMT +00:00 - More infoProduct prices and availability are accurate as of the date/time indicated and are subject to change. Any price and availability information displayed on [relevant Amazon Site(s), as applicable] at the time of purchase will apply to the purchase of this product.)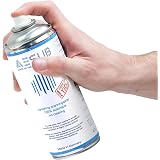
3D Scanning Spray for 3D Scanners, No Cleaning Needed, for Transparent, Reflective or Highly Textured Surfaces Objects, 400ml
$39.99 (as of June 18, 2025 23:32 GMT +00:00 - More infoProduct prices and availability are accurate as of the date/time indicated and are subject to change. Any price and availability information displayed on [relevant Amazon Site(s), as applicable] at the time of purchase will apply to the purchase of this product.)
Revopoint Dual Axis Turntable for Accurate 3D Scanning, Easy Capturing Detail-rich 3D Data of Small-Medium Objects
$99.00 (as of June 18, 2025 23:32 GMT +00:00 - More infoProduct prices and availability are accurate as of the date/time indicated and are subject to change. Any price and availability information displayed on [relevant Amazon Site(s), as applicable] at the time of purchase will apply to the purchase of this product.)