FLASHFORGE AD5M 3D Printer Fully Auto Calibration Print with 1-Click Max 600mm/s Speed, All-Metal CoreXY Structure Precise Printing, Easy-Maintenance Quick-Swap Nozzle, Print Size 220x220x220mm
$259.00 (as of June 19, 2025 23:45 GMT +00:00 - More infoProduct prices and availability are accurate as of the date/time indicated and are subject to change. Any price and availability information displayed on [relevant Amazon Site(s), as applicable] at the time of purchase will apply to the purchase of this product.)Full Blender Tutorial – for 3D Modeling and 3D Printing is a comprehensive tutorial video created by Pygineer. This tutorial is suitable for both beginners and advanced users of Blender 2.83. The main focus of the tutorial is on creating 3D models that can be printed using a 3D printer. The video is divided into two sections: Beginner and Advanced. In the Beginner section, viewers will learn the basics of setting up, navigating, and performing actions in Blender. The Advanced section covers modeling techniques and modifiers like Array, Bevel, Boolean, Mirror, Spin, and Solidify. The video also provides useful tips for 3D printing, using reference images for modeling, and includes a live demonstration of creating and printing a 3D model. The software and hardware used in the tutorial are listed, including Blender 2.83, Cura 4.6.1, and the Anycubic i3 Mega 3D printer. Editing of the video was done with Sony Vegas Pro Edit 14, OBS, IP Webcam, t.bone SC400 microphone, and Nokia 6.1 Plus camera. Social media account information for Instagram is also provided in the video.
Clear and concise, this Full Blender Tutorial – for 3D Modeling and 3D Printing by Pygineer covers everything beginners and advanced users need to know about Blender 2.83. The main focus is on creating 3D models for 3D printing, with the tutorial divided into Beginner and Advanced sections. The Beginner section covers the basics of Blender, while the Advanced section goes into more depth with modeling techniques and modifiers. The video also includes tips for 3D printing, using reference images, and a live demonstration of creating and printing a 3D model. The software and hardware used are listed, along with the editing tools utilized. Instagram account information is provided for those who wish to connect on social media.


Beginner Section
Basic setup in Blender
In order to get started with Blender, you need to set up the software properly. The basic setup includes installing Blender on your computer and familiarizing yourself with the user interface.
To install Blender, visit the official Blender website and download the latest version compatible with your operating system. Once the installation is complete, you can launch Blender and start exploring its features.
The user interface in Blender might appear overwhelming at first, but with practice, you will become comfortable navigating through it. Familiarize yourself with the main panels, such as the 3D Viewport, Outliner, Properties, and Tool Shelf. These panels contain various tools and settings that are essential for creating 3D models.
Navigation in Blender
Navigating in Blender is an important skill that you need to master in order to work efficiently. Blender offers several navigation options, including panning, rotating, and zooming in and out.
To pan, simply hold down the middle mouse button and move the mouse. This allows you to move the view around the 3D space.
To rotate the view, press and hold the middle mouse button and move the mouse in the desired direction. This allows you to view the model from different angles.
To zoom in and out, use the scroll wheel on your mouse. Scrolling forward zooms in, while scrolling backward zooms out.
Additionally, you can use keyboard shortcuts to navigate in Blender. For example, pressing the Numpad period (.) key will focus the view on the selected object or scene.
Actions in Blender
Blender provides a wide range of actions that you can perform to create and modify 3D models. These actions include object transformations, such as translate, rotate, and scale, as well as editing and modeling tools.
To perform object transformations, select the object in the 3D Viewport and use the manipulator handles to translate, rotate, or scale the object. You can also use keyboard shortcuts to apply these transformations. For example, pressing the G key allows you to grab and move an object, while pressing the R key enables you to rotate it.
Blender also offers a variety of editing and modeling tools that allow you to create and modify 3D geometry. Some of the basic tools include extrusion, beveling, and subdivision. These tools can be accessed from the Tool Shelf or by using keyboard shortcuts.
It is important to practice and explore these actions in order to become proficient in Blender. The more you use them, the more comfortable you will become with the software.
Advanced Section
Modeling techniques in Blender
Once you have mastered the basics of Blender, you can move on to more advanced modeling techniques. These techniques allow you to create complex and detailed 3D models.
Some of the advanced modeling techniques in Blender include sculpting, retopology, and UV unwrapping. Sculpting allows you to add fine details to your models using brushes and sculpting tools. Retopology is the process of creating a clean and optimized mesh by manually recreating the topology of your model. UV unwrapping involves creating a UV map for your model, which determines how textures and materials are applied.
Blender also offers advanced modeling features like modifiers, which are tools that allow you to modify your model non-destructively. Some commonly used modifiers in Blender include the Array, Bevel, Boolean, Mirror, Spin, and Solidify modifiers. These modifiers enable you to create complex geometries and achieve specific effects.
Modifiers in Blender (Array, Bevel, Boolean, Mirror, Spin, Solidify)
Modifiers are powerful tools in Blender that allow you to modify your models without permanently changing the underlying geometry. They can be applied to objects, meshes, and curves, and can be used to create various effects and transformations.
One commonly used modifier is the Array modifier, which allows you to create copies of an object in a linear or radial pattern. This is useful for creating repetitive elements, such as a series of windows on a building.
The Bevel modifier is used to round the edges of a model, giving it a smoother appearance. It is commonly used to create rounded corners or filleted edges.
The Boolean modifier is used to combine or subtract objects, allowing you to create complex shapes through the use of boolean operations.
The Mirror modifier is used to create a symmetrical version of an object by mirroring it across a specified axis.
The Spin modifier is used to create rotational symmetry by spinning a 2D shape around a specified axis to create a 3D object.
The Solidify modifier adds thickness to a model, allowing you to create objects with a defined thickness, such as vases or tubes.
These modifiers, along with many others available in Blender, provide you with a wide range of tools for modeling and creating complex geometries. Experiment with these modifiers and explore their settings to get a better understanding of their capabilities.

Tips for 3D Printing
Preparing 3D models for printing
When 3D printing a model, it is important to prepare the model properly to ensure successful printing. Here are some tips to help you prepare your 3D models for printing:
-
Check and repair the model: Use a 3D modeling software or an online service to check your model for errors and repair any issues. Common issues include non-manifold geometry, intersecting faces, and flipped normals. Fixing these issues will ensure that your model is printable.
-
Set the correct scale: Make sure your model is scaled correctly for 3D printing. The scale should match the intended size of the printed object.
-
Ensure watertightness: Ensure that your model is watertight, meaning there are no holes or gaps in the geometry. This is important for creating a solid and printable object.
-
Optimize geometry: Simplify your model’s geometry by reducing the number of faces and vertices. This will not only reduce the file size but also improve the printing speed and quality.
-
Add support structures: If your model has overhangs or complex geometries, consider adding support structures to prevent deformation or collapse during printing. Support structures can be generated automatically or manually added in your slicing software.
Optimizing models for better printing results
To improve the printing results of your 3D models, consider the following optimization tips:
-
Orient the model correctly: Position your model in the slicer software to ensure the best possible printing orientation. Avoid overhangs and unsupported areas, if possible.
-
Adjust printing parameters: Experiment with different printing parameters such as layer height, print speed, and infill density to achieve the desired level of detail and strength.
-
Use quality filaments: Invest in high-quality filaments that are suitable for your specific printing needs. Low-quality or incompatible filaments can lead to poor print quality or failed prints.
-
Calibrate your printer: Regularly calibrate your 3D printer to ensure accurate and consistent printing. This includes calibrating the extruder, bed leveling, and fine-tuning the temperature settings.
-
Post-processing techniques: Explore post-processing techniques to enhance the appearance of your prints. This can include sanding, painting, or applying a protective coating.
Remember that 3D printing is a trial-and-error process, and it may take several attempts to achieve optimal results. Don’t get discouraged if your first few prints don’t turn out as expected. Keep experimenting and refining your techniques to improve your print quality.
Using Reference Images for 3D Modeling
Importing reference images into Blender
Reference images play a crucial role in 3D modeling as they provide a visual guide for creating accurate and detailed models. In Blender, you can import reference images to help you with your modeling process.
To import a reference image into Blender, follow these steps:
-
Open Blender and make sure you are in the 3D Viewport.
-
In the Viewport, press the N key to open the sidebar.
-
In the sidebar, locate the Background Images section and expand it.
-
Enable the checkbox labeled “Add Image” to activate the background image feature.
-
Click on the “Open” button next to the Image field to browse your computer for the reference image you want to import.
-
Once you have selected the image, adjust the settings such as size, position, and opacity to align the reference image with your model.
-
Repeat the process for any additional reference images you want to import.
By importing reference images into Blender, you can ensure that your models are accurate and match the desired design or concept. Reference images can be especially helpful when modeling complex shapes or objects that require precise proportions.
Utilizing reference images for accurate modeling
Once you have imported reference images into Blender, you can use them as a guide for modeling. Here are some tips for utilizing reference images effectively:
-
Set up reference images for each view: If you are creating a model based on a specific design or concept, make sure to import reference images for the front, side, and top views. This will help you maintain accuracy and proportions while modeling.
-
Use the background image for tracing: With the reference image set up as a background image in Blender, you can trace the outlines and shapes to create a base mesh for your model. This will ensure that your model closely matches the reference image.
-
Create image planes for detailed reference: In addition to the background image, you can also create image planes in Blender. Image planes are flat planes that can display reference images on their surfaces. This allows you to model specific details or areas of your model using the reference image as a visual guide.
-
Align your model with the reference image: As you model, constantly check the alignment of your model with the reference image. Make adjustments as necessary to ensure accuracy.
-
Use multiple views for perspective: When working on complex shapes, utilize multiple views of the reference image to get a better understanding of the perspective and proportions.
By utilizing reference images effectively, you can create more accurate and detailed 3D models. Remember to constantly refer back to the reference images throughout the modeling process to maintain accuracy.

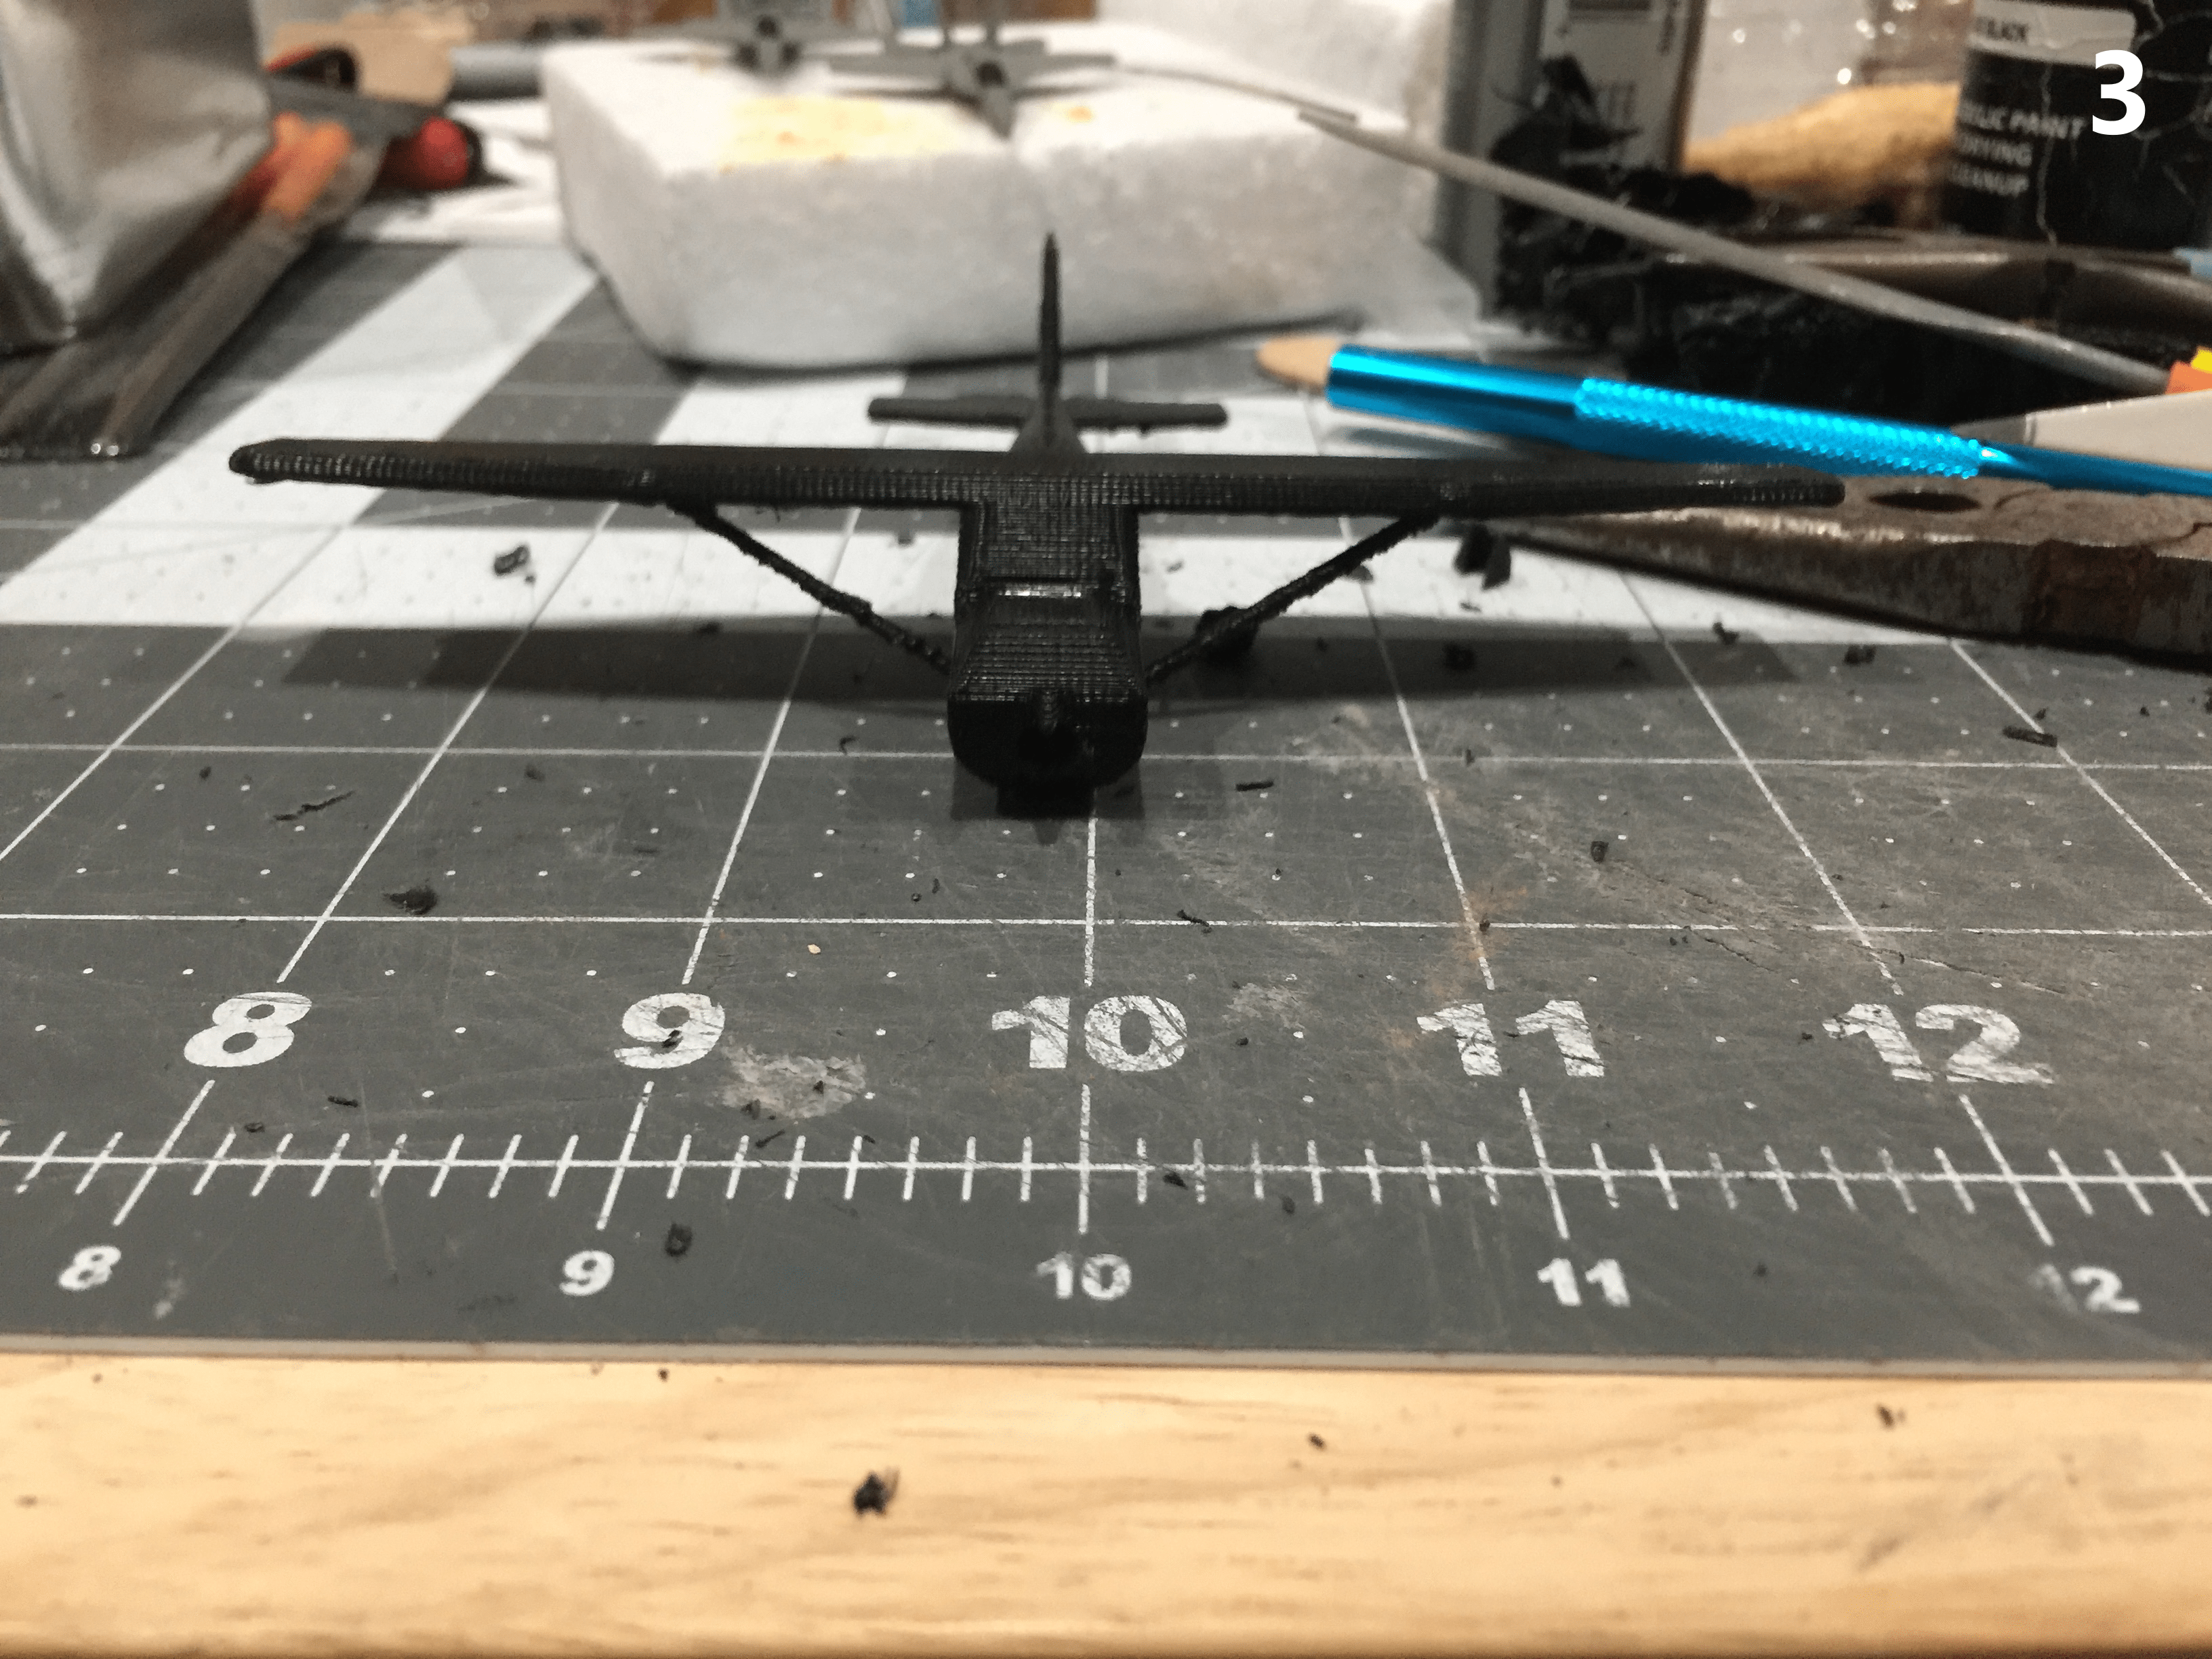
Live Demonstration: Creating and Printing a 3D Model
In this live demonstration, we will showcase the step-by-step process of creating a 3D model using Blender and then preparing it for 3D printing. We will also guide you through setting up the Cura slicer software and printing the model using the Anycubic i3 Mega 3D printer.
Step-by-step process of creating a 3D model
-
Start by opening Blender and creating a new project. Familiarize yourself with the user interface and navigation controls.
-
Import any reference images or sketches that you will be using as a guide for your 3D model. Align them properly in the scene.
-
Begin creating the basic shapes and forms of your model using modeling techniques such as extrusion, scaling, and rotation. Build up the complexity of your model gradually, paying attention to proportions and details.
-
Refine and sculpt your model to add more intricate details, using sculpting tools available in Blender. Focus on creating smooth transitions and realistic textures.
-
Once you are satisfied with your model, optimize it for 3D printing. Check for any non-manifold geometry, fix any issues, and ensure the model is watertight.
-
Scale your model to the desired size for printing. Make sure to keep in mind the limitations of your 3D printer.
-
Export your model as an .stl file, a common file format used for 3D printing.
Exporting the model for 3D printing
-
In Blender, select your model and go to the File menu. Choose the “Export” option.
-
Select the .stl file format from the list of export options.
-
Specify the location where you want to save the exported .stl file.
-
Adjust any export settings as needed and click the “Export” button to save the file.
Setting up Cura slicer software
-
Open the Cura slicer software on your computer. If you haven’t installed Cura yet, download and install the latest version from the official Cura website.
-
Connect your 3D printer to your computer, ensuring that it is properly recognized by the software.
-
Configure the printing settings in Cura according to your specific printer and filament preferences. Set the layer height, print speed, infill density, and other parameters based on your desired printing result.
-
Load the exported .stl file into Cura by either dragging and dropping the file into the software or using the file menu to open it.
-
Adjust the position, rotation, and scale of your model in Cura to fit the print bed of your 3D printer.
-
Review any support settings and generate support structures if necessary. This is particularly important for complex or overhanging parts of your model.
-
Once you are satisfied with the settings, click the “Slice” button to generate the G-code file for your 3D printer.
Printing the model using Anycubic i3 Mega 3D printer
-
Transfer the G-code file generated by Cura to an SD card or USB drive that is compatible with your Anycubic i3 Mega 3D printer.
-
Insert the SD card or USB drive into the appropriate slot on your 3D printer.
-
Turn on the 3D printer and navigate to the file menu to access your saved G-code file.
-
Select the G-code file and follow the on-screen prompts to start the printing process.
-
Monitor the progress of the print job and make any necessary adjustments to the printer settings if needed.
-
Once the print is complete, carefully remove the finished model from the print bed. Use a spatula or similar tool to gently pry the model off the build plate.
-
Post-process the printed model as desired, such as removing any support structures, sanding rough edges, or applying a finish or coating.
Congratulations! You have successfully created and printed a 3D model using Blender, the Cura slicer software, and the Anycubic i3 Mega 3D printer.
Software and Hardware Used
To follow along with this tutorial, you will need the following software and hardware:
Blender 2.83
Blender is a free and open-source 3D modeling software that offers a wide range of features and tools for creating 3D models. It is available for Windows, macOS, and Linux. Make sure to download and install the latest version compatible with your operating system.
Cura 4.6.1
Cura is a popular slicing software used for preparing 3D models for printing. It offers a user-friendly interface and various customizable settings to optimize your prints. Download and install the latest version of Cura from the official Ultimaker website.
Anycubic i3 Mega 3D printer
The Anycubic i3 Mega is a reliable and affordable 3D printer that offers high-quality prints. It is compatible with a wide range of filaments and has a large build volume. Make sure your printer is properly set up and ready for use.
Sony Vegas Pro Edit 14
Sony Vegas Pro Edit 14 is video editing software that allows you to edit and enhance your recorded footage. It offers a range of advanced features and effects to create professional-looking videos.
OBS
OBS (Open Broadcaster Software) is a free and open-source software for live streaming and recording. It is commonly used by content creators to capture and broadcast their screen during tutorials or demonstrations.
IP Webcam
IP Webcam is an app that turns your mobile device into a webcam. It allows you to capture high-quality footage from your smartphone or tablet and use it as a webcam for live streaming or recording.
t.bone SC400 microphone
The t.bone SC400 is a studio condenser microphone that offers high-quality audio recording. It is commonly used in professional recording setups to capture clear and crisp sound.
Nokia 6.1 Plus camera
The Nokia 6.1 Plus is a smartphone with a high-resolution camera. It can be used to capture footage or images for your tutorial or demonstration.
Make sure to set up and configure all the necessary software and hardware before starting the tutorial.

Additional Resources
To further enhance your learning and practice, here are some additional resources that you can refer to:
Blender cheatsheet
A Blender cheatsheet is a handy reference guide that provides a quick overview of essential Blender tools, shortcuts, and techniques. It can help you navigate and use Blender more effectively. You can find Blender cheatsheets available online or create your own based on your preferences.
Blender project file
A Blender project file is a file that contains all the data and settings related to a specific Blender project. It allows you to save and share your work, making it easier to collaborate with others or revisit your project at a later time. Make sure to save your progress regularly and create backups of your project files.
.stl file
.STL (Stereolithography) is a file format commonly used for 3D printing. It contains the geometry and surface information of a 3D model, allowing it to be sliced and printed layer by layer. When exporting your models for 3D printing, make sure to save them in the .stl format.
These additional resources can greatly aid your learning journey and provide valuable references for future projects.
Encouraging Viewer Engagement
Throughout this tutorial, feel free to ask questions or leave comments for clarification. This tutorial is designed to be interactive, and your engagement is highly encouraged. If there is anything that is unclear or if you have any specific questions, don’t hesitate to reach out.
Remember that the learning process is a continuous journey, and we are here to support each other. By actively participating and engaging in discussions, we can collectively learn and grow our skills in 3D modeling and 3D printing.
Conclusion
In conclusion, this full Blender 2.83 tutorial provides comprehensive guidance for both beginners and advanced users in creating 3D models for 3D printing. We have covered the basic setup, navigation, and actions in Blender, as well as advanced modeling techniques and modifiers. Additionally, we have shared tips for preparing 3D models for printing and using reference images for accurate modeling. We have also demonstrated the step-by-step process of creating and printing a 3D model, using the Anycubic i3 Mega 3D printer and provided information about the software and hardware used. Furthermore, we have provided additional resources and encouraged viewer engagement. Remember to practice, experiment, and continue learning to further enhance your skills in 3D modeling and 3D printing.
In this full Blender 2.83 tutorial, you will learn everything you need to know, whether you’re a beginner or an advanced user. The main focus is on creating 3D models that are suitable for 3D printing. If you already have experience with Blender, I recommend checking out the later chapters of this video.
If you have any questions or if something is unclear, feel free to ask and leave a comment.
Here are some resources that you may find helpful:
The tutorial is divided into different sections:
Beginner Section:
- 0:00 – Introduction
- 0:52 – Basic Setup
- 2:47 – Basic Navigation
- 4:11 – Basic Actions
Advanced Section:
- 16:17 – Modelling Techniques
- 34:36 – Using a Reference Image for 3D Modelling
- 35:56 – 4 Tips for 3D Printing
- 37:53 – Live Demo: Creating and Printing a 3D Model
For the 3D printing process, the following tools and equipment are used:
- Blender 2.83
- Cura 4.6.1
- Anycubic i3 Mega
In terms of editing software and equipment, the following are utilized:
- Sony Vegas Pro Edit 14
- OBS
- IP Webcam
- t.bone SC400
- Nokia 6.1 Plus Camera
Feel free to connect with me on Instagram: @denicz92

Creality PETG Filament 1.75, 3D Printer Filament, Excellent Toughness High Precision, Odorless Non-Toxic Moistureproof, 1kg(2.2lbs) Glossy 3D Printing Filament for 3D Printer (Black)
$14.99 (as of June 19, 2025 23:45 GMT +00:00 - More infoProduct prices and availability are accurate as of the date/time indicated and are subject to change. Any price and availability information displayed on [relevant Amazon Site(s), as applicable] at the time of purchase will apply to the purchase of this product.)
Creality 3D Printer Filament, PLA Plus Filament 1.75mm Rainbow, PLA Pro Toughness Upgraded Dimensional Accuracy +/- 0.03mm, 1KG Spool(2.2lbs) Ender PLA+ Filament for Most 3D Printer
$21.99 (as of June 19, 2025 23:45 GMT +00:00 - More infoProduct prices and availability are accurate as of the date/time indicated and are subject to change. Any price and availability information displayed on [relevant Amazon Site(s), as applicable] at the time of purchase will apply to the purchase of this product.)
Shining 3D Einstar Handheld 3D Scanner with Detail-Oriented Enhancement Technology Support Scanning Hair and Body, Up to 14FPS Scanning Speed High Quality Collecting Data 3D Scanner for 3D Printer
$759.00 (as of June 19, 2025 23:45 GMT +00:00 - More infoProduct prices and availability are accurate as of the date/time indicated and are subject to change. Any price and availability information displayed on [relevant Amazon Site(s), as applicable] at the time of purchase will apply to the purchase of this product.)
ELEGOO Mars 5 Ultra 9K Resin 3D Printer, 150mm/h High Speed Printing, Smart Automatic Leveling, Intelligent Detection, WiFi-Transfer, Printing Size of 6.04 x 3.06 x 6.49 inch
$284.99 (as of June 19, 2025 23:45 GMT +00:00 - More infoProduct prices and availability are accurate as of the date/time indicated and are subject to change. Any price and availability information displayed on [relevant Amazon Site(s), as applicable] at the time of purchase will apply to the purchase of this product.)