ANYCUBIC Photon Mono 4, Resin 3D Printer with 7'' 10K Mono LCD Screen, Stable LighTurbo Light Source and 70mm/h Fast Printing, Print Volume 6.04'' x 3.42'' x 6.49''
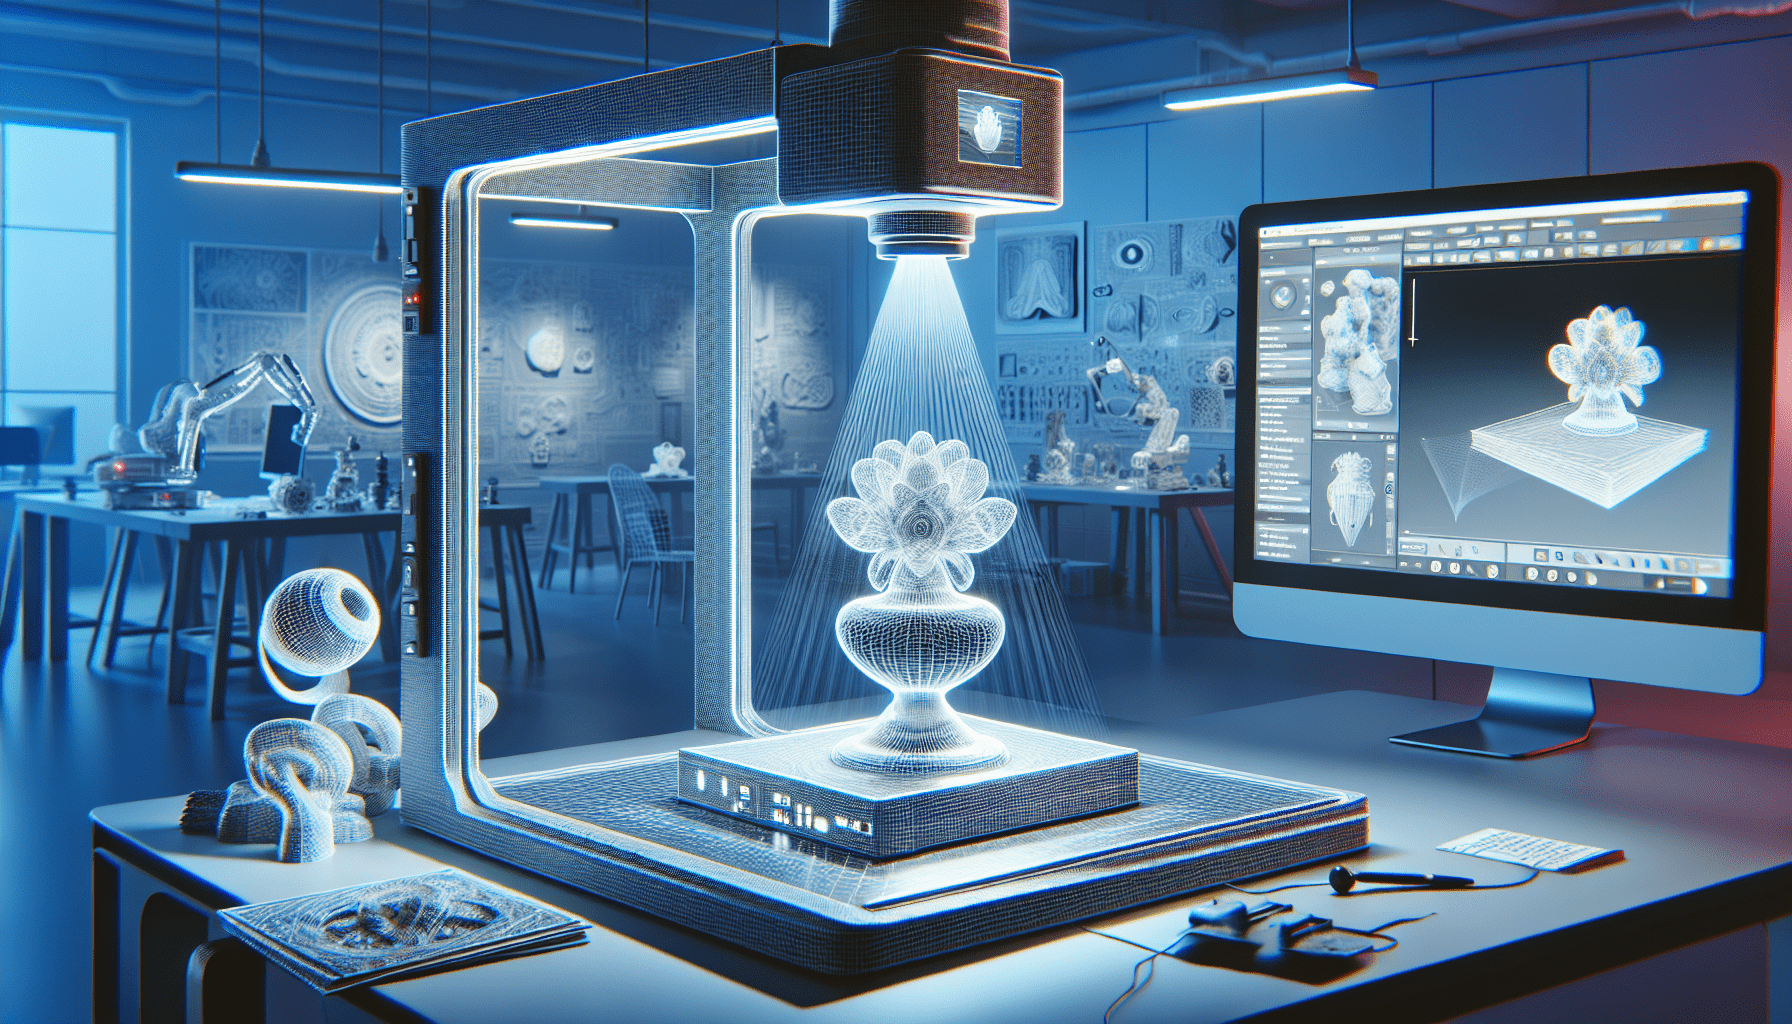
$159.99 (as of June 18, 2025 23:32 GMT +00:00 - More infoProduct prices and availability are accurate as of the date/time indicated and are subject to change. Any price and availability information displayed on [relevant Amazon Site(s), as applicable] at the time of purchase will apply to the purchase of this product.)The “Fusion 360 Crash Course: Create your own designs for 3D printing!” is a comprehensive program aimed at beginners who want to learn how to design 3D models for 3D printing using Fusion 360 software. The course covers various topics, including sketching, 3D modeling, and file preparation for 3D printing. Through step-by-step instructions and practical exercises, participants will gain hands-on experience and be able to create their own designs by the end of the course. The video is created by wermy and focuses on 3D modeling with Fusion 360. It covers basic concepts, such as creating a phone stand and a shell around a Raspberry Pi. The video also mentions helpful resources like GrabCAD and Adafruit’s GitHub repository for CAD files, and demonstrates the use of various tools in Fusion 360.
In this video tutorial, “Fusion 360 Crash Course: Create your own designs for 3D printing,” wermy provides a detailed overview of 3D modeling using Fusion 360. The video aims to make it easier for beginners to start creating their own designs for 3D printing. Wermy emphasizes the importance of basic working knowledge and self-teaching in 3D modeling, highlighting that anyone can jump in and start making useful creations with just a fundamental understanding. The video is structured in sections, with timestamps provided for easy navigation, and includes practical demonstrations and helpful tips throughout the course.

Introduction
Overview of Fusion 360 Crash Course
The Fusion 360 Crash Course is a comprehensive program designed to teach beginners the fundamentals of creating 3D designs for 3D printing using Fusion 360 software. This crash course covers various topics, including sketching, 3D modeling, and file preparation for 3D printing. The course is structured to provide step-by-step instructions and practical exercises to ensure a hands-on learning experience. By the end of the course, participants will acquire the necessary skills to create their own 3D designs for 3D printing using Fusion 360.
Target audience and objectives
The Fusion 360 Crash Course is suitable for individuals who are new to 3D modeling and want to learn how to create their own designs for 3D printing. The course aims to provide a solid foundation in Fusion 360 software and equip participants with the necessary skills to independently create functional and visually appealing designs. The objectives of the course include understanding the Fusion 360 user interface, learning sketching techniques, mastering 3D modeling tools, and gaining proficiency in file preparation for 3D printing.
Getting Started with Fusion 360
Installing Fusion 360
Before diving into the Fusion 360 Crash Course, it is important to install the Fusion 360 software. Fusion 360 is available for both Windows and macOS operating systems. By visiting the official Autodesk website, users can download and install the software by following the provided instructions. It is essential to ensure that the computer meets the system requirements for optimal performance.
Setting up your workspace
Upon launching Fusion 360, users will be prompted to sign in with an Autodesk account. Creating an account is necessary for accessing the software’s features and functionalities. After signing in, users can customize their workspace by adjusting the layout, workspace preferences, and toolbars. This allows individuals to personalize their Fusion 360 environment according to their workflow and preferences.
Navigating the user interface
The Fusion 360 user interface consists of various panels, menus, and toolbar options. Familiarizing oneself with the user interface is crucial for efficient and effective usage of the software. The main components of the user interface include the toolbar, navigation pane, project tree, timeline, and view cube. These elements enable users to access tools, navigate the design space, manage files, track design history, and manipulate the view perspective.
Creating a new design document
To start a new design document in Fusion 360, users can click on the “New Design” button or use the shortcut Ctrl+N (Windows) or Cmd+N (macOS). This will open a new design window, where individuals can begin their design process. It is important to save the design document with a descriptive name and in a location that is easily accessible for future reference.
Find 3D Printing Accessories Here
Creating Sketches
Understanding the sketching environment
Sketching is a fundamental step in the Fusion 360 design process. The sketching environment provides tools and features to create 2D drawings that serve as the foundation for 3D models. Within the sketching environment, users can access tools for drawing lines, shapes, curves, and text. Additionally, there are options for applying constraints and dimensions to ensure accurate and adjustable designs.
Drawing basic shapes
In Fusion 360, users can draw various basic shapes such as lines, rectangles, circles, and polygons. These shapes can be created by using the corresponding drawing tools available in the sketching environment. By selecting the desired shape tool, users can click and drag on the canvas to define the shape’s dimensions and position. The software provides options for adjusting parameters and constraints to achieve precise shapes.
Applying constraints and dimensions
Constraints and dimensions play a vital role in maintaining design accuracy and flexibility. Fusion 360 offers a wide range of constraint options, including horizontal, vertical, coincident, tangent, and parallel constraints, among others. These constraints ensure that sketch elements maintain their intended relationships. Additionally, users can apply dimensions to define specific measurements and control the size and position of sketch elements.
Creating complex sketches
While basic shapes are a crucial part of sketching, Fusion 360 also allows users to create complex sketches through advanced sketching techniques. Users can employ techniques such as mirroring, pattern replication, and spline creation to achieve intricate and detailed sketches. These advanced sketching tools enable users to create complex and aesthetically pleasing designs, providing a strong foundation for 3D modeling.
Designing 3D Models
Introduction to 3D modeling
Once the sketching process is complete, users can proceed to 3D modeling in Fusion 360. 3D modeling involves transforming 2D sketches into three-dimensional objects. Fusion 360 provides a variety of modeling techniques, including extrude, revolve, and loft, to create complex 3D geometry. Understanding these modeling techniques is key to realizing creativity and designing functional objects.
Using the extrude and revolve tools
The extrude and revolve tools are essential for creating solid 3D models. The extrude tool allows users to give depth to 2D shapes by pulling them in a specific direction. Revolve tool, on the other hand, enables users to create 3D objects by rotating a 2D shape around an axis. By mastering the extrude and revolve tools, users can create intricate and detailed models with ease.
Modifying and manipulating 3D geometry
In the process of 3D modeling, it is common to make modifications and adjustments to the existing geometry. Fusion 360 provides a wide array of tools for modifying 3D geometry, including move, rotate, scale, and trim. These tools allow users to manipulate individual components or the entire model to achieve desired changes and refinements.
Applying fillets and chamfers
Fillets and chamfers are design features used to add smooth edges and transitions to 3D models. Fillets create round edges by removing sharp angles, while chamfers create beveled edges. Fusion 360 offers easy-to-use tools for applying fillets and chamfers with adjustable parameters. These features not only enhance the aesthetic appeal of the model but also improve its functionality and durability.

Preparing Files for 3D Printing
Exporting files for 3D printing
Once the 3D model is complete, it must be exported into a file format compatible with 3D printing. Fusion 360 allows users to export their designs in various file formats, including STL, OBJ, and STEP. These formats are widely supported by 3D printers and slicing software.
Choosing the right file format
When exporting files for 3D printing, it is important to select the appropriate file format based on the requirements of the 3D printer and the intended use of the model. The STL (Standard Tessellation Language) format is the most common choice for 3D printing, as it represents the model’s surface geometry using triangles. However, other formats like OBJ and STEP may be preferred for specific applications or software compatibility.
Checking and repairing geometry
Before sending a 3D model for printing, it is crucial to check and ensure the model’s geometry is error-free. Fusion 360 provides tools for analyzing and inspecting the model’s geometry to identify and address any potential issues. These tools help detect problems such as non-manifold geometry, overlapping surfaces, or intersecting components, which can prevent successful 3D printing.
Setting up print parameters
To achieve optimal printing results, various print parameters must be configured. These parameters include layer height, infill density, print speed, and support structures. Fusion 360 does not offer direct control over these parameters but provides options to export the model with customizable settings compatible with third-party slicing software. It is crucial to consider the specific requirements of the 3D printer and the desired outcome when adjusting print parameters.
Step-by-Step Tutorial: Creating a Phone Stand
Importing reference images
In the first step of creating a phone stand, it is advisable to import reference images to help visualize the design and ensure accuracy. Fusion 360 allows users to import images into sketches by using the “Insert” menu and selecting the desired image file. Once imported, the image can be resized, positioned, and traced over to create the desired shape and dimensions.
Sketching the base and holder
Using the reference images as a guide, users can start sketching the base and holder of the phone stand. By employing the various sketching tools and techniques mentioned earlier, individuals can draw the necessary shapes and apply appropriate constraints and dimensions. It is crucial to ensure that the sketches accurately represent the desired design and dimensions.
Extruding and filleting the stand
After sketching the base and holder, users can extrude the sketches to give them depth and make them three-dimensional. The extrusion process involves using the extrude tool and specifying the desired distance to pull the sketches along a specific direction. Once extruded, fillets can be applied to add curved edges and smooth transitions to the stand. Filleting the edges not only enhances the appearance but also adds structural strength.
Refining the design with chamfers
To further refine the design of the phone stand, chamfers can be applied to create beveled edges. Chamfers add aesthetic appeal, eliminate sharp angles, and provide a more comfortable user experience. Users can utilize the chamfer tool to select edges and specify the desired distance and angle for the chamfer.
Exporting the file for 3D printing
Once the phone stand design is complete, the file must be exported in a suitable format for 3D printing. Users can choose the appropriate file format, such as STL, and export the model with the desired print parameters. This exported file can then be opened in slicing software and sent to a 3D printer for physical printing.
Step-by-Step Tutorial: Designing a Raspberry Pi Shell
Importing Raspberry Pi dimensions
In the tutorial on designing a Raspberry Pi shell, it is essential to import the dimensions of the Raspberry Pi board. This allows for precise modeling and ensures a proper fit for the board inside the shell. Users can find the Raspberry Pi dimensions on official documentation or reputable sources online.
Creating the basic shape of the shell
Using the imported Raspberry Pi dimensions as a reference, users can start sketching the basic shape of the shell. By employing sketching tools such as lines, rectangles, and circles, individuals can create a rough outline of the shell’s structure. It is crucial to keep in mind the dimensions and placement of various ports, connectors, and components on the Raspberry Pi board.
Adding cutouts and openings
The next step involves adding cutouts and openings to the shell design to accommodate specific features of the Raspberry Pi board. Users can utilize the sketching tools to create cutouts for ports, slots for cables, and openings for the camera module or display. By considering the dimensions and positions of these features, users can ensure that the shell provides easy access and functionality.
Refining the design with fillets
Applying fillets to the shell design helps create smooth and rounded edges, enhancing the aesthetics and ergonomics of the final product. Fillets can be added to the corners and edges of the shell, reducing sharp angles and providing a more visually appealing and user-friendly design. Users can adjust the fillet size and dimensions as needed to achieve their desired effect.
Preparing the shell for 3D printing
Before proceeding to 3D printing, it is essential to inspect the shell design for any potential issues or errors. Fusion 360 provides tools for analyzing the model’s geometry and ensuring it is printable. Users can check for non-manifold geometry, overlapping surfaces, or any other problems that may affect the printing process. Once any issues are resolved, the shell design is ready for export and 3D printing.
Additional Resources
Exploring GrabCAD for ready-made CAD files
For inspiration and access to a vast collection of ready-made CAD files, individuals can explore GrabCAD. GrabCAD is an online platform that provides a library of user-contributed CAD files, including various mechanical parts, components, and complete assemblies. Users can utilize GrabCAD to find designs that suit their needs, modify existing designs, or seek inspiration for their own projects.
Utilizing Adafruit’s GitHub repository
Adafruit, a prominent electronics manufacturer, maintains a GitHub repository that hosts a wide range of resources and projects related to electronics and 3D printing. The repository contains CAD files for various Adafruit products, as well as open-source designs contributed by the community. Individuals interested in designing projects that involve both electronics and 3D printing can find valuable resources and references in Adafruit’s GitHub repository.
Searching for tutorials and inspirations
In addition to the Fusion 360 Crash Course, there are numerous online tutorials and resources available for learning Fusion 360 and improving 3D modeling skills. YouTube is a particularly valuable platform for finding tutorials and demonstrations by expert users who share their knowledge and techniques. Additionally, online communities and forums dedicated to 3D printing and Fusion 360 can offer inspiration, troubleshooting help, and guidance on specific design challenges.
Conclusion
Summary of the Fusion 360 Crash Course
The Fusion 360 Crash Course provides beginners with a comprehensive introduction to 3D modeling and design for 3D printing using Fusion 360 software. This crash course covers essential topics such as sketching, 3D modeling, and file preparation for 3D printing. By following the step-by-step tutorials and practical exercises, participants gain a solid foundation in using Fusion 360 to create their own designs.
Importance of self-teaching and practice
The Fusion 360 Crash Course highlights the fact that expertise in 3D modeling is not limited to professionals or individuals with extensive training. With basic knowledge of fundamental concepts, anyone can dive into 3D modeling using Fusion 360 and start creating functional and visually appealing designs. Self-teaching, combined with resources such as online tutorials and communities, allows individuals to continuously improve their skills and explore the limitless possibilities of 3D printing. Practice, experimentation, and continuous learning are key to achieving mastery in 3D modeling with Fusion 360.
Maintain Your 3D Printer with these Tools
Polymaker Matte PLA Filament Charcoal Black 1.75mm 1kg 3D Printing Filament, PolyTerra 3D Printer PLA Filament
$20.99 (as of June 18, 2025 23:32 GMT +00:00 - More infoProduct prices and availability are accurate as of the date/time indicated and are subject to change. Any price and availability information displayed on [relevant Amazon Site(s), as applicable] at the time of purchase will apply to the purchase of this product.)
Creality 3D Printer Tool Kit, 74Pcs 3D Printing Tool Wrap Kit Assembly/Removal/Filament Cutting Set 3D Printer Accessories for All FDM Printers Cleaning Finishing Printing
$31.99 (as of June 18, 2025 23:32 GMT +00:00 - More infoProduct prices and availability are accurate as of the date/time indicated and are subject to change. Any price and availability information displayed on [relevant Amazon Site(s), as applicable] at the time of purchase will apply to the purchase of this product.)
HXOGYUB 3D Scanning Spray for 3D Scanners, Professional for All 3D Scanner, Safety Material, High Reflectivity, Easy to Clean, for Reflective, Transparent or Highly Textured Surfaces, 500ML
$33.99 (as of June 18, 2025 23:32 GMT +00:00 - More infoProduct prices and availability are accurate as of the date/time indicated and are subject to change. Any price and availability information displayed on [relevant Amazon Site(s), as applicable] at the time of purchase will apply to the purchase of this product.)
Creality 3D Scanner Raptor Pro for Automotive & Engineering Projects with Metrology-Grade 0.02mm Accuracy,22+7 Blue Laser,Anti-Shake Tracking,Up to 60FPS Scanning Speed Support 5-2000mm Objects
$1,899.00 (as of June 18, 2025 23:32 GMT +00:00 - More infoProduct prices and availability are accurate as of the date/time indicated and are subject to change. Any price and availability information displayed on [relevant Amazon Site(s), as applicable] at the time of purchase will apply to the purchase of this product.)