
ELEGOO Mercury Plus V3.0 Wash and Cure Station, 7.5 L Large Capacity, Compatible with Mars Saturn Photon Halot MSLA LCD DLP 3D Printers
$159.99 (as of June 18, 2025 23:32 GMT +00:00 - More infoProduct prices and availability are accurate as of the date/time indicated and are subject to change. Any price and availability information displayed on [relevant Amazon Site(s), as applicable] at the time of purchase will apply to the purchase of this product.)Thinking about getting started with 3D printing but feel overwhelmed? Look no further! In this informative video by CHEP, Chuck explains step-by-step how to dive into the world of 3D printing using Creality Ender 3. Chuck covers all the basics, from understanding the most common 3D printing technology (FDM or FFF) to explaining the process of converting a design into a printable file using slicer software. He even provides tips on finding pre-designed files and customizing settings to achieve the best results. Whether you’re a beginner or looking to enhance your existing 3D printing skills, this video has got you covered!
Ready to begin your 3D printing journey? Learn everything you need to know in this comprehensive video by CHEP. From understanding the different 3D printing technologies to mastering the slicer software, Chuck covers it all. He shares valuable insights on finding and designing your own 3D prints, explains the importance of experimenting with different settings, and even recommends additional tools and materials to enhance your experience. Whether you’re an aspiring maker or just curious to explore the world of 3D printing, this video is a must-watch!
Choosing the Right 3D Printer
Are you thinking about getting into 3D printing but don’t know where to start? Well, you’re in the right place! In this article, we will guide you through the process of choosing the right 3D printer, preparing the slicer software, setting up the printer, understanding slicer settings, troubleshooting common printing issues, optimizing print quality, exploring advanced techniques, expanding your 3D printing toolkit, and learning and growing with 3D printing. By the end of this article, you’ll have all the information you need to dive into the exciting world of 3D printing.

Understanding different 3D printing technologies
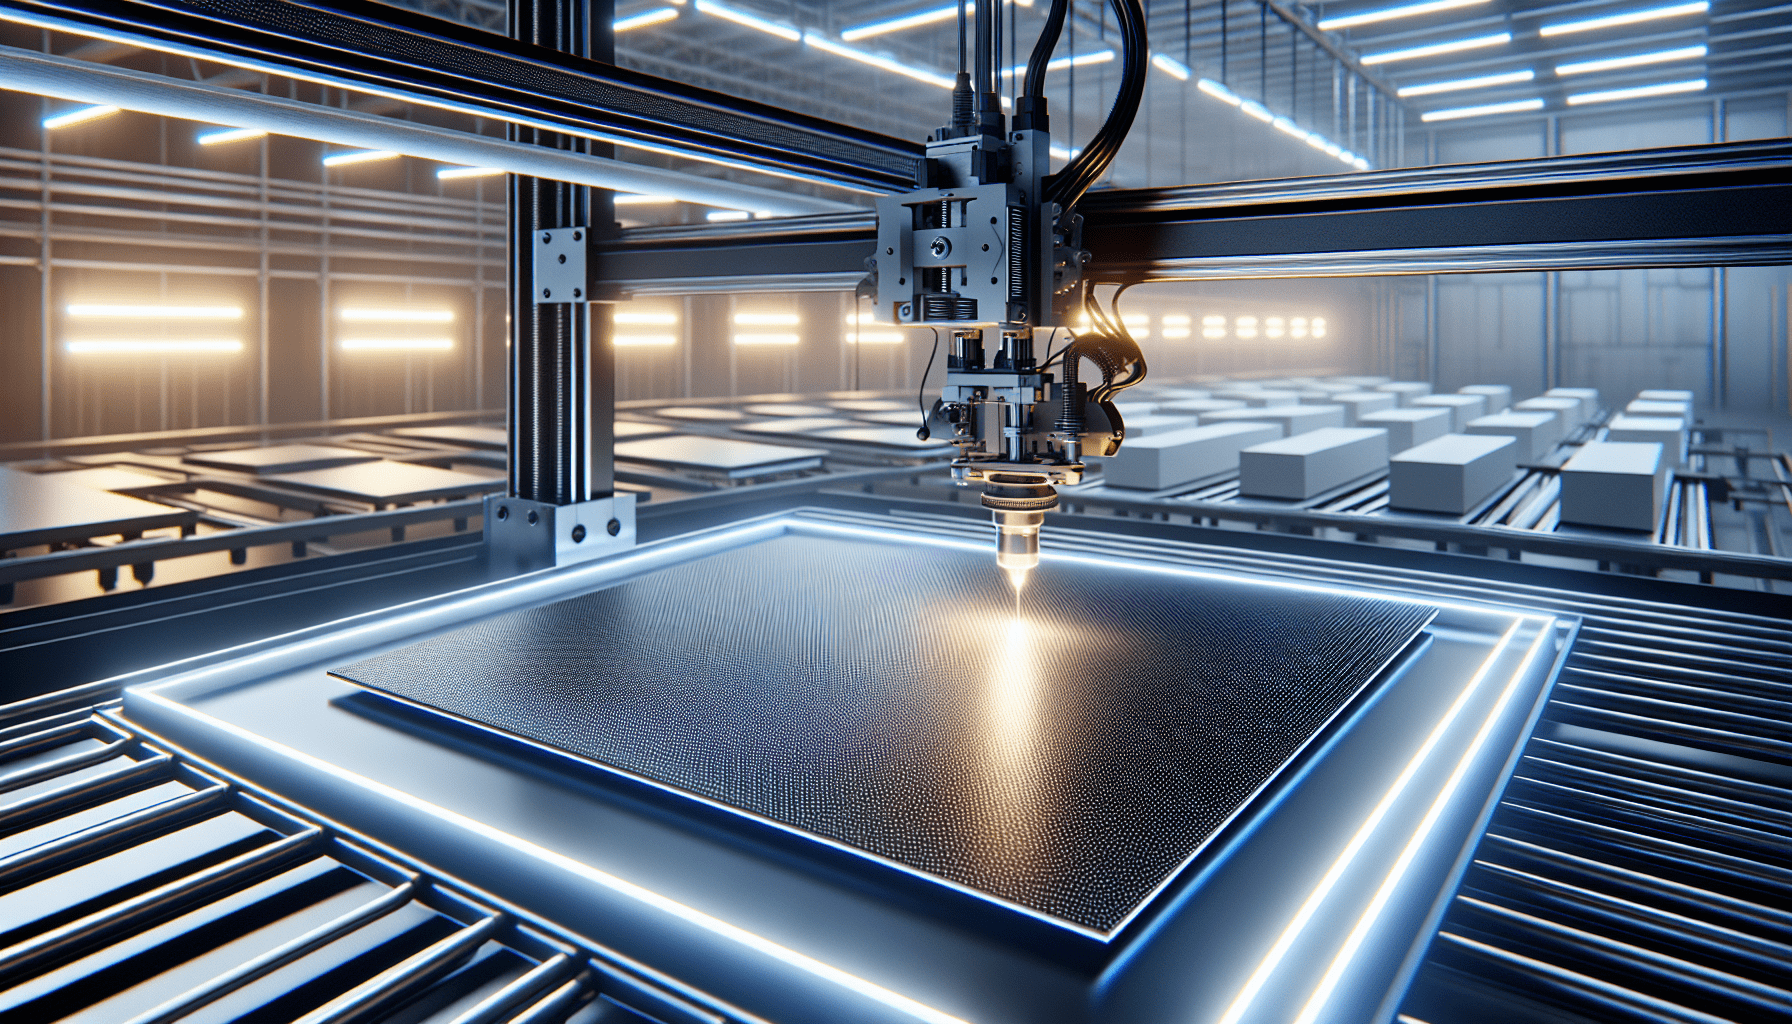
There are many different technologies when it comes to 3D printing, but the most common one is Fused Deposition Modeling (FDM) or Fused Filament Fabrication (FFF). FDM/FFF technology involves using a spool of filament, which is typically plastic, that gets melted by a hot end on a 3D printer. The melted plastic is then extruded in thin layers to build up a 3D object. This technology is popular due to its affordability, ease of use, and versatility.
Introduction to FDM and FFF
FDM and FFF are essentially the same technology, with FFF being a term trademarked by Stratasys. Both FDM and FFF refer to the process of building a 3D object layer by layer using melted filament. This technology is widely used in the consumer 3D printing market and is a great choice for beginners due to its accessibility and low-cost compared to other 3D printing technologies.

This image is property of i.ytimg.com.

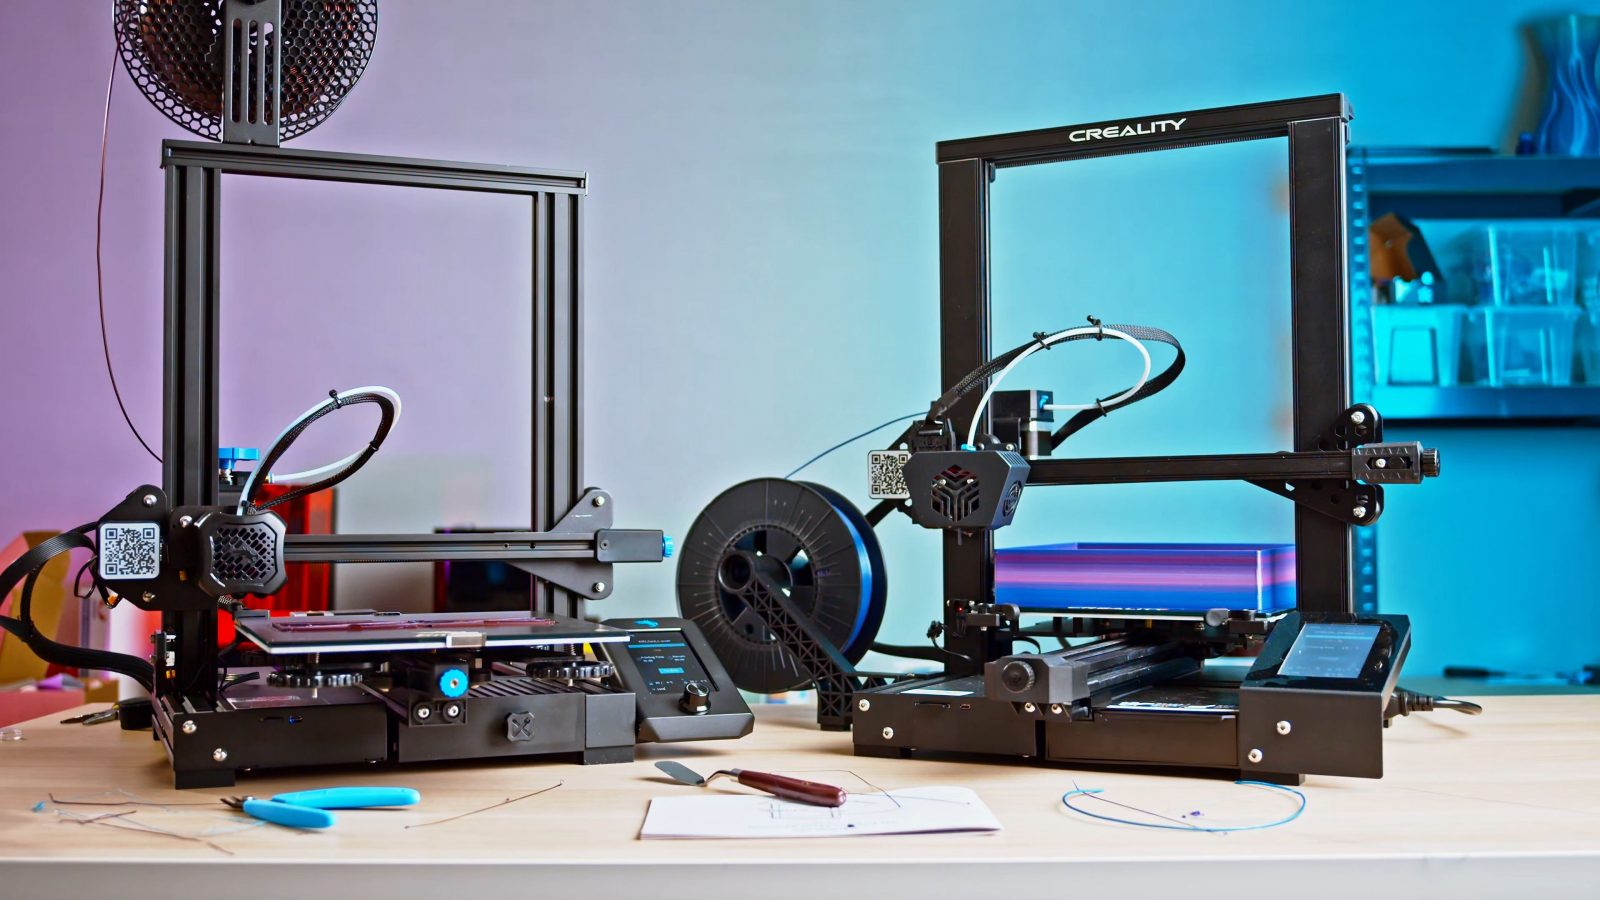
Overview of the Creality Ender 3
If you’re looking to start your 3D printing journey, the Creality Ender 3 is an excellent choice. It is a popular and affordable 3D printer that offers good print quality and a large build volume, making it suitable for a wide range of projects. The Ender 3 comes as a DIY kit, which allows you to learn about the mechanics and assembly of the printer while also offering the option for future upgrades and modifications.
Preparing the Slicer Software
Before you can start printing, you need to prepare your 3D model for printing using slicer software. Slicer software takes your 3D model, which is typically in the form of an STL file, and converts it into a format that the 3D printer can understand. Slicer software allows you to customize settings such as layer height, infill density, and print speed, which can greatly affect the quality and characteristics of your print.

This image is property of images.pexels.com.
Explaining the slicer software
Slicer software is a crucial tool in the 3D printing process. It takes your 3D model and translates it into a series of instructions, known as G-code, which tells the 3D printer how to move and extrude the filament to create your object. Slicer software allows you to adjust settings such as layer height, infill density, and print speed, giving you control over the quality and properties of your 3D printed objects.
Downloading and installing a slicer software
There are several slicer software programs available for free download online, such as Cura, PrusaSlicer, and Slic3r. These programs are compatible with most 3D printers and offer a range of features and customization options. To download and install a slicer software, simply visit the official website of your chosen software and follow the instructions provided. Make sure to select the appropriate version for your operating system.

This image is property of images.pexels.com.
Tinkercad vs downloading pre-designed files
When it comes to designing your own 3D prints, you have two main options: using software like Tinkercad or downloading pre-designed files from websites like Thingiverse. Tinkercad is a free and user-friendly 3D modeling software that allows you to create your own designs from scratch. It is a great tool for beginners and offers a wide range of features and tutorials to help you get started. On the other hand, downloading pre-designed files from websites saves you time and allows you to print objects created by other members of the 3D printing community.
Importing and converting designs into printable files
Once you have your 3D model, whether it’s one you designed in software like Tinkercad or one you downloaded, you need to import it into your slicer software and convert it into a printable file. Most slicer software programs support common file formats like STL and OBJ. Simply import your 3D model into the slicer software, adjust any necessary settings, and then export the model as a printable file in G-code format. This file can then be transferred to your 3D printer for printing.

This image is property of images.pexels.com.
Setting Up the 3D Printer
Now that you have your 3D model ready, it’s time to set up your 3D printer. This involves connecting the printer to power, leveling the bed, and loading filament into the printer.
Connecting the printer to power and leveling the bed
The first step in setting up your 3D printer is to connect it to a power source. Most 3D printers come with a power cord that needs to be plugged into a standard electrical outlet. Once your printer is powered on, you’ll need to level the bed. Leveling the bed ensures that the first layer of your print adheres properly and lays down evenly. Most printers have a manual bed leveling process, which involves adjusting the bed height using knobs or screws.
Loading filament into the printer
After leveling the bed, it’s time to load filament into the printer. Filament is the material used for 3D printing, and it typically comes in the form of spools. To load filament, you’ll need to locate the filament input on your printer, which is usually on the extruder assembly. Follow the instructions provided by your printer’s manufacturer to feed the filament into the extruder and through the filament feeding tube. Once the filament is loaded, you’ll need to perform a “cold pull” or “purge” to ensure that the previous filament is fully removed and your printer is ready for the new filament.
Basic controls and navigation of the Ender 3
The Ender 3, like most 3D printers, has a control interface that allows you to navigate through menus and perform various functions. The control interface typically consists of a display screen and buttons. To navigate through the printer’s menus, use the buttons to scroll up, down, left, and right. You’ll also have options to preheat the printer, start, pause, and stop prints, adjust settings, and perform other functions. Familiarize yourself with the basic controls of your specific printer model to ensure that you can navigate through the menus and access the necessary functions.
Understanding Slicer Settings
Slicer settings play a significant role in the quality and characteristics of your 3D printed objects. It’s important to have a basic understanding of key slicer settings to achieve the desired results.
Overview of key slicer settings
There are a few key slicer settings that have a significant impact on your print quality. These settings include layer height, infill density, and print speed. Layer height determines the thickness of each layer of the 3D printed object. A smaller layer height will result in smoother surfaces but may increase print time. Infill density refers to the amount of material inside the object. Higher infill densities result in stronger prints but may use more filament. Print speed determines how fast the printer moves and extrudes the filament during the printing process. Slower print speeds generally result in higher print quality but may also increase print time.
Layer height, infill density, and print speed
When it comes to layer height, a common starting point for beginners is 0.2mm, as it offers a good balance between print quality and speed. However, you can experiment with different layer heights to achieve different levels of detail and surface smoothness. Infill density is typically set between 20% and 50% for most prints. Higher infill densities are ideal for functional prints that require strength, while lower densities can be used for decorative or prototype prints. Print speed is a parameter that varies depending on the printer model and filament used. It’s recommended to start with the default print speed provided by your slicer software and adjust it as needed to achieve the desired results.
Recommended settings for beginners
For beginners, it’s a good idea to start with the basic slicer settings provided by your slicer software. These settings are usually pre-configured to produce good results for a wide range of prints. As you gain more experience and knowledge, you can begin customizing the settings to meet your specific needs and preferences. Remember that 3D printing is a process of trial and error, so don’t be afraid to experiment and learn from each print.
Customizing settings for specific prints
Once you’re comfortable with the basic slicer settings, you can start customizing them for specific prints. Depending on the requirements of your print, you may need to adjust parameters such as layer height, infill density, print speed, temperature, and support structures. For example, if you’re printing a complex model with intricate details, you may want to lower the layer height for finer details. Similarly, if you’re printing a functional part that needs to be strong, you can increase the infill density and adjust other settings accordingly.
Printing the First 3D Object
Now that you have your 3D printer set up and the slicer settings dialed in, it’s time to print your first 3D object! Here’s a step-by-step guide to help you through the process.
Preparing the 3D model for printing
Before you can start printing, you need to ensure that your 3D model is prepared properly. This involves checking for any issues such as holes, overlaps, or non-manifold geometry. Slicer software programs usually have tools or features to help you identify and fix any issues with your 3D model.
Exporting the model as a printable file
Once your 3D model is ready, you need to export it as a printable file in G-code format. This file contains all the instructions that your 3D printer needs to build the object. In your slicer software, look for an option to export or save the file as G-code. Make sure to save the file to a location that you can easily access, such as an SD card or a designated folder on your computer.
Transferring the file to the 3D printer
With the G-code file saved, you can now transfer it to your 3D printer. Depending on your printer’s capabilities, you can do this via an SD card, USB connection, or Wi-Fi. If using an SD card, simply insert the card into the designated slot on your printer. If using a USB connection, connect your computer to the printer using a USB cable. If your printer supports Wi-Fi, follow the manufacturer’s instructions to connect it to your Wi-Fi network.
Starting the print and monitoring progress
Once the G-code file is transferred to your printer, you can start the print job. Use the printer’s interface to locate and select the file you want to print. Before pressing the print button, double-check that your printer is properly leveled, the filament is loaded correctly, and any necessary settings are adjusted. Once the print starts, you can monitor its progress by observing the printer’s display or connecting to it using monitoring software. Keep an eye on the print to ensure that there are no adhesion issues, filament jams, or other problems that may occur during the printing process.
Troubleshooting Common Printing Issues
Even with the best preparation and settings, 3D printing can sometimes run into issues. Here are some common problems you may encounter and how to troubleshoot them.
Identifying and addressing adhesion problems
Adhesion issues occur when the first layer of your print doesn’t stick properly to the print bed. This can result in warping, lifting, or poor print quality. To address this problem, ensure that your print bed is clean and properly leveled. You can also try using adhesion aids such as a heated bed, bed adhesives like glue stick or hairspray, or specialized printing surfaces like BuildTak or PEI sheets. Additionally, adjusting your printer’s temperature settings, particularly for the bed and nozzle, can help improve adhesion.
Dealing with stringing and oozing
Stringing and oozing refer to the thin strands of filament that sometimes form between printed parts or on specific areas of a print. This can be caused by several factors, such as high filament temperature, excessive retraction settings, or improper cooling. To reduce stringing and oozing, you can try adjusting the retraction settings in your slicer, increasing cooling fan speed, or lowering the printing temperature. Experiment with these settings to find the balance that works best for your specific filament and printer combination.
Resolving layer shifting and warping
Layer shifting occurs when the layers of your print are not properly aligned, resulting in a shifted or skewed object. Warping, on the other hand, refers to the deformation or curling of printed parts, usually seen along the edges or corners of the print. Both these issues can be caused by insufficient bed adhesion, incorrect temperature settings, or mechanical issues with the printer. To address layer shifting, ensure that the print bed is leveled, the printer belt tension is correct, and there are no loose components. To reduce warping, try adjusting the bed temperature, using a heated enclosure, or applying adhesive aids like a brim or raft.
Handling under-extrusion and over-extrusion
Under-extrusion occurs when the printer fails to extrude enough filament, resulting in weak or incomplete layers. Over-extrusion, on the other hand, happens when too much filament is extruded, leading to messy and imprecise prints. Under-extrusion can be caused by clogged nozzles, improper slicer settings, or insufficient tension on the filament feeder. Over-extrusion can be caused by excessive material flow settings or incorrect slicer settings. To tackle under-extrusion, check for nozzle clogs and clean or replace the nozzle if necessary. Adjusting temperature settings, extrusion multiplier, or flow rate in your slicer can help address over-extrusion issues.
Optimizing Print Quality
While troubleshooting common printing issues is important, it’s equally important to optimize your print quality from the start. Here are some techniques to enhance the quality of your 3D prints.
Fine-tuning slicer settings for improved print quality
One of the best ways to optimize print quality is by fine-tuning your slicer settings. Experiment with different values for parameters such as layer height, infill density, print speed, and temperature to achieve the desired level of quality. Keep in mind that changing a single setting may affect other aspects of the print, so it’s essential to find a balance that works well for your specific needs.
Adjusting temperature and retraction settings
Temperature and retraction settings play a significant role in print quality. The temperature of the nozzle and the print bed can affect things like layer adhesion, stringing, and overall print quality. Experiment with different temperature settings within the recommended range for your filament type to find the optimal temperature for your specific printer and filament combination. Additionally, adjusting retraction settings can help reduce stringing and improve surface quality, so make sure to test and fine-tune these settings as well.
Enhancing details with higher resolution settings
If you’re looking to achieve finer details and smoother surfaces in your prints, consider adjusting your slicer settings to a higher resolution. Decreasing the layer height, increasing the number of shells, or adjusting the extrusion width can help improve the level of detail and overall print quality. However, keep in mind that printing at higher resolutions generally increases print time, so consider balancing the desired quality with the practicality of the print.
Utilizing support structures and brims
Support structures are an essential tool for printing objects with overhangs and complex geometries. These structures provide temporary support during the printing process and can be removed once the print is complete. Many slicer software programs have built-in support generation tools that automatically add the necessary supports to your model. Additionally, using a brim, which is a thin layer of material printed around the base of the object, can improve bed adhesion and prevent warping.
Exploring Advanced Techniques
Once you’re comfortable with the basics of 3D printing, you can start exploring advanced techniques to take your prints to the next level. Here are a few advanced techniques that you can experiment with.
Understanding multi-material and multi-color printing
Multi-material and multi-color printing allow you to create more complex and visually appealing prints. These techniques involve using multiple filaments or colors in a single print job. Some printers have dual extruders, which can be used to print with two different materials or colors simultaneously. Additionally, there are post-processing techniques such as painting or dyeing that can be used to add color and finish to your prints.
Combining multiple parts for complex prints
Sometimes, a single 3D print is not enough to create complex objects or assemblies. In such cases, you can design and print multiple parts that can be combined to create the final object. This technique is often used in engineering and prototyping to create functional objects with moving parts or intricate designs. Make sure to design the parts in a way that allows them to fit together properly, using features like pins, holes, or snap fits.
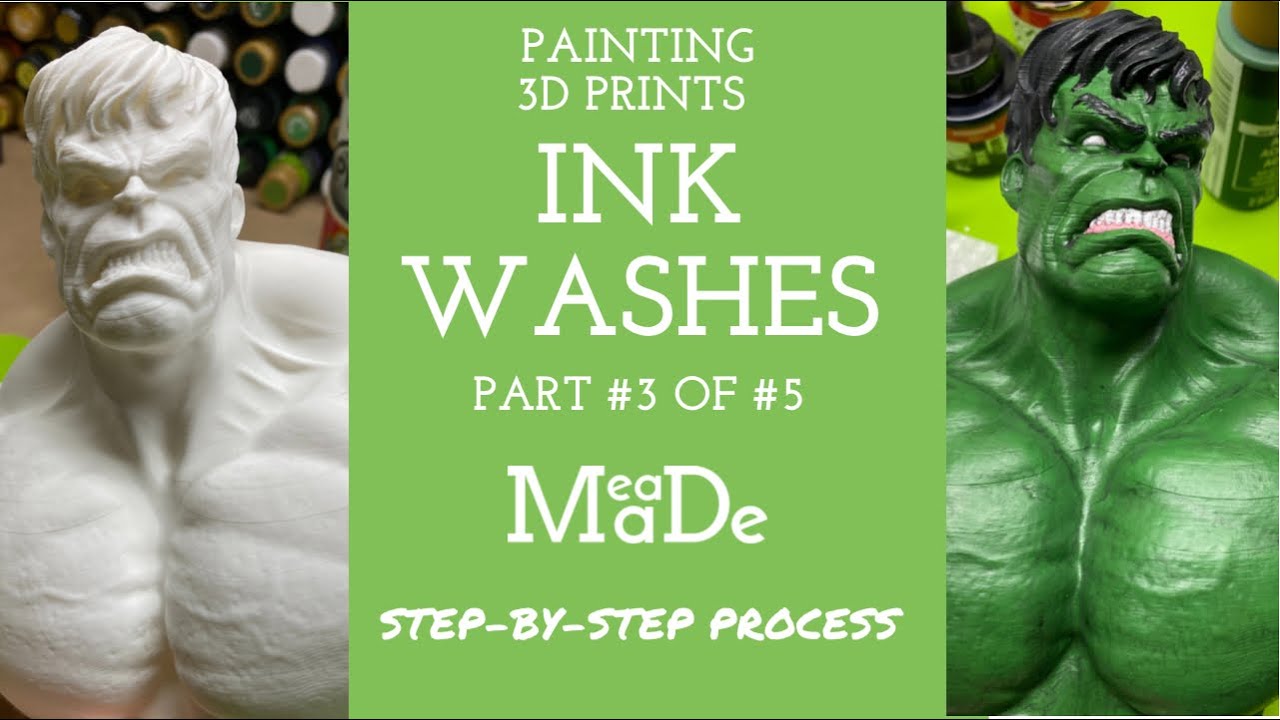
Using post-processing techniques for finishing touches
Post-processing techniques can be used to enhance the appearance and finish of your 3D prints. Sanding, painting, and smoothing techniques can help remove layer lines and imperfections, giving your prints a polished look. Additionally, there are techniques like acetone vapor smoothing for ABS prints or flame polishing for certain materials that can help achieve a smooth and glossy finish. Experiment with different techniques and materials to find the ones that work best for your specific prints.
Exploring different filament types and their properties
In addition to standard filament materials like PLA and ABS, there is a wide range of specialty filaments available for 3D printing. These filaments offer unique properties such as flexibility, translucency, conductivity, or even glow-in-the-dark capabilities. By experimenting with different filament types, you can create prints with specific characteristics to suit your needs. Just make sure that your printer is compatible with the specific filament type you plan to use, as some filaments require higher temperatures or specialized extruders.
Expanding Your 3D Printing Toolkit
To enhance your 3D printing experience and unlock more possibilities, it’s helpful to have the right tools and materials at your disposal. Here are some essential tools and materials you can add to your 3D printing toolkit.
Introduction to the Filament Friday tool kit
The Filament Friday tool kit is a collection of tools and accessories specifically curated for 3D printing enthusiasts. It includes items such as a filament cleaner, needle files, deburring tools, glue stick, digital calipers, and more. Having these tools on hand can make the printing process smoother and help you achieve better results. The Filament Friday tool kit is a great way to start building your toolkit and ensure that you have the necessary tools for maintenance and upgrades.
Essential tools for maintaining and upgrading your printer
Aside from the Filament Friday tool kit, there are several essential tools that every 3D printer owner should have. These tools include a set of screwdrivers, pliers, wire cutters, and tweezers. They are useful for performing routine maintenance tasks such as nozzle cleaning, belt tension adjustment, and general troubleshooting. Additionally, if you’re interested in upgrading or modifying your printer, having a set of specialized tools like Allen keys and wrenches can be extremely helpful.
Using different types of filaments for specific applications
While PLA is the most commonly used filament for 3D printing, there are other types of filaments that offer unique properties and characteristics. For example, ABS is known for its higher temperature resistance, PETG offers increased strength and flexibility, and TPU is a flexible filament suitable for creating rubber-like objects. Each filament type has its own advantages and considerations, so it’s important to choose the right filament for your specific application.
Exploring accessories and upgrades for the Ender 3
If you’re using the Creality Ender 3 printer, there are numerous accessories and upgrades available that can enhance its performance and expand its capabilities. Some popular accessories for the Ender 3 include upgraded hot ends, bed leveling tools, build surfaces, and filament sensors. These accessories can improve print quality, ease of use, and reliability. Additionally, there are numerous online communities and forums dedicated to the Ender 3, where you can find helpful resources, tips, and advice from experienced users.
Learning and Growing with 3D Printing
As with any new skill or hobby, learning and continuous improvement are key to becoming proficient in 3D printing. Here are some tips for expanding your knowledge and skills in the world of 3D printing.
Seeking out tutorials and resources online
The internet is a treasure trove of tutorials, guides, and resources for 3D printing. From YouTube channels and blogs to online forums and communities, there is a wealth of information available to help you learn and grow. Seek out tutorials specific to your printer model, software, or desired projects, and don’t be afraid to reach out to the 3D printing community for guidance or to share your own experiences.
Joining 3D printing communities and forums
One of the best ways to learn and grow in 3D printing is by joining online communities and forums dedicated to the subject. These communities provide a platform to connect with other enthusiasts, ask questions, share knowledge, and showcase your prints. Participating in these communities not only expands your knowledge but also exposes you to different perspectives, ideas, and techniques.
Continuously experimenting and learning from each print
The key to becoming a proficient 3D printer is through continuous experimentation and learning from each print. Don’t be afraid to try new settings, materials, or techniques with each project. Keep a record of your settings and observations for each print, and use this information to iterate and improve. Learning from your failures and successes is an integral part of the 3D printing journey.
Sharing your own designs and contributing to the community
As you gain more experience and confidence in 3D printing, consider sharing your own designs and contributing to the 3D printing community. Whether it’s through uploading your designs to websites like Thingiverse, creating tutorials or guides, or simply engaging with others on forums and social media platforms, sharing your knowledge and experiences can inspire and help others in their 3D printing journey.
In conclusion, 3D printing is an exciting and rapidly-growing field that offers endless possibilities for creativity and innovation. By choosing the right 3D printer, preparing the slicer software, setting up the printer correctly, understanding slicer settings, troubleshooting common issues, optimizing print quality, exploring advanced techniques, expanding your toolkit, and continuously learning and growing, you can dive into the world of 3D printing with confidence and create amazing objects of your own. Happy printing!
Chuck has provided a comprehensive guide on how to get started with 3D printing using the Creality Ender 3. In his tutorial, he covers everything you need to know, from the source of 3D designs to converting them into printable files. He also explains the process the printer goes through to create a solid 3D printed object. This step-by-step guide will give you a clear understanding of how it all works and get you started on your 3D printing journey.
Below are some useful links related to the Creality Ender 3 and other resources mentioned in the tutorial:
-
Creality Ender 3:
-
Creality Ender 3 Upgrade Package (Extruder, Silent Board & Capricorn Tubing): link
-
CHEP Cura Profiles:
-
CHEP Cube 3D Print: link
-
CHEP PAWN: link
-
Filament Friday Tool Kit:
-
Filament Friday Filament:
- USA: link
For those interested in the Creality Ender 3 Pro, here are some relevant links:
- Creality Ender 3 Pro:
You can also find various parts and upgrades for the Creality Ender 3 listed below:
-
X-Axis Tensioner USA: link
-
Y-Axis Tensioner USA: link
-
PTFE, Couplings, and Cutting Tool: link
-
CHPOWER Metal Extruder:
-
WINSINN Dual Gear:
-
EZR Extruder: link
-
Nozzle Removal Palm Ratchet:
-
Creality Silent Stepper Board: link
-
Cap Tubes & Couplings: link
-
CR10/Creality Ender 3 Nozzles: link
-
CR10/Ender3 Silicon Heater Block Cover: link
-
Solder Sleeve Kit: link
-
Creality Ender 3 Fan Set (24v): link
-
CR-10 Fan Set (12v): link
-
T-Nuts Kit: link
-
Screw Kit: link
-
Temperature Meter Used in Videos: link
-
Screwdriver set used in Videos: link
Additional resources and software mentioned in the tutorial include:
If you’d like to support the channel, here are some options:
You can also support the channel by shopping at MatterHackers.com through this link: link
For the best hot ends, buy through this link to Slice Engineering: link
Please note that as an Amazon Associate, Chuck earns from qualifying purchases.
If you would like to provide financial support through Patreon, you can visit the following link: link
For those interested in receiving a Filament Friday Sticker, please send a self-addressed stamped envelope to the following address:
Electronic Products PO Box 251 Milford, MI 48381
Feel free to explore more Filament Friday videos in the playlist: link
To learn more about Chuck and his projects, visit his website: link
The intro animation was created by Pablo Licari based on the Filament Friday Logo designed by Brian Carter.

eSUN PLA+ Filament 1.75mm, 3D Printer Filament PLA Plus, Dimensional Accuracy +/- 0.03mm, 1KG Spool (2.2 LBS) 3D Printing Filament for 3D Printers, Bone White
$22.99 (as of June 18, 2025 23:32 GMT +00:00 - More infoProduct prices and availability are accurate as of the date/time indicated and are subject to change. Any price and availability information displayed on [relevant Amazon Site(s), as applicable] at the time of purchase will apply to the purchase of this product.)
Polymaker PLA PRO Filament 1.75mm 1kg, Tough & High Rigidity Black 3D Printing Filament, PolyLite PLA PRO 3D Printer Filament 1.75mm, Print with Most 3D Printers
$24.99 (as of June 18, 2025 23:32 GMT +00:00 - More infoProduct prices and availability are accurate as of the date/time indicated and are subject to change. Any price and availability information displayed on [relevant Amazon Site(s), as applicable] at the time of purchase will apply to the purchase of this product.)
Fully Assembled Mini 3D Printer for Kids and Beginners - Complete Starter Kit with Auto Leveling 3D Printing Machine, 10M PLA Filament, and SD Card - WiFi 3D Home Printer for MAC, Windows, and Linux
$229.99 (as of June 18, 2025 23:32 GMT +00:00 - More infoProduct prices and availability are accurate as of the date/time indicated and are subject to change. Any price and availability information displayed on [relevant Amazon Site(s), as applicable] at the time of purchase will apply to the purchase of this product.)
Kingdder 200 Pcs 3D Magnetic Tracking Dot for Scanner Scanning Reference Point Marker Diffuse Reflection Positioning Targets for 3D Scanning (Inner 3.0 mm Outer 6 mm)
$25.99 (as of June 18, 2025 23:32 GMT +00:00 - More infoProduct prices and availability are accurate as of the date/time indicated and are subject to change. Any price and availability information displayed on [relevant Amazon Site(s), as applicable] at the time of purchase will apply to the purchase of this product.)