ANYCUBIC 10K Resin 3D Printer, Photon Mono 4 LCD 3D Printer with 7-inch Mono Screen, Upgraded LighTurbo Matrix and Printing Platform, Printing Size of 6.04''x3.42''x6.49''
$159.99 (as of June 18, 2025 23:32 GMT +00:00 - More infoProduct prices and availability are accurate as of the date/time indicated and are subject to change. Any price and availability information displayed on [relevant Amazon Site(s), as applicable] at the time of purchase will apply to the purchase of this product.)In the rapidly advancing realm of 3D printing, Zack Freedman’s Gridfinity organization system emerges as a paradigm for modern workshop organization. Inspired by Alexander Chappel’s innovative designs, Gridfinity harnesses open-source principles to foster a thriving community of creators. This article distills essential tips derived from extensive hands-on experience with the Gridfinity system, aiming to enhance your organizational efficiency and 3D printing proficiency.
The forthcoming discussion will cover various facets of utilizing the Gridfinity framework, providing in-depth advice on generating custom bins, optimizing print settings, and selecting appropriate materials. Particular emphasis is placed on practical steps for achieving high-quality prints, leveraging community resources, and overcoming common challenges in workshop organization. Through this exploration, you are poised to maximize the utility of Zack Freedman’s versatile open-source system, thereby cultivating a meticulously organized and highly functional workspace.

Background on Gridfinity
Inspiration from Alexander Chappel’s Organizer Ideas
Gridfinity, a highly modular and customizable organization system, draws its roots from the innovative organizer concepts pioneered by Alexander Chappel. Chappel, an influential figure in the maker community, introduced a variety of 3D-printed organizer ideas that captured the imaginations of many DIY enthusiasts. His designs, although highly functional, were not open-source, creating a niche market for proprietary systems. These ideas, albeit brilliant, laid the foundation upon which Zack Freedman would later build a more inclusive and modifiable system.
Zack Freedman’s Enthusiasm for Organization
Inspired by Chappel’s foundational work, Zack Freedman took these concepts to new heights with his Gridfinity system. Freedman’s approach was markedly different; he wanted to create a system that was not only highly functional but also open-source, allowing the community to contribute and expand on the original designs. His deep enthusiasm for organization and workshop efficiency was evident through the meticulous thought and detail he put into Gridfinity. Freedman’s zeal for streamlining storage is contagious, inspiring countless others to embark on their own organizational journeys.
Overview of Video Content
In the accompanying video, numerous tips and practical advice are shared about the Gridfinity system. The goal is to help you maximize the benefits of this versatile organization solution. The video provides a detailed look at the various aspects of Gridfinity, from creating custom boxes to choosing the right materials and settings for 3D printing. This comprehensive guide is designed to help you navigate the complexities of workshop organization, leveraging personal insights and experiences gathered over hundreds of hours of dedicated work.
Advantages of Zack Freedman’s System
Comparative Analysis with Other Systems
When compared to other workshop organization systems, Zack Freedman’s Gridfinity stands out for several reasons. The primary distinction is its open-source nature, allowing unlimited creativity and modifications. Unlike proprietary systems that lock you into specific designs and dimensions, Gridfinity gives you the freedom to make adjustments as per your requirements. Moreover, the collaborative nature of this system ensures rapid innovation and adaptability, making it more flexible and efficient than its competitors.
Ease of Customization
One of the most compelling features of the Gridfinity system is its high level of customization. By using parametric design principles, you can easily modify the dimensions, create custom slots for unique tools, and adapt the system to fit any organizational need. The templates available for Fusion 360 and OpenSCAD make it incredibly easy even for those with minimal design experience to generate custom boxes that perfectly suit their needs.
Community Support and Resources
The strength of Gridfinity lies in its community. The support from forums on Reddit, Discord, and websites like Printables has fostered a participatory culture that continuously improves the system. Members of the community are quick to share their designs, tips, and solutions to common problems, making it a rich resource for anyone looking to optimize their workshop with Gridfinity. The user-generated content vastly expands the original designs, offering solutions that might never have been conceived by a single mind.
Find 3D Printing Accessories Here
Generating Custom Empty Gridfinity Boxes
Using Fusion 360
Fusion 360, a powerful parametric design software from Autodesk, is one of the preferred tools for generating custom Gridfinity boxes. Its robust feature set allows you to make detailed adjustments to the original Gridfinity models. By tweaking parameters like length, width, and compartment sizes, you can generate boxes that suit your specific needs. Fusion 360 is available for free to hobbyists and makers, making it an accessible option for most users.
Using OpenSCAD
For those who prefer or require an open-source alternative, OpenSCAD is an excellent choice. It operates through code-based modeling, which allows you to script the dimensions and features of your custom boxes. Printables features a variety of starting templates for Gridfinity in OpenSCAD, making it easy to get started even if you’re not a coding expert. OpenSCAD’s flexibility and precision make it a powerful tool for creating custom organizable components.
Benefits of Customizable Boxes
The ability to generate custom boxes is a significant benefit of the Gridfinity system. Custom boxes enable you to create optimal storage solutions for unusual or specialized tools, enhancing both the aesthetics and functionality of your workspace. Customization ensures that every item has a designated place, reducing clutter and increasing efficiency. This adaptability makes Gridfinity a versatile choice for a wide range of organizational challenges.
Creating Custom Gridfinity Boxes for 3D Printing
Software Recommendations
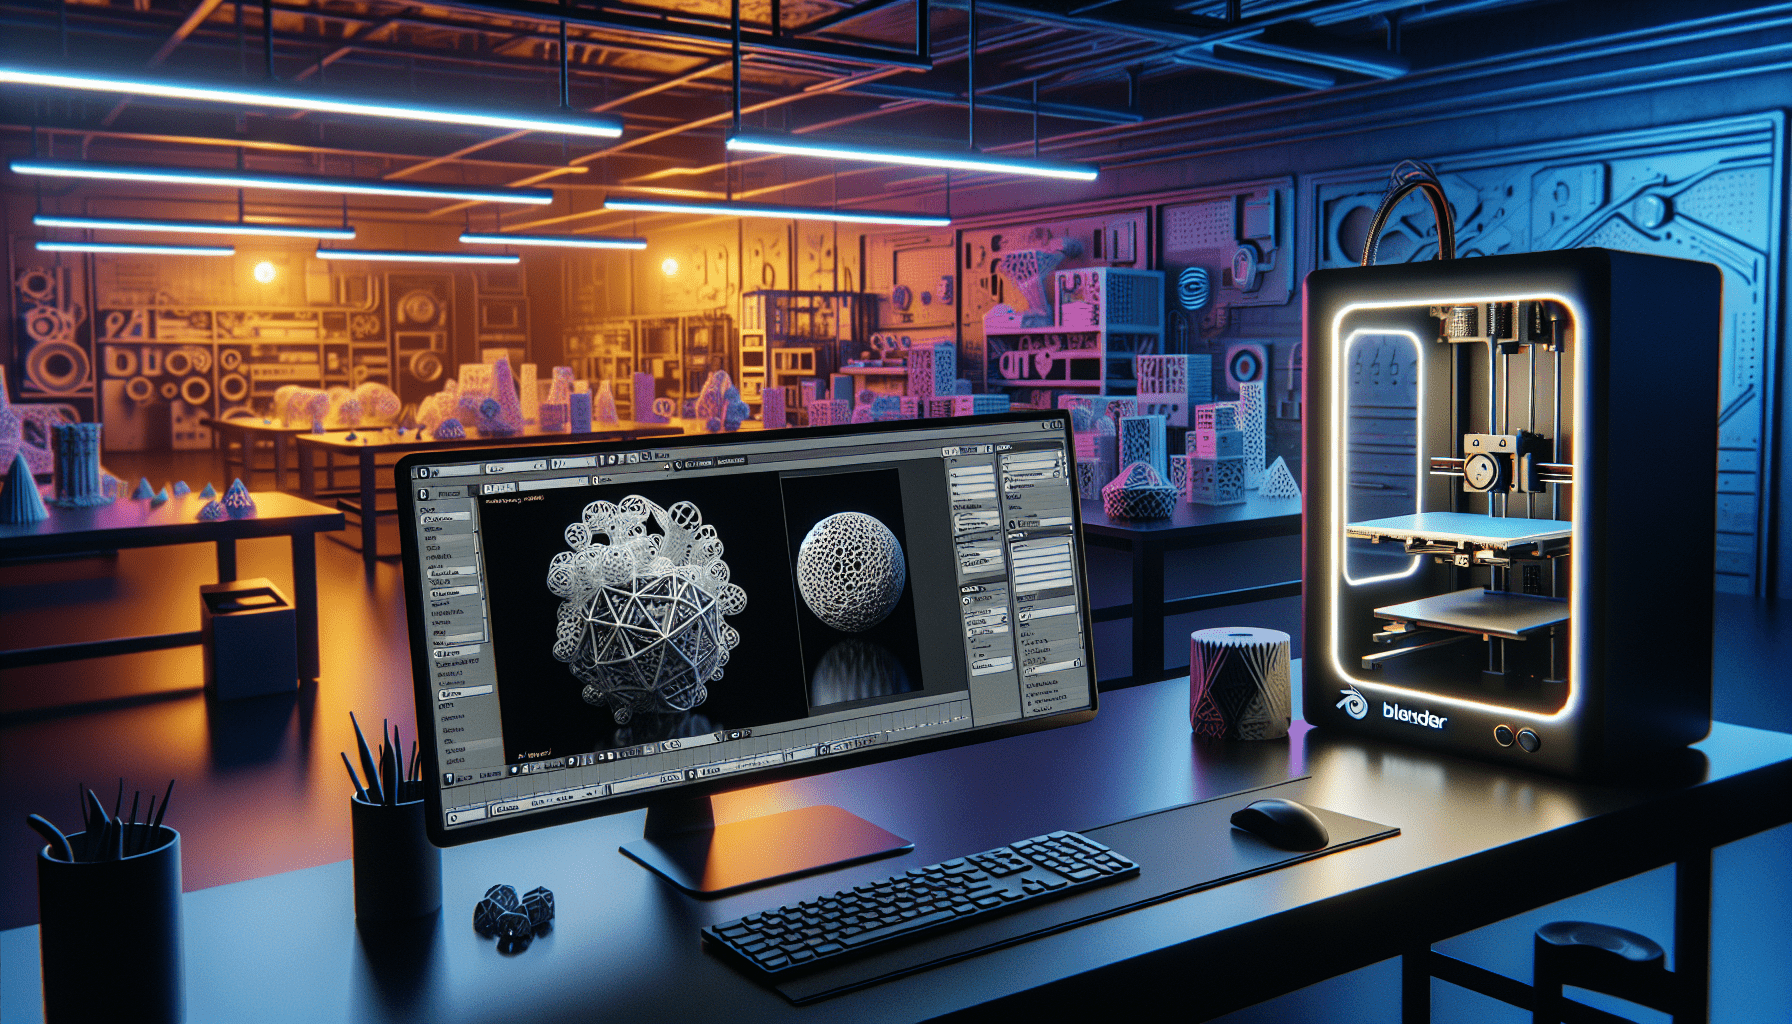
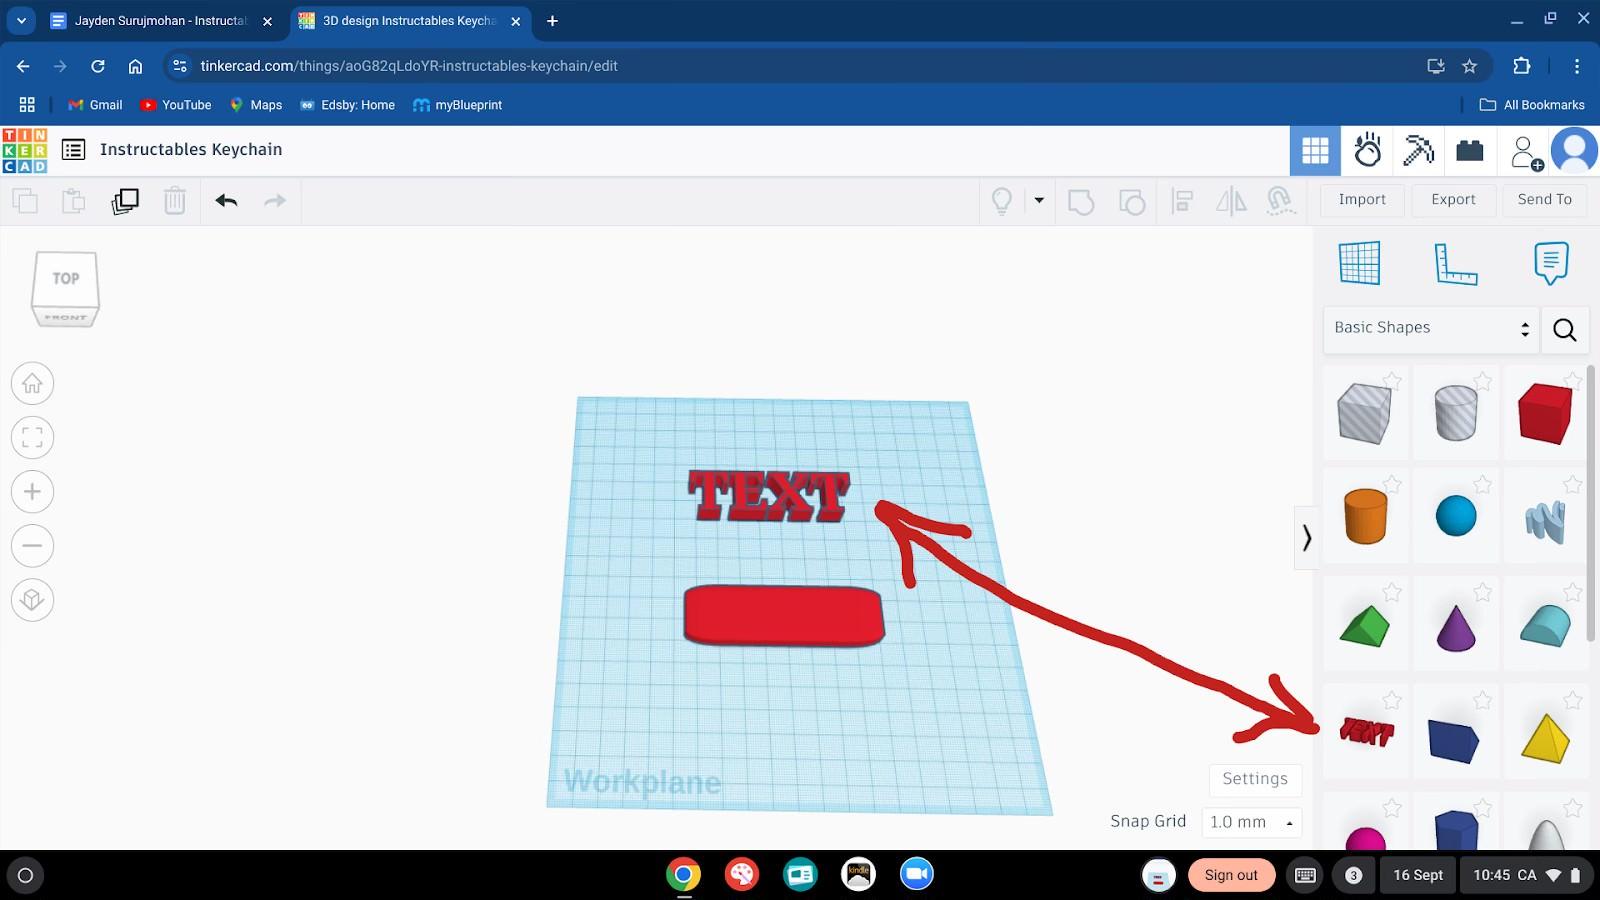
When it comes to designing custom Gridfinity boxes for 3D printing, software choice is crucial. In addition to Fusion 360 and OpenSCAD, Blender is another powerful tool that can be useful for more complex designs involving intricate shapes or integrations. Tinkercad offers a more straightforward alternative for beginners, providing an easy-to-use interface for simpler modifications. These software tools collectively cover a spectrum of complexity, catering to users of all skill levels.
Design Tips
To achieve the best results when creating custom Gridfinity boxes, consider the following design tips:
- Always start with a base template to ensure dimensional accuracy.
- Factor in the tolerances of your 3D printer to ensure a snug fit.
- Use fillets and chamfers to strengthen the edges and improve box durability.
- Experiment with different infill patterns to balance strength and material usage.
- Incorporate features such as handles or labels to improve utility and ease of use.
Utilizing Community Resources
Community resources are invaluable when designing custom Gridfinity boxes. Platforms like Reddit and Discord are teeming with user-generated designs, offering a wealth of ideas and inspiration. You can often find ready-to-print designs for common tools and objects, saving you time and effort in the design process. Engaging with the community can also provide you with feedback on your designs and introduce you to new techniques and tools that you might not have considered.

Recommended Nozzle Sizes for 3D Printing Gridfinity
Advantages of Larger Nozzles
Using larger nozzles, such as 0.6mm or 0.8mm, can significantly enhance the printing process for Gridfinity components. Larger nozzles allow for greater material deposition per layer, reducing the overall print time while maintaining a reasonable level of detail. This can be particularly useful for printing larger baseplates or storage boxes where fine details are less critical than structural integrity and printing speed.
Optimal Settings for Nozzle Performance
To optimize the performance of your nozzles, consider the following settings:
- Increase layer height to around 0.3mm to match the larger nozzle size.
- Adjust print speed proportionally; larger nozzles can handle higher speeds without compromising print quality.
- Ensure adequate cooling to manage the increased material flow and prevent overheating.
- Use a slightly higher extrusion temperature to improve material flow and adhesion between layers.
Impact on Print Speed and Quality
Larger nozzles positively impact print speed by allowing more material to be laid down with each pass. However, this can come at a cost to detail resolution. For components where minute details are essential, such as small clips or intricate dividers, a standard 0.4mm nozzle might be more appropriate. Balancing speed and quality depends on the specific requirements of the print, but larger nozzles are generally advantageous for most Gridfinity applications where robustness and efficiency are paramount.
Ideal Top and Bottom Layers for Gridfinity Prints
Layer Thickness Recommendations
The top and bottom layers of your Gridfinity prints greatly affect the overall strength and appearance of the final product. Generally, a thickness of 0.8mm to 1.2mm for the top and bottom layers (equivalent to 4 to 6 layers at a 0.2mm layer height) is recommended. This ensures adequate stability and resilience, particularly for components that will bear weight or friction.
Balancing Strength and Print Time
Finding the right balance between print time and structural integrity is crucial. Increasing the number of top and bottom layers will enhance durability but also extend the printing duration. Conversely, reducing these layers can save time but may result in weaker prints. A good practice is to adjust these settings based on the intended use of the component. For highly stressed parts, prioritize strength; for trays or compartments, you can afford to lower the layer count slightly.
Tips for Smooth Finishes
Achieving a smooth finish on your Gridfinity components involves several strategies:
- Employ a slower outer wall print speed to improve surface quality.
- Utilize ironing settings in your slicer to smooth out the topmost layers.
- Ensure your bed is level and the first layer is well-adhesive to avoid imperfections in the subsequent layers.
- Post-process prints by lightly sanding or using a finishing agent to achieve a polished look.

Importance of Printing Gridfinity Components at High Temperature
Recommended Temperature Settings
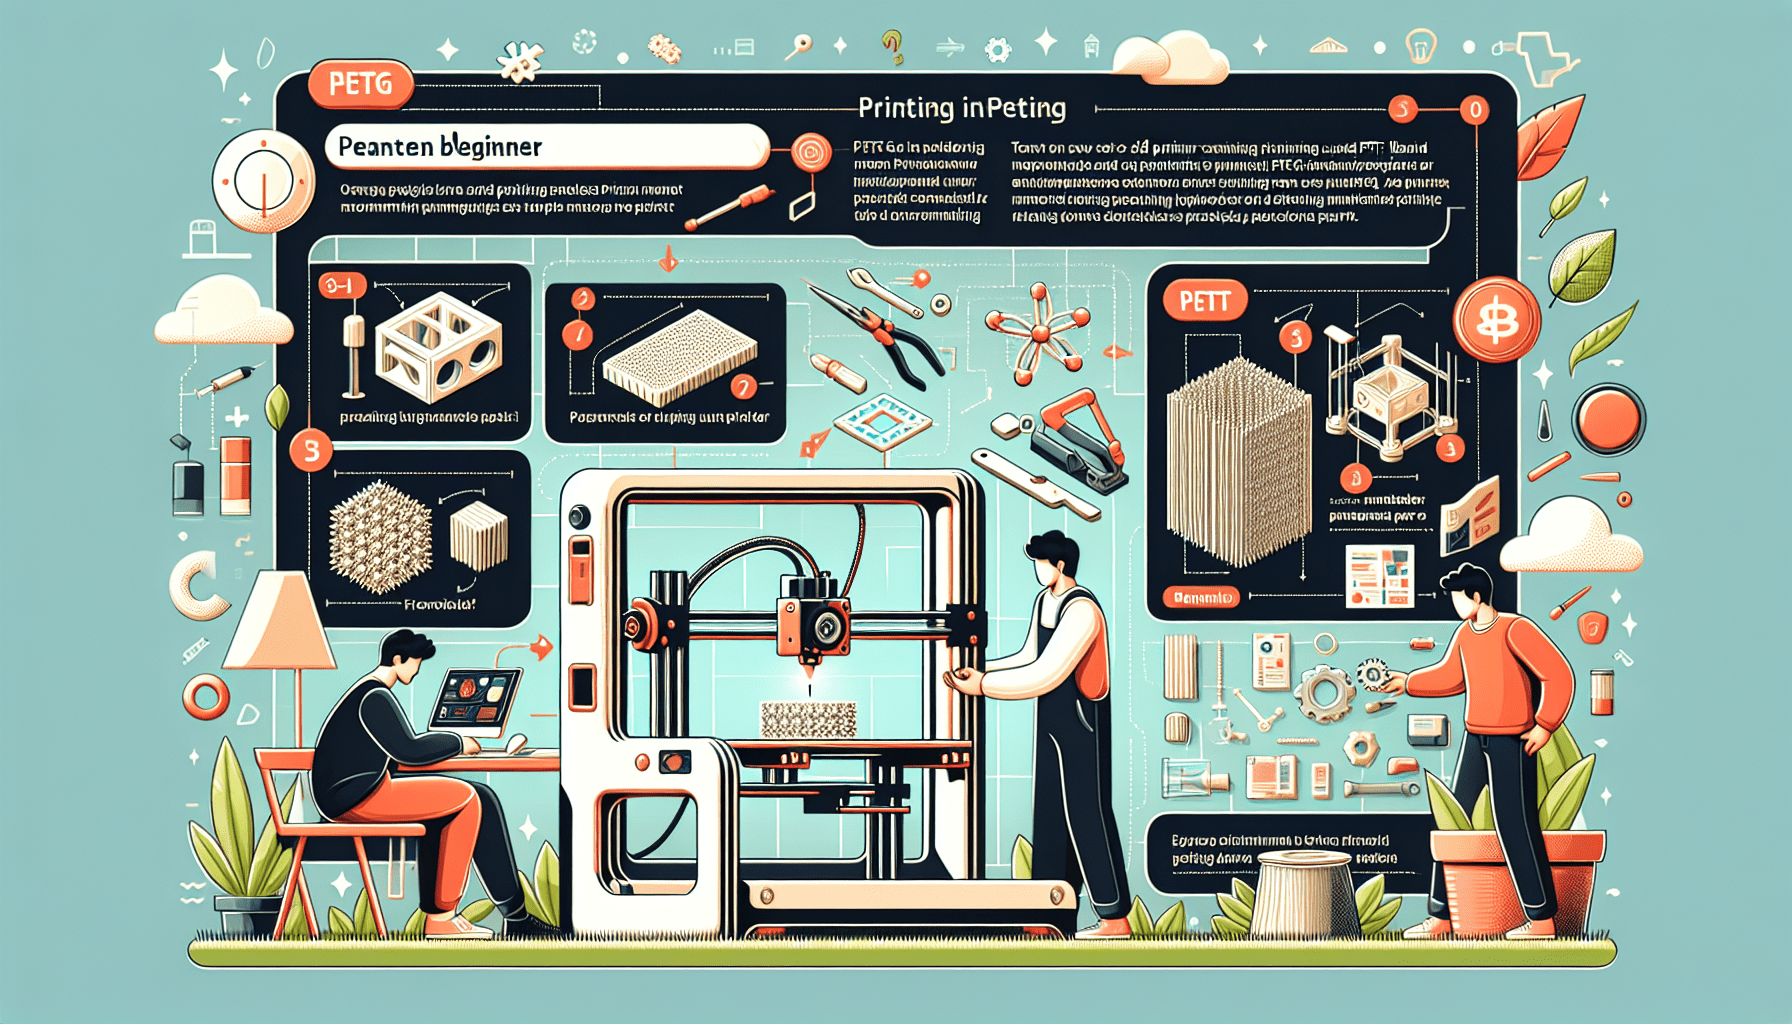
Printing Gridfinity components at higher temperatures, usually around 220°C for PLA filaments or as high as 250°C for PETG and ABS, can significantly enhance layer adhesion. This temperature range ensures that the filament flows well, reducing the risk of layer separation and improving overall print strength. Adjusting the bed temperature to around 60°C for PLA and 85°C for PETG also helps improve bed adhesion during the initial layers.
Benefits of High Temperature Printing
Higher printing temperatures lead to better fusion between layers, making your components more robust and durable. This is particularly important for storage boxes and baseplates that will endure mechanical stress. Additionally, high temperature printing can reduce the likelihood of warping and improve the cosmetic finish of your prints by ensuring consistent material flow and deposition.
Preventing Layer Separation
Layer separation, or delamination, is a common issue when prints are subjected to suboptimal temperatures. High-temperature printing minimizes this risk by maintaining uniform adhesion between successively deposited layers. To further prevent layer separation:
- Ensure your printer’s cooling fans are optimally set to cool gradually rather than abruptly.
- Maintain a consistent ambient temperature in the printing area to avoid sudden cooling or drafts.
- Use an enclosure for printing materials prone to warping, like ABS, to maintain a stable environment.
Best Filament Types for Gridfinity
High-Quality Filament Options
For printing Gridfinity components, opting for high-quality filaments is essential. Brands like Prusa, Hatchbox, and eSun offer reliable PLA options, while MatterHackers and ColorFabb provide excellent PETG choices. These filaments are known for their stability, consistency, and reduced risk of common issues such as stringing and clogging.
Avoiding Common Filament Issues
To avoid issues such as poor layer adhesion, warping, and print failure, it is important to store your filament properly. Keep your filament in a cool, dry place, preferably with desiccant to avoid moisture absorption. Also, regularly clean the printer nozzle and perform routine maintenance checks to ensure optimal performance.
Pros and Cons of Different Filament Materials
- PLA: Easy to print, low warping, good for most Gridfinity applications, but brittle and not suitable for high-temperature environments.
- PETG: Strong, flexible, and resistant to moisture and chemicals, but more prone to stringing and may require higher printing temperatures.
- ABS: High strength and durability, suitable for high-stress components, but emits fumes requiring good ventilation and is more prone to warping without an enclosure.
Each filament type has its unique advantages and drawbacks, making the choice dependent on the specific needs of your Gridfinity project.

Overcoming Analysis Paralysis in Workshop Organization
Strategies for Decision Making
Overcoming analysis paralysis involves breaking down the organizational process into manageable steps. Start by identifying key areas in your workshop that need immediate attention. Use the Gridfinity system to categorize and tackle these areas one at a time. Setting small, achievable goals helps maintain momentum and prevents feeling overwhelmed by the sheer scope of the task.
Starting Small to Build Momentum
Begin your Gridfinity project with a few essential components, such as base plates and a set of common storage bins. Starting small allows you to familiarize yourself with the system and fine-tune your process without a significant initial investment of time or resources. As you gain confidence and experience, you can gradually expand the system to cover more areas of your workshop.
Iteration and Improvement
Continuous improvement is fundamental to overcoming analysis paralysis. Treat your workshop organization as an iterative process. Regularly reassess your setup, identifying areas that can be improved or made more efficient. The open-source nature of Gridfinity encourages ongoing experimentation and adaptation, making it easier to refine your organization system over time.
Conclusion
Encouragement to Subscribe and Comment
If you have found these insights into the Gridfinity system useful, consider subscribing to the channel for more practical tips and comprehensive guides. Your comments and feedback are invaluable and help create a more engaging and informative community.
Summary of Tips for Effective Use
To summarize, the Gridfinity system offers remarkable flexibility and efficiency for workshop organization. By leveraging the open-source nature, you can tap into a wealth of community knowledge and resources. Utilize tools like Fusion 360 and OpenSCAD for customization, maintain optimal printing conditions, choose high-quality filaments, and approach the organization process incrementally to avoid feeling overwhelmed.
Final Thoughts on Workshop Organization with Gridfinity
Gridfinity represents a revolutionary approach to workshop organization, combining flexibility with community-driven innovation. Whether you are a seasoned maker or a DIY enthusiast, adopting this system can transform your workspace into a highly efficient and personalized environment. The collaborative and open nature of Gridfinity ensures continuous improvement and adaptation, making it a robust solution for any organizational challenge. Embrace the power of customization and community, and take your workshop organization to the next level with Gridfinity.
Maintain Your 3D Printer with these Tools

Official Creality Hyper PLA Filament 1.75mm, High Speed PLA 30-600mm/s Rapid 3D Printer Filament, Dimensional Accuracy +/-0.02mm, Fit Most FDM 3D Printers, 1KG(2.2lbs) Spool Black
$27.99 (as of June 18, 2025 23:32 GMT +00:00 - More infoProduct prices and availability are accurate as of the date/time indicated and are subject to change. Any price and availability information displayed on [relevant Amazon Site(s), as applicable] at the time of purchase will apply to the purchase of this product.)
PETG Filament 1.75mm 2025 Upgrade Spool Compatible with Bambulab Refill Filament, 2kg(4.4lbs) SUNLU PETG 3D Printer Filament, 1.75mm Dimensional Accuracy +/- 0.02mm, Black+Black Bundle
$22.99 (as of June 18, 2025 23:32 GMT +00:00 - More infoProduct prices and availability are accurate as of the date/time indicated and are subject to change. Any price and availability information displayed on [relevant Amazon Site(s), as applicable] at the time of purchase will apply to the purchase of this product.)
HXOGYUB 3D Scanning Spray for 3D Scanners, Professional for All 3D Scanner, Safety Material, High Reflectivity, Easy to Clean, for Reflective, Transparent or Highly Textured Surfaces, 500ML
$33.99 (as of June 18, 2025 23:32 GMT +00:00 - More infoProduct prices and availability are accurate as of the date/time indicated and are subject to change. Any price and availability information displayed on [relevant Amazon Site(s), as applicable] at the time of purchase will apply to the purchase of this product.)
Anycubic Kobra S1 Combo 3D Printer, Multi-Color 3D Printer High Speed Max 600mm/s High Precision, Core XY Stable Structure Ultra-Quiet Printing Anycubic App One-Click Printing 250 * 250 * 250mm
$599.99 (as of June 18, 2025 23:32 GMT +00:00 - More infoProduct prices and availability are accurate as of the date/time indicated and are subject to change. Any price and availability information displayed on [relevant Amazon Site(s), as applicable] at the time of purchase will apply to the purchase of this product.)