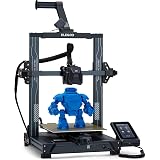
ELEGOO Neptune 3 Pro FDM 3D Printer with Auto Bed Leveling, Dual-Gear Direct Extruder, Dual Lead Screw Drive, Removable Capacitive Screen, 8.85x8.85x11in Large Printing Size
$209.99 (as of June 19, 2025 23:45 GMT +00:00 - More infoProduct prices and availability are accurate as of the date/time indicated and are subject to change. Any price and availability information displayed on [relevant Amazon Site(s), as applicable] at the time of purchase will apply to the purchase of this product.)In the article titled “Have your 3D Prints started to suck? Watch this!” by Maker’s Muse, the author discusses common problems that can occur with 3D prints. The video, sponsored by Microcenter, goes through 10 things to check if your 3D prints start to deteriorate, including issues with the leveled bed, dirty print surface, worn motion components, cooked PTFE, dead heat break fan, worn feeder gear, clogged nozzle, blown-out nozzle, moisture damaged filament, and burnt connectors/intermittent wire faults. The article emphasizes the importance of regular maintenance and checking for these issues in order to improve print quality. Furthermore, it highlights Inland as a provider of competitively priced filament in a wide range of colors, as well as printer parts for maintenance and repair. The article also mentions the ongoing availability of the 99 end of 3 Pro deal for new customers in-store.
The introduction effectively captures the readers’ attention by addressing a common issue experienced by 3D printer users. It provides a brief outline of the article, mentioning the specific topics covered in the video and the importance of regular maintenance. With the sponsorship of Microcenter, the article establishes credibility and provides readers with valuable information to address print quality issues.
Common Problems with 3D Prints
Introduction to the common problems
When it comes to 3D printing, there are several common problems that can occur and affect the quality of your prints. These problems can range from issues with the print bed to problems with the extrusion process. In this article, we will explore ten common problems that can occur with 3D prints and provide solutions for addressing them. By understanding and addressing these issues, you can ensure that your 3D prints turn out as desired.
Impact of common problems on print quality
Before delving into the specific problems, it is essential to understand the impact that these issues can have on the quality of your prints. Badly leveled beds, dirty print surfaces, and worn motion components can all lead to inaccurate and poor-quality prints. Cooked PTFE, a dead heat break fan, and worn feeder gear can cause extrusion issues that result in faulty prints. Clogged and damaged nozzles, as well as moisture-damaged filament, can also affect print quality. Lastly, burnt connectors and intermittent wire faults can result in additional problems and even pose safety hazards. Therefore, addressing these common problems is crucial for achieving high-quality 3D prints.
List of 10 Common Problems
Badly leveled bed
One of the most common problems with 3D prints is a badly leveled bed. The print bed needs to be level for optimal adhesion between the print surface and the filament. If the bed is not properly leveled, the first layer of the print may not adhere correctly, resulting in a poor-quality print. Regularly checking and adjusting the bed’s level is essential for ensuring successful prints.
Dirty print surface
A dirty print surface can also lead to print quality issues. Oils, dirt, and residue can prevent the filament from sticking properly to the print surface. This can result in parts lifting during printing or poor layer adhesion. Cleaning the print surface regularly with isopropyl alcohol can prevent these issues and improve print quality.
Worn motion components
Over time, the motion components of a 3D printer, such as the v-rolls and belts, can wear out. This can lead to inaccuracies in the printer’s movements and result in poor print quality. Regularly checking and replacing worn motion components can help maintain the accuracy of your printer and ensure high-quality prints.
Cooked PTFE
Cooked PTFE refers to the degradation of the PTFE (polytetrafluoroethylene) tube within the printer’s hot end. This can occur when printing with high-temperature materials like PETG. Cooked PTFE can cause extrusion issues, resulting in under-extrusion and inconsistent filament flow. To prevent cooked PTFE, ensure that your printer’s hot end is properly cooled and consider using a higher-quality PTFE tube or upgrading to an all-metal hot end.
Dead heat break fan
The heat break fan in a 3D printer is responsible for cooling hot filament as it transitions from the hot end to the cooler part of the printer. If the heat break fan is not working correctly or has failed, heat creep can occur. Heat creep can lead to filament jams and inconsistent extrusion. Regularly checking and replacing the heat break fan is essential for preventing these issues and maintaining smooth extrusion.
Worn feeder gear
The feeder gear, also known as the extruder gear, is responsible for pushing the filament into the hot end. When printing with abrasive materials, such as carbon fiber filament, the feeder gear can wear out over time. Worn feeder gear can result in inconsistent filament feeding, causing under-extrusion and poor print quality. Regularly checking and replacing the feeder gear can help ensure smooth filament feeding and optimal print quality.
Clogged nozzle
A clogged nozzle is a common issue that can affect print quality. A clog occurs when debris or hardened filament blocks the opening of the nozzle, preventing proper extrusion. This can result in under-extrusion, uneven layers, and even failed prints. Regularly cleaning the nozzle with a small wire or using a nozzle cleaning kit can help prevent and address clogs.
Blown out nozzle
A blown-out nozzle refers to a nozzle that has become abraded or damaged due to printing with abrasive materials or improper use. A blown-out nozzle can lead to poor filament flow, under-extrusion, and uneven layers. If you notice signs of a blown-out nozzle, such as inconsistent extrusion or rough prints, it may be necessary to replace the nozzle.
Moisture damaged filament
Moisture absorption can affect the quality of your filament and lead to poor prints. Moisture-damaged filament can result in bubbling, inconsistent extrusion, or even failed prints. Storing filament in a dry environment and using a dehydrator to remove moisture can help rejuvenate the filament and improve print quality.
Burnt connectors/intermittent wire faults
Electrical faults in 3D printers can be hazardous and can also affect print quality. Burnt connectors and intermittent wire faults can result in slow heating of the print bed or other malfunctions. Regularly checking the wires for damage and ensuring proper connections can help prevent faults and maintain safe and reliable 3D printing.
Importance of Regular Maintenance
Improvement in print quality through maintenance
Regular maintenance is essential for ensuring high-quality 3D prints. By addressing common problems such as a badly leveled bed, dirty print surfaces, and worn motion components, you can improve the accuracy and reliability of your prints. Regular maintenance allows you to identify and fix issues before they negatively impact print quality.
Preventing potential issues
Regular maintenance also helps prevent potential problems from occurring. By checking and replacing worn components, such as the feeder gear or heat break fan, you can prevent extrusion issues and filament jams. Additionally, keeping the print surface clean and addressing clogged nozzles can help prevent under-extrusion and failed prints.
Increasing lifespan of 3D printer
By properly maintaining your 3D printer, you can extend its lifespan. Regularly replacing worn components and addressing common problems can help prevent further damage and ensure that your printer continues to perform optimally. This not only saves you money in the long run but also allows you to consistently produce high-quality prints.

Find 3D Printing Accessories Here
Checking and Replacing Worn Motion Components
Impact of worn motion components on print quality
Worn motion components, such as v-rolls and belts, can significantly impact the quality of your prints. These components are responsible for the precise movements of the print head. When they wear out, the printer’s movements become less accurate, resulting in poor print quality. Inaccurate layer heights and misalignment of printed parts are common signs of worn motion components.
How to identify worn motion components
To identify worn motion components, regularly inspect the v-rolls and belts for signs of wear. Look for flat spots or indentations on the v-rolls and check for any fraying or stretching of the belts. In some cases, you may also notice increased noise or vibrations during printing. If you suspect that your printer’s motion components are worn, it is recommended to replace them to ensure optimal print quality.
Steps to replace worn motion components
Replacing worn motion components involves several steps. First, consult your printer’s manual or manufacturer’s guidelines to understand the specific replacement process for your model. Generally, replacing v-rolls involves loosening the eccentric nuts, removing the old v-rolls, and installing the new ones. For belts, you may need to loosen the tensioner and remove the old belt before installing the new one. It is essential to follow the manufacturer’s instructions carefully and adjust the new components to the correct tension for optimal performance.
Dealing with Cooked PTFE
Understanding the impact of cooked PTFE on extrusion
Cooked PTFE refers to the degradation of the PTFE tube within the printer’s hot end due to prolonged exposure to high temperatures. When PTFE degrades, it can release harmful fumes and affect the extrusion process. Cooked PTFE can cause extrusion issues such as under-extrusion, inconsistent filament flow, and clogs. This can result in poor print quality and failed prints, especially when printing with high-temperature materials like PETG.
Tips for preventing and resolving cooked PTFE issues
To prevent cooked PTFE, it is crucial to ensure that your printer’s hot end is properly cooled. This can be achieved by installing a fan or upgrading to a hot end that incorporates active cooling. Additionally, using higher-quality PTFE tubes or upgrading to an all-metal hot end can minimize the risk of PTFE degradation. Regularly inspecting the PTFE tube for signs of discoloration or wear and replacing it when necessary can help prevent extrusion issues caused by cooked PTFE.
Importance of a Working Heat Break Fan
Heat creep and filament jams caused by a dead heat break fan
The heat break fan plays a crucial role in cooling the filament as it transitions from the hot end to the cooler parts of the printer. If the heat break fan is not working correctly or has failed, heat creep can occur. Heat creep refers to the unwanted conduction of heat from the hot end to the cooler sections of the printer. This can lead to filament jams, inconsistent extrusion, and poor print quality. Ensuring that the heat break fan is functioning properly is essential for maintaining consistent and reliable extrusion.
How to diagnose and fix issues with the heat break fan
To diagnose issues with the heat break fan, first, check that it is receiving power and spinning freely. If the fan is not spinning or making unusual noises, it may be faulty and require replacement. Additionally, ensure that the heat break fan is properly positioned and isn’t obstructed by any foreign objects or debris. If you encounter issues with the heat break fan, consult your printer’s manual or manufacturer’s guidelines for specific troubleshooting steps. Replacing a faulty or dead heat break fan is typically straightforward and can significantly improve extrusion and print quality.
Worn Feeder Gear and its Effects
Abrasive materials and their impact on feeder gear
Feeder gears, also known as extruder gears, are responsible for pushing the filament into the hot end. When printing with abrasive materials like carbon fiber filament, the feeder gear can wear out over time. These materials contain particles that can gradually erode the feeder gear teeth, resulting in inconsistent filament feeding. This leads to under-extrusion, filament grinding, and poor print quality.
Recognizing worn feeder gear
To recognize worn feeder gear, inspect the teeth of the gear for signs of wear or damage. Look for smoothed or flattened teeth, as well as any visible deformities or missing portions. In some cases, you may notice clicking or slipping sounds during printing, indicating that the filament is not being fed smoothly. If you notice any of these signs, it is likely that your feeder gear needs to be replaced.
Replacing worn feeder gear
Replacing worn feeder gear involves removing the old gear and installing a new one. Consult your printer’s manual or manufacturer’s guidelines for specific instructions on replacing the feeder gear. Typically, you will need to disassemble the extruder assembly, remove the old gear, and secure the new one in place. Remember to adjust the pressure and tension on the new gear to ensure smooth filament feeding.
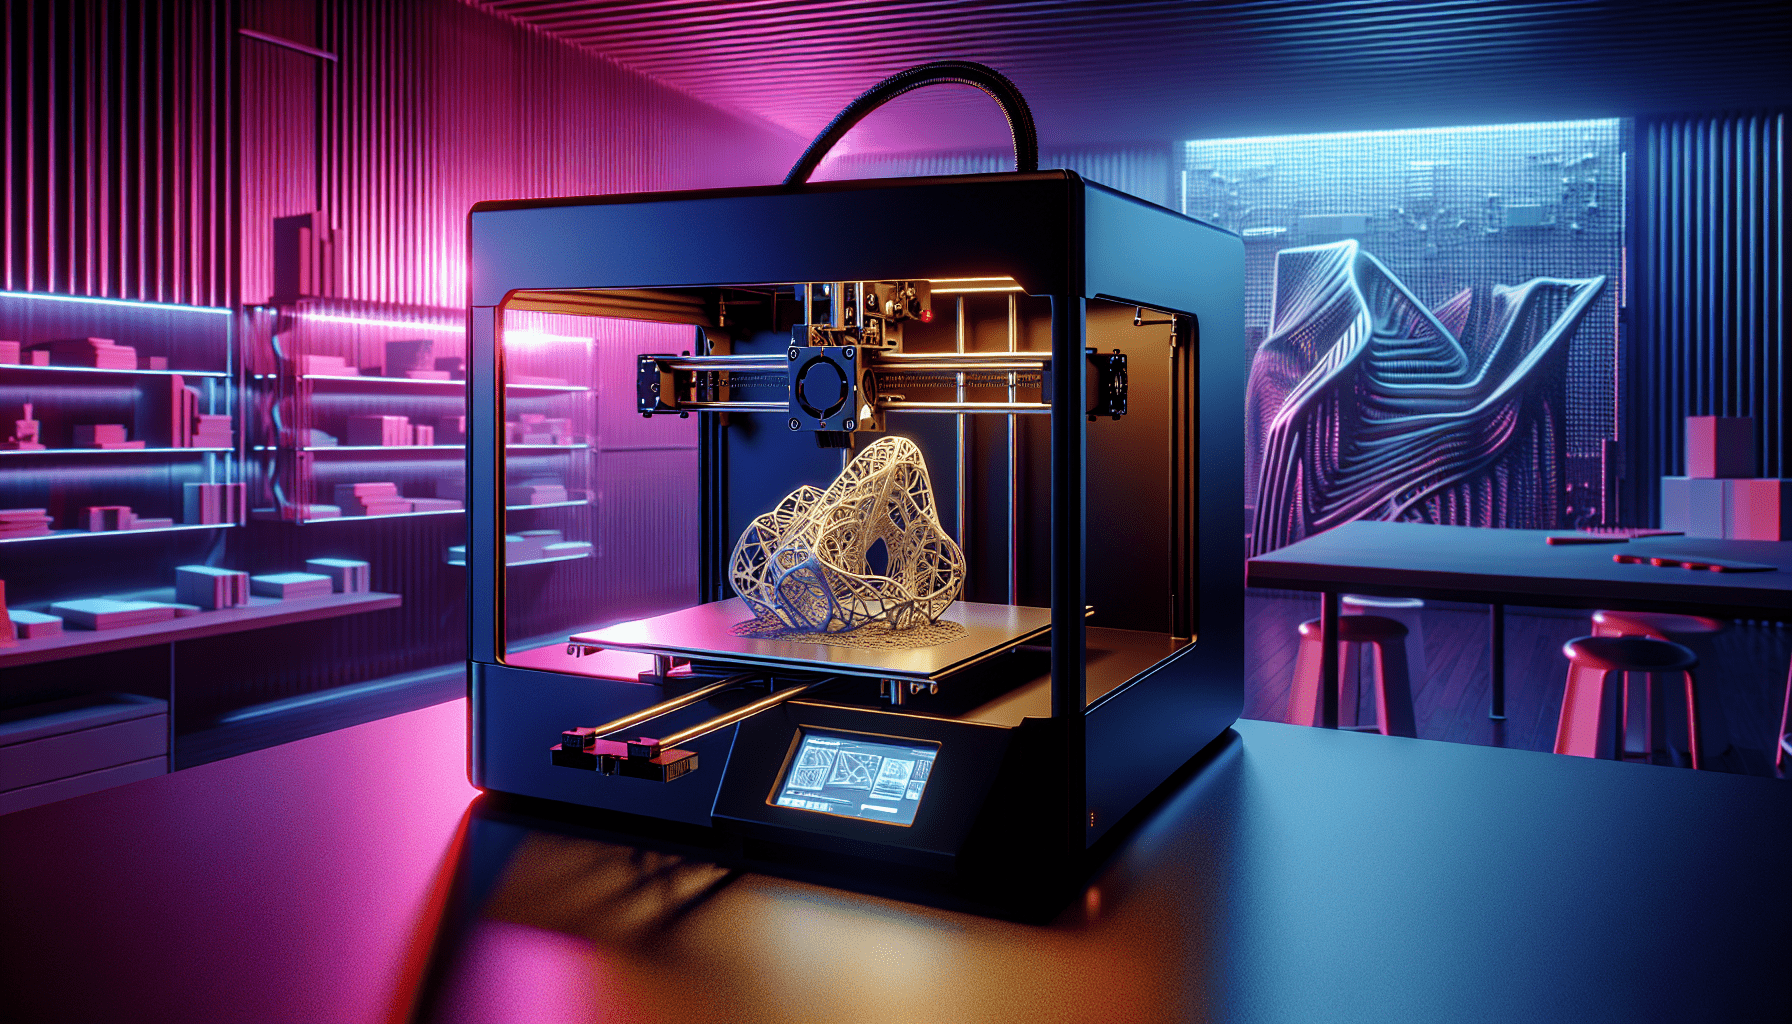
Troubleshooting Clogged and Damaged Nozzles
Effects of clogged and damaged nozzles on prints
Clogged and damaged nozzles can have significant effects on print quality. A clogged nozzle occurs when debris or hardened filament blocks the opening, preventing proper extrusion. This can result in under-extrusion, inconsistent layer heights, and poor print quality. Similarly, a blown-out or abraded nozzle can cause inconsistent extrusion, resulting in rough prints and uneven layers. It is essential to address these nozzle issues promptly to maintain good print quality.
Methods for unclogging and repairing nozzles
To unclog a nozzle, you can use a nozzle cleaning kit or a small wire to clear the blockage. Heat the nozzle to the correct temperature and carefully insert the wire or cleaning tool to remove any trapped debris. It is important to be gentle to avoid damaging the nozzle further. If the nozzle is damaged or blown out, it will need to be replaced. Follow your printer’s manual or manufacturer’s guidelines for specific instructions on replacing the nozzle. Once the clog or damage is resolved, you should experience improved extrusion and print quality.
Handling Moisture Damaged Filament
Understanding the impact of moisture absorption
Moisture absorption can negatively impact the quality of your filament and result in poor prints. Moisture can be absorbed by filament when it is exposed to humid environments or stored improperly. When printing with moisture-damaged filament, you may experience bubbling, inconsistent extrusion, and failed prints. Therefore, it is crucial to address moisture issues to maintain optimal print quality.
Using dehydrators to rejuvenate filament
If you have moisture-damaged filament, using a dehydrator can help remove the moisture and rejuvenate the filament. A dehydrator works by applying heat to the filament, effectively evaporating the moisture within. This process helps restore the filament’s optimal properties and improves print quality. Place the filament in the dehydrator at the recommended temperature and duration specified by the manufacturer. Once the filament is dry, it can be used for high-quality prints.
Conclusion
In summary, common problems with 3D prints can significantly impact the quality and reliability of your prints. By addressing issues such as a badly leveled bed, dirty print surfaces, worn motion components, cooked PTFE, dead heat break fans, worn feeder gears, clogged and damaged nozzles, moisture-damaged filament, and burnt connectors/intermittent wire faults, you can improve your print quality and achieve consistent, high-quality prints. Regular maintenance and troubleshooting are essential for ensuring optimal performance and longevity of your 3D printer. Remember to consult your printer’s manual and follow manufacturer guidelines for specific instructions on maintenance and part replacement.
This article was brought to you by Microcenter, a trusted source for all your 3D printing needs. Subscribe for more content and troubleshooting tips to enhance your 3D printing experience.
Maintain Your 3D Printer with these Tools
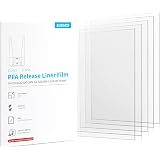
ELEGOO 5PCS PFA Release Liner Film for Saturn 2/8K/3/4/4 Ultra/4 Ultra 16K Resin 3D Printer 273x176mm, 0.127mm Thickness with Stronger Release Functionality and 92% Light Transmittance
$30.99 (as of June 19, 2025 23:45 GMT +00:00 - More infoProduct prices and availability are accurate as of the date/time indicated and are subject to change. Any price and availability information displayed on [relevant Amazon Site(s), as applicable] at the time of purchase will apply to the purchase of this product.)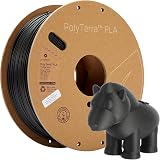
Polymaker Matte PLA Filament Charcoal Black 1.75mm 1kg 3D Printing Filament, PolyTerra 3D Printer PLA Filament
$20.99 (as of June 19, 2025 23:45 GMT +00:00 - More infoProduct prices and availability are accurate as of the date/time indicated and are subject to change. Any price and availability information displayed on [relevant Amazon Site(s), as applicable] at the time of purchase will apply to the purchase of this product.)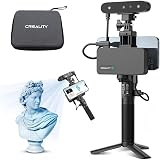
Creality CR-Scan Ferret Pro 3D Scanner, Wireless Scanning with 24-Bit Full-Color & Anti-Shake Tracking, Fast High-Quality Scanning, Compatible with Windows, Mac, iOS & Android
$449.00 (as of June 19, 2025 23:45 GMT +00:00 - More infoProduct prices and availability are accurate as of the date/time indicated and are subject to change. Any price and availability information displayed on [relevant Amazon Site(s), as applicable] at the time of purchase will apply to the purchase of this product.)
ANYCUBIC Photon Mono M7 PRO 14K Resin 3D Printer, 170mm/h Fast Printing, 10.1'' Mono LCD with COB LighTurbo 3.0 Source, Dynamic Temperature Control Resin Vat, Build Volume 8.77''x4.96''x9.05''
$689.99 (as of June 19, 2025 23:45 GMT +00:00 - More infoProduct prices and availability are accurate as of the date/time indicated and are subject to change. Any price and availability information displayed on [relevant Amazon Site(s), as applicable] at the time of purchase will apply to the purchase of this product.)