
FLASHFORGE Adventurer 5M 3D Printer with Fully Auto Leveling System, Max 600mm/s High-Speed, 280℃ Quick-Detach Nozzle, CoreXY Structure for Superior Print Quality, Rookies & Experts Smart Choice
$259.00 (as of June 18, 2025 23:32 GMT +00:00 - More infoProduct prices and availability are accurate as of the date/time indicated and are subject to change. Any price and availability information displayed on [relevant Amazon Site(s), as applicable] at the time of purchase will apply to the purchase of this product.)In Matt Pochwat’s video titled “How Easy is 3D Printing ACTUALLY? (Ender 3 S1 Review),” he shares his experience of learning how to use a 3D printer. Starting with the Creality Ender 3 V2, he found the setup to be easy and was impressed by the availability of free designs that could be downloaded and printed. While he faced challenges when printing with TPU plastic, he discovered that modifying certain parts of the printer could improve the results. Later, he obtained the Creality Ender 3 S1, which offered additional features for printing with different plastics. The setup of the Ender 3 S1 was even easier than the V2, and using software like Cura and Thingiverse, Matt found printing to be straightforward. Making adjustments and learning from tutorials, he achieved satisfactory results and concludes that 3D printing is accessible, depending on budget and requirements.
In this captivating introduction to his video, Matt Pochwat discusses his initial skepticism towards 3D printing but eventually became intrigued by the idea. He purchased the Creality Ender 3 V2 and was pleasantly surprised by how easy it was to set up and use. Although he initially thought that 3D modeling and adjusting printer settings would be time-consuming, he discovered that there are vast libraries of free designs available for download. Matt encountered challenges when printing with TPU plastic but learned that modifying certain parts of the printer could improve the results. Later, he obtained the Creality Ender 3 S1, which proved to be even easier to set up than the V2. With the help of software like Cura and Thingiverse, Matt found that achieving satisfactory printing results was possible with some adjustments and learning. He concludes that 3D printing is accessible, and both the Ender 3 V2 and S1 are suitable options depending on one’s budget and requirements.
Setting up the Creality Ender 3 V2
")
This image is property of i.ytimg.com.
 on this page.")
Unboxing and component identification
When you first receive your Creality Ender 3 V2, you will find that most of the printer is already pre-assembled. This makes the setup process much simpler and less time-consuming. Take a look at the components included in the package and familiarize yourself with each part. This will help you during the assembly process and any future troubleshooting.
Assembling the printer
Assembling the Creality Ender 3 V2 is a straightforward process, thanks to its pre-assembled components. Simply follow the instructions provided in the package, which are relatively clear. However, if you prefer visual guidance, there are many YouTube videos available that can walk you through the assembly step-by-step. With proper guidance, you should be able to set up the printer within 15 minutes.
Calibrating the bed
After setting up the printer, the next step is to calibrate the bed. This is an important step to ensure that your prints adhere properly to the bed and have a uniform layer height. The Creality Ender 3 V2 comes with an auto-leveling function, which makes this process much easier compared to other printers. Simply power on the printer and select the auto-leveling function. This feature saves beginners a lot of time and frustration.
Connecting the printer to a computer
To take full advantage of the Creality Ender 3 V2, you may want to connect it to a computer. This allows you to transfer print files directly to the printer and control its settings. To connect the printer to your computer, you will need a USB cable (usually included with the printer). Once connected, you can use software such as Cura or Creality’s own slicer to prepare print files and generate G-code. Ensure that you have the appropriate drivers installed for a seamless connection.
Discovering Design Libraries
 here.")
Exploring online platforms for 3D printable designs
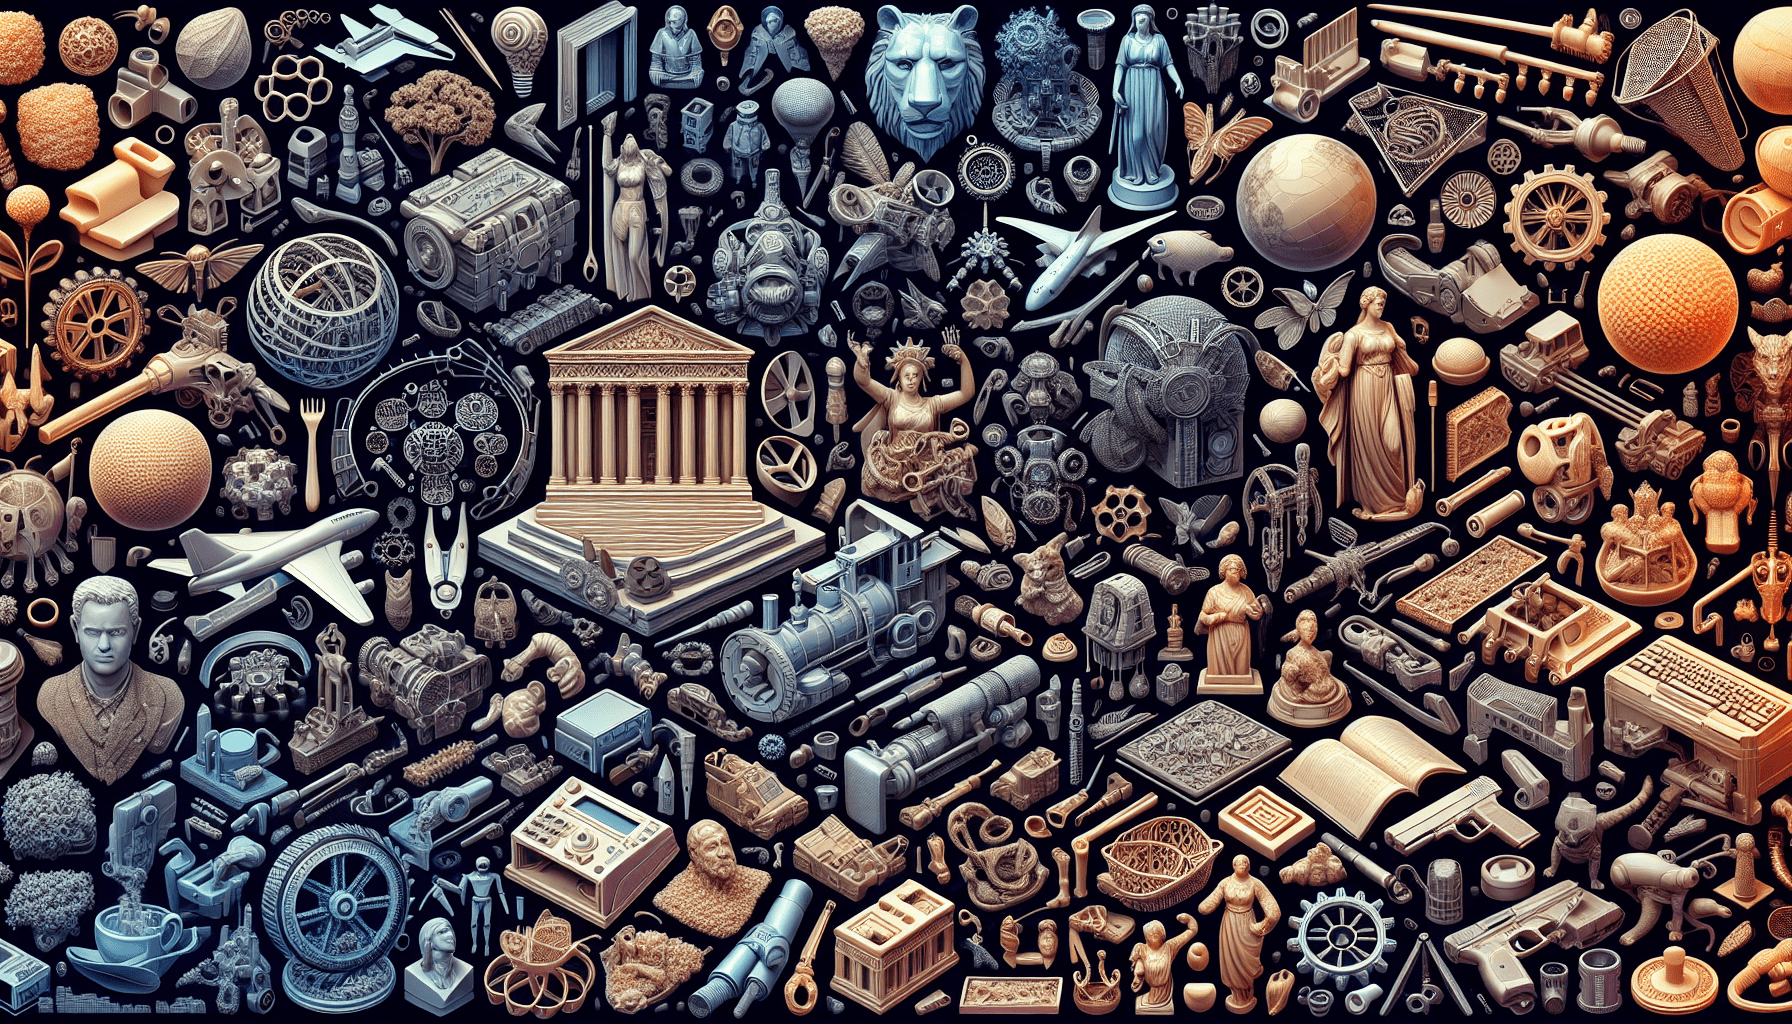
One of the most exciting aspects of 3D printing is the ability to access thousands of 3D printable designs online. There are various platforms dedicated to hosting and sharing these designs, such as Thingiverse, MyMiniFactory, and Cults. Spend some time exploring these platforms to see what designs are available. You’ll be amazed at the range of objects you can create with your Creality Ender 3 V2.
Downloading and importing designs to the printer
Once you find a design you like, simply download the files associated with it. These files are usually in STL format, which is compatible with most slicing software. Once downloaded, you can import the STL file into your slicing software, such as Cura. From there, you can customize the printing settings and generate the G-code necessary for your printer to understand the design. This process is relatively simple and allows for great flexibility in choosing and customizing your prints.
Choosing the right 3D printing settings for a design
When it comes to 3D printing, choosing the right settings is crucial to achieving high-quality prints. The slicing software, such as Cura, allows you to adjust various settings such as layer height, print speed, infill density, and support structures. It’s important to understand how each setting affects the final print quality and choose the appropriate values. Additionally, certain designs may require specific settings to ensure optimal results. Experimentation and learning from online tutorials and communities are essential in mastering the art of choosing the right 3D printing settings.
Challenges with TPU Plastic
Difficulties encountered when printing with TPU plastic
While the Creality Ender 3 V2 is capable of printing a wide range of materials, printing with TPU (a flexible filament) can present some challenges. TPU has unique properties that require specific settings and modifications to achieve good print quality. Some of the common issues encountered when printing with TPU include poor layer adhesion, stringing, and difficulty in filament feeding.
")
This image is property of images.pexels.com.
Identifying the causes of poor print quality
When experiencing poor print quality with TPU, it is important to investigate the root causes. This can include issues such as improper filament tension, inadequate cooling, incorrect print speeds, or nozzle clogging. By identifying the specific factors contributing to poor print quality, you can then take appropriate steps to address them.
Modifying printer components to improve TPU printing results
To improve TPU printing results, it is often necessary to make modifications to the printer itself. This can include upgrading the extruder to a direct drive system, adjusting the nozzle temperature, using a flexible build plate, or modifying the filament path for smoother filament feeding. These modifications, combined with fine-tuning of slicing settings, can significantly improve the print quality and success rate when printing with TPU.
Introducing the Creality Ender 3 S1
Comparison with Ender 3 V2: additional features
The Creality Ender 3 S1 is an upgraded version of the Ender 3 V2, offering additional features that cater to different printing needs. One of the notable upgrades is the direct dual-gear extruder, which enhances the printer’s capability to work with softer plastics such as TPU. This extruder design allows for shorter filament travel distance and faster retraction speeds, leading to better print quality.
Pre-assembled components for easy setup
Similar to the Ender 3 V2, the Ender 3 S1 comes with pre-assembled components, making the setup process even easier. Most of the printer is already put together, requiring minimal assembly steps. This is beneficial for beginners who want a hassle-free setup experience.
")
This image is property of images.pexels.com.
Overview of automatic bed leveling
One of the standout features of the Ender 3 S1 is the CR Touch automatic bed leveling. This feature eliminates the need for manual bed leveling, which can be challenging for beginners. The printer uses a built-in sensor to detect the levelness of the bed and makes adjustments automatically. This ensures that the first layer adheres properly and reduces the likelihood of failed prints.
Benefits of dual z-axis motors
The Ender 3 S1 comes equipped with dual z-axis motors and screws, allowing for more precise vertical movement during the printing process. This feature helps to improve the overall print quality, especially when printing taller objects. With synchronized movement provided by dual z-axis motors, you can expect smoother and more accurate prints.
The convenience of a removable magnetic bed
Another convenient feature of the Ender 3 S1 is the removable magnetic bed. This magnetic bed offers better adhesion compared to a glass bed and makes it easier to remove prints once they are finished. The magnetic bed’s flexibility allows for simple removal of printed objects by bending the sheet, reducing the risk of damaging your prints.
Printing with the Ender 3 S1
Software options for preparing print files
To prepare your 3D models for printing with the Ender 3 S1, you have multiple software options. Creality provides its own slicer software, which is user-friendly and tailored to their printers. Alternatively, you can use popular slicing software like Cura, which offers more advanced settings and customization options. Whichever software you choose, ensure it is compatible with the Ender 3 S1 and supports the file formats required for printing.
")
This image is property of images.pexels.com.
Using Cura for slicing and generating G-code
Cura is a versatile and widely used slicer software that supports various 3D printers, including the Ender 3 S1. Once you have imported your 3D model into Cura, you can adjust settings such as layer height, print speed, infill density, and support structures. These settings will dictate the quality and characteristics of your prints. Once you are satisfied with the settings, Cura will generate the G-code file needed for the printer to understand the instructions. It is recommended to experiment with different settings and consult online resources for optimal results.
Exploring designs on Thingiverse
Thingiverse is a popular online platform that hosts a vast collection of user-created 3D printable designs. You can browse through different categories and find designs ranging from practical objects to artistic creations. When searching for designs, consider the compatibility with the Ender 3 S1 and the materials you wish to print with. Thingiverse also allows you to interact with the community, contribute your own designs, and learn from the experiences of other users.
Tips for choosing suitable print settings
When printing with the Ender 3 S1, it is essential to choose suitable print settings to achieve the desired results. Experimenting with different settings is part of the learning process and will help you find the right balance between print quality and speed. Factors to consider when selecting print settings include layer height, print speed, infill density, support structure placement, and cooling settings. Start with recommended values and make adjustments based on the specific requirements of your design.
Adjustments and Learning from Tutorials
Learning from online tutorials and communities
As a beginner in 3D printing, it is beneficial to tap into the wealth of knowledge available online. There are numerous tutorials, forums, and communities dedicated to 3D printing, where you can learn from experienced enthusiasts and troubleshoot common issues. These resources can provide guidance on topics such as printer setup, slicer software settings, design modification, and troubleshooting. Engaging with the 3D printing community allows you to share experiences, ask questions, and gain insights that can enhance your printing journey.
Troubleshooting common printing issues
During your 3D printing journey, you may encounter common issues that affect print quality, such as stringing, layer shifting, adhesion problems, or under/over extrusion. Understanding the causes of these issues and how to address them is crucial for obtaining satisfactory results. Online tutorials and troubleshooting guides can help you identify the source of the problem and provide step-by-step solutions. By familiarizing yourself with common printing issues and their remedies, you can overcome challenges and improve your overall printing experience.
Making adjustments to improve print quality
Achieving high-quality prints often involves making adjustments to various printer settings and components. This can include fine-tuning the bed leveling, nozzle temperature, retraction settings, print speeds, and fan cooling. Additionally, you may need to calibrate or upgrade certain parts of the printer to achieve better accuracy, such as the extruder, hot end, or belts. These adjustments require patience and experimentation, but they can significantly enhance the print quality and assist you in achieving your desired results.
Experimenting with different filaments
One of the advantages of 3D printing is the ability to use a variety of filaments with different properties. While PLA is a common and beginner-friendly filament, there are numerous options available, such as ABS, PETG, TPU, and more. Each filament type has its own characteristics and printing requirements. By experimenting with different filaments, you can expand your printing capabilities and explore the unique features of each material. Be sure to research and understand the specific settings and considerations for each filament to achieve optimal results.
Conclusion
Accessibility of 3D printing with Ender 3 V2 and S1
The Creality Ender 3 V2 and S1 make 3D printing accessible to beginners and casual hobbyists. The ease of setup, availability of pre-assembled components, and user-friendly features like automated bed leveling simplify the process and reduce the learning curve. With affordable options like the Ender 3 V2 and S1, anyone can embark on their 3D printing journey with confidence.
Importance of initial learning and experimentation
While 3D printing can be relatively easy to get started with, it is crucial to invest time in learning the fundamentals and understanding the intricacies of the technology. By exploring online resources, engaging in tutorials, and experimenting with different settings and filaments, you can become more proficient in achieving high-quality prints. Additionally, troubleshooting and making adjustments based on your specific requirements will contribute to your growth as a 3D printing enthusiast.
Budget and requirements considerations for choosing between Ender 3 V2 and S1
Choosing between the Creality Ender 3 V2 and S1 mainly depends on your budget and specific printing requirements. The Ender 3 V2 offers a reliable and cost-effective entry point into 3D printing, with sufficient features for most beginners. On the other hand, the Ender 3 S1 provides additional functionalities, such as the dual-gear extruder, automatic bed leveling, dual z-axis motors, and a removable magnetic bed. Consider your individual needs, the materials you plan to print with, and the additional features that align with your printing goals when deciding between the two models.
In the context of “How Easy is 3D Printing ACTUALLY? (Ender 3 S1 Review)”, here’s what you need to know. This month, you can learn how to use a 3D printer like the Creality Ender 3 S1. If you’re interested in purchasing it, you can find it on Amazon (https://amzn.to/3rGJpVG) or Banggood (http://tiny.cc/73vquz). If you prefer the Creality Ender 3 V2, you can find it on Amazon (https://amzn.to/3vyabRd) or Banggood (http://tiny.cc/63vquz). Just so you know, these are affiliate links, which means they won’t cost you anything extra but I’ll receive a small commission if you use them. If you want to support my work and enjoy exclusive benefits, you can check out my Patreon page (/mattpochwat). For any business inquiries, feel free to contact me at mattpochwat@gmail.com. You can also find me on Instagram (/matt_pochwat).
.")

OVERTURE PLA Plus (PLA+) Filament 1.75mm, Stronger & More Durable, Professional Toughness 3D Printer Filament 1kg (2.2lbs), High Precision +/- 0.02mm, Tangle-Free (Black)
$20.99 (as of June 18, 2025 23:32 GMT +00:00 - More infoProduct prices and availability are accurate as of the date/time indicated and are subject to change. Any price and availability information displayed on [relevant Amazon Site(s), as applicable] at the time of purchase will apply to the purchase of this product.)
eSUN PLA+ Filament 1.75mm, 3D Printer Filament PLA Plus, Dimensional Accuracy +/- 0.03mm, 1KG Spool (2.2 LBS) 3D Printing Filament for 3D Printers, Bone White
$22.99 (as of June 18, 2025 23:32 GMT +00:00 - More infoProduct prices and availability are accurate as of the date/time indicated and are subject to change. Any price and availability information displayed on [relevant Amazon Site(s), as applicable] at the time of purchase will apply to the purchase of this product.)
Revopoint MIRACO Plus 3D Scanner for 3D Printing Handheld, 3D Printer Scanner with Photogrammetry, Up to 0.02mm Precision, Full-Color Scan for Small to Large Objects, 32GB RAM
$1,529.99 (as of June 18, 2025 23:32 GMT +00:00 - More infoProduct prices and availability are accurate as of the date/time indicated and are subject to change. Any price and availability information displayed on [relevant Amazon Site(s), as applicable] at the time of purchase will apply to the purchase of this product.)
ELEGOO Mercury Plus V3.0 Wash and Cure Station, 7.5 L Large Capacity, Compatible with Mars Saturn Photon Halot MSLA LCD DLP 3D Printers
$159.99 (as of June 18, 2025 23:32 GMT +00:00 - More infoProduct prices and availability are accurate as of the date/time indicated and are subject to change. Any price and availability information displayed on [relevant Amazon Site(s), as applicable] at the time of purchase will apply to the purchase of this product.)