ELEGOO Neptune 3 Pro FDM 3D Printer with Auto Bed Leveling, Dual-Gear Direct Extruder, Dual Lead Screw Drive, Removable Capacitive Screen, 8.85x8.85x11in Large Printing Size
$209.99 (as of June 13, 2025 22:30 GMT +00:00 - More infoProduct prices and availability are accurate as of the date/time indicated and are subject to change. Any price and availability information displayed on [relevant Amazon Site(s), as applicable] at the time of purchase will apply to the purchase of this product.)How to 3D Print – Basic Software and Programs Made Easy! – Part 3 is a video series that aims to guide beginners through the process of 3D printing. This particular video focuses on the basics of software and programs needed for 3D printing. It covers topics such as downloading files, creating Gcode, and adjusting settings. The video mentions several programs like Ultimaker Cura and Autodesk Meshmixer, as well as websites where 3D models can be downloaded. It also highlights a community Discord for 3D printing enthusiasts, a Patreon for supporting the content creator, and links to other social media platforms.
In this friendly and accessible introduction, Frank from Frankly Built welcomes viewers to his channel and expresses his excitement about helping them discover the world of 3D printing. He assures viewers that his goal is to make the process as easy and accessible as possible, encouraging feedback and questions. He outlines the content of the video, which covers the basics of software and programs, including downloading files, making Gcode, and adjusting settings. Frank also hints at a future video on achieving the perfect first layer and provides links to previous videos in the series for further reference.
Introduction to 3D Printing Software

Understanding the Importance of Software in 3D Printing
When it comes to 3D printing, software plays a crucial role in the entire process. From creating 3D models to generating printing instructions, software is essential for turning your ideas into physical objects. Without the right software, you won’t be able to optimize your prints, adjust settings, or customize your designs. Therefore, understanding the different types of software and their functions is key to a successful 3D printing journey.
Recommended 3D Printing Software
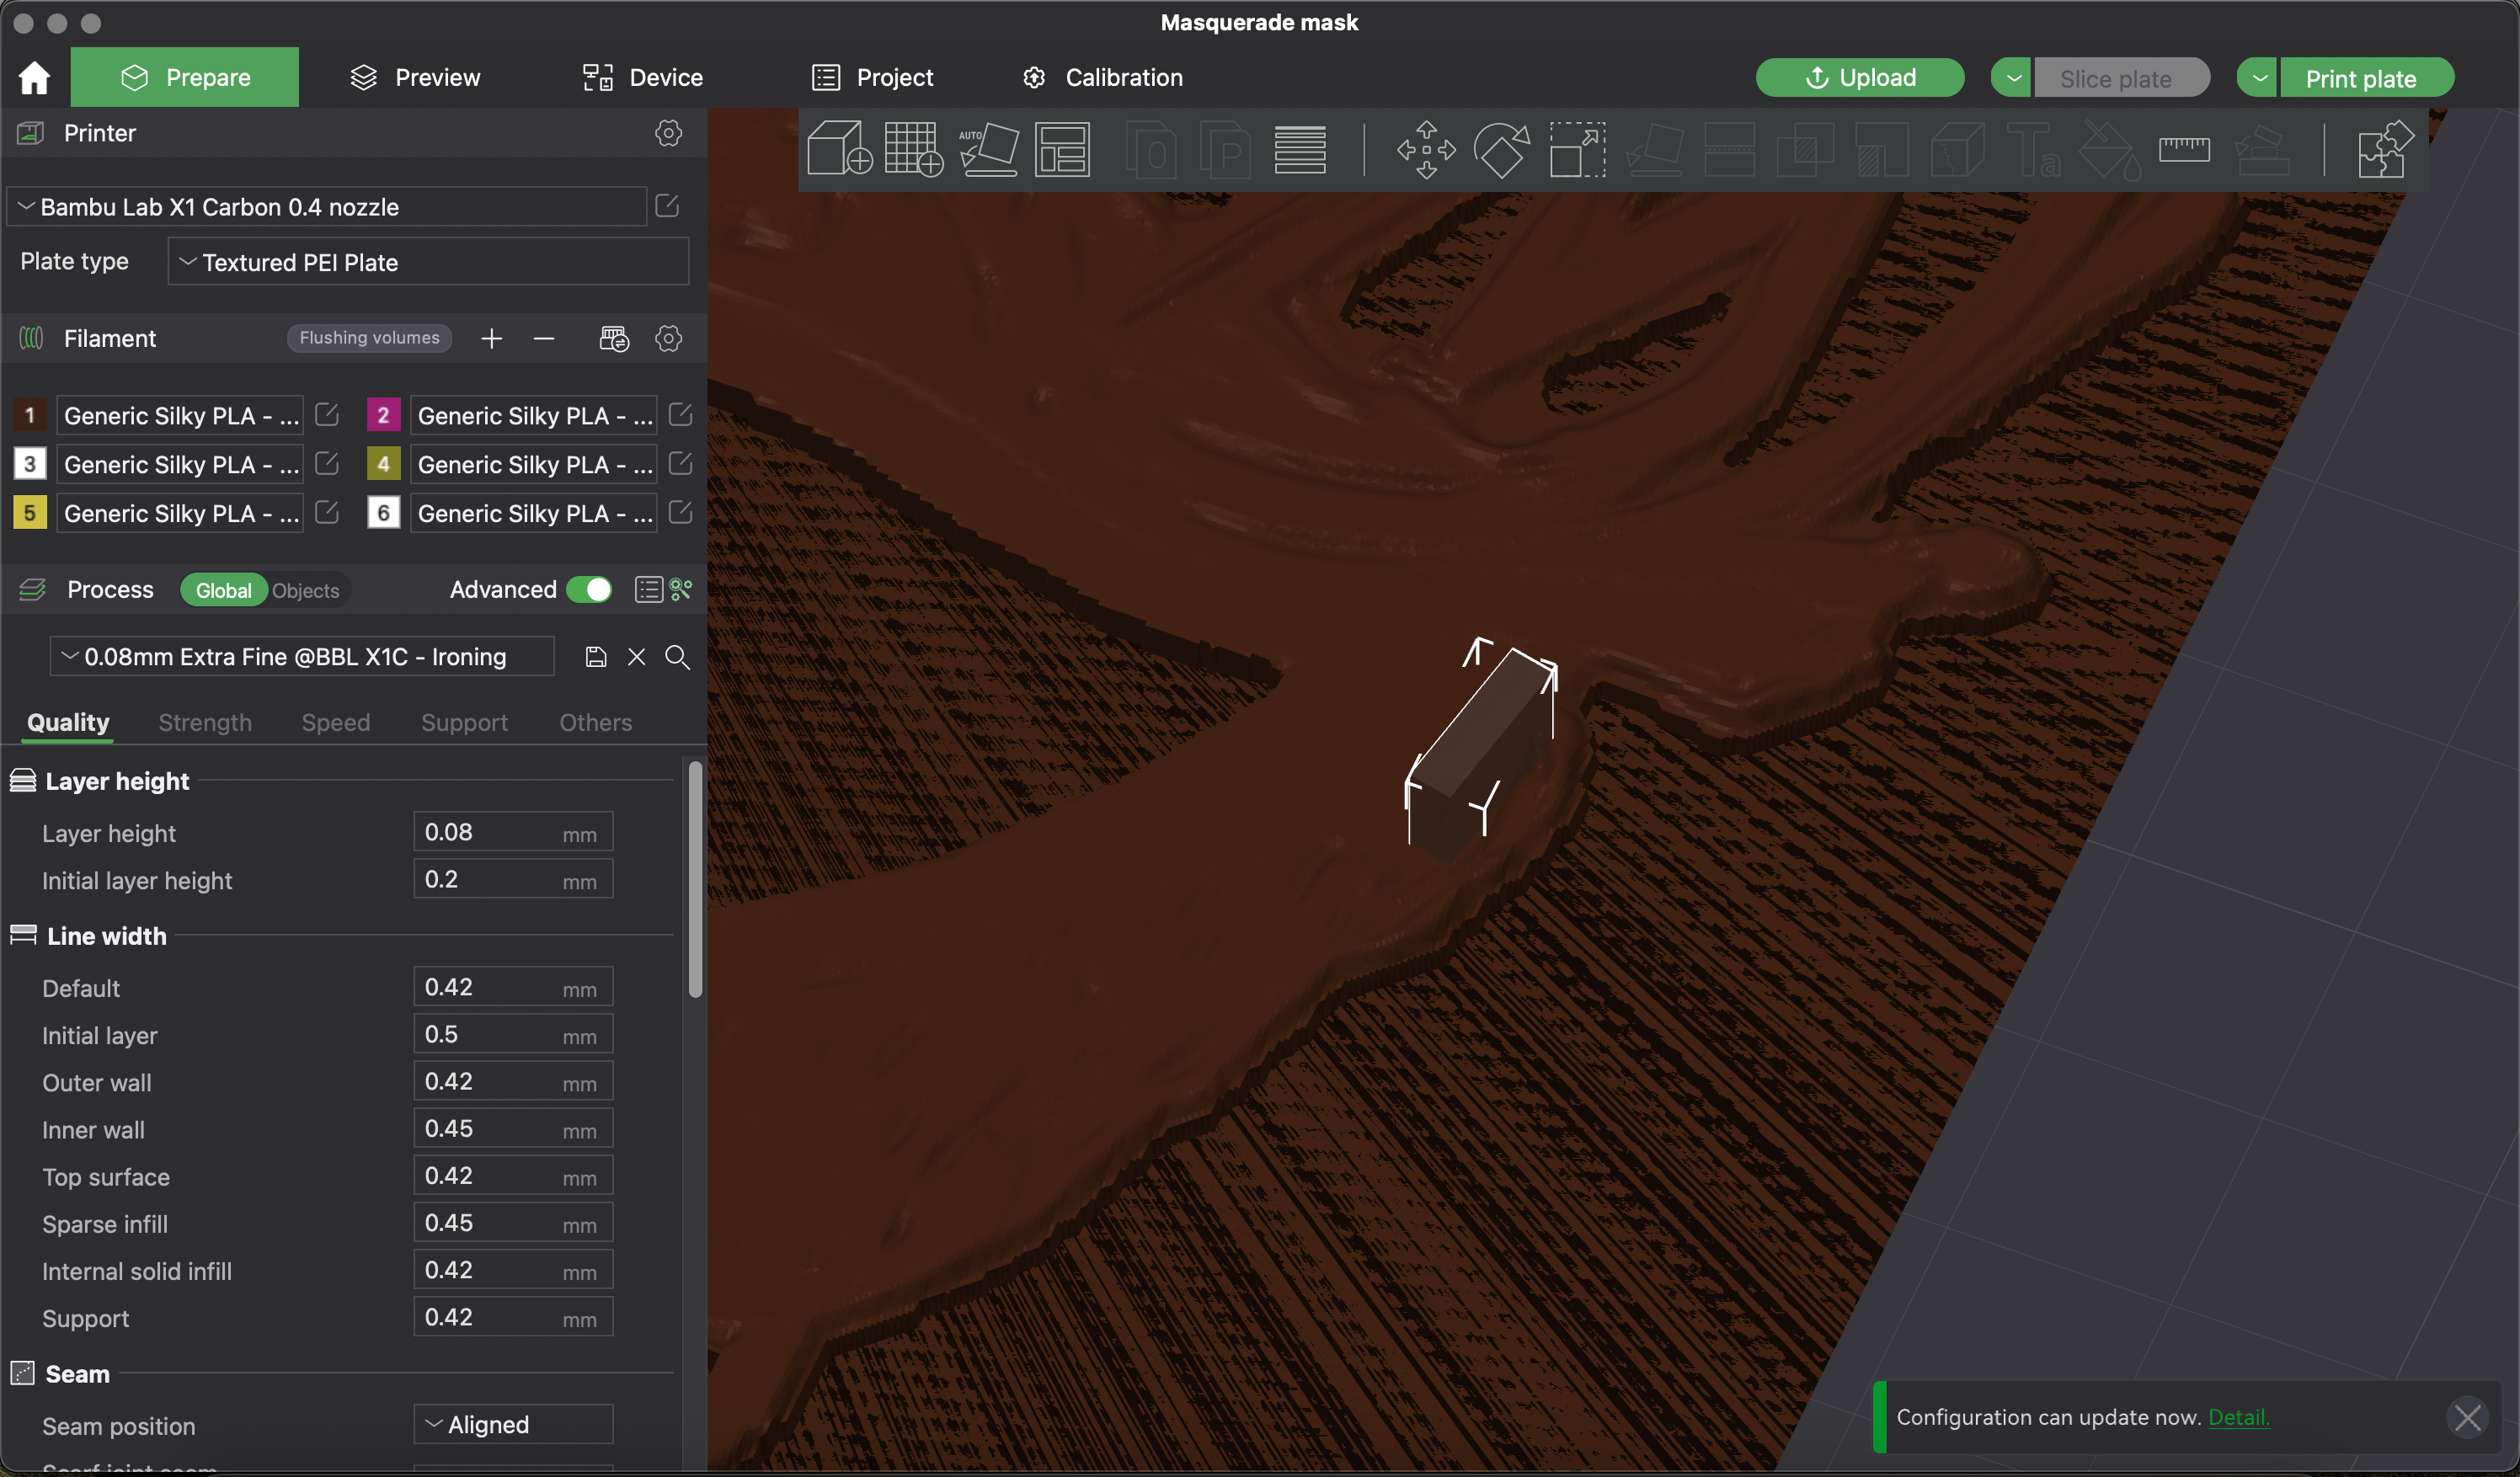
One highly recommended software for 3D printing is Ultimaker Cura. This free software allows you to prepare your models for printing by converting them into G-code, which is the language that 3D printers understand. Ultimaker Cura has a user-friendly interface and supports a wide range of 3D printers. In the following sections, we will guide you through downloading and installing Ultimaker Cura, as well as adding a non-network printer to the software.

This image is property of i.ytimg.com.

Downloading and Installing Ultimaker Cura
To begin using Ultimaker Cura, you first need to download and install the software. Luckily, Ultimaker Cura is available for various operating systems, including Windows, Mac, and Linux. Simply visit the Ultimaker website and locate the download page for Ultimaker Cura. Choose the version that is compatible with your operating system, and follow the instructions to install it on your computer. Once the installation is complete, you are ready to delve into the world of 3D printing with Ultimaker Cura.
Adding a Non-Network Printer to Ultimaker Cura
If you own a non-network printer, such as a Creality printer, you can still use Ultimaker Cura to prepare your prints. The process of adding a non-network printer to Ultimaker Cura is straightforward. After opening the software, you will see a prompt asking you to add your first printer. Since you are using a non-network printer, select the option for a non-network printer. From there, you can choose the specific make and model of your printer, such as Creality Ender 3. Ultimaker Cura will automatically add the necessary dimensions for your printer, simplifying the setup process.

This image is property of images.unsplash.com.
Finding 3D Printable Models
Introduction to 3D Model Downloads
Once you have your software set up, the next step is to find 3D models that you can print. Fortunately, there are numerous websites dedicated to 3D models that cater to both free and paid options. These websites allow you to search for specific models or browse through a wide range of categories. Whether you are looking for functional objects or artistic designs, you are bound to find something that suits your interests.
Free Websites for 3D Models
Some popular websites for finding free 3D models include Thingiverse, Thangs, MyMiniFactory, and Cults3D. These platforms enable you to download ready-to-print 3D models without any cost. You can explore a vast collection of designs created by the 3D printing community or even upload your own creations to share with others. Make sure to read the descriptions and check the license of each model before downloading to ensure it suits your needs.
Paid Websites for 3D Models
If you are looking for high-quality or more diverse options, you may consider exploring paid websites for 3D models. Websites like DO3D.com and CGTrader offer a wide selection of premium models that have been curated by professionals. While these models come at a cost, they often provide intricate details and unique designs that can elevate your 3D printing projects to the next level.
Exploring Additional Software Programs
Autodesk Meshmixer
In addition to Ultimaker Cura, there are other software programs that can enhance your 3D printing experience. One such program is Autodesk Meshmixer. Meshmixer allows you to edit and manipulate 3D models, making it easier to customize them to your liking. With features like sculpting, hollowing, and adding support structures, Meshmixer gives you greater control over the design process. It is a versatile program that can be used for a wide range of purposes, including fixing 3D models, creating new designs, and optimizing prints.
Slicer
Another essential software program for 3D printing is a slicer. A slicer takes your 3D model and generates the necessary instructions for the printer to create the object layer by layer. While Ultimaker Cura includes slicing capabilities, there are other slicer programs available as well. Each slicer has its own features and settings, allowing you to tailor the printing process to your specific needs. Some popular slicers include PrusaSlicer, Simplify3D, and Slic3r.
Other Recommended Programs
Apart from Autodesk Meshmixer and slicer programs, there are numerous other software programs that can enhance your 3D printing workflow. These programs offer advanced features for designing, modifying, and optimizing 3D models. Some notable mentions include Blender, Fusion 360, Tinkercad, and OpenSCAD. The choice of software ultimately depends on your skill level, preferences, and the complexity of your projects.

This image is property of images.unsplash.com.
Adjusting Settings in Ultimaker Cura
Understanding the Importance of Settings
Now that you have your 3D models and software ready, it’s time to dive into the world of settings. Settings are crucial for achieving optimal print results and can significantly impact the quality, strength, and appearance of your prints. In Ultimaker Cura, you have access to a wide range of settings that allow you to fine-tune your prints according to your preferences and requirements. By understanding and customizing these settings, you can ensure that your prints turn out exactly as intended.
Basic Settings Overview
Before delving into specific settings, it’s important to familiarize yourself with the basic settings available in Ultimaker Cura. These settings include layer height, print speed, wall thickness, and infill density. Layer height determines the thickness of each printed layer, while print speed affects the overall printing speed. Wall thickness determines the sturdiness of the outer walls of your print, and infill density controls the amount of material inside the print.
Print Quality
One of the key aspects of printing is achieving the desired print quality. Ultimaker Cura offers various settings that enable you to adjust the level of detail and precision in your prints. Understanding the impact of settings such as layer height, line width, and print speed can help you achieve the level of quality you desire. Experimenting with different settings and observing the results is crucial for honing your print quality.
Infill
Infill refers to the pattern and density of the material inside your print. It plays a crucial role in determining the strength, weight, and cost of your prints. Ultimaker Cura provides several infill patterns, such as grid, triangle, and honeycomb, allowing you to choose the pattern that suits your needs. The infill density setting controls the percentage of material used for infill, with higher densities resulting in stronger prints.
Supports
Support structures are often necessary when printing models with overhangs or complex geometries. Ultimaker Cura offers support settings that allow you to customize the placement, density, and pattern of supports. Enabling supports can prevent drooping or sagging during printing, ensuring that your models retain their intended shape. By understanding how to utilize supports effectively, you can print more intricate and challenging designs.
Adhesion
Adhesion refers to how well your print adheres to the build plate during the printing process. Poor adhesion can lead to prints detaching or warping, resulting in failed or distorted objects. Ultimaker Cura provides settings to improve adhesion, such as brims, skirts, and rafts. Brims create a single-layer perimeter around the base of your print, skirts create a thin outline around the print, and rafts create a separate base layer that acts as a foundation.
Reviewing Preview Models
Before sending your model to print, it’s essential to review the preview models generated by Ultimaker Cura. The preview allows you to visualize the layers, supports, and adhesion elements of your print. By examining the preview, you can identify any potential issues, such as missing supports or weak adhesion. This step is crucial for ensuring that your prints are correctly prepared before they begin printing.
Customizing Advanced Settings
Ultimaker Cura also provides advanced settings that allow for more customization and optimization. These settings include print acceleration, retraction distance, and filament diameter, among others. Advanced settings are typically used by experienced users who have specific requirements or want to fine-tune their prints further. Experimentation and knowledge of these settings can lead to improved print quality and efficiency.
Advanced Features and Techniques
Exploring Cura’s Advanced Features
In addition to the basic and advanced settings, Ultimaker Cura offers several advanced features that can enhance your 3D printing experience. These features include travel and retraction settings, support density and overhang angle adjustments, cooling options, and build plate adhesion settings. Each of these features influences different aspects of the printing process, allowing you to optimize the final result based on your preferences.
Travel and Retraction
Travel and retraction settings help minimize issues such as stringing and oozing during the printing process. Travel settings control the path that the print head takes when moving between different areas of the print. Retraction settings, on the other hand, control the amount of filament that is pulled back when the print head moves to a different location. Adjusting these settings can reduce the chances of unwanted filament movement, resulting in cleaner prints.
Support Density and Overhang Angle
To ensure that your prints with overhangs or complex geometries are successful, adjusting the support density and overhang angle settings is crucial. Support density allows you to control the amount of support material used, saving time and material. The overhang angle setting determines at which angle supports will be generated. Fine-tuning these settings can prevent excessive supports, resulting in cleaner prints with minimal post-processing.
Cooling
Controlling the cooling settings in Ultimaker Cura is vital for achieving optimal print quality. During the printing process, cooling helps solidify each layer before the next one is printed. By adjusting the cooling fan speed and layer fan speed, you can prevent overheating and improve the overall quality of your prints. Proper cooling can minimize warping, improve surface finish, and enhance your prints’ overall accuracy.
Build Plate Adhesion
Build plate adhesion settings influence how well your prints stick to the build plate. Ensuring proper adhesion is crucial for preventing warping and unsuccessful prints. Ultimaker Cura provides different adhesion options, including brims, skirts, and rafts. Experimenting with these settings can help you find the best solution for your specific print and ensure successful adhesion.
Using Support Blockers and Custom Supports
For more complex prints, Ultimaker Cura offers the ability to use support blockers and custom supports. Support blockers allow you to specify areas of your model where you do not want supports to be generated. This can be useful for preserving fine details or specific parts of your print. Custom supports, on the other hand, enable you to manually add support structures to areas that require additional support. These features provide greater control over the support generation process, resulting in cleaner and more precise prints.
Using an SD Card for File Transfer
While Ultimaker Cura can directly send print files to your printer, using an SD card for file transfer is an alternative method. By saving your G-code files to an SD card, you can disconnect your computer from the printer and initiate prints independently. This method can be particularly useful when working with printers that do not have built-in network capabilities. Simply insert the SD card into the printer, select the desired file, and start the printing process.

This image is property of images.unsplash.com.
Experimentation and Learning from Failures
Embracing the Process of Learning
3D printing is an ever-evolving process, and it’s important to embrace the learning journey. Don’t be discouraged by failures or imperfect prints, as they are opportunities for growth and improvement. Each failed print provides valuable feedback that can help you troubleshoot and refine your techniques. Embrace the process, ask questions, and seek guidance when needed. With patience and persistence, you will continuously improve and achieve better results.
Benefits of Experimentation
Experimentation is a fundamental aspect of 3D printing. By trying different settings, materials, and techniques, you can expand your knowledge and discover what works best for your specific projects. Through experimentation, you can push the boundaries of what is possible, create unique designs, and optimize your prints for different applications. Don’t be afraid to step outside of your comfort zone and explore new possibilities.
Troubleshooting Common Issues
As with any technical process, troubleshooting is an inevitable part of 3D printing. Understanding common issues and how to resolve them is crucial for maintaining a smooth printing experience. Some common issues you may encounter include adhesion problems, print quality issues, filament jams, and incorrect settings. By familiarizing yourself with troubleshooting techniques and consulting online resources, you can overcome these challenges and minimize their impact on your prints.
Resources and Tutorials for Further Learning
To further enhance your 3D printing skills and knowledge, there are numerous resources and tutorials available online. Websites like YouTube, blogs, forums, and social media platforms are excellent sources of information and inspiration. Engaging with the 3D printing community can provide valuable insights, tips, and tricks that can help you overcome challenges and learn new techniques. Additionally, there are online courses and workshops specifically tailored to 3D printing that can provide comprehensive instruction and guidance.
Conclusion
Recap of Key Concepts and Topics Covered
In this article, we explored the importance of software in 3D printing and recommended Ultimaker Cura as a versatile and user-friendly software program. We discussed how to download and install Ultimaker Cura, as well as how to add a non-network printer to the software. We also explored various websites for finding 3D printable models, both free and paid options. Additionally, we introduced other software programs such as Autodesk Meshmixer and slicers that can enhance the 3D printing workflow.
Encouragement to Explore and Dive Deeper into 3D Printing
As you continue your 3D printing journey, we encourage you to explore and experiment with different software programs, settings, and techniques. Don’t be afraid to push the boundaries of what is possible and embrace the learning process. By delving deeper into the world of 3D printing, you can unlock endless possibilities and create impressive prints.
Final Thoughts and Next Steps
3D printing is a fascinating and ever-growing field, with new technologies and advancements emerging constantly. By mastering the software and programs discussed in this article, you are well on your way to becoming a proficient 3D printer user. Remember to explore additional resources, seek guidance from the community, and never stop learning. With dedication and passion, you can achieve remarkable results and bring your 3D printing projects to life. Happy printing!
Welcome! I’m thrilled to have you join me on this exciting journey into 3D printing! In this video series, we will explore everything you need to know to get started.
Throughout these videos, we will cover the basics, provide general overviews of the hardware and software, and address common troubleshooting issues. My aim is to make this process as straightforward and accessible as possible. So, please feel free to share your feedback and ask any questions in the comments!
In this third video, we will focus on the fundamentals of software and programs. How do you download files? How do you generate Gcode? And how do you adjust the settings?
As always, don’t hesitate to leave your comments and questions. I’ll do my best to answer all of them!
Here is the complete series so far:
-
Part 1: The Basics!
-
Part 2: Hardware and Mechanics:
-
Part 3: Software and Programs
-
Part 4: The Perfect 1st Layer:
Let’s take a look at the programs and websites we’ll be using:
Programs:
Websites:
- Thingiverse.com
- Thangs.com
- Cults3d.com
- MyMiniFactory.com
- Do3D.com
- NikkoIndustries.com
- CGtrader.com
- Etsy.com
~~~Things of Interest!~~~
The Discord!
Join our FREE Community Discord Chat about all things 3D printing, cosplay, nerd culture, and more! It’s open to everyone and a great place to learn and grow! /discord
The Patreon~
Support the channel and my content. Help me create more interactive experiences, share behind-the-scenes content, and offer special contests and prizes! Check out my Patreon and become a supporter! /franklybuilt
Check out some awesome Nerdy Merch!
Get your hands on cool nerdy merchandise at TeeSpring.com/FranklyBuilt.
Check out my other Social Media!
Instagram (Quickest way to talk): /b9bccrvhdqs
TikTok (It’s actually kinda funny) TikTok link
Twitter (I share all things Nerd): /frankly_built
Facebook (Tons of photos and Albums) : /franklybuilt
Reddit (Just have to see for yourself!): /njtricker609
STL Files and 3D Models
Looking for awesome 3D models and files? How about a discount code for 20% off everything? Visit the DO3D Forum: DO3D Forum link Use code “FBT20” at checkout!
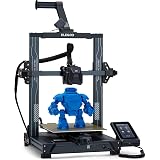
My recommended 3D Printers
Check out Creality Official Website for their range of 3D printers: Creality Official Website

Creality 3D Printer Filament, PLA Filament 1.75mm Bundle 2Kg for 3D Printing, Ender PLA Filament No-Tangling, Strong Bonding & Overhang Performance, Accuracy +/- 0.02mm (Black & Black 2-Pack)
$25.49 (as of June 13, 2025 22:30 GMT +00:00 - More infoProduct prices and availability are accurate as of the date/time indicated and are subject to change. Any price and availability information displayed on [relevant Amazon Site(s), as applicable] at the time of purchase will apply to the purchase of this product.)
Geeetech Silk PLA Filament 1.75mm for 3D Printer , Metal-Like Shiny Consumable 1kg (2.2lbs) 1 Spool, Dimensional Accuracy +/- 0.03 mm, Silk Gold
$17.93 (as of June 14, 2025 22:39 GMT +00:00 - More infoProduct prices and availability are accurate as of the date/time indicated and are subject to change. Any price and availability information displayed on [relevant Amazon Site(s), as applicable] at the time of purchase will apply to the purchase of this product.)
ELEGOO Neptune 3 Pro FDM 3D Printer with Auto Bed Leveling, Dual-Gear Direct Extruder, Dual Lead Screw Drive, Removable Capacitive Screen, 8.85x8.85x11in Large Printing Size
$209.99 (as of June 13, 2025 22:30 GMT +00:00 - More infoProduct prices and availability are accurate as of the date/time indicated and are subject to change. Any price and availability information displayed on [relevant Amazon Site(s), as applicable] at the time of purchase will apply to the purchase of this product.)
Anycubic Kobra S1 Combo 3D Printer, 4 Stunning Multicolor with Anycubic ACE PRO, 600mm/s High Speed and 320℃ Hotend Free-Clog Extruder, Intelligent Drying While Printing, Built-in Camera 250*250*250mm
$599.99 (as of June 13, 2025 22:30 GMT +00:00 - More infoProduct prices and availability are accurate as of the date/time indicated and are subject to change. Any price and availability information displayed on [relevant Amazon Site(s), as applicable] at the time of purchase will apply to the purchase of this product.)