Creality 3D Printer, K1 SE Fully Assembled Auto Leveling FDM 3D Printers for Kids and Beginners, 600mm/s Max High-Speed Printing, Core XY All Metal Structure, Larger Print Size 250x220x220mm
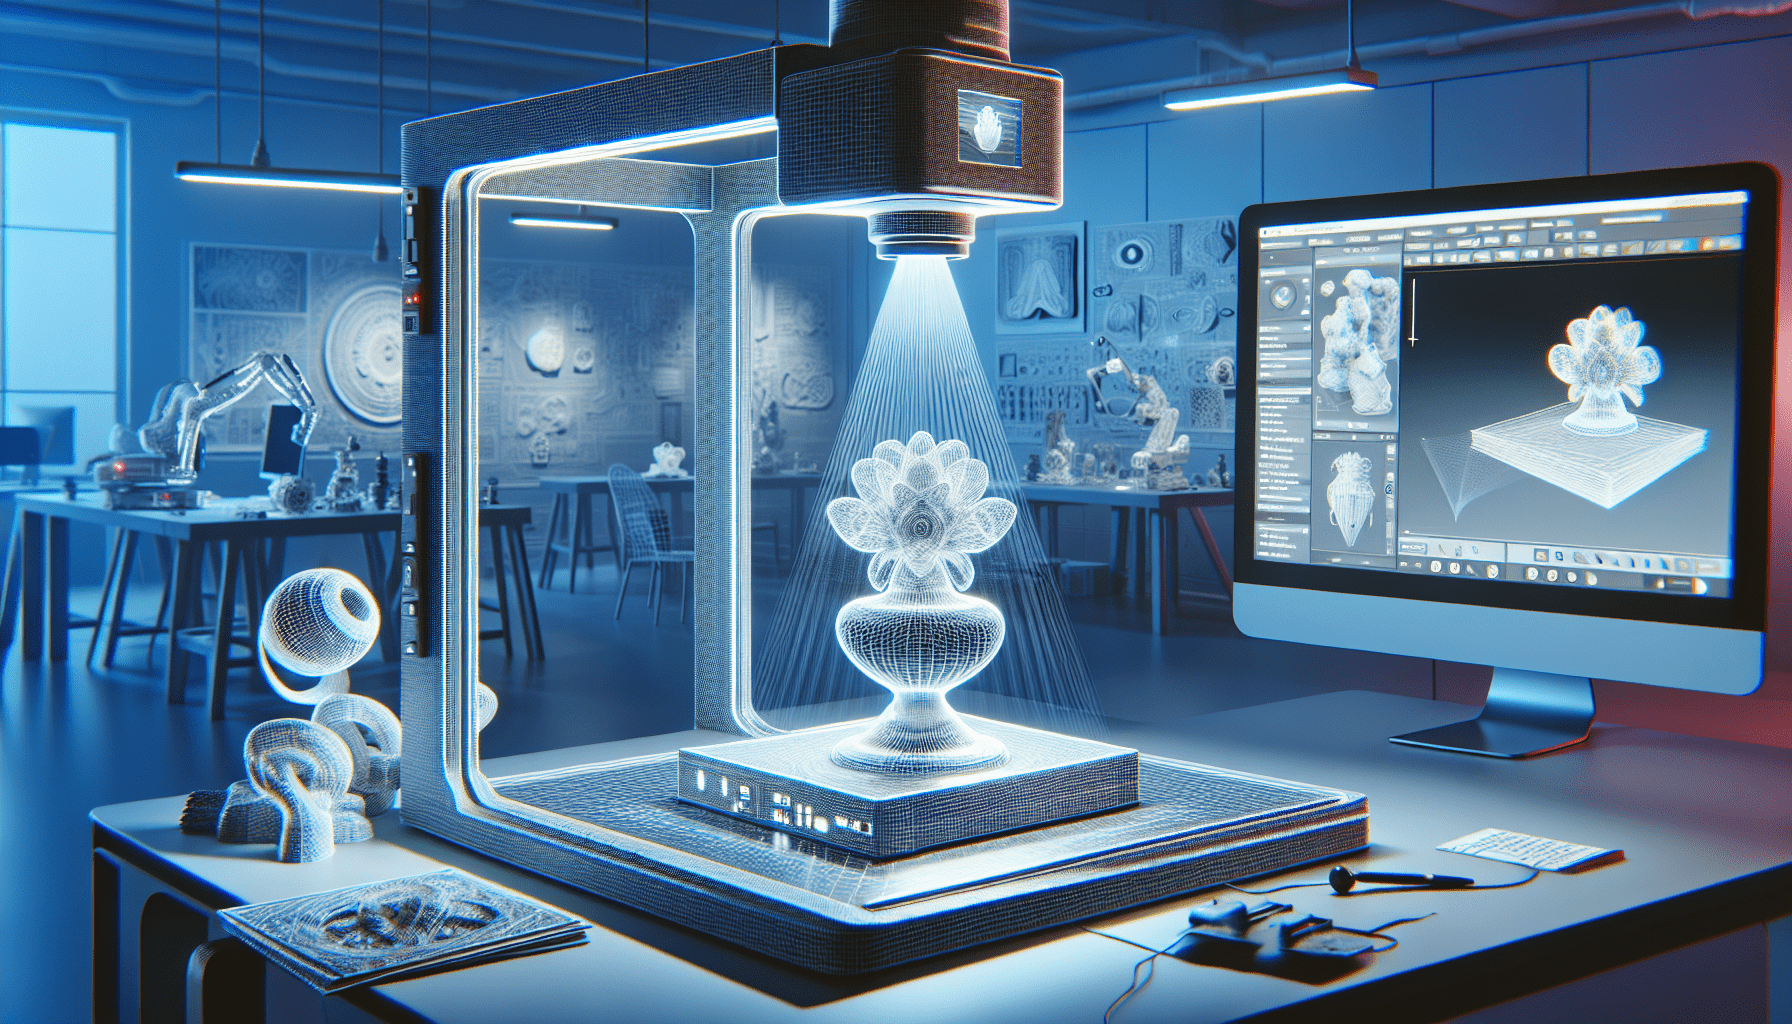
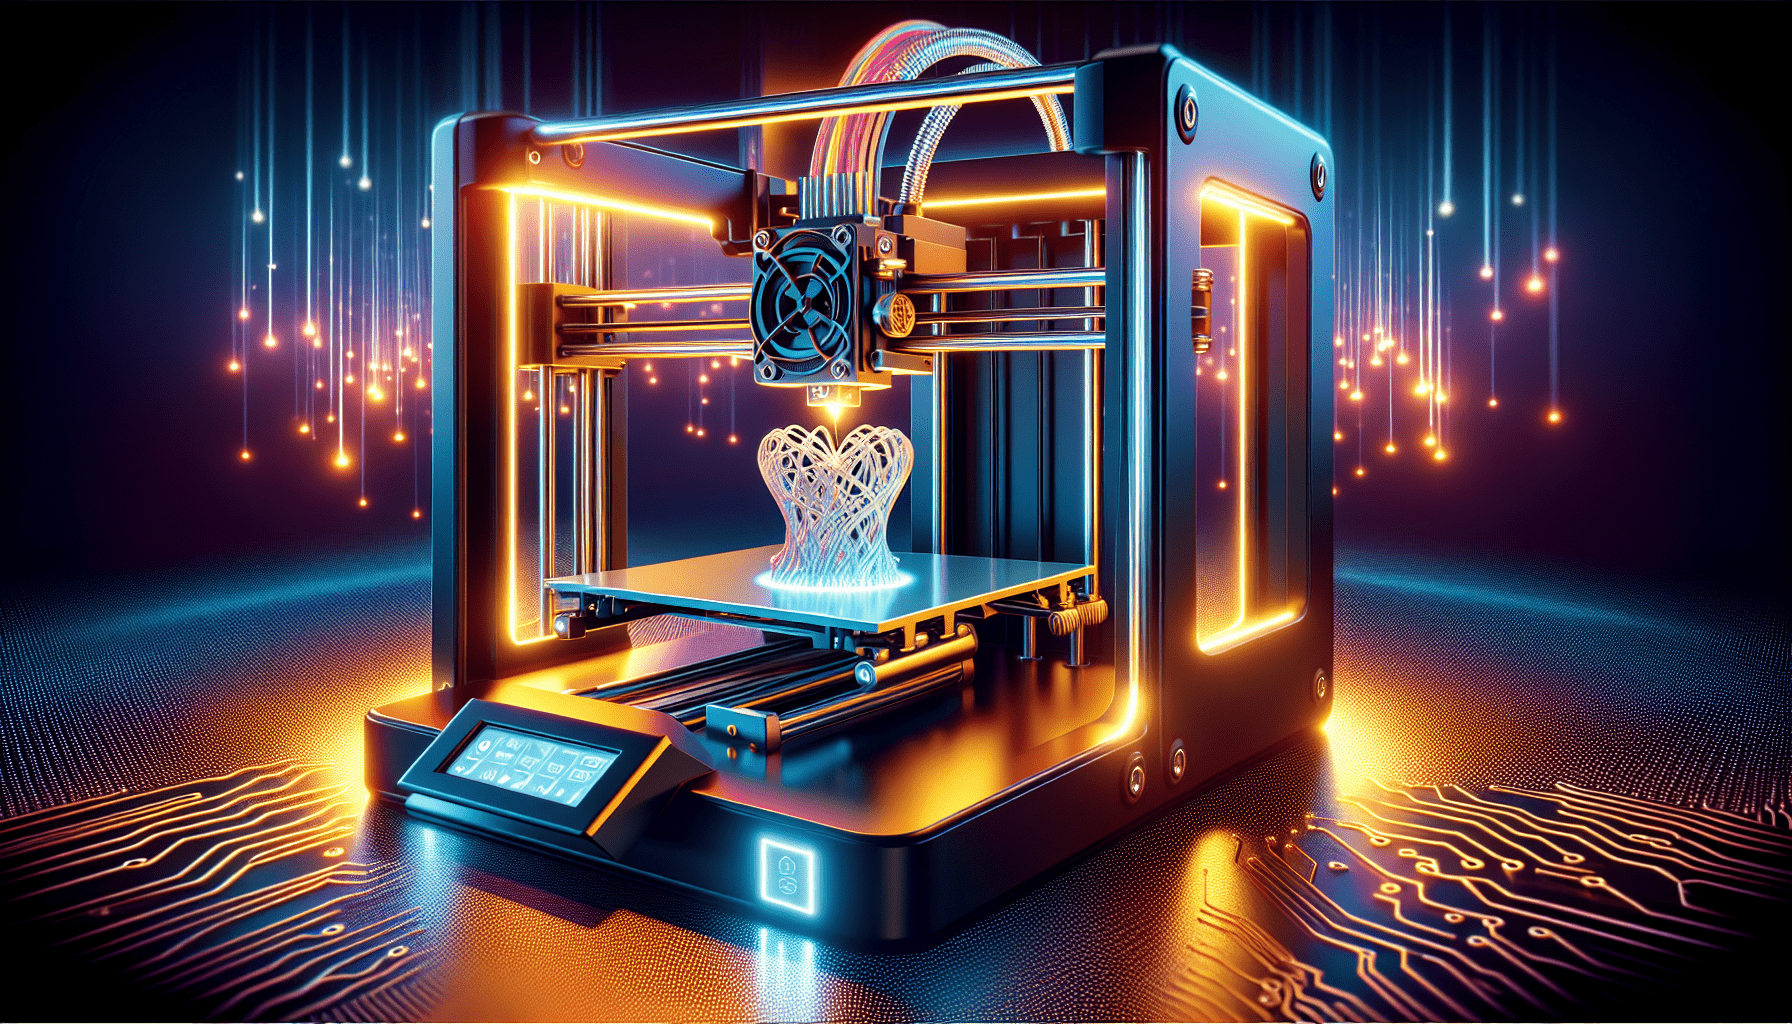
$279.00 (as of June 19, 2025 23:45 GMT +00:00 - More infoProduct prices and availability are accurate as of the date/time indicated and are subject to change. Any price and availability information displayed on [relevant Amazon Site(s), as applicable] at the time of purchase will apply to the purchase of this product.)In the video “How to 3D Print with Cura over USB! – Beginner’s Guide” by 3D Now, you will learn the basics of 3D printing with Cura using a USB cable. The first step is to download the latest version of Ultimaker Cura. Connecting your 3D printer to your computer with a USB cable allows for manual control of the printer. It’s important to ensure no interruptions during the printing process, such as unplugging USB flash drives or enabling sleep mode on your computer. The video will guide you through controlling the printer using Cura, including preheating the extruder and bed, moving the printer’s axis, and sending G-code commands. You will also learn how to prepare a 3D model for printing in Cura and explore basic settings for a standard PLA print. Plus, the monitor tab in Cura provides real-time tracking of your print job’s progress and estimated printing time. Please note that printing over USB requires keeping your computer connected to the printer throughout the entire process.


Downloading Ultimaker Cura
To get started with 3D printing using Cura, you first need to download the latest version of Ultimaker Cura. This software is essential for slicing and preparing your 3D models for printing. Head over to the Ultimaker website and find the download section. Make sure you download the latest version compatible with your operating system. Once the download is complete, install the software following the on-screen instructions. Ultimaker Cura is available for Windows, Mac, and Linux, so you can choose the version that works for you.
Connecting the 3D Printer to the Computer
Once you have installed Ultimaker Cura, you will need to connect your 3D printer to your computer using a USB cable. Locate the USB port on your 3D printer and plug in one end of the cable. Then, connect the other end of the cable to a spare USB port on your computer. Once the printer is connected, you will see new options and settings available in Cura.

Avoiding Interruptions during Printing
To ensure a successful print, it is crucial to avoid any interruptions during the printing process. This means avoiding actions such as unplugging USB flash drives or enabling sleep mode on your computer while the print is in progress. Even the smallest interruption can cause the print to fail or result in incomplete sections. To prevent any unexpected interruptions, make sure your computer is plugged in and set to stay awake throughout the entire printing process.
Controlling the Printer using Cura
With your 3D printer connected to your computer and Ultimaker Cura open, you can manually control various aspects of your printer directly from the software. This gives you the ability to make adjustments and fine-tune your printer as needed. In Cura, you will find options to preheat the extruder and bed, allowing them to reach the desired temperatures before starting a print. Additionally, you can use the controls to move the printer’s axis, adjusting the positioning of the print head. Cura also provides the ability to send G-code commands, which allow for even more precise control over your printer.

Preparing a 3D Model for Printing
Before you can start printing, you need to import a 3D model into Ultimaker Cura. There are various ways to do this, such as using the “File” menu to open a pre-existing model or dragging and dropping a model file directly into the software. Once the model is imported, you can make adjustments and set the basic printing parameters. For standard PLA prints, you can adjust settings such as layer height, wall thickness, and infill density. These settings will vary depending on the specific requirements of your model and the type of filament you are using.
Printing directly via USB or saving a file
Once your model is prepared in Ultimaker Cura, you have the option to print it directly via USB or save it as a file for printing later. Printing directly via USB allows you to start the print immediately, with Cura controlling the printer and sending the necessary commands. Alternatively, you can save the prepared model to a file format compatible with your 3D printer, such as .gcode or .STL. This file can then be transferred to an SD card or other storage device and inserted into your printer to initiate the print.

Monitoring the Print Job in Cura
While printing via USB, Ultimaker Cura provides a real-time monitoring feature that allows you to keep an eye on the progress of your print job. The “Monitor” tab in Cura provides information about the print progress, estimated printing time, and other useful details. This allows you to stay informed and make any necessary adjustments if needed. By regularly checking the print progress in Cura, you can ensure a smooth and successful printing process.
Requirements for Printing over USB
Printing over USB requires your computer to remain on and connected to the printer for the entire duration of the print job. This is important for maintaining a continuous connection between Cura and the printer. If your computer goes to sleep or loses connection, it can cause a pause or interruption in the print job, potentially ruining the print. To avoid this, make sure your computer is set to stay awake and connected, and that you have a reliable power source throughout the printing process.
Troubleshooting Printing Issues
While 3D printing with Cura over USB is generally straightforward, you may occasionally encounter issues along the way. Some common printing issues include uneven layers, warping, or filament clogs. If you encounter any of these problems, it’s essential to troubleshoot and identify the root cause. Ensure that your printer settings in Cura match the specifications of your printer, including extruder and bed temperatures. Additionally, check for any physical obstructions or loose components that may be affecting the print quality. Consult the Ultimaker Cura documentation or online forums for specific troubleshooting tips related to your printer model.
Conclusion
In conclusion, Ultimaker Cura provides a user-friendly solution for 3D printing with a USB connection. By following the steps outlined in this guide, you can successfully download and install Cura, connect your 3D printer to your computer, and control it directly from the software. You can also prepare your 3D models for printing, monitor the print job in real-time, and troubleshoot any issues that may arise. 3D printing with Cura over USB opens up a world of possibilities, allowing you to bring your creations to life with precision and ease. So why wait? Start exploring the world of 3D printing with Cura today!
To get started with 3D printing using Cura over USB, you need to download the Cura software. Use this link to download it: Download Cura.
Once you have downloaded Cura, it’s time to learn how to slice 3D models. This guide called “The Ultimate Beginner’s Guide” provides updated information on slicing models in Cura. Check it out here: The Ultimate Beginner’s Guide.
If you’ve been wondering how to print with the Cura 4.0 slicer using a USB cable, this video guide will help you through the process. It covers the setup of the print and how to manually control the printer using a USB cable. You’ll also pick up some useful tips and tricks along the way.
Join our community Discord to connect with other 3D printing enthusiasts and get even more support: Community Discord.
If you’re in need of an awesome 3D printer, check out these options:
- Creality3D Ender-3 ($180): Creality3D Ender-3
- Creality3D CR-10 ($360): Creality3D CR-10
- Creality3D CR-10S ($430): Creality3D CR-10S
- Creality3D CR-10 Mini ($390): Creality3D CR-10 Mini
- Tevo Tornado ($325): Tevo Tornado
- Zonestar Dual ($250): Zonestar Dual
- Tevo Tarantula ($190): Tevo Tarantula
- Alfawise U30 ($180): Alfawise U30
For updates and behind-the-scenes content, follow me on Instagram: /3d.now and Twitter: /3dnowprinting.
Don’t forget to subscribe to my channel to stay notified whenever I post a new video: Subscribe.
Enjoy the process and happy 3D printing!
Music: ‘Great Days’ by Joakim Karud – /joakimkarud.
OVERTURE Matte PLA 3D Printer Filament 1.75mm, Matt Surface & Low Warping Filament 1kg Spool (2.2 lbs), Accuracy +/- 0.02 mm, Fit Most FDM Printers (Matte Light Brown)
$18.99 (as of June 19, 2025 23:45 GMT +00:00 - More infoProduct prices and availability are accurate as of the date/time indicated and are subject to change. Any price and availability information displayed on [relevant Amazon Site(s), as applicable] at the time of purchase will apply to the purchase of this product.)
Creality PETG Filament 1.75, 3D Printer Filament, Excellent Toughness High Precision, Odorless Non-Toxic Moistureproof, 1kg(2.2lbs) Glossy 3D Printing Filament for 3D Printer (Black)
$14.99 (as of June 19, 2025 23:45 GMT +00:00 - More infoProduct prices and availability are accurate as of the date/time indicated and are subject to change. Any price and availability information displayed on [relevant Amazon Site(s), as applicable] at the time of purchase will apply to the purchase of this product.)
Creality K1C 3D Printer, 2024 New Version 3D Printers with 600mm/s Fast Printing Speed, Support Carbon Fiber Filament 300℃ High-Temp Print, Auto Leveling and Clog-Free Direct Extruder
$559.00 (as of June 19, 2025 23:45 GMT +00:00 - More infoProduct prices and availability are accurate as of the date/time indicated and are subject to change. Any price and availability information displayed on [relevant Amazon Site(s), as applicable] at the time of purchase will apply to the purchase of this product.)
Revopoint Dual Axis Turntable for Accurate 3D Scanning, Easy Capturing Detail-rich 3D Data of Small-Medium Objects
$99.00 (as of June 19, 2025 23:45 GMT +00:00 - More infoProduct prices and availability are accurate as of the date/time indicated and are subject to change. Any price and availability information displayed on [relevant Amazon Site(s), as applicable] at the time of purchase will apply to the purchase of this product.)