Sovol SV08 Core-XY 3D Printer Voron 2.4 Open Source, 700mm/s High Speed 3D Printers with 300℃ Clog-Free Hotend & Camera, Auto Leveling with 4 Independent Z Motors, Large Print Size 13.8x13.8x13.6in
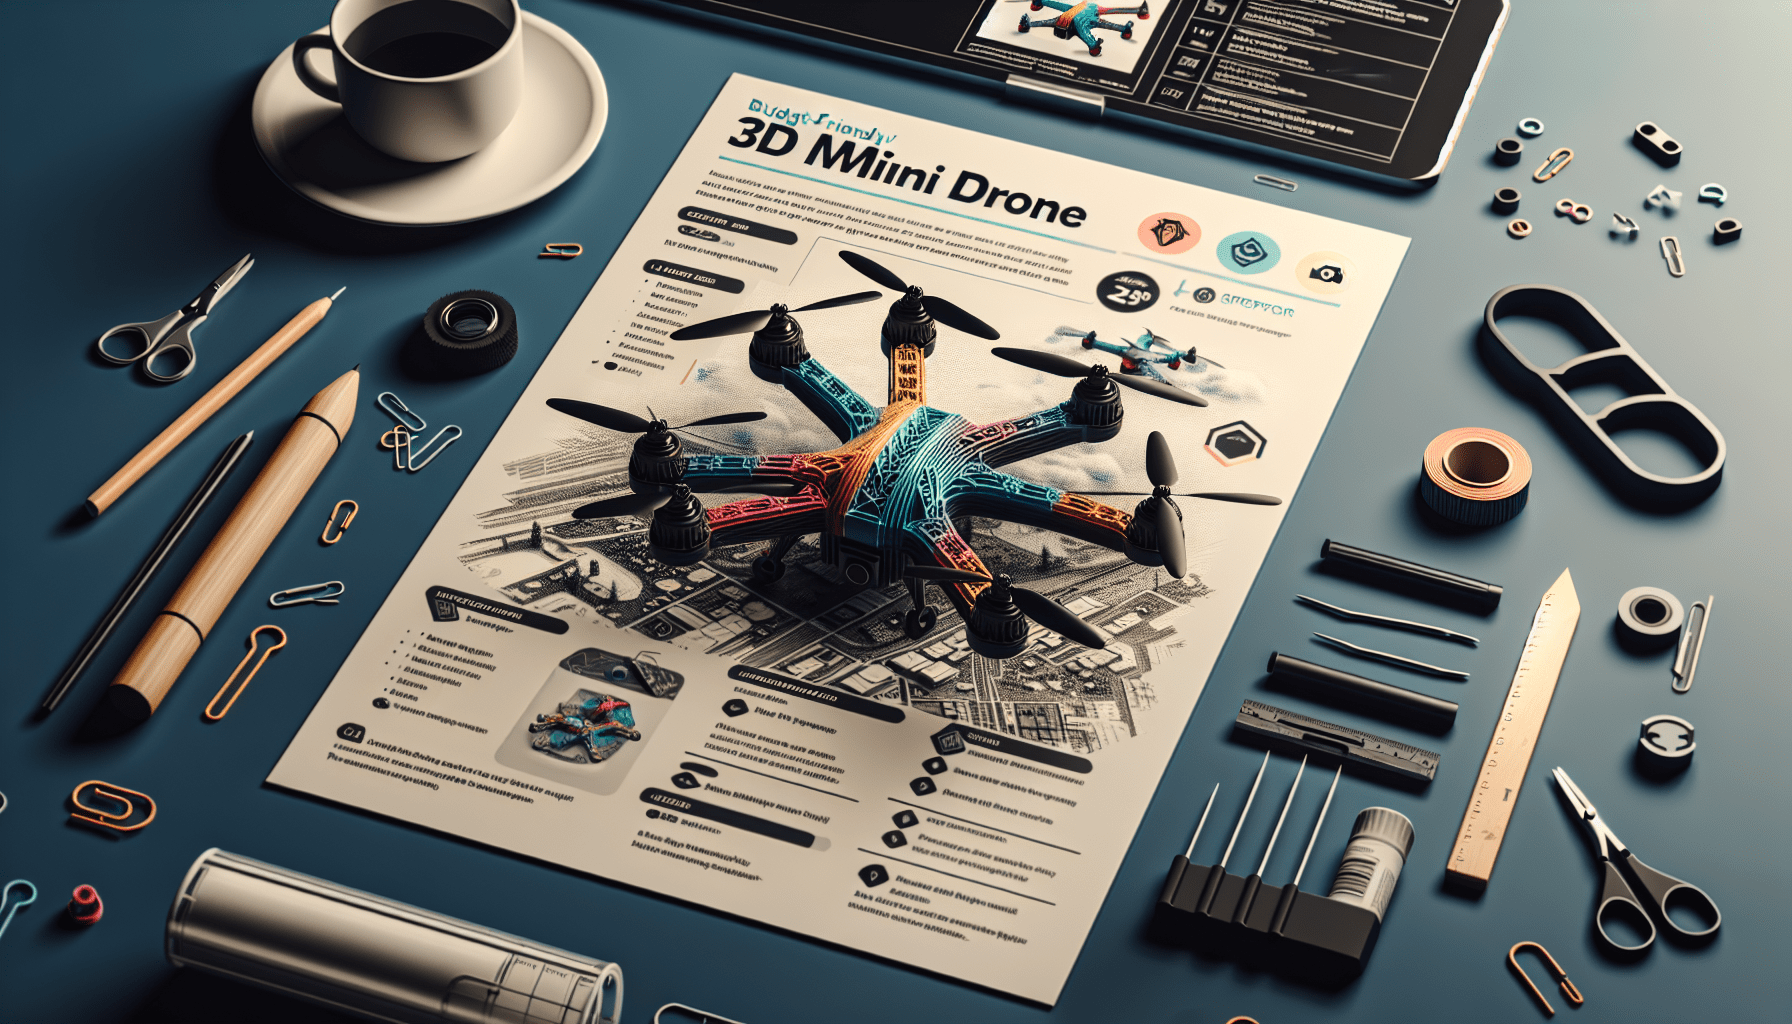
$699.99 (as of June 18, 2025 23:32 GMT +00:00 - More infoProduct prices and availability are accurate as of the date/time indicated and are subject to change. Any price and availability information displayed on [relevant Amazon Site(s), as applicable] at the time of purchase will apply to the purchase of this product.)In this article, “How to Build a Cool & Cheap 3D Printed Mini Drone,” you’ll discover a step-by-step guide on constructing your very own mini drone using 3D printing technology. This video tutorial by Prusa 3D will walk you through the process, from printing the components to assembling the frame. The drone is designed for both indoor and outdoor flying, and with the ability to 3D print spare parts, you’ll never have to worry about running out. The article also highlights the cost-effectiveness of building your own drone, as store-bought options often lack essential accessories like a transmitter, driving up the final price. With a carefully selected collection of affordable components, you can have your own mini drone for under 160 USD. So, let’s dive into the details and start building your very own flying machine!


Introduction
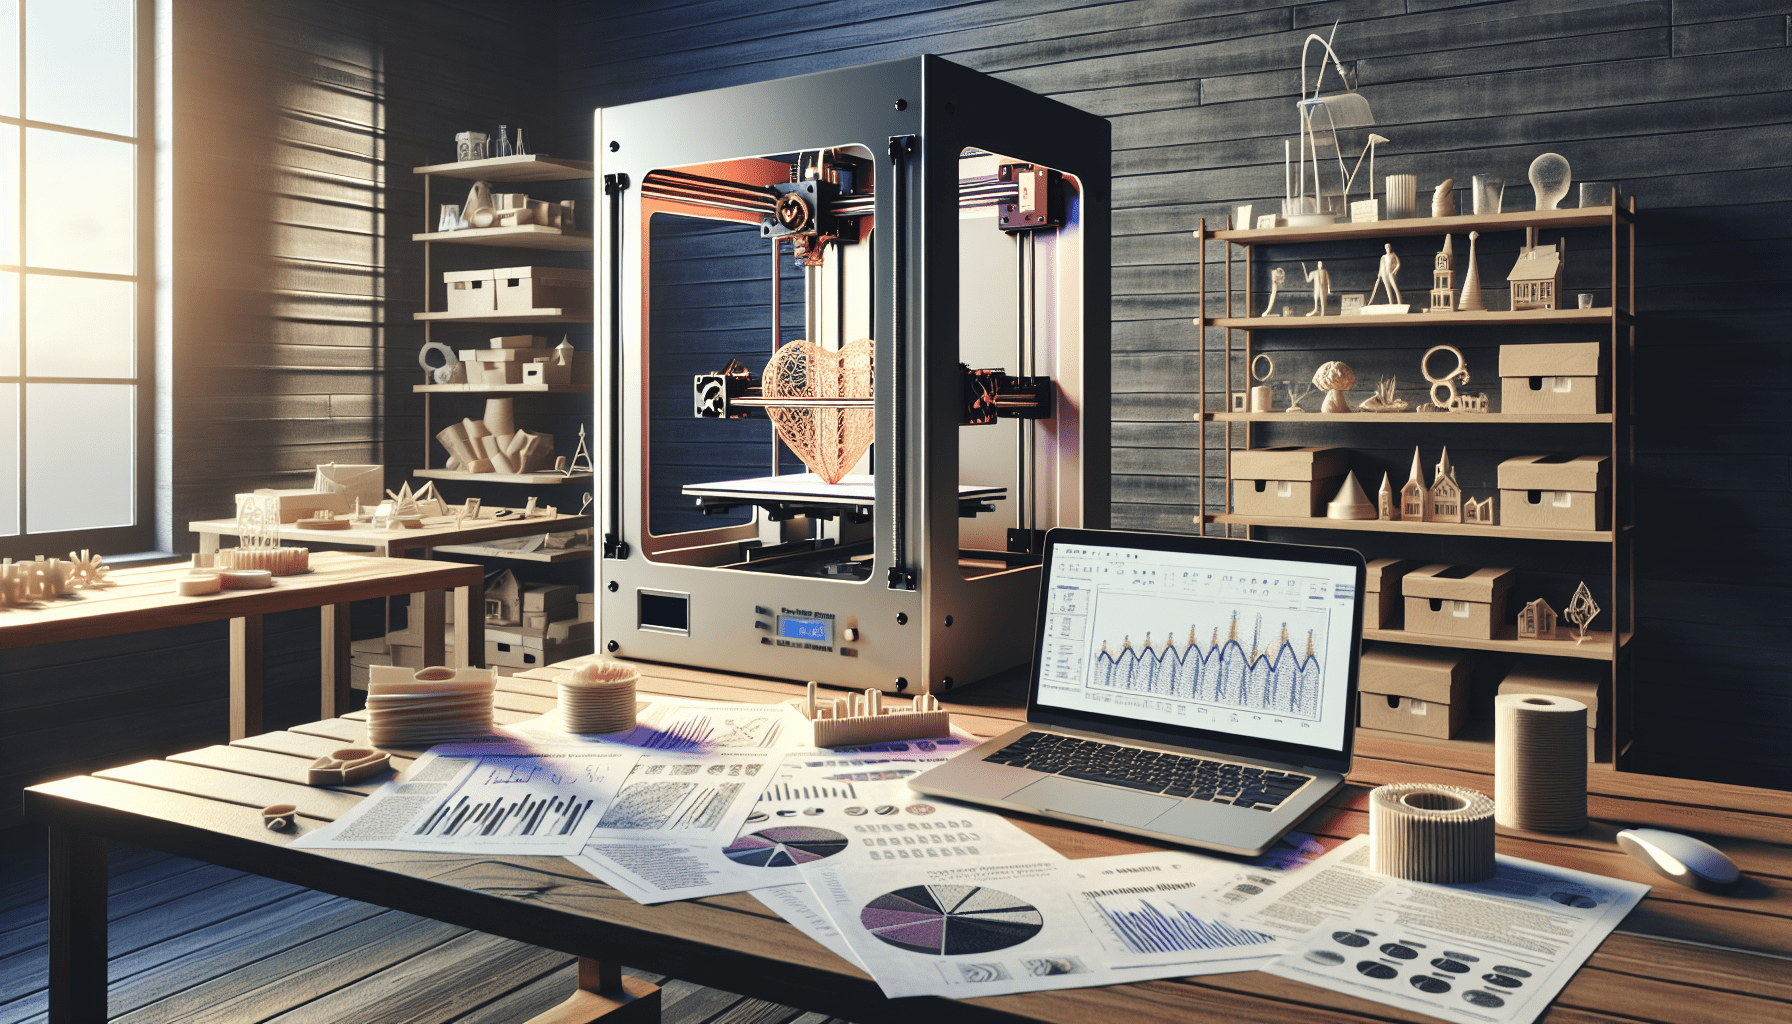
If you’ve ever wanted to build your own drone, then you’re in luck! With the advancements in 3D printing technology, it’s now easier than ever to create your very own mini drone at an affordable price. In this article, we’ll walk you through the step-by-step process of building a cool and cheap 3D printed mini drone. From choosing the right 3D printer to assembling and configuring the components, we’ve got you covered. So let’s dive in and get started on this exciting project!
Choosing the Right 3D Printer
The first step in building your mini drone is to choose the right 3D printer. There are several factors to consider when selecting a printer, such as the models available, specifications and features, and user reviews.
Research different 3D printer models
Take some time to research and familiarize yourself with the different 3D printer models available in the market. Look for printers that are suitable for producing small and intricate parts, as this will be crucial in building your mini drone.
Consider the specifications and features
When choosing a 3D printer, pay attention to its specifications and features. Look for printers that offer a high level of precision and accuracy, as well as a wide range of filament compatibility. Additionally, consider the build volume of the printer, as this will determine the size of the parts you can print.
Compare prices and user reviews
Lastly, compare the prices of different 3D printers within your budget range. Take into account any additional features or accessories that may be included in the package. Additionally, read user reviews and ratings to get a sense of the printer’s reliability and performance.

Gathering the Necessary Materials
Now that you’ve chosen the right 3D printer, it’s time to gather all the necessary materials for your mini drone.
Determine the required components for the mini drone
Start by determining the components that you’ll need to build your mini drone. This includes the frame, motors, flight controller, electronic speed controllers (ESCs), propellers, battery, and any additional accessories such as a camera or FPV (First Person View) goggles.
Make a list of all the materials needed
Create a comprehensive list of all the materials needed for your mini drone. This will help you stay organized and ensure that you have everything on hand before you start the building process. Don’t forget to include any tools that may be required, such as a soldering iron or screwdrivers.
Gather the materials from local stores or online
Once you have your list, gather the materials from local stores or online retailers. Check for availability and compare prices to get the best deals. If some items are difficult to find locally, consider ordering them online from reputable suppliers.
Designing the Mini Drone Frame
The frame of your mini drone is a crucial component that determines its size, weight, and overall durability. To design the frame, you’ll need to use Computer-Aided Design (CAD) software.
Use CAD software to design the frame
Start by creating a design for the frame using CAD software. This will allow you to create a 3D model of the frame, which you can then export as an STL file for 3D printing.
Consider the size and weight of the drone
When designing the frame, consider the size and weight constraints of your mini drone. Aim for a lightweight frame that can support the necessary components without compromising stability or flight performance.
Ensure the frame is sturdy and durable
While it’s important to keep the frame lightweight, it should also be sturdy and durable enough to withstand crashes and impacts. Test the design for strength and stability before proceeding to 3D printing.

Preparing the 3D Printer
Before you can start 3D printing the parts for your mini drone, you’ll need to prepare your 3D printer.
Calibrate the 3D printer
Ensure that your 3D printer is properly calibrated to achieve accurate and precise prints. This includes leveling the print bed, adjusting the nozzle height, and calibrating the extruder.
Load the filament into the printer
Load the filament of your choice into the 3D printer. Make sure the filament is properly inserted and secured to prevent any feeding issues during the printing process.
Preheat the printer to the recommended temperature
Preheat the 3D printer to the recommended temperature for the filament you’re using. This will ensure optimal print quality and prevent any issues such as warping or poor adhesion.
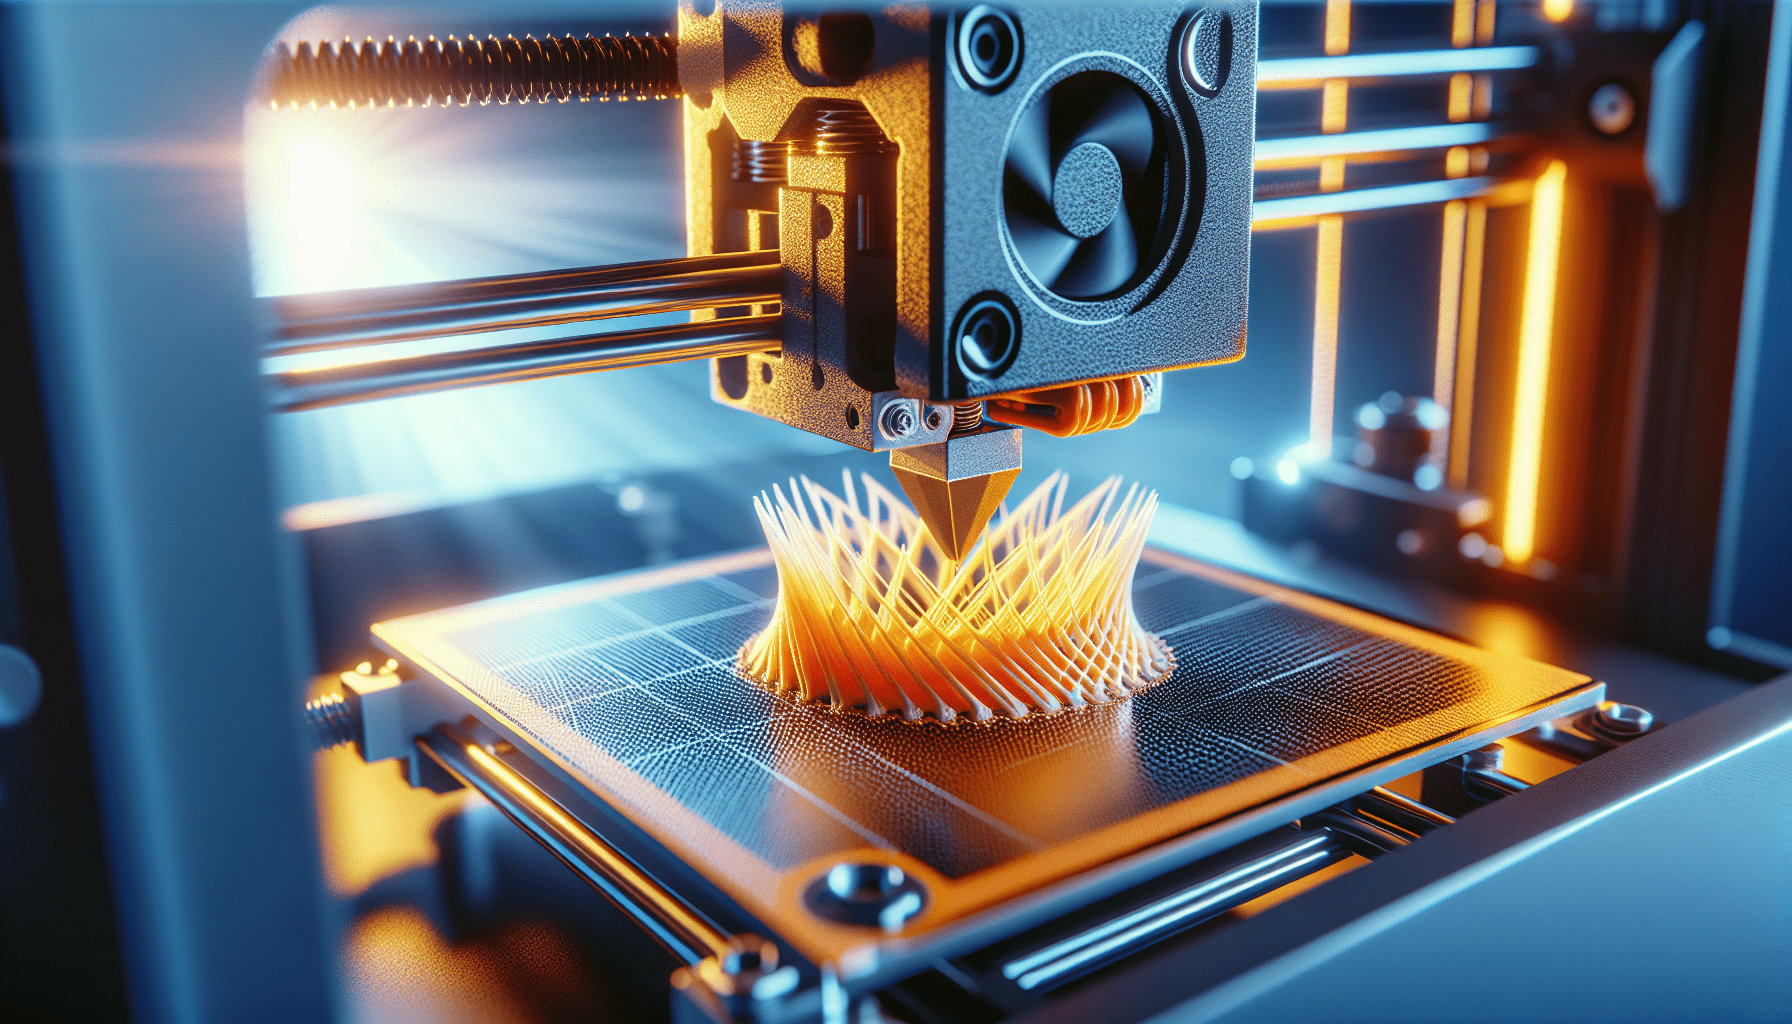
Printing the Drone Parts
Now comes the exciting part – 3D printing the parts for your mini drone!
Slice the 3D model file
Using slicing software, such as Cura or Simplify3D, slice the 3D model file of each component. This involves adjusting the settings for layer height, print speed, and infill density to achieve the desired print quality and strength.
Adjust the printing settings for each part
For each part, adjust the printing settings according to its specific requirements. Some parts may require higher infill density for increased strength, while others may benefit from finer layer heights for smoother surfaces.
Monitor the printing process to ensure quality
While the 3D printer is running, closely monitor the printing process to ensure that each part is being printed accurately and without any issues. Check for any signs of warping, layer shifting, or other defects that may affect the final output.

Assembling the Drone Components
Once all the parts have been 3D printed, it’s time to assemble the drone components together.
Remove the printed parts from the printer
Carefully remove each printed part from the 3D printer, taking care not to damage or break any delicate features. Use a spatula or scraper if necessary to gently pry the parts off the build plate.
Clean any excess material or support structures
Inspect each printed part and remove any excess filament or support structures. Use a pair of flush cutters or a hobby knife to trim off any protrusions or rough edges.
Follow the assembly instructions carefully
Refer to the assembly instructions or tutorial video that corresponds to your mini drone design. Follow the step-by-step instructions to attach the motors, ESCs, flight controller, and other components to the frame.
Installing the Electronics
Now it’s time to install the electronic components onto the frame of your mini drone.
Connect the flight controller to the frame
Carefully connect the flight controller to the frame using screws or standoffs. Ensure that it is securely mounted and that all the necessary connections are made.
Attach the motors and ESCs to the frame
Attach the motors to the designated mounting points on the frame using screws or bolts. Connect each motor to the corresponding ESC (Electronic Speed Controller) and secure the ESCs to the frame as well.
Solder the necessary wires and connectors
Using a soldering iron, solder the necessary wires and connectors to complete the electrical connections between the flight controller, ESCs, and other components. Take care to follow proper soldering techniques and ensure secure and reliable connections.
Configuring the Flight Controller
To ensure proper functionality of your mini drone, you’ll need to configure the flight controller.
Connect the flight controller to a computer
Connect the flight controller to a computer using a USB cable. This will allow you to access the configuration software and adjust the settings.
Install the required software (e.g. BetaFlight)
Install the necessary software for configuring your flight controller. Popular options include BetaFlight, CleanFlight, or RaceFlight. Follow the installation instructions provided by the software manufacturer.
Configure the flight controller settings
Launch the configuration software and connect to your flight controller. Configure the necessary settings, such as receiver type, flight modes, motor directions, and PID values. Refer to the software documentation or tutorials for guidance on the specific settings required.
Conclusion
Building a cool and cheap 3D printed mini drone is an exciting and rewarding project. By following the steps outlined in this article, you can create your very own mini drone from scratch. From choosing the right 3D printer to designing and printing the parts, assembling the components, and configuring the flight controller, you’ll have complete control over the entire process. So gather your materials, fire up your 3D printer, and get ready to take to the skies with your homemade mini drone!
To build a cool and affordable 3D printed mini-drone, you can follow these steps. First, make sure you have an FPV camera and high-RPM brushless motors. If you want more details about this project, check out this link: How to Build a Cool & Cheap 3D Printed Mini Drone
This mini-drone is perfect for both indoor and outdoor flying, and the best part is that you’ll always have spare parts available because of our 3D printers.
You can download the frame for the drone from this link: Frame Download
If you’re in need of a high-quality 3D printer, consider the Original Prusa i3 MK3. Check it out here: Original Prusa i3 MK3
For some background music while you work on your drone, you can listen to the songs “Corporate Rock” and “Business Presentation” by IvanLuzan.

Creality PETG Filament 1.75, 3D Printer Filament, Excellent Toughness High Precision, Odorless Non-Toxic Moistureproof, 1kg(2.2lbs) Glossy 3D Printing Filament for 3D Printer (Black)
$18.99 (as of June 18, 2025 23:32 GMT +00:00 - More infoProduct prices and availability are accurate as of the date/time indicated and are subject to change. Any price and availability information displayed on [relevant Amazon Site(s), as applicable] at the time of purchase will apply to the purchase of this product.)
Creality Original Ultra Removable Magnetic 3D Printer Build Surface Heated Bed Cover for Ender 3/Ender 3 Pro/Ender 3 V2/Ender 3 V2 Neo/Ender 3 Neo/Ender 3 S1/3 S1 Pro/Ender 5 Pro 235X235mm
$9.99 (as of June 18, 2025 23:32 GMT +00:00 - More infoProduct prices and availability are accurate as of the date/time indicated and are subject to change. Any price and availability information displayed on [relevant Amazon Site(s), as applicable] at the time of purchase will apply to the purchase of this product.)
3DTOOLS 3D Scanner Spary for Revopoint 3D Scanners, for Reflective, Transparent or Highly Textured 400ml
$37.99 (as of June 18, 2025 23:32 GMT +00:00 - More infoProduct prices and availability are accurate as of the date/time indicated and are subject to change. Any price and availability information displayed on [relevant Amazon Site(s), as applicable] at the time of purchase will apply to the purchase of this product.)
Creality Scan Bridge for CR-Scan Raptor and Raptor Pro 3D Scanner, Wireless Scanning Kit for iPhone, Android and Mirror Screen for Windows, Mac
$459.00 (as of June 18, 2025 23:32 GMT +00:00 - More infoProduct prices and availability are accurate as of the date/time indicated and are subject to change. Any price and availability information displayed on [relevant Amazon Site(s), as applicable] at the time of purchase will apply to the purchase of this product.)