Official Creality Ender 3 3D Printer Fully Open Source with Resume Printing Function DIY Printers Build Volulme 8.66x8.66x9.84 inch
$179.00 (as of May 7, 2025 20:40 GMT +00:00 - More infoProduct prices and availability are accurate as of the date/time indicated and are subject to change. Any price and availability information displayed on [relevant Amazon Site(s), as applicable] at the time of purchase will apply to the purchase of this product.)Are you ready to elevate your content creation game by incorporating 3D scans into your work? If so, you’ve come to the right place. This comprehensive guide will walk you through the fascinating process of capturing a 3D scan for your content creation app. Whether you’re a digital artist, a designer, or a hobbyist, you can benefit from the ease of use and the quick results that modern 3D scanning technology offers.
Buy Photon Mono M5 Get Free 1KG Resin
Why 3D Scanning?
Before diving into the nitty-gritty, let’s understand why 3D scanning can be a game-changer for your projects. Creating bespoke 3D assets from scratch using traditional methods and software can be time-consuming and often requires a high level of skill. Utilizing 3D scanning technology not only speeds up this process but also ensures you capture intricate details and textures that would be challenging to replicate manually.
The Importance of Choosing the Right Equipment
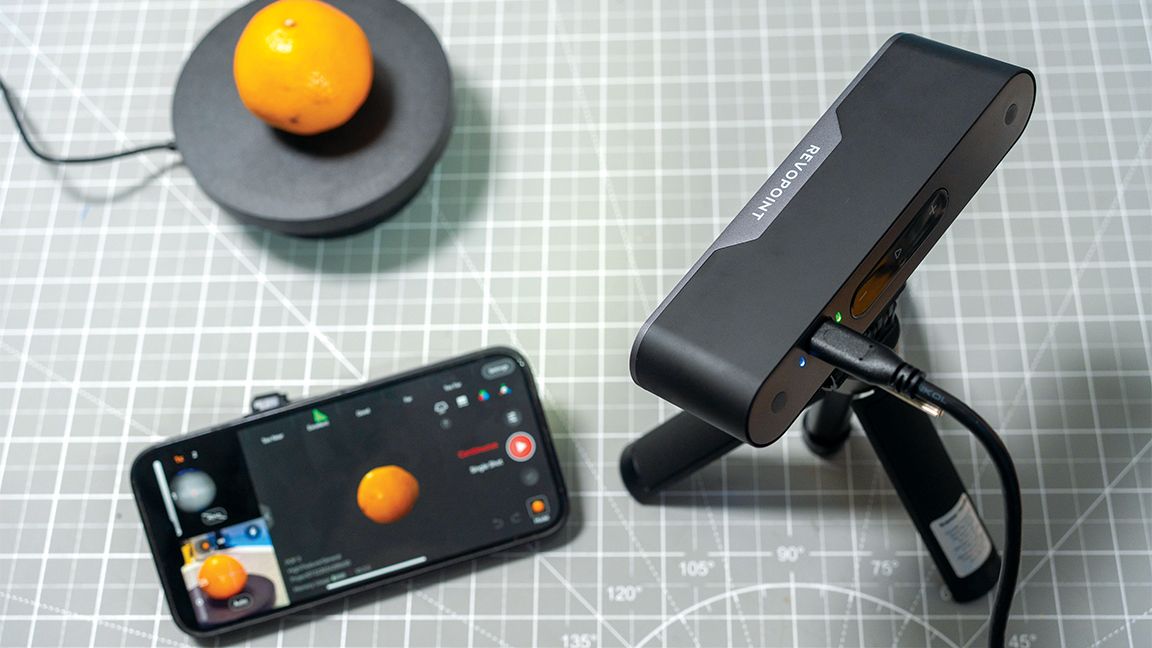
For this guide, we’ll be focusing on the POP3 Scanner from Revopoint. This device offers a balanced mix of affordability and performance, making it ideal for various users. While mobile solutions like Epic Games’ Reality Scan can be quite effective, using specialized hardware like the POP3 Scanner often yields higher-quality results.
Here’s a quick comparison of different 3D scanning solutions:
| Equipment | Ease of Use | Quality | Cost |
|---|---|---|---|
| Mobile Apps (e.g., Epic Games’ Reality Scan) | Very Easy | Moderate | Low ($0 – $100) |
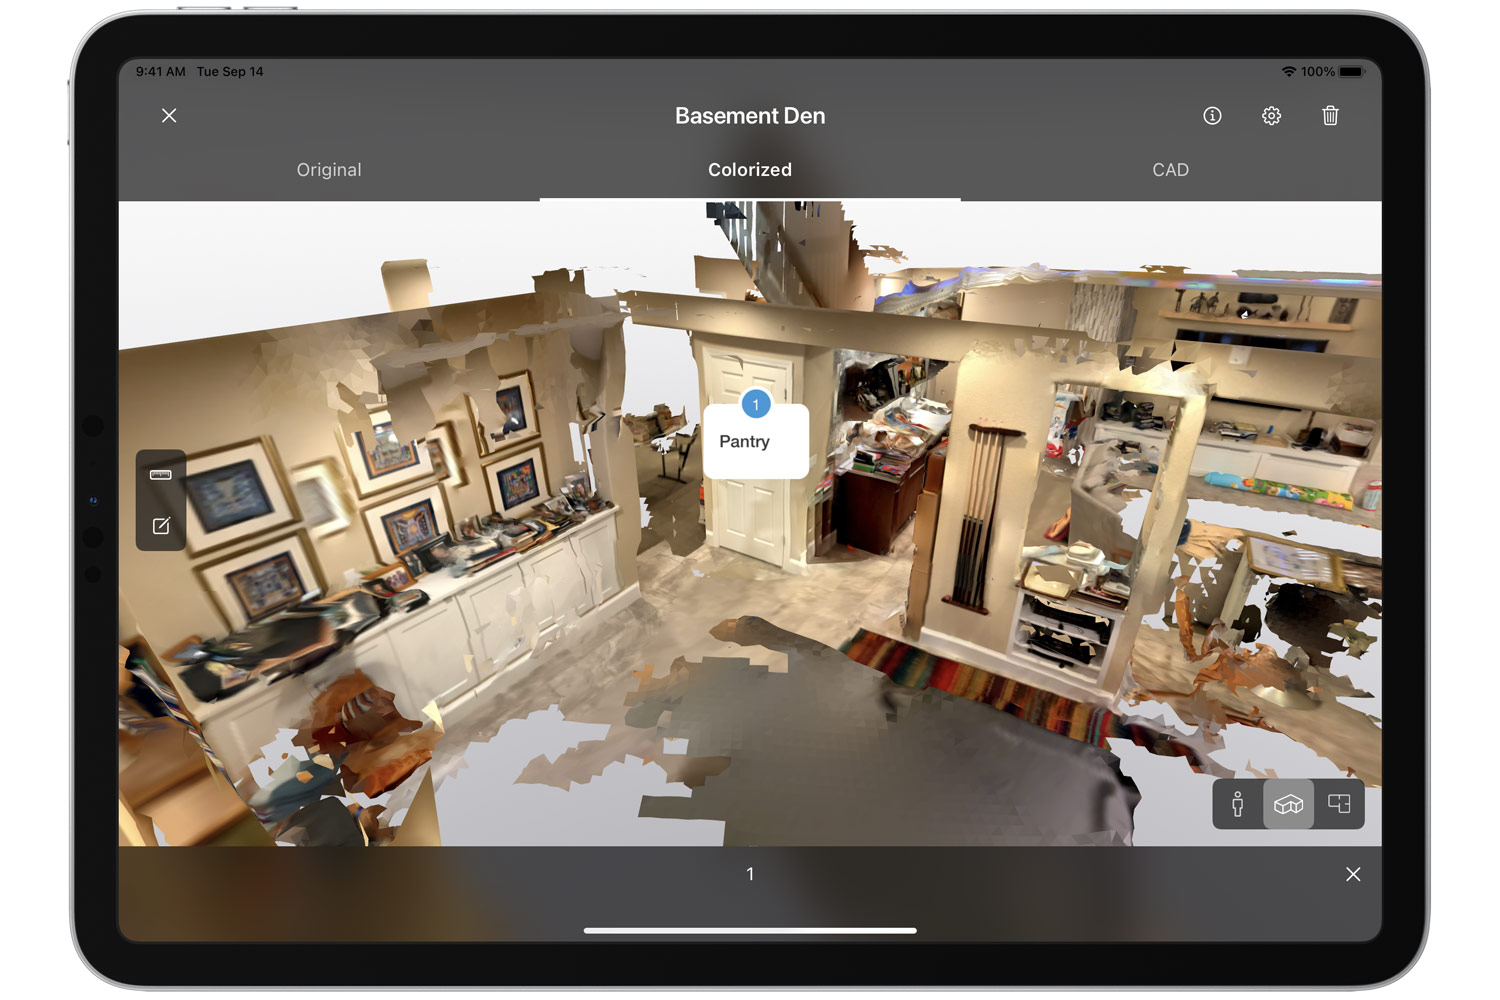
| LiDAR-Enabled Phones | Easy | High | Moderate ($1000+) |
| POP3 Scanner | Easy | Very High | Moderate ($600) |
$30 off $400+ Anycubic Products with code AC30OFF
Getting Started
To get started, you’ll need:
- POP3 Scanner from Revopoint
- Revo Scan software (available for both PC and mobile)
- An object to scan
- A well-lit environment
Step 1: Preparing the Object
The first step involves preparing the object you wish to scan. Ensure that it’s clean and free from any reflective surfaces that could distort the scan.
- Lighting: Place the object in even lighting to avoid shadows. Even lighting will help the scanner capture all the intricate details.
- Positioning: Place the object centrally on the turntable, if available, or on a stable surface. You want the object to be as stationary as possible during the scanning process.
Step 2: Capturing the Scan
Using the Revo Scan Software
Now, you’re ready to capture the scan.
- Open Revo Scan: Launch the Revo Scan app on your device.
- Choose Settings: Select the settings appropriate for your scanning project. Options like “Scan Distance” and “Base Removal” are quite handy.
- Start Scanning: Press the Play button to initiate the scan. The scanner will capture multiple angles if it’s on a turntable, ensuring a comprehensive model.
Step 3: Optimizing the Scan
Once your scan is complete, it’s time to optimize it.
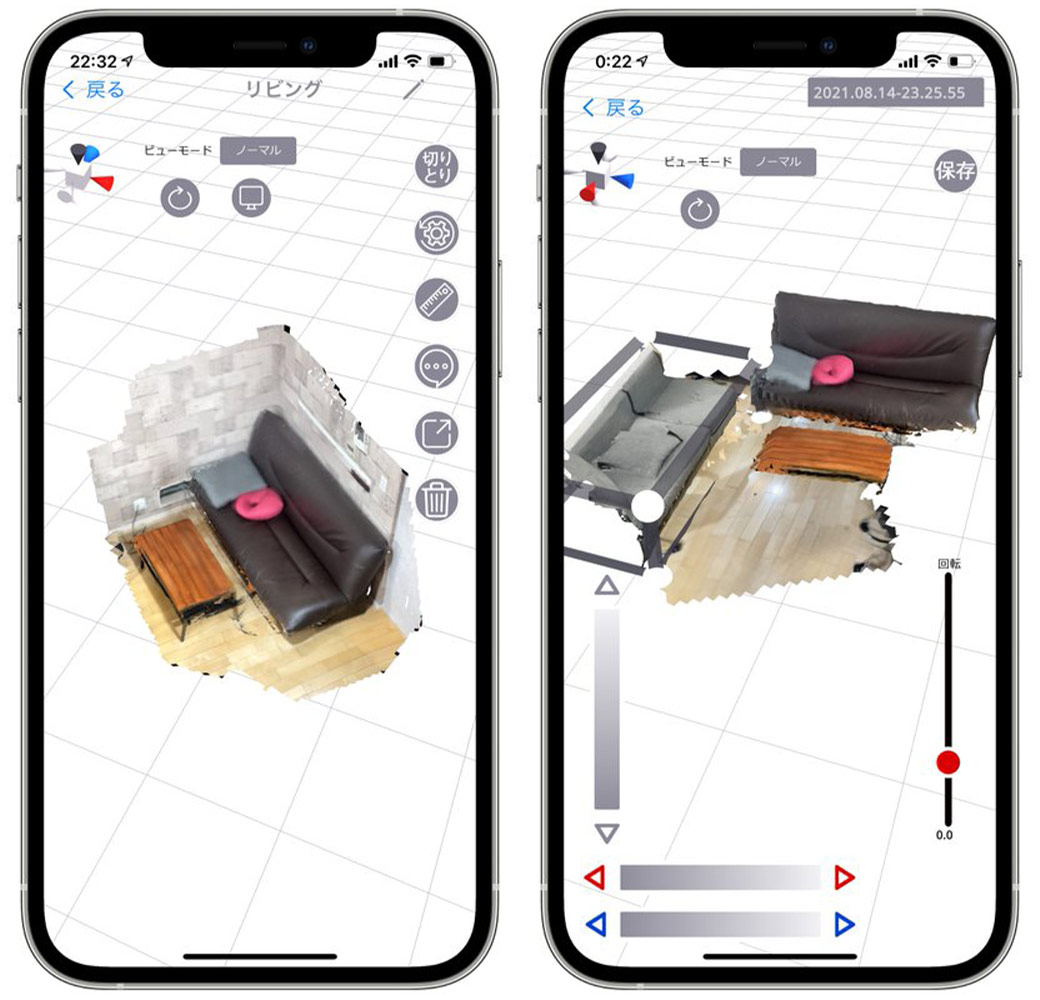
- Edit Options: The Revo Scan software provides several options such as Fusion, Mesh, and Texture to enhance the scanned point cloud.
- Texture Application: Apply the texture to the newly created mesh to bring more life into your model.
- Export: Once satisfied, export the file in a format that suits your needs. Common formats include OBJ, GLTF, and STL.
Step 4: Importing Into Your Content Creation Tool
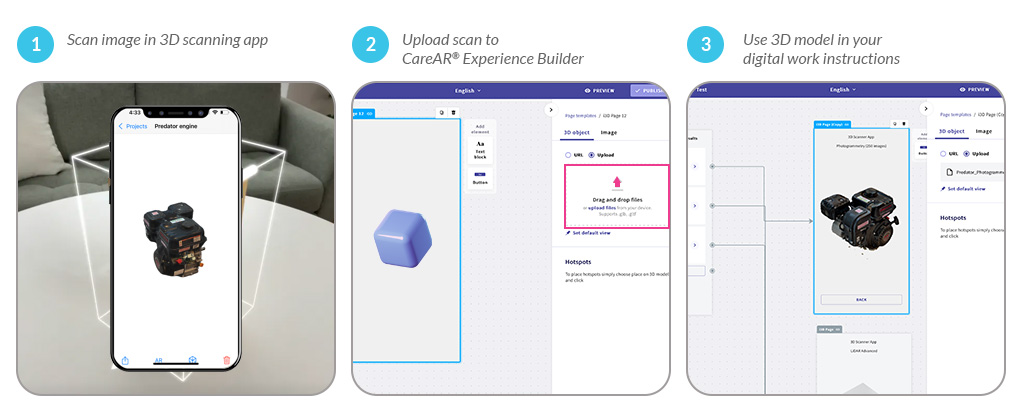
The final step is importing your newly created 3D model into your content creation application.
- Drag and Drop: Simply drag and drop the exported file into your preferred 3D content creation tool like Cinema 4D or Blender.
- Final Adjustments: Make any final adjustments or tweaks to fit it seamlessly into your project.
Troubleshooting Common Issues
Despite advances in technology, you may encounter some common issues while 3D scanning. Here’s a quick troubleshooting guide:
| Issue | Possible Cause | Solution |
|---|---|---|
| Incomplete Scan | Poor lighting or object movement | Ensure even lighting and stable object |
| Uneven Texture | Reflective or too dark surface | Use matte paint or adjust lighting |
| File Export Issues | Software bugs or compatibility | Update software or try a different format |
Concluding Thoughts
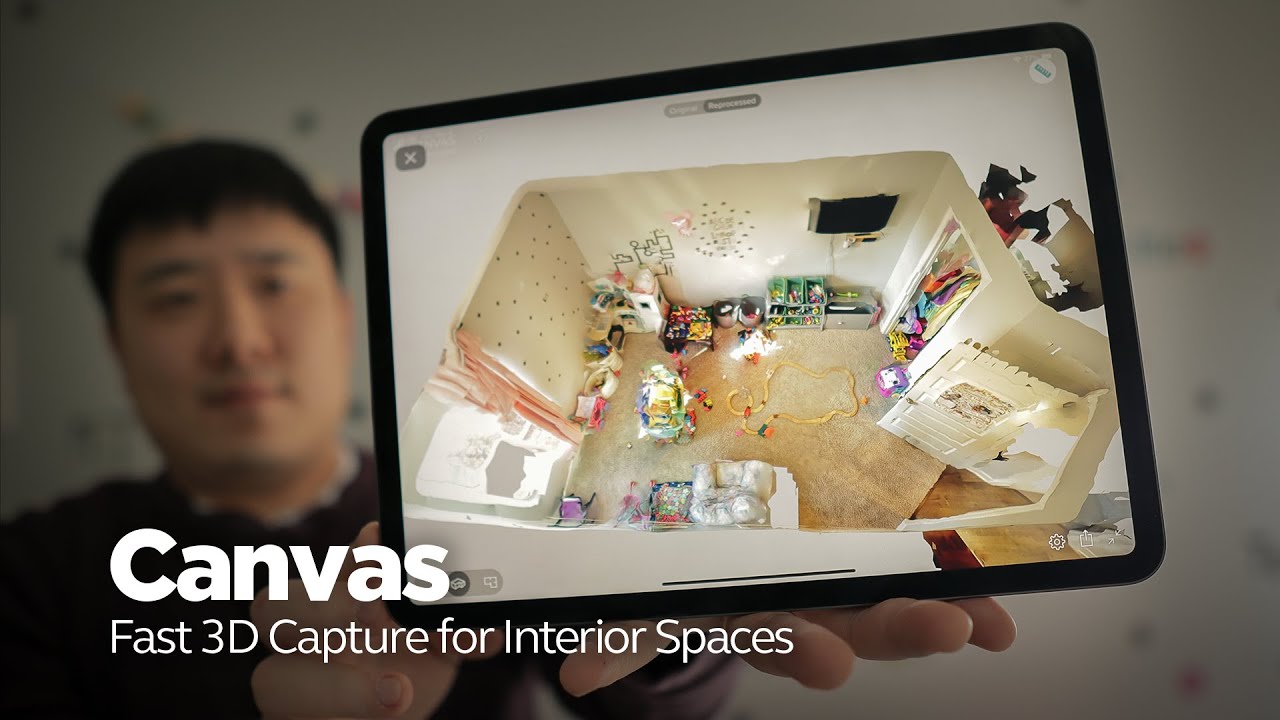
3D scanning can drastically speed up your workflow and improve the quality of your digital assets. The POP3 Scanner from Revopoint offers an accessible, high-quality solution for both novices and professionals. By following these steps, you can create detailed 3D models ready to enhance any project you’re working on.
Isn’t it amazing how technology is evolving to make creative tasks more accessible? Happy scanning!
Buy Photon Mono M5 Get Free 1KG Resin


