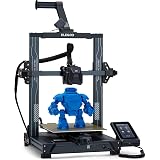
ELEGOO Neptune 3 Pro FDM 3D Printer with Auto Bed Leveling, Dual-Gear Direct Extruder, Dual Lead Screw Drive, Removable Capacitive Screen, 8.85x8.85x11in Large Printing Size
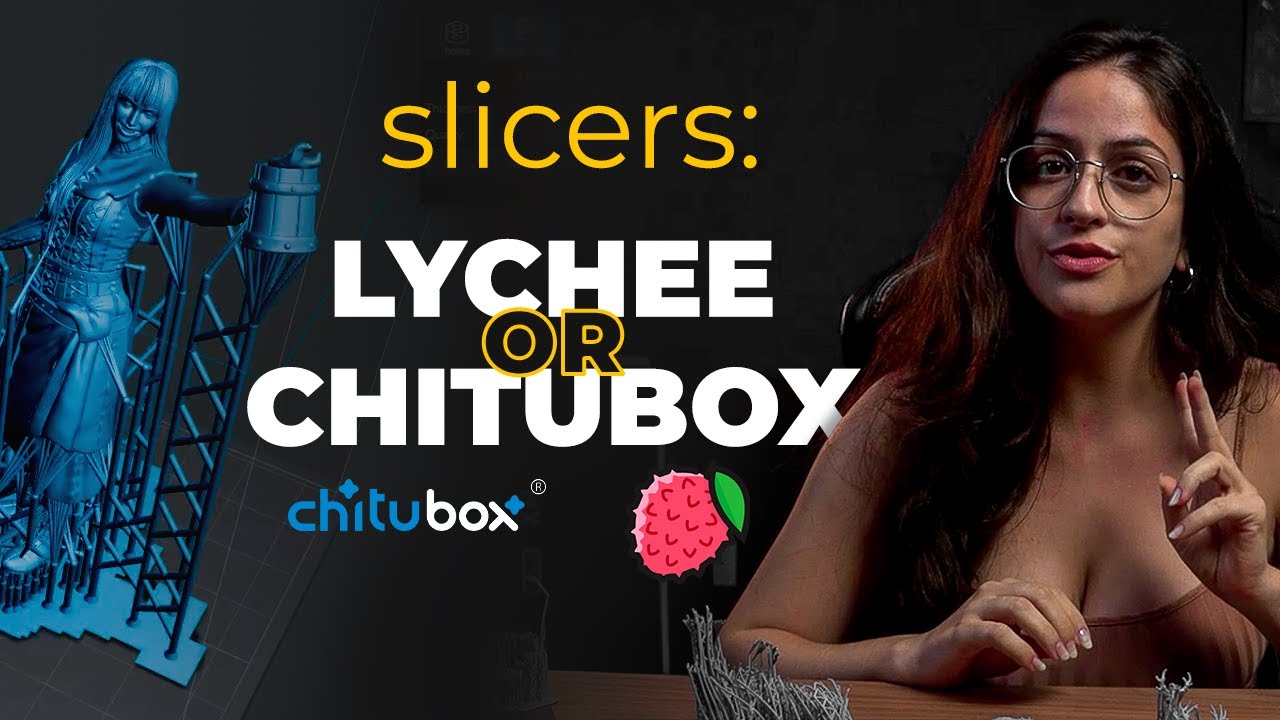
$209.99 (as of June 4, 2025 21:32 GMT +00:00 - More infoProduct prices and availability are accurate as of the date/time indicated and are subject to change. Any price and availability information displayed on [relevant Amazon Site(s), as applicable] at the time of purchase will apply to the purchase of this product.)In today’s video tutorial by Loot Studios, titled “How to choose your SLICER? | 3D Printing Tutorial,” you will learn about the two main slicer programs used in 3D printing: Chitubox and Lychee. The video covers everything from importing and aligning models to creating supports and making parts hollow. While Loot Studios provides pre-supported parts, it’s important to know how to use these programs for your own printing needs. The tutorial also offers tips on resin usage and adding resin during the printing process, as well as mentioning a bonus function in Lychee that allows for updating the file and making physical changes to the model. Don’t forget to leave your feedback in the comments section for future tutorial topics!
In this user-friendly and conversational video, Júlia from Loot Studios takes you step by step through both Chitubox and Lychee, highlighting the similarities and differences between the two. Exploring features such as importing models, aligning them, and creating supports, you’ll gain a deeper understanding of the slicing process. Whether you’re a beginner or looking to refine your skills as a resin 3D printer, this tutorial is a valuable resource for choosing the best slicer program for your needs. So, let’s dive right into the world of slicers and enhance your 3D printing experience!

Introduction to slicers
Definition of slicers
Slicers are software programs that are used in 3D printing to transform a 3D model into instructions that the printer can understand. These instructions, known as “slices,” contain information about the layers, positioning, and other parameters necessary for printing the model accurately.
Importance of slicers in 3D printing
Slicers play a crucial role in the 3D printing process as they ensure the model is printed with precision and accuracy. They allow users to adjust various settings such as layer height, infill options, and support placement, which ultimately affect the quality and functionality of the printed object. Without slicers, it would be challenging to optimize these settings and achieve the desired results.
Overview of Chitubox and Lychee slicer programs
In this article, we will explore two popular slicer programs: Chitubox and Lychee. These programs offer a range of features and options that make the slicing process more efficient and user-friendly. We will cover the installation process, importing and aligning 3D models, exploring the interface and settings, creating supports, making parts hollow, and advanced options available in both Chitubox and Lychee.
Getting started with Chitubox
Downloading and installing Chitubox
To begin using Chitubox, you will need to download and install the software. You can find the latest version of Chitubox on their official website. Once downloaded, run the installer and follow the on-screen instructions to complete the installation process.
Importing and aligning 3D models
After installing Chitubox, you can import your 3D models by clicking on the “Import” button or by dragging and dropping the files into the software. Once imported, you can use the various options in Chitubox to align and position the models according to your desired orientation.
Exploring Chitubox interface and settings
Chitubox has a user-friendly interface with different tabs and options. You can explore the interface to familiarize yourself with the various tools and settings available. The program allows you to adjust layer height, exposure settings, infill options, and more to optimize the printing process.
Creating supports for the model
Supports are essential in 3D printing to ensure the stability and quality of the printed object. Chitubox offers automatic support generation, where the program analyzes the model and adds supports automatically. However, you can also manually add supports and fine-tune their placement according to your requirements.
Making parts hollow
Hollowing out parts can help reduce material usage and printing time while maintaining the structural integrity of the object. Chitubox provides an option to make parts hollow, allowing you to adjust the thickness and create openings for resin drainage. This feature can be particularly useful when printing larger objects or objects with complex geometries.


Mastering Chitubox settings
Adjusting layer height and exposure settings
Layer height and exposure settings significantly impact the quality of the printed object. Chitubox allows you to adjust these settings based on your printer’s capabilities and your desired level of detail. Higher layer heights result in faster prints but may sacrifice surface quality, while lower layer heights offer more detailed prints but increase printing time.
Understanding infill options
Infill refers to the internal structure of a printed object. Chitubox provides various infill options that allow you to select the density or pattern of the infill. You can choose between options such as solid, hollow, grid, or gyroid infill, depending on the specific requirements of your print.
Fine-tuning support placement
Support placement is crucial in ensuring successful prints, especially for objects with overhangs and complex shapes. Chitubox offers advanced support settings, allowing you to manually place supports, adjust their size, density, and connection points. Fine-tuning support placement can significantly improve the print quality and reduce the need for post-processing.
Utilizing advanced features and plugins
Chitubox offers several advanced features and plugins that can further enhance your 3D printing experience. These include features like hollowing optimization, island detection, and bulk editing. Additionally, there are plugins available that cater to specific needs, such as mesh editing, anti-aliasing, and advanced support generation.
Slicing with Chitubox
Preparing the model for slicing
Before slicing the model, it is essential to review and optimize all the necessary settings in Chitubox. This includes checking support placement, infill options, and layer height. Ensure that all the desired modifications are made to the model and that it is properly aligned and positioned.
Generating the printer-specific file
Once the model is ready, you can proceed to generate the printer-specific file, also known as the slice file. In Chitubox, this can be done by clicking on the “Slice” button, which converts the model into a series of printable layers. This process may take some time, depending on the complexity of the model and the chosen settings.
Transferring the file to the 3D printer
After the slice file is generated, it needs to be transferred to the 3D printer for printing. This can be done by exporting the file into a compatible format (such as .ctb or .photon) and saving it onto a USB drive or an SD card. Insert the storage device into the printer, select the file, and start the printing process according to the printer’s instructions.

Exploring Lychee slicer
Installing Lychee slicer
To get started with Lychee slicer, you need to download and install the software. The latest version of Lychee can be found on their official website. Follow the installation instructions provided to install the software on your computer.
Importing and manipulating 3D models
Once Lychee is installed, you can import your 3D models by clicking on the “Import” button or by dragging and dropping the files into the software. Similar to Chitubox, Lychee allows you to align and manipulate the models to choose the desired orientation.
Overview of Lychee interface and features
Lychee has a user-friendly interface with different tabs and tools for easy navigation. Spend some time exploring the interface to familiarize yourself with the available features and settings. Lychee offers various options for adjusting layer height, exposure settings, infill, and support generation.
Advanced options in Lychee
Updating the file and making physical changes to the model
One unique feature in Lychee is the ability to update the file and make physical changes to the 3D model. This feature allows you to thicken thin parts, modify mesh quality, or make other modifications without losing the position of the previously generated supports. However, it is crucial to be cautious when using this feature, as certain modifications may lead to unexpected errors.
Understanding additional settings and options
Lychee also provides additional settings and options that can enhance your printing experience. These settings may include options for infill density, pattern, and expansion, as well as options for layer exposure and anti-aliasing. Understanding and utilizing these settings can help you achieve optimal print quality and efficiency.
Exploring support generation algorithms
Lychee offers different support generation algorithms that can influence the stability and ease of removing supports after printing. By experimenting with these algorithms, you can determine which one works best for your specific project. Some algorithms may provide increased support density, while others may focus on minimizing surface contact or optimizing material usage.

Slicing and printing with Lychee
Slicing the model using Lychee
Similar to Chitubox, Lychee allows you to slice the model once it is properly positioned and all the necessary settings are adjusted. Clicking on the “Slice” or “Prepare” button in Lychee generates the slice file, which contains the instructions for the printer to create the object layer by layer.
Generating printer-specific file format
After slicing the model in Lychee, you need to export the slice file into a format that is compatible with your 3D printer. Lychee allows you to export files in various printer-specific formats. Ensure that the exported file matches the requirements of your printer before transferring it for printing.
Sending the file to the 3D printer
Once the export process is complete, you can transfer the file to your 3D printer using a USB drive or an SD card, similar to the process mentioned for Chitubox. Follow the instructions provided by your printer and start the printing process.
Tips for efficient 3D printing
Estimating resin usage
To optimize resin usage and avoid unnecessary failures, it is essential to estimate the amount of resin required for your prints accurately. Both Chitubox and Lychee provide estimates of resin usage based on the size and geometry of the model. Pay attention to these estimates and ensure that you have sufficient resin for the printing process.
Adding resin during printing
In some cases, particularly when printing larger objects, it may be necessary to add resin during the printing process. This ensures that the resin level in the vat remains sufficient for the printer to operate smoothly. Familiarize yourself with the resin level indicators on your printer and monitor the print progress to determine when to replenish the resin.
Avoiding common printing issues
There are several common printing issues that can arise during the 3D printing process. These include issues such as failed prints, layer shifting, overcuring, and undercuring. Familiarize yourself with troubleshooting techniques for addressing these issues to avoid unnecessary wastage of time, material, and effort.
Optimizing print settings
To achieve optimal print quality, it is essential to experiment with and fine-tune the various print settings. This includes adjusting layer height, exposure settings, infill density, and support placement. Spend time understanding the impact of these settings and make adjustments accordingly to optimize your print results.
Conclusion
In conclusion, understanding and mastering slicer programs like Chitubox and Lychee can greatly enhance your 3D printing experience. These programs offer a range of features and settings that allow you to customize and optimize the printing process to suit your specific needs. By following the steps outlined in this article, you can learn the basics of using these slicer programs and take full advantage of their capabilities. We encourage you to explore further and experiment with different settings to achieve the best possible print results. We also welcome viewer feedback and suggestions for future tutorials or topics to cover in the field of 3D printing. Happy printing!
In today’s 3D Printing Tutorial, we will be discussing SLICERS! This video will guide you on using the two main programs, Chitubox and Lychee, which are essential for adding supports and slicing parts in 3D printing. Throughout the tutorial, we will also provide helpful tips to assist you in selecting the most suitable slicer for your 3D printing setup. Looking to enhance your skills as a resin 3D printer? Don’t forget to explore our bundles for fantastic and sci-fi themes:
- Fantasy Bundle: fantasy – https://bit.ly/3wH3uP0
- Sci-fi Bundle: sci-fi – https://bit.ly/36E47ht
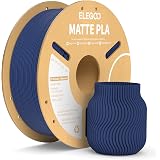
ELEGOO Matte PLA Filament Navy Blue 1KG, 1.75mm 3D Printer Filament Dimensional Accuracy +/- 0.02mm, 1kg Carboard Spool (2.2lbs) for Most FDM 3D Printers
$18.99 (as of June 5, 2025 21:38 GMT +00:00 - More infoProduct prices and availability are accurate as of the date/time indicated and are subject to change. Any price and availability information displayed on [relevant Amazon Site(s), as applicable] at the time of purchase will apply to the purchase of this product.)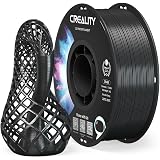
Creality ABS Filament 1.75mm, 3D Printer Filament, Excellent Resistance, Odorless Non-Toxic, Stability, Tough, 1kg(2.2lbs) Printing Filament for 3D Printer (Black)
$22.99 (as of June 5, 2025 21:38 GMT +00:00 - More infoProduct prices and availability are accurate as of the date/time indicated and are subject to change. Any price and availability information displayed on [relevant Amazon Site(s), as applicable] at the time of purchase will apply to the purchase of this product.)
12 Piece Multi-Angle Marker Set: 3D Scanner 6mm Dots, 3D Scanning Spray & 3D Scanner Turntable Compatible, Accurate Tracking Markers, 3D Tracking Dot Reference Point Markers for 3D Scanning
$34.99 (as of June 5, 2025 21:38 GMT +00:00 - More infoProduct prices and availability are accurate as of the date/time indicated and are subject to change. Any price and availability information displayed on [relevant Amazon Site(s), as applicable] at the time of purchase will apply to the purchase of this product.)
Creality Official 8 Inches Rotating Turntable Display Stand, 360˚ Rotation Portable Turntable for Creality Otter/Raptor/Ferret Pro 3D Scanner, Easy Scanning of Featureless and Small and Medium Objects
$14.99 (as of June 5, 2025 21:38 GMT +00:00 - More infoProduct prices and availability are accurate as of the date/time indicated and are subject to change. Any price and availability information displayed on [relevant Amazon Site(s), as applicable] at the time of purchase will apply to the purchase of this product.)