FLASHFORGE Adventurer 5M 3D Printer, 600mm/s High-Speed, 1 Click Fully Auto Leveling, Upgraded Direct extruder Quick Detachable 280°C Nozzle, Dual-Sided PEI Coating Plate, Print Size 220x220x220mm
$279.00 (as of May 7, 2025 20:40 GMT +00:00 - More infoProduct prices and availability are accurate as of the date/time indicated and are subject to change. Any price and availability information displayed on [relevant Amazon Site(s), as applicable] at the time of purchase will apply to the purchase of this product.)In this instructional video titled “How To Make Jewelry Wax With A $200 Resin 3D Printer (Mars Elegoo),” Slava TV walks you through the process of creating high-quality 3D waxes for your jewelry business using the Mars Elegoo resin 3D printer. The video covers various topics, such as the recommended use of castable resin for professional-quality prints, the setup and preparation of the 3D printer, downloading and editing 3D files using Rhino3D software, and the post-processing steps of curing the printed models. Slava TV emphasizes that starting a jewelry business is accessible to anyone without the need for special education, licenses, or a significant amount of money. The video concludes by showcasing the finished jewelry pieces and teasing future content on turning the 3D models into actual jewelry pieces.
If you’re interested in starting a jewelry business and want to learn how to produce professional-quality 3D waxes, this tutorial by Slava TV is a must-watch. With a $200 resin 3D printer called Mars Elegoo, you can save time and money by printing jewelry models at home. The video takes you through the entire process, including setting up the printer, downloading and editing 3D files, printing the models with the resin printer, and post-processing steps like curing and removing supports. Slava TV emphasizes that no special education, licenses, or a large budget are required to start a jewelry business, making this an accessible opportunity for anyone interested in entering the field. Follow along with the video and discover how to create stunning jewelry pieces using affordable technology.
Choosing the Right Resin Printer
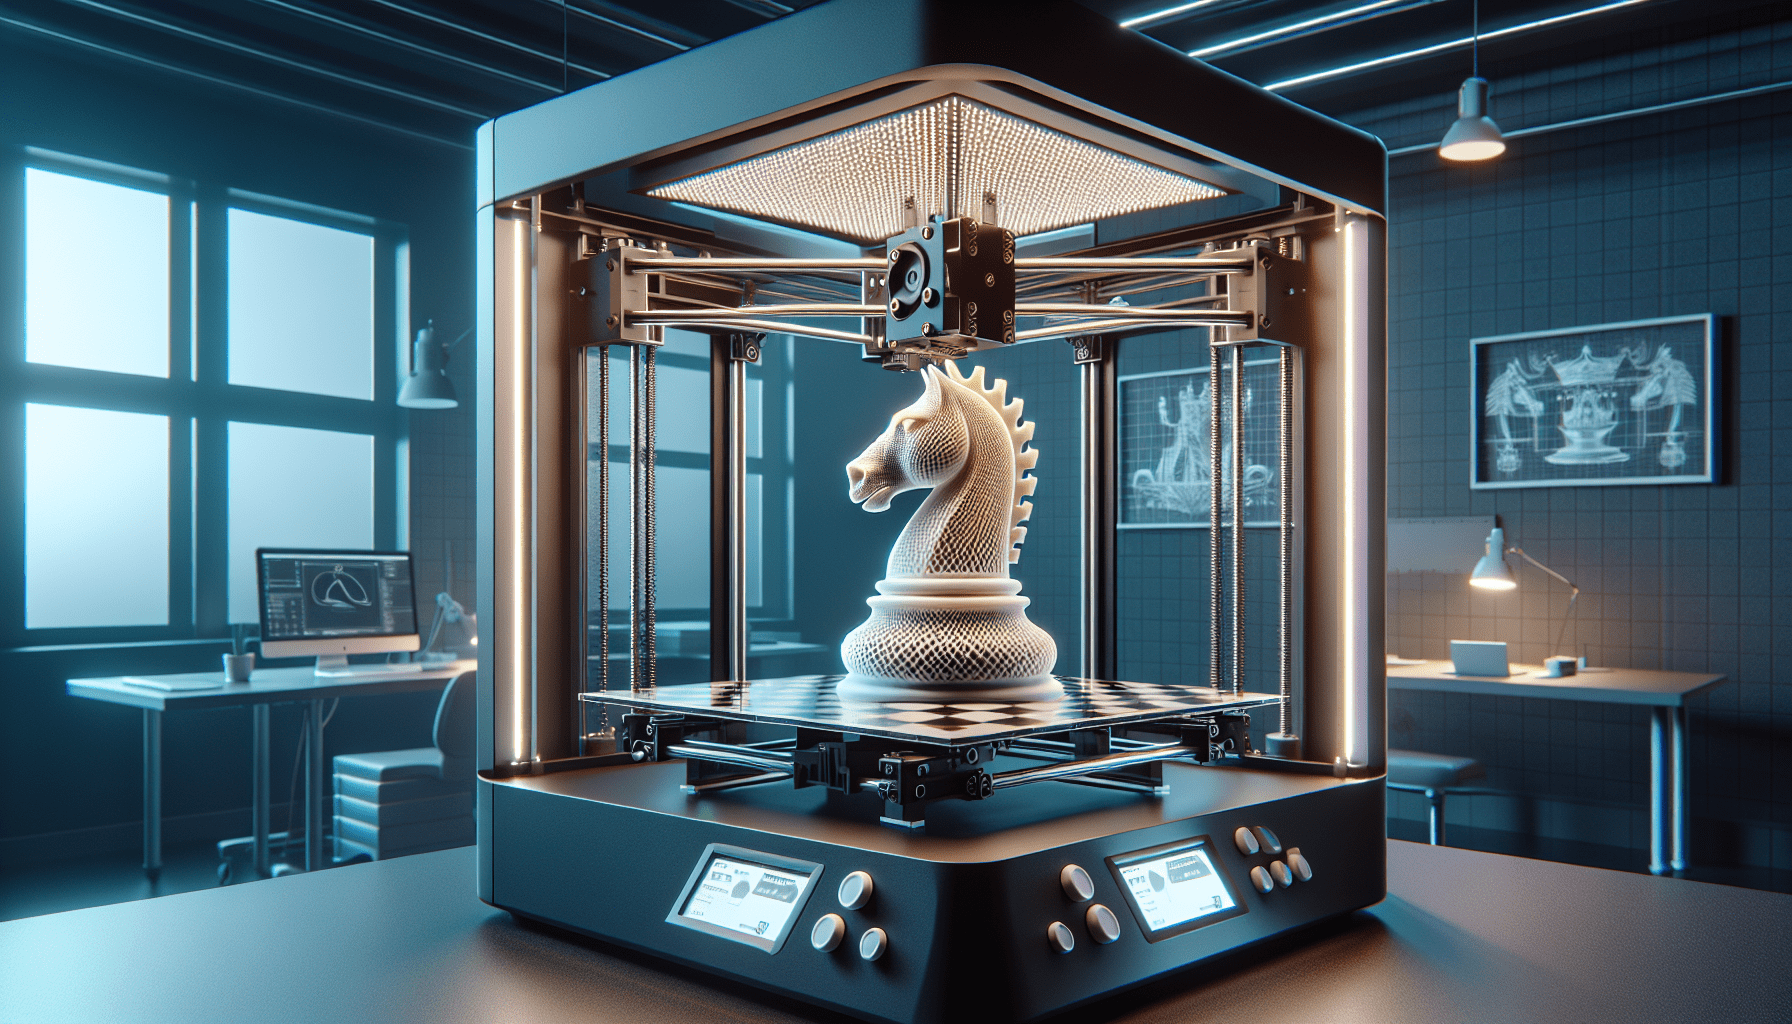
3D printing has revolutionized various industries, including jewelry making. With the advancement of technology, resin printers have become more accessible and affordable, making it possible for individuals to create professional quality 3D waxes for their jewelry businesses. In this article, we will guide you through the process of choosing and using the Mars Elegoo Resin 3D Printer, as well as discuss the benefits and limitations of resin printing for jewelry making.
Introduction to the Mars Elegoo Resin 3D Printer
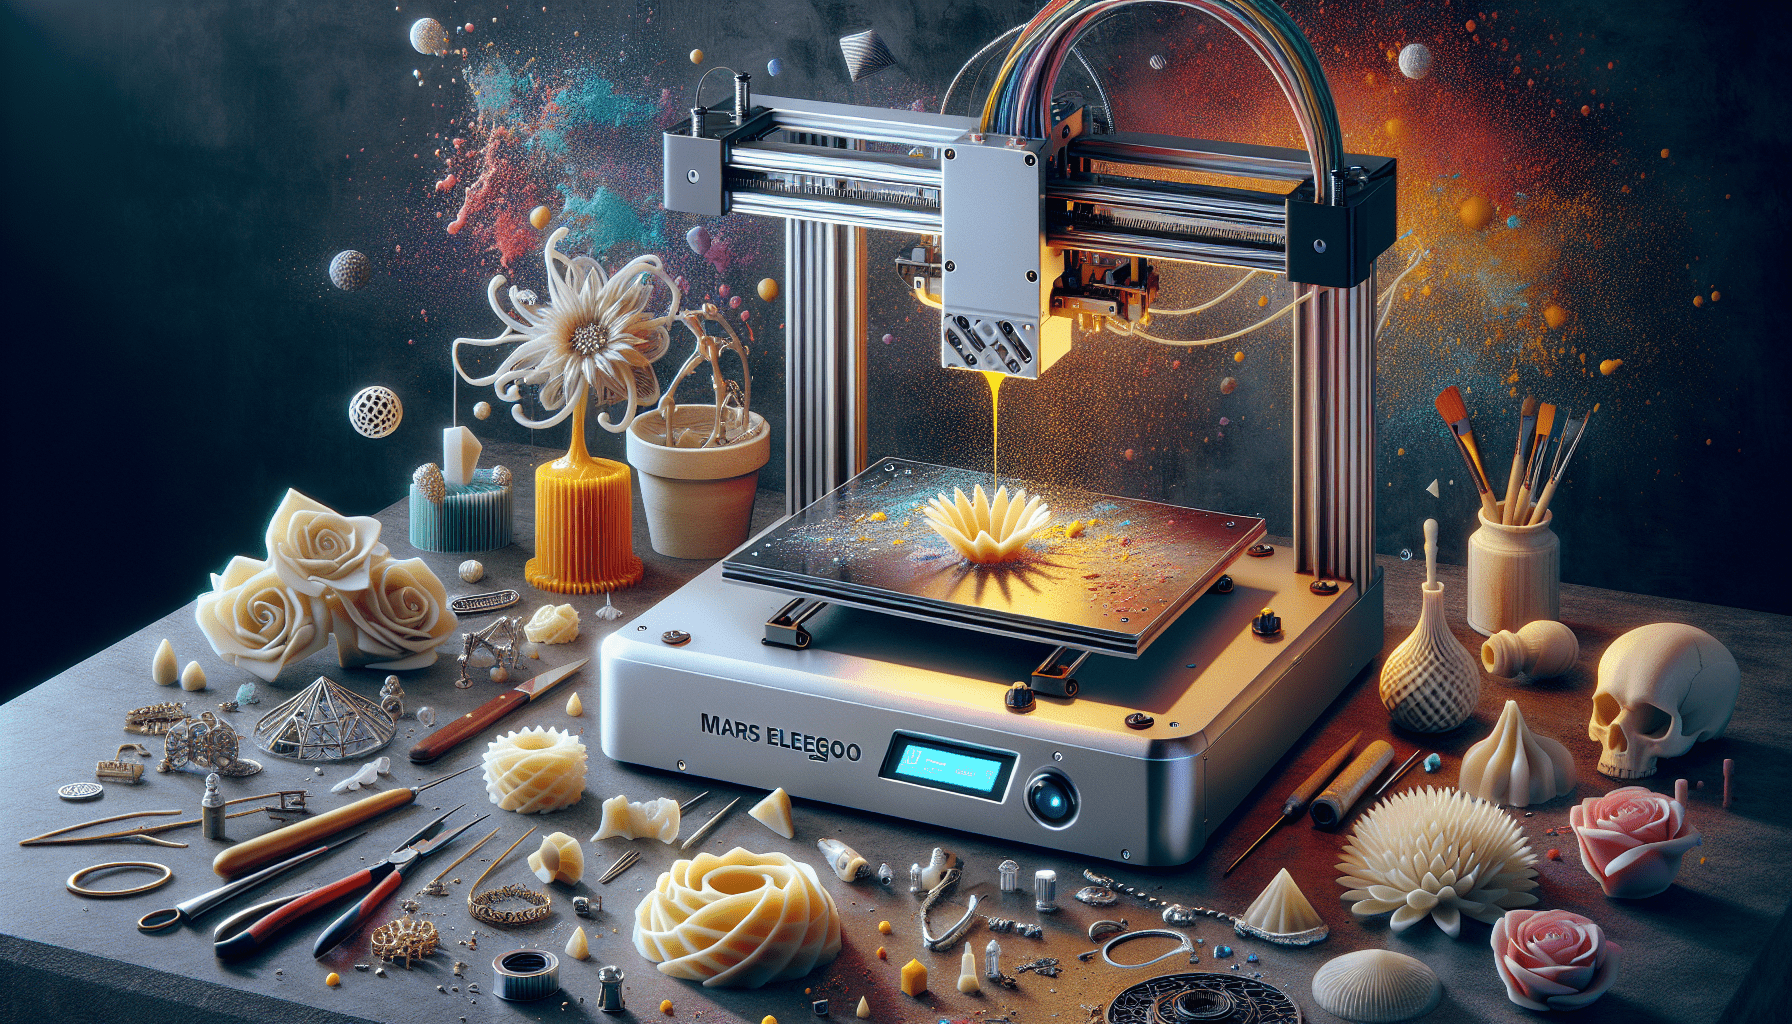
The Mars Elegoo Resin 3D Printer is a popular choice among jewelry makers due to its affordability and high quality output. Priced at around $200, this printer offers a cost-effective solution for those who want to venture into the world of 3D printed jewelry. Its sleek design and user-friendly interface make it a great option for beginners and experienced users alike.
Benefits of Using a Resin 3D Printer for Jewelry Making
Resin 3D printers offer several advantages over traditional methods of jewelry making. Firstly, they allow for intricate and highly detailed designs to be created with ease. This level of precision is essential for jewelry pieces that require fine details and complex patterns. Additionally, resin printing saves time and resources by eliminating the need for manual labor and reducing material waste. Moreover, resin printers provide the flexibility to create customized jewelry pieces according to individual customer preferences.
Understanding the Limitations of a $200 Resin Printer
While the Mars Elegoo Resin 3D Printer offers exceptional value for its price, it is important to understand its limitations. Compared to more expensive models, it may have a smaller build volume, which limits the size of jewelry pieces that can be printed. Additionally, it may have slower print speeds and lower resolution, which can affect the printing time and level of detail in the final product. However, with proper calibration and optimization, these limitations can be minimized, allowing for high-quality prints.
Find 3D Printing Accessories Here
Selecting the Appropriate Resin
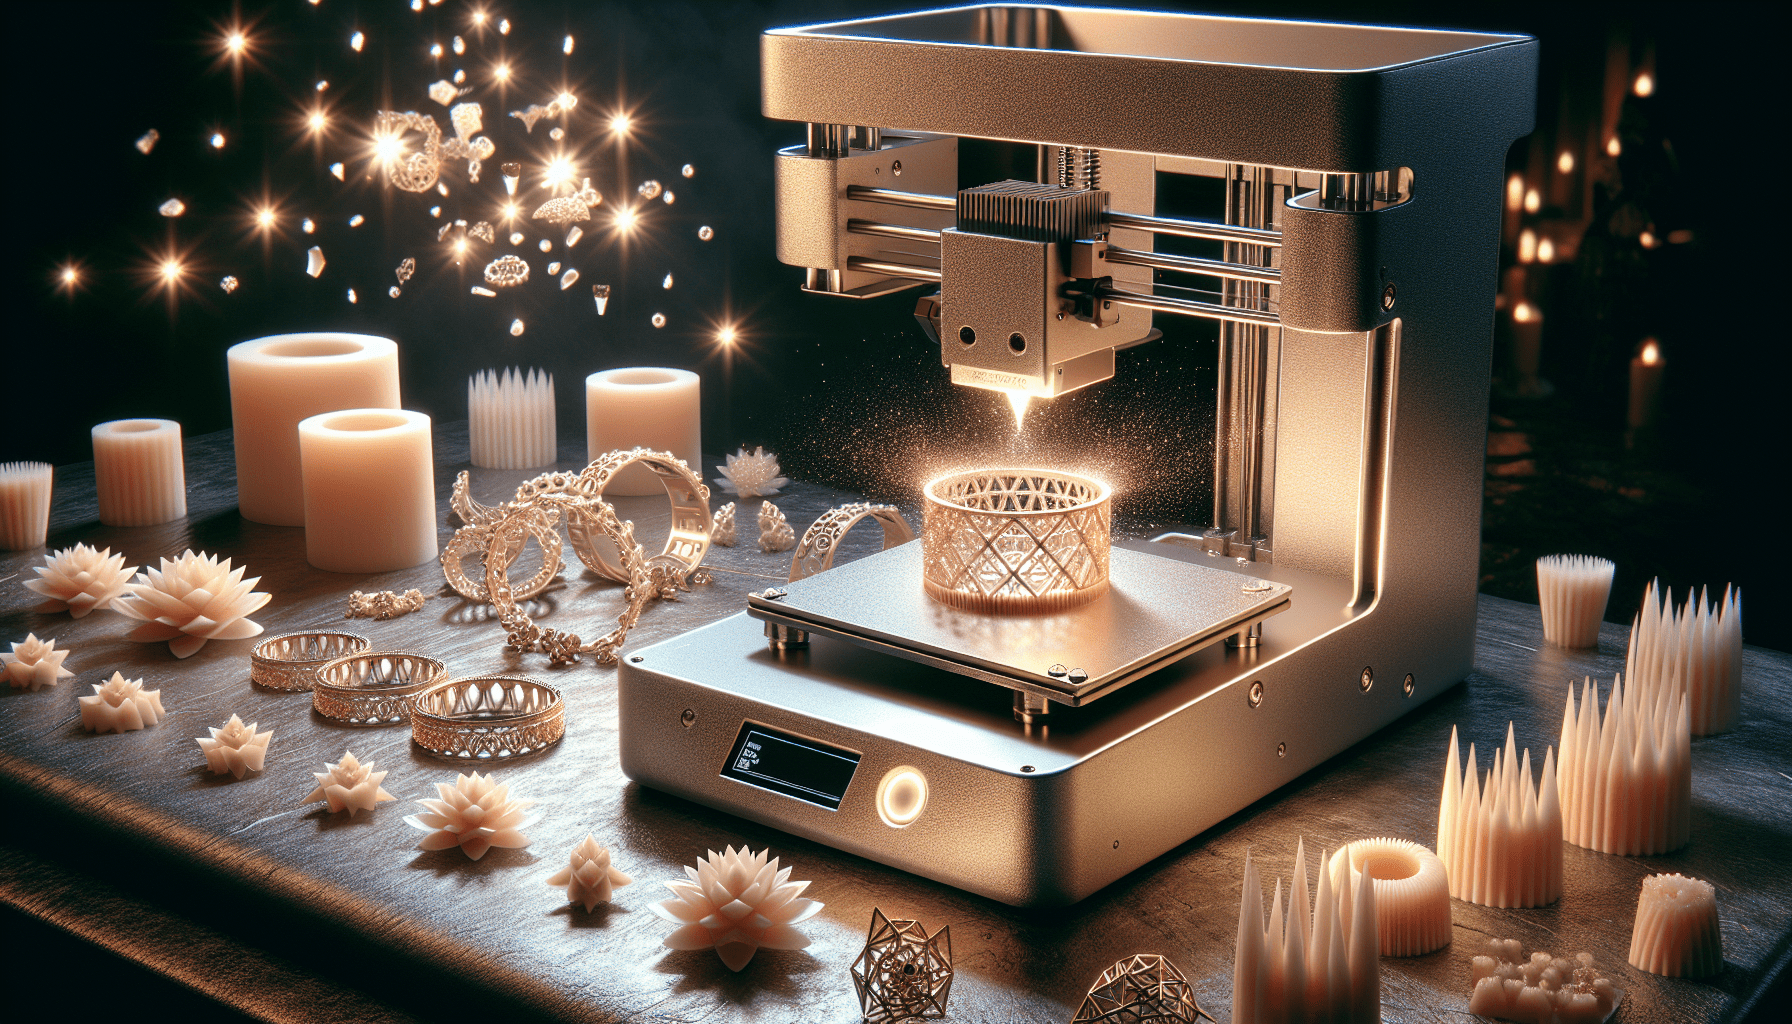
Choosing the right resin is crucial for achieving professional-quality 3D waxes for jewelry making. For jewelry applications, it is recommended to use castable resin, which is specifically designed for investment casting. Castable resin has properties that make it suitable for creating molds that can withstand high temperatures and burnout during the lost wax casting process.
Importance of Using Castable Resin for Jewelry Making
Using castable resin is essential for ensuring the success of your jewelry casting process. Its unique formulation allows for clean burnout, leaving behind a perfect mold for casting metals such as gold or silver. Unlike other types of resin, castable resin leaves minimal residue or ash, resulting in smooth and flawless jewelry pieces.
Overview of Castable Resin and Its Properties
Castable resin has specific properties that make it ideal for jewelry making. It has a low ash content, which means that it will leave minimal residue after burnout, ensuring a clean and precise casting. Additionally, castable resin has a high heat resistance, allowing it to withstand the high temperatures required for the casting process. It also has excellent detail reproduction, ensuring that all intricate features of the jewelry piece are accurately translated from the 3D model to the final product.
Recommended Brands and Types of Castable Resin
There are various brands and types of castable resin available in the market, each with its unique properties and characteristics. Some popular brands include PowerResins, Anycubic, and Nova3D. It is recommended to choose a resin specifically designed for jewelry making, as these are formulated to produce optimal results in terms of burnout, detail reproduction, and surface finish. Conduct research and read reviews to determine the best resin for your specific needs.
Setting Up the Mars Elegoo Resin Printer
Proper setup of the Mars Elegoo Resin Printer is crucial for achieving optimal results. The first step is to unbox and assemble the printer according to the manufacturer’s instructions. Ensure that all components are securely attached and in the correct position. Next, install the necessary software, which can usually be downloaded from the manufacturer’s website. This software will allow you to interface with the printer and prepare your 3D models for printing. Finally, calibrate the printer to ensure that the build plate is leveled and the printing parameters are correctly adjusted.
Preparing the Liquid Resin
The liquid resin used in resin printers requires proper preparation to achieve the best results. Understanding the proper resin-to-solvent ratio is crucial for ensuring the ideal consistency and curing properties of the resin. Follow the manufacturer’s guidelines in terms of the recommended ratio and mixing process. Additionally, it is important to degas the resin to remove any trapped air bubbles, as these can negatively impact the print quality. Properly storing and handling the resin is also essential to maintain its integrity and prevent contamination.
Downloading and Editing 3D Files
To create jewelry pieces using the Mars Elegoo Resin Printer, you will need to source high-quality 3D jewelry designs. Websites such as CD Trader Comm offer a wide range of downloadable 3D files specifically tailored for jewelry making. Once you have downloaded the desired files, you may need to edit and resize them to fit your specific needs. Software such as Rhino3D can be used for this purpose, providing tools for adjusting scale, orientation, and other parameters to ensure compatibility with the Mars Elegoo Printer.
Printing the 3D Model
Before printing the 3D model, it is essential to properly prepare the printer bed for optimal adhesion. Applying an appropriate adhesion solution, such as a thin layer of resin or specialized adhesion sheets, can help prevent the printed model from detaching during the printing process. Once the printer bed is ready, load the prepared liquid resin into the printer and start the printing process. Monitor the print progress and make any necessary adjustments to the print settings to ensure the desired level of detail and quality.
Removing Supports and Post-Processing
After the 3D model has finished printing, it is necessary to remove the supports that were added during the printing process. Carefully remove the supports using pliers or other suitable tools, ensuring not to damage the printed model. This step requires precision and patience to avoid any imperfections in the final result. Once the supports are removed, it is recommended to soak the printed model in isopropyl alcohol for cleaning. This removes any residual uncured resin and prepares the model for the next stage of post-processing.
Curing the Model under UV Light or Sunlight
Curing the printed model is crucial to achieve its final hardness and stability. This can be done using a UV light curing chamber or natural sunlight. Place the printed model in the curing chamber or expose it to sunlight for the recommended amount of time, as specified by the resin manufacturer. Ensure that the model is evenly exposed to the light source to ensure uniform curing. This step enhances the strength and durability of the printed model, making it suitable for further processing.
Ensuring Jewelry Wax Quality
Inspecting the printed model for flaws or imperfections is essential to ensure the quality of the resulting jewelry piece. Carefully examine the model and make any necessary adjustments or corrections before proceeding with the next steps. This includes filling any gaps, smoothing rough surfaces, or refining intricate details. Taking the time to refine the 3D wax model will ensure a smooth and detailed final product that is ready for the lost wax casting process.
Showcasing the Finished Jewelry Pieces
Once the 3D wax models have been prepared and refined, it is time to showcase the finished jewelry pieces. Various polishing and finishing techniques can be employed to achieve the desired aesthetic and surface qualities. Techniques such as tumbling, sanding, and buffing can be used to create a polished and lustrous finish. Display the range of jewelry designs that have been created using the Mars Elegoo Resin Printer, highlighting the professional quality that can be achieved with a $200 printer.
Conclusion
In conclusion, resin 3D printing has opened up new possibilities for jewelry makers. The Mars Elegoo Resin 3D Printer provides an affordable and efficient option for creating professional-quality 3D waxes for jewelry businesses. By selecting the appropriate resin, setting up the printer correctly, and following the necessary steps for preparing and post-processing the printed models, stunning jewelry pieces can be created. Embrace the world of 3D printed jewelry and explore the endless opportunities it offers.
Maintain Your 3D Printer with these Tools

Creality 2kg Black & White PLA 1.75mm Filament Bundle for 3D Printing with No-Tangling Strong Bonding and Overhang Performance, Accuracy +/- 0.02mm
$23.99 (as of May 7, 2025 20:40 GMT +00:00 - More infoProduct prices and availability are accurate as of the date/time indicated and are subject to change. Any price and availability information displayed on [relevant Amazon Site(s), as applicable] at the time of purchase will apply to the purchase of this product.)
Creality Wood Filament PLA, 3D Printer Filament 1.75 mm, Smooth Silk Texture, Toughness, 1kg(2.2lbs)/Spool Printing Filament, for All FDM Printers (Wood)
$23.99 (as of May 7, 2025 20:40 GMT +00:00 - More infoProduct prices and availability are accurate as of the date/time indicated and are subject to change. Any price and availability information displayed on [relevant Amazon Site(s), as applicable] at the time of purchase will apply to the purchase of this product.)
Official Creality Ender 3 3D Printer Fully Open Source with Resume Printing Function DIY Printers Build Volulme 8.66x8.66x9.84 inch
$179.00 (as of May 7, 2025 20:40 GMT +00:00 - More infoProduct prices and availability are accurate as of the date/time indicated and are subject to change. Any price and availability information displayed on [relevant Amazon Site(s), as applicable] at the time of purchase will apply to the purchase of this product.)
Creality K1C 3D Printer, 2024 New Version 3D Printers with 600mm/s Fast Printing Speed, Support Carbon Fiber Filament 300℃ High-Temp Print, Auto Leveling and Clog-Free Direct Extruder
$559.00 (as of May 7, 2025 20:40 GMT +00:00 - More infoProduct prices and availability are accurate as of the date/time indicated and are subject to change. Any price and availability information displayed on [relevant Amazon Site(s), as applicable] at the time of purchase will apply to the purchase of this product.)