ANYCUBIC Photon Mono M7 Resin 3D Printer, 10.1 inch 14K HD Screen with COB LighTurbo 3.0 System, 150mm/h Fast Printing, Intelligent 3D Resin Printer, Build Volume of 8.77''x4.96''x9.05''
$299.99 (as of June 21, 2025 23:57 GMT +00:00 - More infoProduct prices and availability are accurate as of the date/time indicated and are subject to change. Any price and availability information displayed on [relevant Amazon Site(s), as applicable] at the time of purchase will apply to the purchase of this product.)This article titled “How to Model in Solidworks and 3D Printing Tutorial” presents a video tutorial by QuikDIY that guides viewers through the process of designing a remote control case using Solidworks and transferring the files to Ultimaker Cura for 3D printing. The tutorial offers engineering tips and mentions that the information provided can also be used as a reference for other CAD software such as Autodek Inventor and Sketchup. The article provides a step-by-step description of the design process, including changing units, drawing dimensions, extruding features, adding fillets, and creating a hollow case. It also mentions using Ultimaker Cura software to open the Solidworks file and provides an overview of different settings for 3D printing.
Step 1: Obtaining Dimensions
Before you begin designing the remote control case in SolidWorks, you first need to obtain the dimensions of the remote controller. Measure the height, width, and thickness of the remote controller using a ruler or caliper.
Step 2: Opening SolidWorks
Once you have gathered the necessary dimensions, open SolidWorks on your computer. Create a new assembly in SolidWorks to begin the design process.

Find 3D Printing Accessories Here
Step 3: Changing Units
In SolidWorks, it is important to work with accurate and precise measurements. To ensure this, change the units to millimeters. This will allow for easier design of small parts and provide more accuracy in the final 3D printed product.
Step 4: Drawing the Outer Case
To start designing the outer case of the remote controller, draw a rectangle on the workspace. Use the smart dimensions feature to set the dimensions of the rectangle based on the measurements you obtained earlier. Next, extrude the rectangle to the total thickness of 6.9mm using the extrude tool. This will give the case its initial shape. Finally, add fillets to the edges of the case to create a more realistic and visually appealing appearance.

Step 5: Creating the Case Part
To create the case part that will hold the remote controller, insert a new part in SolidWorks and select the top plane as the starting point. Draw a rectangle on the top plane and make it flush with the top of the case. This will serve as the base of the case. Create reference lines to define the thickness of the case and set the case thickness to 3mm. Design a gap of 2mm between the remote and the case to allow for easy insertion and removal of the remote controller. Finally, ensure that the total height of the case remains flush with the top to maintain a sleek and seamless design.
Step 6: Designing the Case
To further enhance the design of the case, create a rectangle for grabbing the case from the middle. Add dimensions and curvature to make it look modern and square. This will not only add visual interest to the case but also provide a functional grip for users. Additionally, ensure that the design allows for easy access to the remote controller by creating a cutout or opening in the case.
Step 7: Creating a Solid
Once you have completed the sketch of the case in SolidWorks, it is time to convert the sketch into a solid model. This step is crucial as it transforms the 2D design into a 3D object that can be printed.
Step 8: Making the Case Hollow
To optimize the design for 3D printing, consider making the case hollow. Draw another rectangle on the top of the case and perform an extrude cut to remove material. Offset the cut by 3mm from the bottom surface to maintain a consistent wall thickness. This will help reduce material and printing time while still allowing for easy access to the remote controller.
Step 9: Saving and Exporting
Once you are satisfied with the design of the remote control case, save it as a separate file. Open Ultimaker Cura software, a popular slicing software used for 3D printing. If necessary, install a plugin that allows you to open SolidWorks files directly in Cura. Alternatively, you can export the design as an STL file, a common file format for 3D printing.
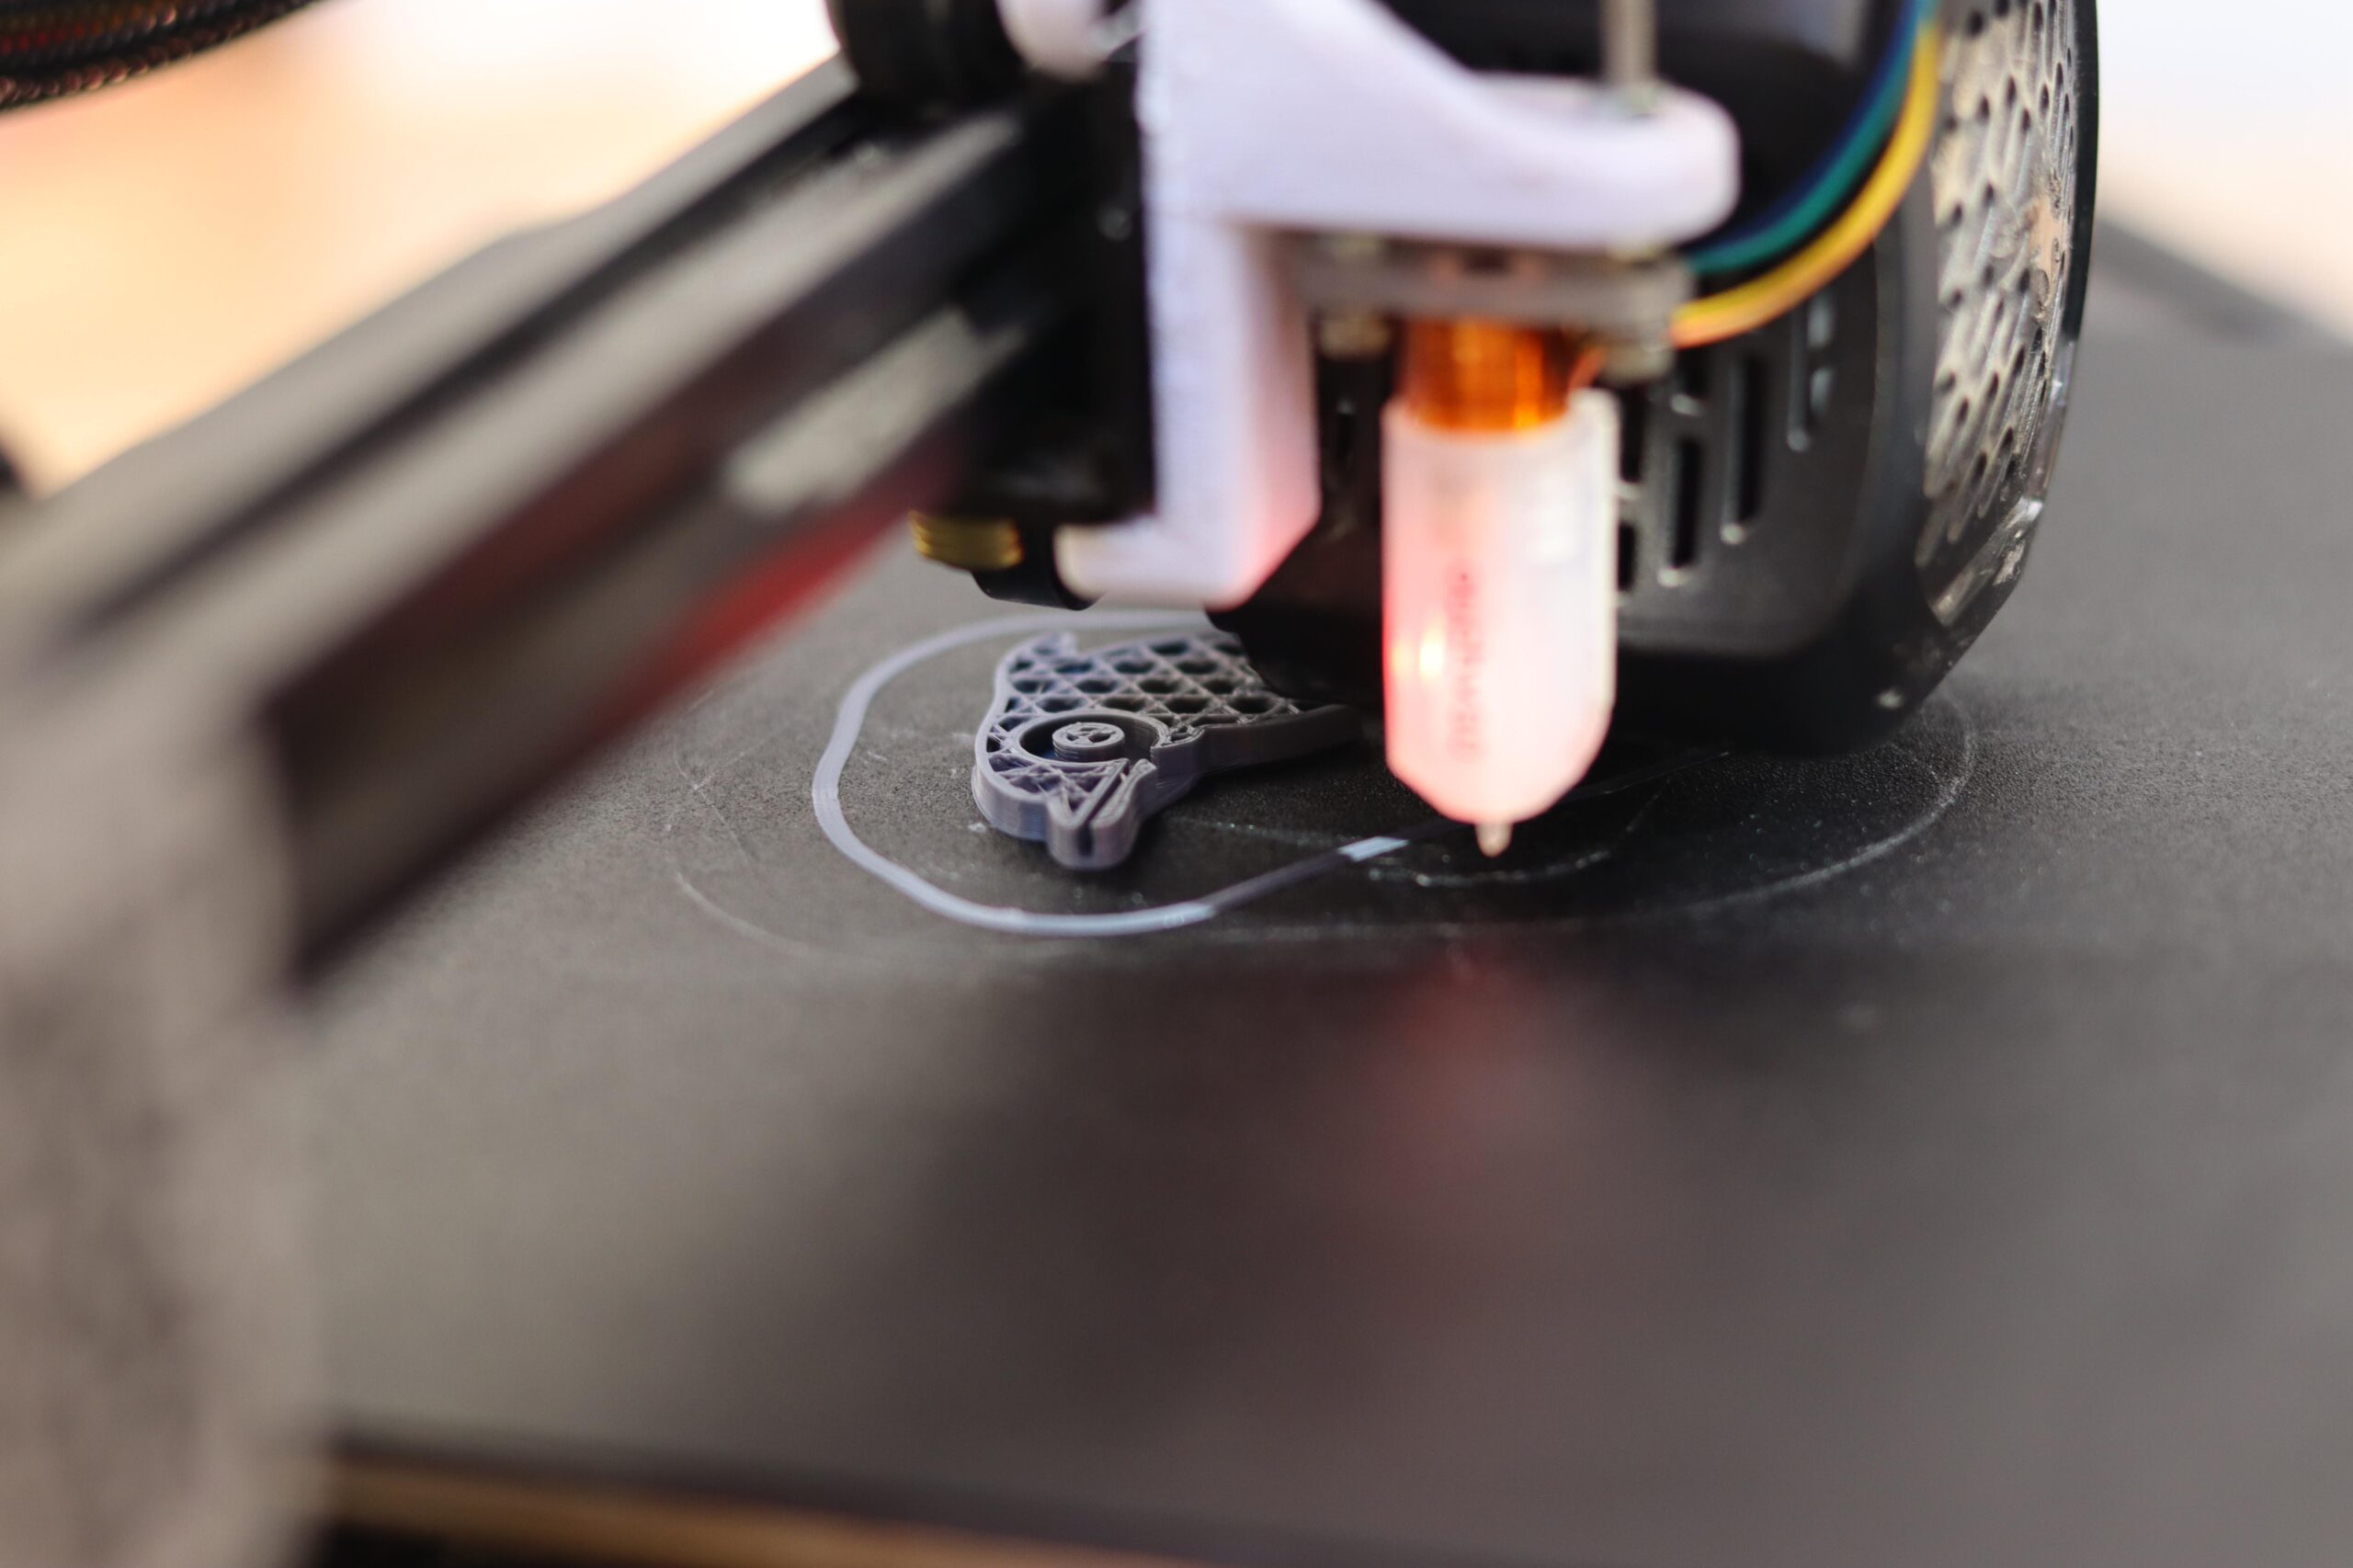
Step 10: 3D Printing
With the design file ready, open the SolidWorks file in Ultimaker Cura. Adjust the settings in Cura based on your specific 3D printing machine, such as print speed and material type. It is important to consider the appropriate temperature for the nozzle and bed to ensure successful printing. Once the settings are configured, start the printing process and wait for it to complete. Depending on the complexity and size of the remote control case, the printing process may take several hours.
In conclusion, modeling and 3D printing a remote control case requires careful measurement, design, and preparation in SolidWorks. By following the outlined steps and adjusting settings in Ultimaker Cura, you can create a functional and visually appealing remote control case that fits your specifications.
Maintain Your 3D Printer with these Tools
ELEGOO PLA Plus Filament 1.75mm White 2KG, PLA+ Tougher and Stronger 3D Printer Filament Pro Dimensional Accuracy +/- 0.02mm, 2 Pcs 1kg Spool(2.2lbs) Fits for Most FDM 3D Printers
$28.98 (as of June 19, 2025 23:45 GMT +00:00 - More infoProduct prices and availability are accurate as of the date/time indicated and are subject to change. Any price and availability information displayed on [relevant Amazon Site(s), as applicable] at the time of purchase will apply to the purchase of this product.)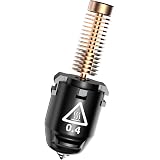
FLASHFORGE Adventurer 5M Nozzle, 0.4mm 280℃ High Flow 32mm³/s Nozzle for Stable High-Speed Printing, Adventurer 5M Pro Hotend, 3S Quick-Detachable Nozzle
$35.00 (as of June 21, 2025 23:49 GMT +00:00 - More infoProduct prices and availability are accurate as of the date/time indicated and are subject to change. Any price and availability information displayed on [relevant Amazon Site(s), as applicable] at the time of purchase will apply to the purchase of this product.)
Anycubic Kobra S1 Combo 3D Printer, 4 Stunning Multicolor with Anycubic ACE PRO, 600mm/s High Speed and 320℃ Hotend Free-Clog Extruder, Intelligent Drying While Printing, Built-in Camera 250*250*250mm
$599.99 (as of June 21, 2025 23:57 GMT +00:00 - More infoProduct prices and availability are accurate as of the date/time indicated and are subject to change. Any price and availability information displayed on [relevant Amazon Site(s), as applicable] at the time of purchase will apply to the purchase of this product.)
Creality CR-Ferret SE 3D Scanner for 3D Printing, Anti-Shake, 0.1Mm Precision, 30FPS Scanning Speed, Full-Color, Upgraded Desktop 3D Scanner for Body Hair Black Metal Non-Reflective Objects
$319.00 (as of June 21, 2025 23:58 GMT +00:00 - More infoProduct prices and availability are accurate as of the date/time indicated and are subject to change. Any price and availability information displayed on [relevant Amazon Site(s), as applicable] at the time of purchase will apply to the purchase of this product.)