Creality Official K2 Plus Combo 3D Printer, Multi Color Printing with CFS 600mm/s High-Speed Full Auto-Leveling Dual Al Camera Next-Gen Direct Drive Extruder Build Volume 13.78x13.78x13.78 inch
$1,349.00 (as of June 19, 2025 23:45 GMT +00:00 - More infoProduct prices and availability are accurate as of the date/time indicated and are subject to change. Any price and availability information displayed on [relevant Amazon Site(s), as applicable] at the time of purchase will apply to the purchase of this product.)The video titled “I fully automated my 3D Printer!” by Arne Bornheim documents the process of automating a 3D printer. This video, originally made in the German language, explores the journey of the author in attempting to teach the printer to automatically remove finished prints and start new ones. The video provides Gcode and Mainsail settings, although adjustments may be necessary. Throughout the video, the author discusses the challenges faced and the solutions found, such as improving print bed adhesion and using a different slicer. Ultimately, after testing and adjustments, the printer successfully printed multiple items overnight.
In the video, Arne Bornheim showcases his experience of automating 3D printing with a Creality Ender 3v3 printer. This is not a comprehensive tutorial but rather a documentation of his journey. The author addresses the issue of manually removing finished prints and starting new ones, which can be time-consuming. By using custom G-Code and making various adjustments, he was able to teach the printer to push off old prints and automatically commence new prints. The video also highlights the challenges faced in rooting the printer, finding a larger filament spool, and installing a web interface.

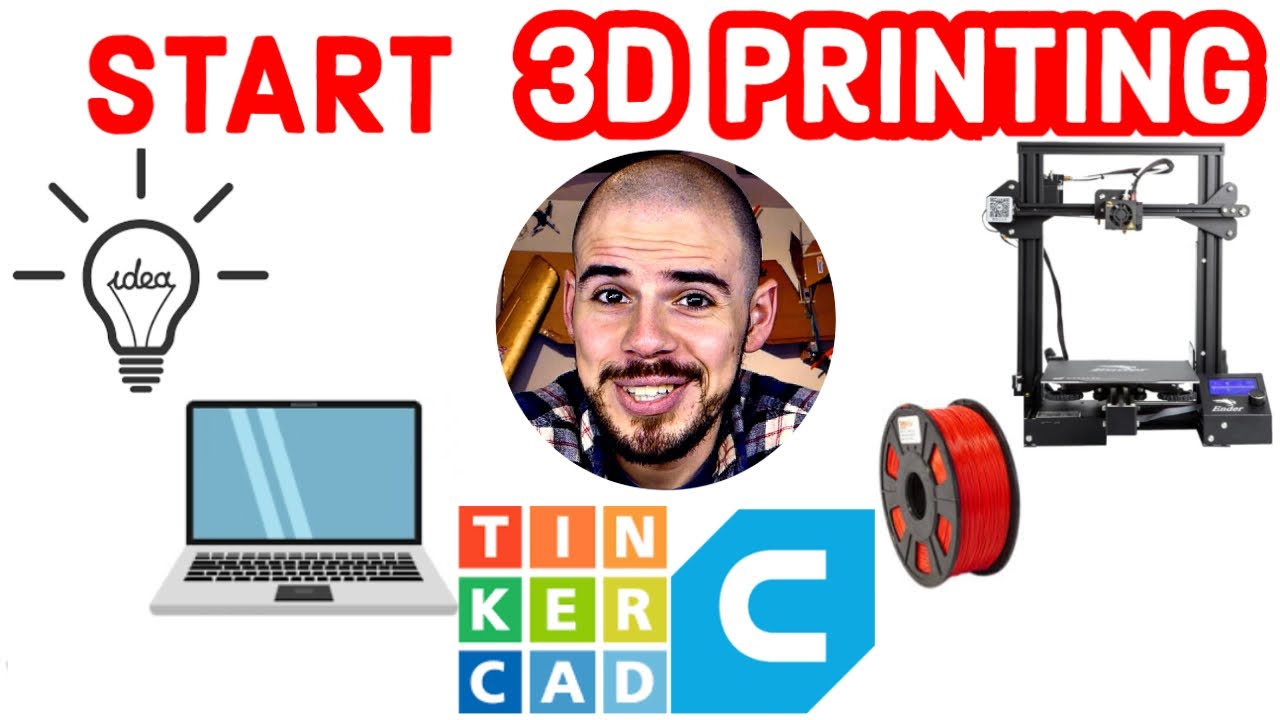
Choosing the Right 3D Printer
When it comes to choosing the right 3D printer, it is important to consider your printing needs. Think about the type of objects you plan to print, the size and complexity of those objects, and the materials you want to use. This will help you determine the necessary specifications for your printer.
Once you have a clear understanding of your printing needs, it is time to research different printer models. Look for printers that align with your requirements and budget. Consider factors such as build volume, resolution, printing speed, and compatibility with different materials. This research phase will allow you to gather information about the various printers in the market and make an informed decision.
In addition to researching printer models, it is crucial to check customer reviews and ratings. Reading reviews from other users can provide valuable insights into the overall quality and performance of a specific printer. Pay attention to feedback regarding reliability, print quality, ease of use, and customer support. This will help you gauge whether a printer is suitable for your needs and if it has a track record of satisfied customers.
Once you have narrowed down your options, it is time to evaluate the capabilities of the printers in further detail. Look for features such as heated beds, dual extruders, and touchscreen interfaces. Assess the software compatibility and ease of use. Additionally, consider the availability and cost of replacement parts and filaments. This evaluation phase will ensure that the printer you choose has all the necessary capabilities to fulfill your printing requirements.
Understanding G-Code and Mainsail
To successfully automate your 3D printer, it is crucial to understand the basics of G-Code. G-Code is a programming language that communicates instructions to your printer on how to move and extrude filament. Learning G-Code will enable you to customize and optimize the instructions for your specific needs. There are many resources available online and tutorials that can help you learn G-Code.
Once you are familiar with G-Code, it is essential to familiarize yourself with Mainsail. Mainsail is a web-based interface that allows you to control and monitor your 3D printer remotely. It provides a user-friendly interface to upload and manage print jobs, adjust printer settings, and monitor progress. Take the time to explore Mainsail’s features and functions to fully utilize its capabilities.
When using G-Code and Mainsail together, you can achieve automation and improve your 3D printing process. G-Code customization enables you to incorporate specific commands and parameters to automate tasks such as print removal and starting new prints. Mainsail provides the platform to implement and manage these automated processes effectively. By leveraging the power of G-Code and Mainsail, you can streamline your 3D printing workflow and increase efficiency.
Find 3D Printing Accessories Here
Overcoming Challenges with Filament Size
One common challenge in 3D printing is ensuring compatibility between the filament size and your printer. It is important to identify the compatible filament size for your printer before starting a print job. Check the manufacturer’s specifications or user manual to determine the filament diameter that your printer supports. Using a filament with the incorrect size can lead to feeding and extrusion issues.
If you find that your printer requires a larger spool of filament, you will need to find a suitable solution. Look for larger spools that are compatible with your printer’s filament holder or consider investing in an external filament holder. It is crucial to ensure that the larger spool fits securely and does not interfere with the printer’s functionality.
In addition to using a larger spool, it is essential to ensure proper filament feeding and extrusion. Improper feeding can result in filament jams or inconsistent extrusion, leading to failed prints. Make sure the filament is properly loaded into the printer’s extruder and that the extruder is clean and free from any debris. Regularly inspect the filament path for any obstructions and clean as necessary.
Rooting the Printer and Installing a Web Interface
To automate your 3D printer effectively, you may need to root your printer and install a web interface. Rooting a printer refers to gaining administrative access to the printer’s firmware, allowing for customization and installation of additional software. However, it is important to note that rooting your printer may void the warranty or potentially damage the printer if not done correctly. Proceed with caution and ensure that you fully understand the risks involved.
Choose a suitable web interface that aligns with your automation goals. Look for a web interface that offers features such as print queue management, remote monitoring, and advanced customization options. There are several web interface options available, such as OctoPrint, Repetier-Server, and Mainsail. Research the features and user experiences of these interfaces to determine the best fit for your needs.
Follow the installation instructions provided by the web interface’s documentation or online tutorials. These instructions may vary depending on the specific printer model and web interface chosen. Pay attention to any prerequisites or compatibility requirements. Take your time to complete the installation process accurately and ensure that all necessary dependencies and configurations are properly set up.
After the installation, it is crucial to test the connectivity and functionality of the web interface. Make sure you can access the interface from a web browser and navigate through the different features. Test basic functions such as uploading and monitoring a print job. Troubleshoot any connectivity issues or inconsistencies to ensure the web interface is fully functional.

Adjusting Settings for Automatic Print Removal
Automating the print removal process involves adjusting specific settings in your G-Code. Start by identifying the required settings for automatic print removal. This may include adjusting the print head’s position or activating specific commands to detach the print from the bed. Consult the documentation of your printer and G-Code resources to find the appropriate settings for your specific printer model.
Once you have identified the necessary settings, make the necessary changes to your G-Code. This involves editing the G-Code file using a text editor or an integrated development environment (IDE) that supports G-Code syntax highlighting. Locate the relevant sections in the G-Code file and modify the values or add new commands as needed.
After making the changes, it is crucial to test and troubleshoot the automated print removal process. Monitor the printer during a print job to ensure that the print is successfully detached from the bed at the end of the job. Pay attention to any errors or inconsistencies that may indicate issues with the settings. Adjust the settings as necessary and repeat the testing process until the automated print removal is functioning as desired.
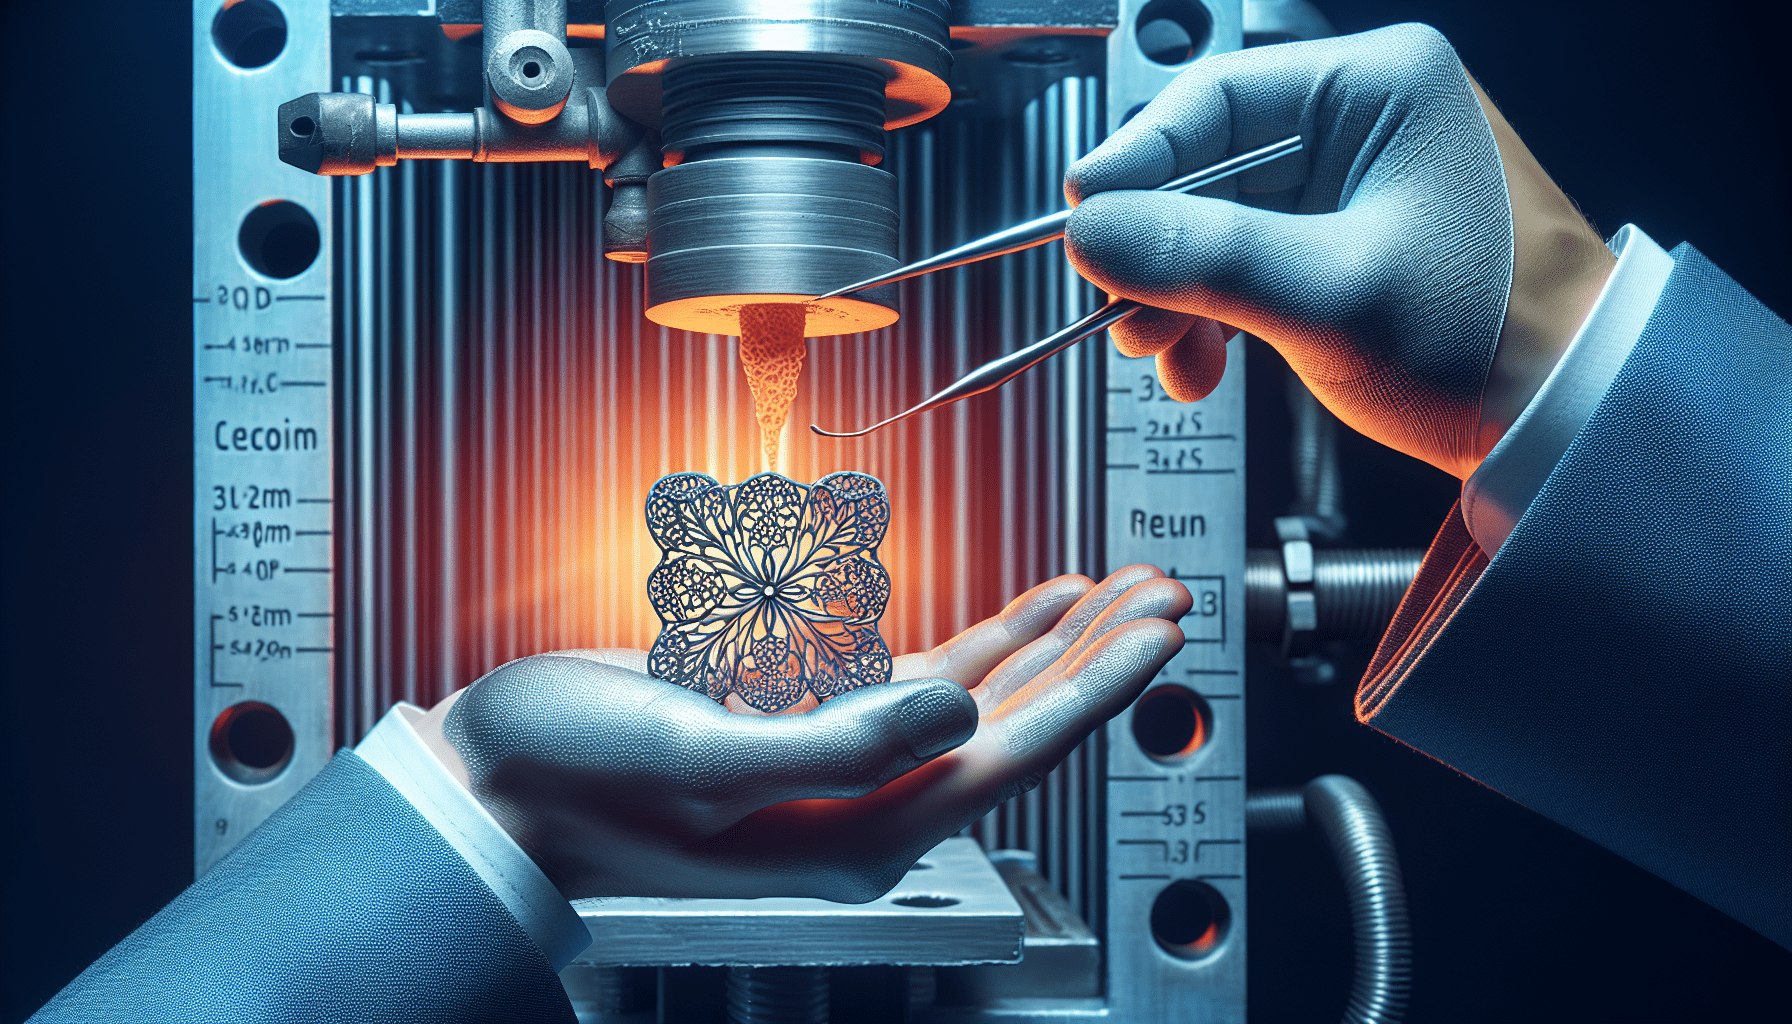
Improving Print Bed Adhesion
Achieving good print bed adhesion is essential for successful 3D prints. Poor adhesion can lead to warped or detached prints, resulting in failed print jobs. Address common issues with print bed adhesion by following specific techniques and practices.
One common technique is to level the print bed properly. Use the printer’s manual or software-assisted leveling features to ensure that the print bed is even and aligned correctly. Make adjustments to the leveling screws or knobs until the print bed is properly leveled.
Experiment with different bed adhesion techniques to find the one that works best for your printer and materials. Some popular methods include using a print bed adhesive such as hairspray, glue stick, or specialized bed adhesion products. Apply a thin layer of the adhesive to the print bed before starting a print job. This can help improve the adhesion between the print and the bed.
Consider using adhesive surfaces or products specifically designed for improving print bed adhesion. These surfaces, such as PEI sheets or build plates with texture or coatings, can provide better grip and adhesion for prints. Research the available options and choose a surface that is compatible with your printer and materials.
Regularly clean and maintain the print bed to ensure optimal adhesion. Remove any residue or debris that may accumulate on the bed between prints. This can be done using isopropyl alcohol or a mild cleaning solution. A clean print bed surface will promote better adhesion and reduce the chances of print failures.
Exploring Different Slicers
Slicers play a crucial role in the 3D printing process as they convert 3D models into printable instructions (G-Code). Research popular slicer software options and compare their features and capabilities. Some popular slicers include Ultimaker Cura, PrusaSlicer, and Simplify3D. Look for slicers that are compatible with your printer model and offer the features you require.
When comparing slicers, consider factors such as ease of use, supported file formats, customizability of slicing settings, and compatibility with various printers. Some slicers offer advanced features like variable layer heights, infill patterns, and supports generation. Evaluate these features based on your specific printing needs and desired print quality.
Choose a slicer that suits your needs and preferences. It may be beneficial to download and test different slicers to get a better understanding of their user interfaces and capabilities. Take the time to explore the various settings and experiment with different slicing configurations to achieve optimal print quality.
Optimize slicing settings for better print quality by considering factors such as layer height, infill density, print speed, and support structures. Tweaking these settings can significantly impact the final print quality and performance. Take a systematic approach to testing and adjusting the slicing settings to find the optimal balance between print quality and print time.
Testing and Adjusting the Automated Printing Process
When automating your 3D printing process, it is crucial to perform test prints with the automated settings. Choose a simple and relatively quick print model to test the automation features. This will allow you to observe and analyze the results without investing excessive time and resources.
Observe the automated printing process closely. Monitor the print bed adhesion, the print’s progress, and any automated actions such as print removal and starting new prints. Assess the overall print quality, accuracy, and consistency. Look for any issues or errors that may arise during the automated process.
Analyze the results of the test prints and compare them to your expectations and desired outcomes. Identify any areas for improvement, such as print bed adhesion issues, print consistency, or errors in automation sequences. Make the necessary adjustments to the settings, G-Code, or slicer configurations to address these issues.
Iterate the testing and adjustment process as needed until you are satisfied with the automated printing process. This may involve multiple rounds of testing, troubleshooting, and refinement. Take notes and document any changes made during each iteration. This documentation will serve as a reference for future improvements or troubleshooting steps.
Printing Multiple Items Overnight
Printing multiple items overnight can significantly increase productivity and efficiency. To do so successfully, it is essential to prepare ahead of time and optimize your printer settings.
Prepare multiple print jobs in advance by creating a print queue. This involves selecting multiple models and organizing them in the desired printing order. Some web interfaces or slicer software offer print queue functionality, while others may require manual organization. Plan the printing order based on factors such as print duration, material compatibility, and desired output.
Optimize your printer settings for overnight printing. Adjust parameters such as print speed, layer height, and infill density to achieve the desired balance between print quality and print time. Consider factors such as energy consumption, noise levels, and printer reliability during long print durations. Experiment with different settings to find the optimal configuration for your specific printer and materials.
Ensure printer reliability and safety during extended operation. Check the printer’s vital components, such as the extruder, print bed, and filament paths, to ensure they are functioning properly and free from any obstructions. Monitor the printer for any temperature fluctuations, filament jams, or mechanical issues during the extended printing process. This vigilance will help prevent print failures or potential damage to the printer.
Monitor the printing process remotely using the web interface or other monitoring tools. Check the progress and status of each print job regularly. Monitor the print bed adhesion, filament feeding, and any automated actions. Address any issues or errors promptly to prevent further complications.
Conclusion
Automating a 3D printer can revolutionize the 3D printing process by improving efficiency, productivity, and print quality. By considering your specific printing needs, researching different printer models, and evaluating their capabilities, you can choose the right 3D printer for your needs.
Understanding G-Code and Mainsail allows you to customize your printer’s instructions and control it remotely. Learning the basics of G-Code and familiarizing yourself with Mainsail’s features and functions enable you to leverage the benefits of automation.
Overcoming challenges with filament size, rooting the printer, and installing a web interface are essential steps in the automation process. Adjusting settings for automatic print removal, improving print bed adhesion, and exploring different slicers further enhance the automation and overall print quality.
By testing and adjusting the automated printing process, you can fine-tune the settings and resolve any issues that arise. Printing multiple items overnight requires careful preparation and optimization of printer settings to ensure reliable and successful prints.
Automated 3D printing offers numerous benefits, including increased productivity, reduced manual labor, and improved print quality. Continuous learning, experimentation, and refinement are key to maximizing the potential of automation in 3D printing.
Maintain Your 3D Printer with these Tools

Creality 2kg Black & White PLA 1.75mm Filament Bundle for 3D Printing with No-Tangling Strong Bonding and Overhang Performance, Accuracy +/- 0.02mm
$28.49 (as of June 19, 2025 23:45 GMT +00:00 - More infoProduct prices and availability are accurate as of the date/time indicated and are subject to change. Any price and availability information displayed on [relevant Amazon Site(s), as applicable] at the time of purchase will apply to the purchase of this product.)
FLASHFORGE Adventurer 5M Nozzle, 0.4mm 280℃ High Flow 32mm³/s Nozzle for Stable High-Speed Printing, Adventurer 5M Pro Hotend, 3S Quick-Detachable Nozzle
$35.00 (as of June 19, 2025 23:45 GMT +00:00 - More infoProduct prices and availability are accurate as of the date/time indicated and are subject to change. Any price and availability information displayed on [relevant Amazon Site(s), as applicable] at the time of purchase will apply to the purchase of this product.)
Revopoint MetroX 3D Scanner for 3D Printing, Handheld 3D Printer Scanner Blue Laser Scan, Metrology-Grade Precision 0.01mm for Metal Dark Object, Up to 60fps Speed, Support Windows macOS, Standard
$999.00 (as of June 19, 2025 23:45 GMT +00:00 - More infoProduct prices and availability are accurate as of the date/time indicated and are subject to change. Any price and availability information displayed on [relevant Amazon Site(s), as applicable] at the time of purchase will apply to the purchase of this product.)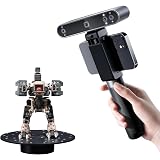
Revopoint POP3 Plus 3D Scanner for 3D Printing, Handheld 3D Printer Scanner 0.04mm Precision, Full-Color Scan for Medium Object, Support for Android/iOS/Win/MacOS, Standard
$526.99 (as of June 19, 2025 23:45 GMT +00:00 - More infoProduct prices and availability are accurate as of the date/time indicated and are subject to change. Any price and availability information displayed on [relevant Amazon Site(s), as applicable] at the time of purchase will apply to the purchase of this product.)