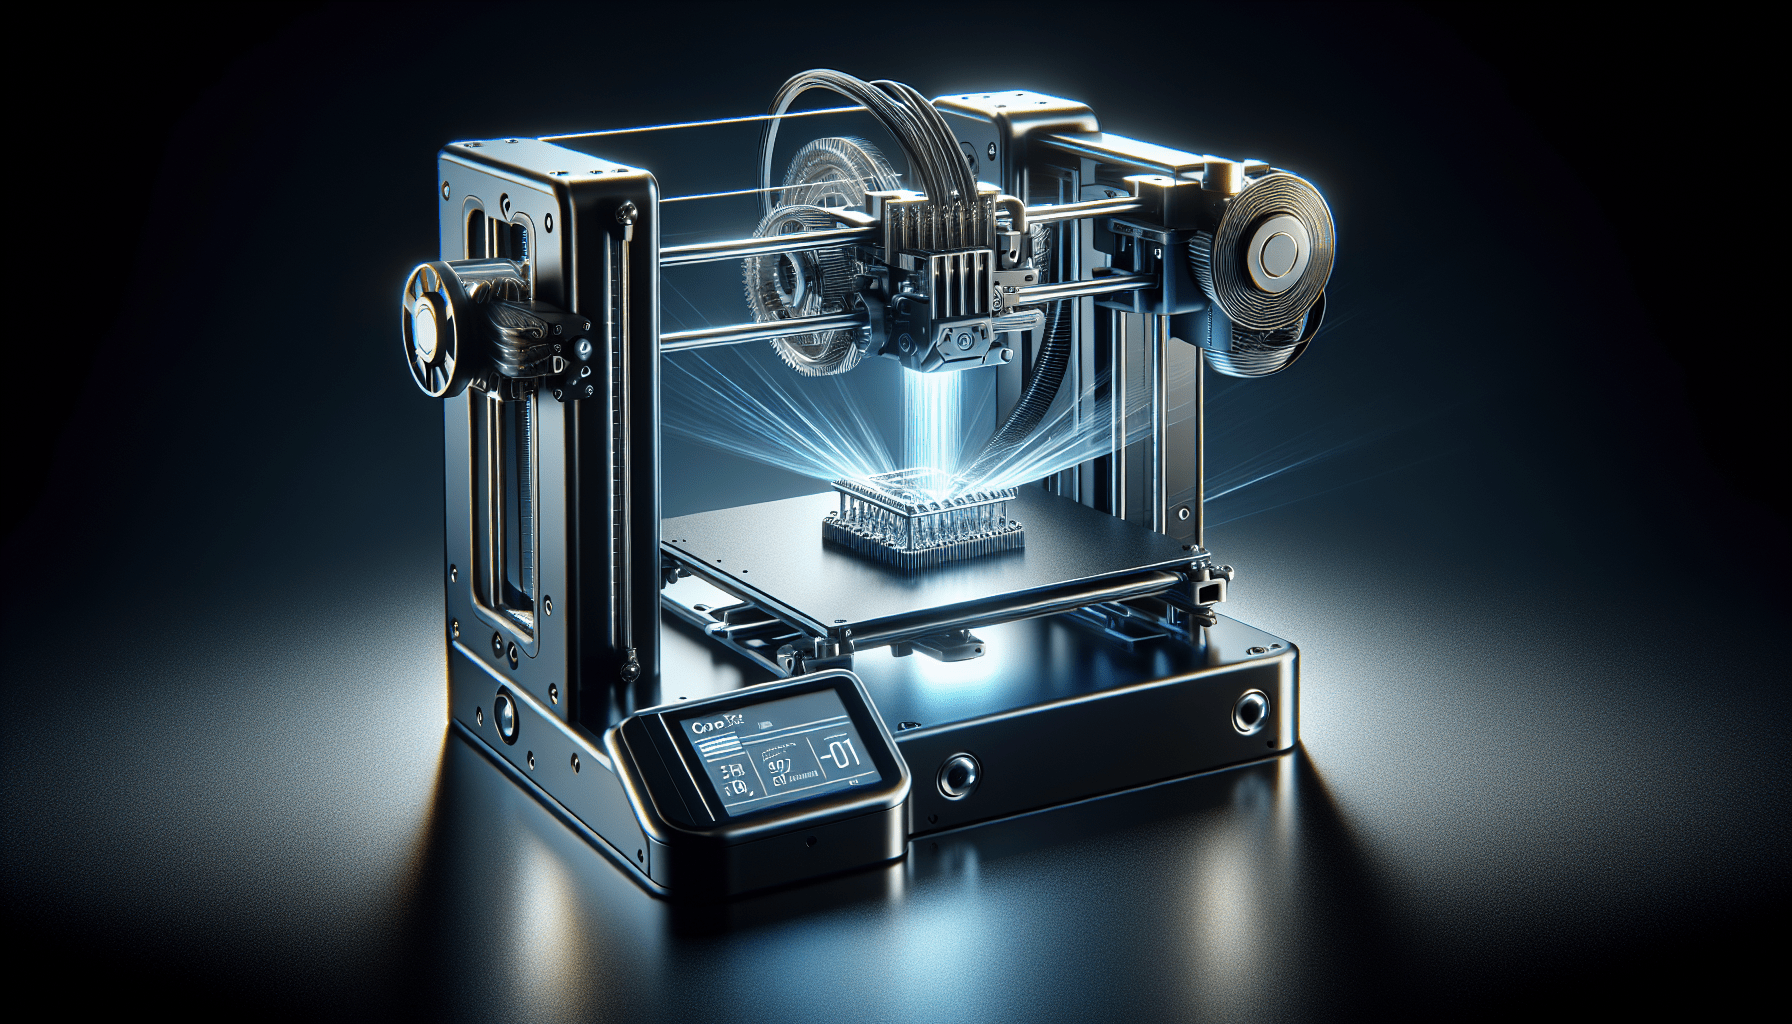
Fully Assembled Mini 3D Printer for Kids and Beginners - Complete Starter Kit with Auto Leveling 3D Printing Machine, 10M PLA Filament, and SD Card - WiFi 3D Home Printer for MAC, Windows, and Linux
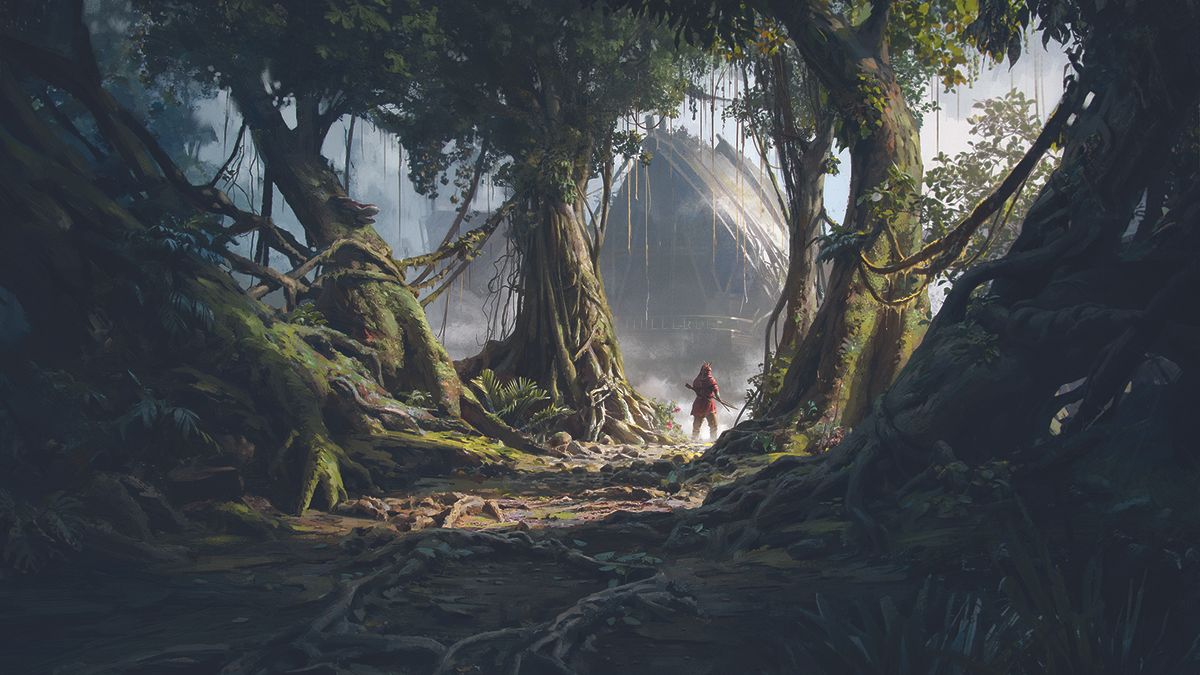
$224.99 (as of June 19, 2025 23:45 GMT +00:00 - More infoProduct prices and availability are accurate as of the date/time indicated and are subject to change. Any price and availability information displayed on [relevant Amazon Site(s), as applicable] at the time of purchase will apply to the purchase of this product.)How do you bring an ancient jungle to life through digital illustration? Rob Green offers an immersive tutorial, guiding you step-by-step from initial concept to the final polish. This journey combines the powers of Blender and Photoshop, bridging the gap between 3D modeling and 2D enhancement. By focusing on the essentials of mood, lighting, and architectural elements, you’ll learn how to create a compelling and realistic scene. Let’s start this transformative experience and unlock the secrets to illustrating a vibrant ancient jungle.
Buy Photon Mono M5 Get Free 1KG Resin
Generating Ideas and Creating Black-and-White Sketches
Every great piece of artwork begins with a solid foundation of ideas. Before diving into the technical aspects, take a step back and let your imagination run wild. Create a series of black-and-white sketches that capture the essence of the ancient jungle. Think about the textures, the towering trees, the winding vines, and anything else that will add to the lifelike atmosphere of your scene.
Concept and Inspiration
Gather your inspiration from diverse sources such as ancient ruins hidden in dense forests, mythical stories, or natural landscapes. Doodle quick thumbnails that encapsulate these ideas. The goal here is to flesh out your artistic vision and lay down the groundwork for your masterpiece.
Sketching Guidelines
Keep your sketches simple and focused on major elements. Don’t worry about the details at this stage. Use broad strokes to represent large tree trunks, canopies, and ruins that dot the landscape. Quick sketches help streamline your thoughts and make it easier to transition into the 3D blockout phase.
3D Blockout in Blender
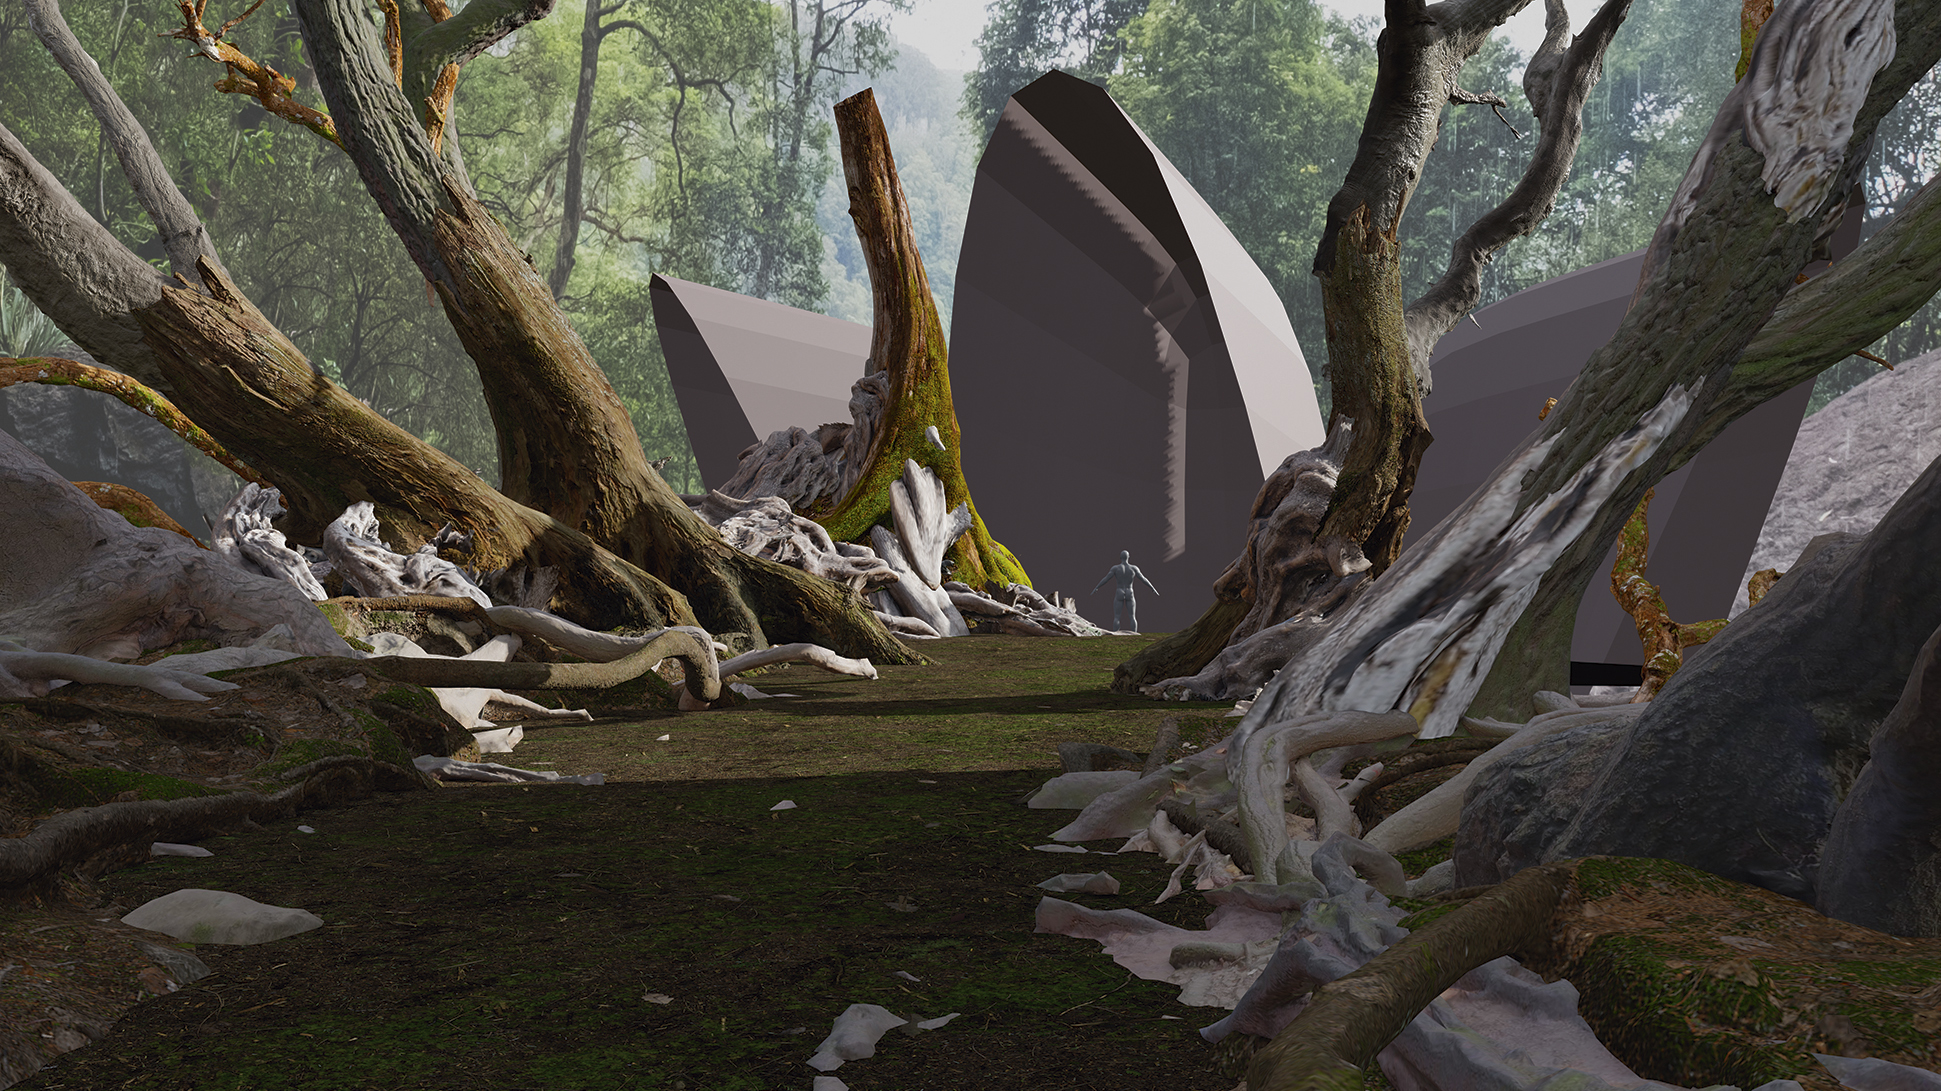
Once you have your black-and-white sketches in hand, it’s time to transition to Blender to construct a 3D base for your jungle. This step involves building the primary elements that will populate your scene.
Utilizing Resources
Use convenient 3D resources such as Megascans and Sketchfab to speed up your workflow. These assets are highly detailed and can give you a head start in creating realistic environments.
| Resource | Purpose |
|---|---|
| Megascans | High-quality, photorealistic 3D scans of foliage, rocks, and more. |
| Sketchfab | A vast library of 3D models that can complement your scene. |
Proportional Editing and Camera Settings
Place your camera to match your initial sketch. Use proportional editing to adjust the shapes and sizes of your 3D models, ensuring the composition aligns with your sketch’s perspective. This step guarantees that your base layout remains true to your original vision.
$30 off $400+ Anycubic Products with code AC30OFF
Establishing Mood and Lighting
Lighting sets the stage for your ancient jungle, defining its atmosphere and emotional tone. A well-lit scene can transport your audience into the depths of a forgotten world.
Directional Light and Spotlights
Establish a primary light source, such as the sun, using a strong directional light. Add spotlights to highlight specific areas of interest or to create contrast. The interplay of light and shadow will add depth and realism to your scene.
Volume Shader for Fog
Utilize a volume shader to introduce fog and mist. This creates an ethereal atmosphere that’s both mysterious and inviting. Adjust the density to ensure the fog enhances rather than obscures important details.
Emissive Fog Planes and Off-Camera Geometry
Combine emissive fog planes with off-camera geometry to cast intricate shadows and reflections. These hidden elements add subtle nuances that significantly contribute to the scene’s authenticity.
Set Dressing
Set dressing involves adding all the intricate details that make your jungle come alive. Every little element contributes to the overall believability of the environment.
Adding Flora from Megascans
Populate your scene with plants, trees, and underbrush from Megascans. These assets offer a level of realism that’s hard to achieve through manual modeling. Arrange them naturally, as they would occur in the wild.
Creating Detailed Vines with Blender Modifiers
Vines are a crucial component of any jungle scene. Use Blender modifiers to create organic, winding vines that wrap around trees and ruins. Experiment with different settings to achieve the desired thickness and texture.
Unifying the Scene
Ensuring all elements of your scene feel cohesive is crucial for immersion. One way to do this is by applying moss selectively to surfaces that face upward.
Mix Shader Node for Moss
Use the Mix Shader node within Blender to apply moss only to the upward-facing surfaces of your models. This technique mimics how moss and other vegetation naturally grow in the real world, adding another layer of realism to your jungle.
Character Creation
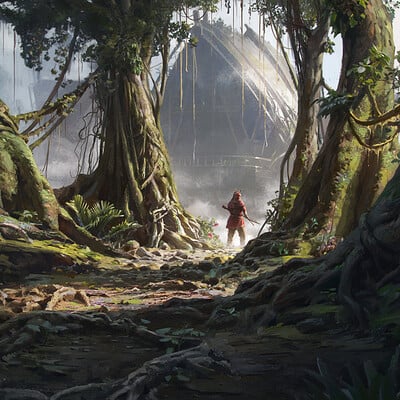
Adding a character provides a focal point and narrative element to your scene. Crafting the character involves both 2D and 3D techniques, blending them seamlessly for a compelling outcome.
Base Creation using Photobash.co
Start by creating a simple base for your character using images from Photobash.co. Select elements that fit the theme of your jungle, then tweak these images in Photoshop to your liking.
Importing and Extruding the Character in Blender
Once you have your 2D design, import it into Blender. Use the extrude tool to give your character model thickness, then smooth out details in sculpt mode. This process transforms your flat design into a three-dimensional figure suitable for your scene.
Architecture Creation
Architecture plays a vital role in depicting an ancient jungle. From crumbling temples to hidden altars, these structures add narrative depth.
Blocking Shapes and Refining Structures
Start by blocking out basic shapes of the architectural elements. Use Blender’s Subdivision Surface and Boolean objects to refine these forms, adding intricacies like broken arches and eroded columns.
Supports with Skin Modifier Techniques
Use the Skin modifier to create structural supports. This modifier allows you to craft skeletal frameworks that can then be fleshed out with more detail. It’s perfect for creating intricate stone frameworks or organic, root-like structures.
Rendering
Rendering is the bridge between your 3D model and a polished image. The right settings can make a world of difference in the final output.
Rendering in Cycles
Render your scene in Blender’s Cycles engine for high-quality results. Enable Denoising Data and configure compositor nodes to reduce noise and improve the clarity of your render.
Denoiser Setup
Enable Denoising Data by going to the Blender properties panel. In the compositor, add a denoise node and connect it to your render layers. This step cleans up the image and removes any unwanted graininess.
Post-Processing in Photoshop
Once your scene is rendered, the next step involves post-processing in Photoshop. This phase bridges the gap between the 3D world and traditional illustration techniques.
Paintover Phase to Reduce CG Feel
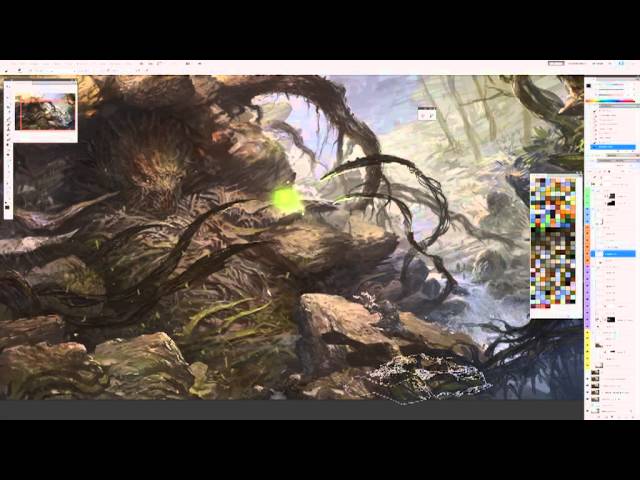
Conduct a paintover phase to soften the CG feel of your render. Use Photoshop’s brush tools to paint over hard edges and add artistic flourishes that make the scene appear more hand-drawn.
Implementing Photobashing
Photobashing involves blending real-world images into your render to enhance realism. Import texture images and seamlessly integrate them into your jungle scene. This technique adds authentic textures that are difficult to emulate through 3D modeling alone.
Adjusting Colours and Values
Adjust the colors and values to harmonize the different elements of your scene. This step is crucial for creating a unified look and feel. Use adjustment layers to fine-tune brightness, contrast, and color balance.
Painting Detailed Character Features
Add intricate details to your character, such as facial features, clothing textures, and accessories. Use a combination of painting and photo elements to create realistic and compelling characters. Pay attention to the small details that bring your character to life.
Enhancing Materials (Cloth, Gold)
Enhance materials like cloth and gold by using texture brushes and blending modes in Photoshop. Add highlights and shadows to give these materials depth and realism. This attention to detail enhances the overall quality of your scene.
Polishing
The final touches can make your illustration stand out. Polishing involves refining details, adding effects, and ensuring all elements are cohesively integrated.
Painting Over Details to Unify the Image
Use Photoshop to paint over any elements that need refinement. This can be as simple as adding more texture to a leaf or as complex as altering entire sections of your scene. The goal is to ensure every part of your illustration feels cohesive and intentional.
Adding Final Touches Like Chromatic Aberration and Film Grain
Finish your illustration with effects like chromatic aberration and film grain. Chromatic aberration adds a slight color shift around edges, mimicking the imperfections of camera lenses. Film grain adds a subtle texture that gives your image a cinematic quality.
Recap:
- Start with black-and-white sketches to generate ideas.
- Build a 3D base in Blender using resources like Megascans and Sketchfab.
- Set the mood using directional lighting, spotlights, volume shading for fog, and off-camera geometry.
- Add flora and detailed vines to dress the set.
- Use Mix Shader nodes for moss application on specific surfaces.
- Create a character base in Photoshop and import it into Blender for 3D modeling.
- Develop architectural elements using blocking shapes, Subdivision Surface, Boolean objects, and Skin modifier techniques.
- Render the scene in Blender’s Cycles engine with Denoising setup.
- Post-process in Photoshop by conducting a paintover phase, photobashing, adjusting colors/values, painting character details, and enhancing materials.
- Finish with polishing touches like painting over details, adding chromatic aberration, and film grain.
In the end, by following Rob Green’s meticulous process, you’ll transform your vision of an ancient jungle into a vivid, lifelike illustration. Each step, from initial sketches to final polish, is an opportunity to breathe life into your creation. Ready to bring that jungle to life? Time to get started!
Buy Photon Mono M5 Get Free 1KG Resin


