Creality K1C 3D Printer, 2024 New Version 600mm/s High-Speed Auto Leveling Clog-Free Robust Direct Extruder K1 SE Upgraded 3D Printer with AI Camera 300°C Printing Support Carbon Fiber Filaments
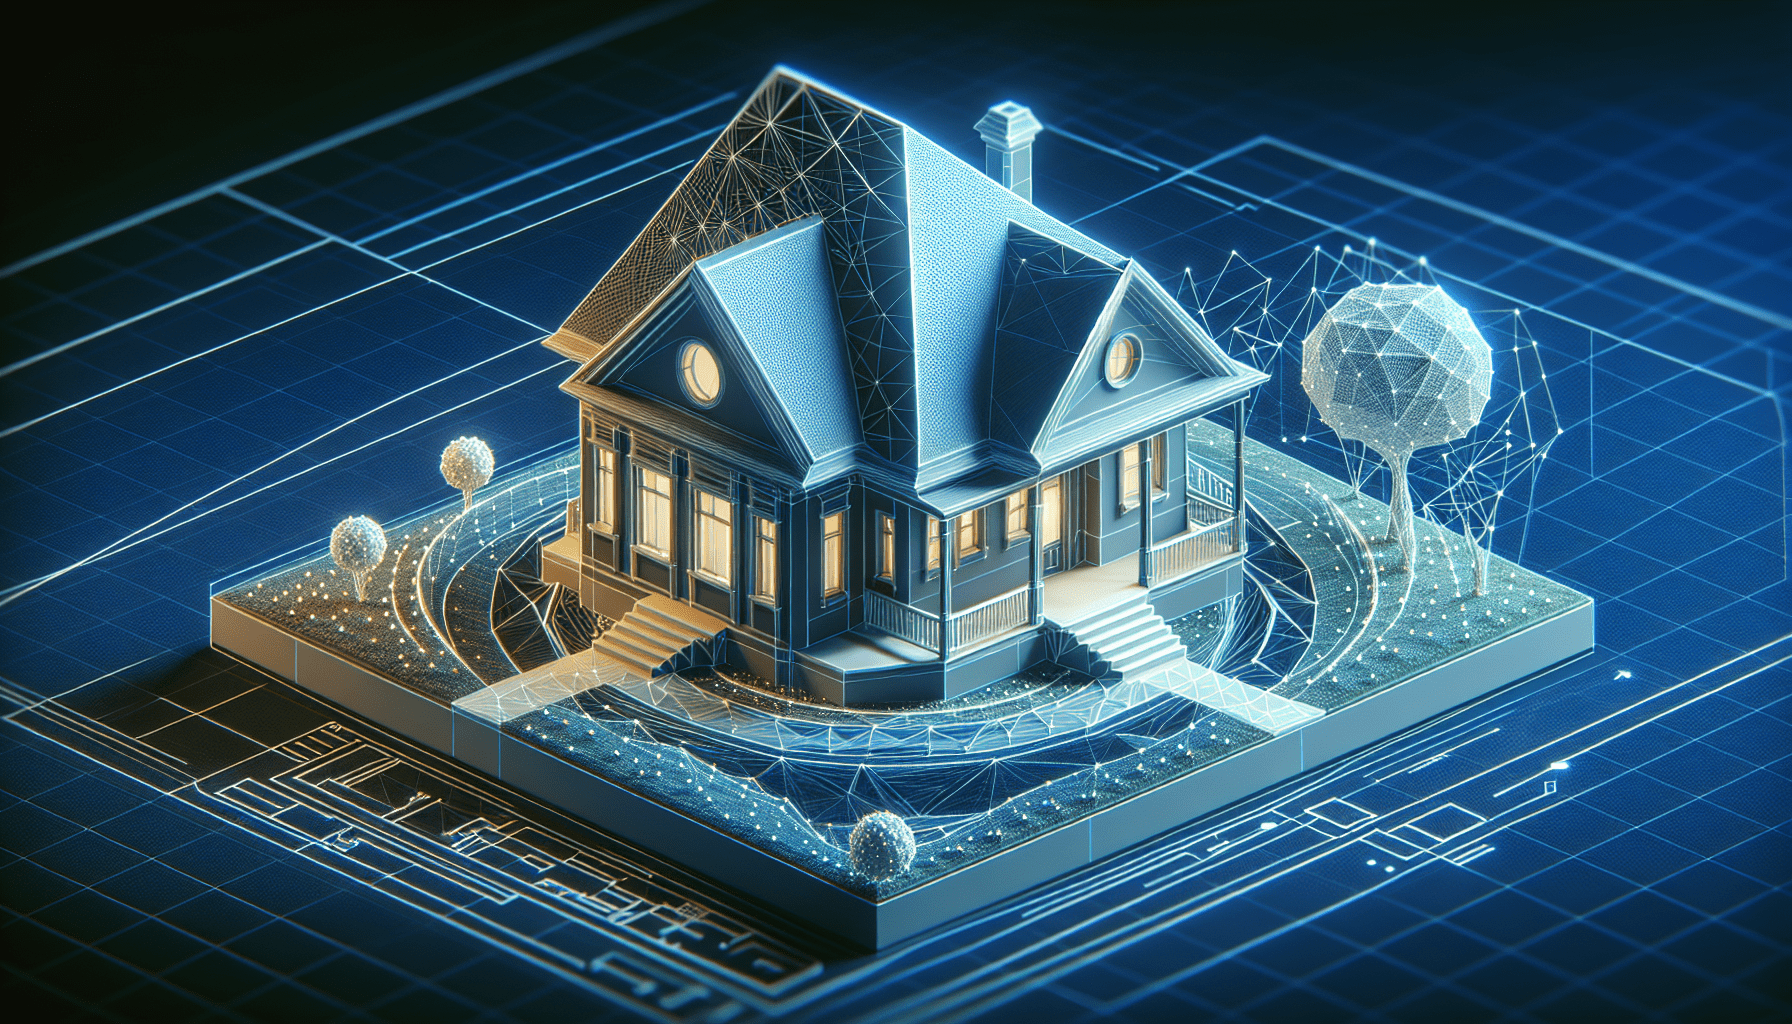
$559.00 (as of June 18, 2025 23:32 GMT +00:00 - More infoProduct prices and availability are accurate as of the date/time indicated and are subject to change. Any price and availability information displayed on [relevant Amazon Site(s), as applicable] at the time of purchase will apply to the purchase of this product.)In the tutorial titled “Modeling a low poly house | Blender 3.4 Tutorial,” presented by MK Graphics, you will learn how to create a low poly house using Blender. The tutorial covers various aspects of house modeling, including house dimensions, roof creation, chimney creation, door creation, window creation, and stairs creation. The video tutorial will guide you through each step, providing detailed instructions on how to achieve the desired low poly house model in Blender. This tutorial is suitable for beginners and will introduce you to the basic tools and techniques necessary for modeling a low poly house using Blender 3.4.

1. The house dimensions
To begin creating the low poly house in Blender 3.4, start by adding a cube object. Press “Shift” + “A” and select “Cube” from the menu.
Next, go to the viewport shading menu in the top-right corner of the viewport and enable the “Cavity” option. This will help visualize the details of the model.
Switch the cavity type to “Both” by clicking on the drop-down menu. This will allow the cavity effect to be visible on both the outside and inside of the house.
To adjust the dimensions of the house, press the “N” key to open the right panel. In the “Dimensions” section, set the Y dimension value to 6 meters, the X dimension value to 4 meters, and the Z dimension value to 3.5 meters. These values will determine the length, width, and height of the house, respectively.
To view the model from the front, press “Number Pad 1” to switch to front view.
2. Making the roof
To position the base of the house at ground level, set the Z coordinate value to 1.75 meters. This will ensure that the base is placed at the desired level in the 3D space.
Next, switch to edit mode by pressing the “Tab” key.
Select the top face of the house by clicking on it.
To create the roof, extrude the selected face by pressing the “E” key.
Switch to vertex select mode by clicking on the corresponding button in the toolbar at the bottom of the viewport.
Select the two vertices at the top of the extruded face.
Press the “M” key and select “Merge At Center” to merge the selected vertices together, creating a point at the center.
Repeat the same steps for the other two vertices at the bottom of the extruded face.
Switch back to face select mode and select the top faces of the roof.
Press the “P” key and select “By Selection” to separate the top faces from the rest of the cube.
Switch back to object mode by pressing the “Tab” key.
Rename the new object as “roof” to keep the scene organized.
To adjust the size of the roof, select the “roof” object and press the “S” key, followed by the “Y” key. This will scale the roof on the Y-axis, making it wider.
To add more details to the roof, switch back to edit mode by pressing the “Tab” key.
Select the roof faces by clicking on one of them and then pressing the “L” key while hovering over any face of the roof. This will select all connected faces.
Go to the loop tools menu by pressing “W” and selecting “Loop Tools” from the menu.
In the loop tools menu, click on “Bevel” to bevel the selected faces along the loop.
Set the segment number to 4 to create four additional segments on each face, adding more geometry and detail to the roof.
Next, select these faces by clicking on one of them and pressing the “Ctrl” + “+” key repeatedly until all desired faces are selected.
To create an extrusion along the edges of the selected faces, press the “E” key and adjust the offset value to 0.2. This will move the extruded faces slightly outward.
Finally, switch back to object mode by pressing the “Tab” key.
Find 3D Printing Accessories Here
3. Making the chimney
To create the chimney, start by adding a cube object. Press “Shift” + “A” and select “Cube” from the menu.
Rename the cube object as “chimney” for better organization.
To scale down the size of the cube, select the “chimney” object and press the “S” key, followed by the desired axis key (e.g., “X”, “Y”, or “Z”).
To increase the size of the cube on the Z-axis, select the “chimney” object and press the “S” key, followed by the “Z” key.
Next, switch to edit mode by pressing the “Tab” key.
Select the top face of the cube by clicking on it.
To create the shape of the chimney, press the “E” key, followed by the “S” key to expand the face.
Press the “E” key again to extrude the face.
To inset the face a little bit, press the “I” key and adjust the inset value.
Press the “E” key again and extrude the face from the inside.
Select the bottom face of the chimney by clicking on it and press the “X” key to delete the face.
Switch back to object mode by pressing the “Tab” key.
Place the chimney in the desired position by using the move, rotate, and scale tools.
4. Making the door
To create the door, start by adding a cube object. Press “Shift” + “A” and select “Cube” from the menu.
Switch to front view by pressing the “Number Pad 1” key.
Move the cube upward to align it with the base of the house.
Scale down the size of the cube on the X-axis to create the desired width of the door.
Move the cube on the X-axis to intersect with the wall and stick out a little bit, creating the door’s depth and position.
Switch to side view by pressing the “Number Pad 3” key.
Scale down a little bit on the Z-axis to create the door’s height.
Switch to edit mode by pressing the “Tab” key.
Select the top face of the cube by clicking on it and move it upward a little bit to create a small gap between the top of the door and the rest of the cube.
Switch back to object mode by pressing the “Tab” key.
Rename the cube object as “door” for better organization.
To create a hole for the door, we will use the boolean modifier.
First, apply rotation and scale for both the door and the house walls by selecting them and pressing “Ctrl” + “A” and selecting “Rotation & Scale” from the menu.
With the house walls selected, go to the modifier tab in the properties panel and add a boolean modifier.
Choose the door as the target object in the boolean modifier settings.
Apply the modifier by clicking on the “Apply” button.
Go back to edit mode of the door cutout by pressing the “Tab” key.
Select the face that represents the back of the door panel and delete it by pressing the “X” key and selecting “Faces” from the menu.
Switch back to object mode by pressing the “Tab” key.
Select the door object and enter edit mode again by pressing the “Tab” key.
Select the bottom face of the door panel and press the “I” key to inset the face a little bit.
In the left bottom corner of the panel, disable the “Boundary” option in the inset tool settings.
Press the “E” key to extrude the face from the inside, creating a thickness for the door panel.
Switch back to object mode by pressing the “Tab” key.
Place the door in the desired position by using the move, rotate, and scale tools.

5. Making the windows
Switch to object mode by pressing the “Tab” key.
Add a cube object by pressing “Shift” + “A” and selecting “Cube” from the menu.
Move and scale the cube to fit the desired size of the window.
To create a hole for the window, select the depth area of the window on the wall by clicking and dragging the selection box.
Mirror the cube on the other side by right-clicking and selecting “Mirror” from the drop-down menu.
Right-click again and set the origin of the cube to the 3D cursor.
Go to the modifier tab in the properties panel and add a mirror modifier.
Change the mirror axis to the Y-axis to mirror the cube’s geometry across the Y-axis.
Apply the mirror modifier by clicking on the “Apply” button.
Select the cube as a logical object and apply the modifier by clicking on the “Apply” button.
Select the cube and delete it by pressing the “X” key and selecting “Vertices” from the menu. This will create window openings on both sides of the house.
Select the house walls by right-clicking and selecting “Edit Mode” from the drop-down menu.
Select the face that represents the window area and separate it from the rest of the mesh by pressing the “P” key and selecting “By Selection” from the menu.
Switch to object mode by pressing the “Tab” key.
Rename the separated plane as “window” for better organization.
Go back to edit mode of the window by pressing the “Tab” key.
Select the face of the window and inset it a little bit by pressing the “I” key and adjusting the inset value.
Press “Ctrl” + “R” to add loop cuts to the window frame.
Set the number of cuts to 2 to create additional geometry for the window frame.
Scale down on the Z-axis to create the thickness of the window frame.
Add a horizontal loop cut in the same way to create a separation for the window frame.
Switch to face select mode by clicking on the corresponding button in the toolbar at the bottom of the viewport.
Select these faces by clicking and dragging the selection box.
Dissolve the selected faces by right-clicking and selecting “Dissolve Faces” from the drop-down menu.
Select this face by clicking on it and press the “E” key to extrude it a little bit.
Switch back to object mode by pressing the “Tab” key.
Select the house walls by right-clicking and selecting “Edit Mode” from the drop-down menu.
Select this face by clicking on it and delete it by pressing the “X” key and selecting “Faces” from the menu.
Go back to object mode by pressing the “Tab” key.
To mirror the window on the other side of the house, select the window and right-click.
Set the origin of the window to the 3D cursor by selecting “Set Origin” from the drop-down menu.
Go to the modifier tab in the properties panel and add a mirror modifier.
Switch the mirror axis to the X-axis to mirror the window geometry across the X-axis.
Apply the mirror modifier by clicking on the “Apply” button.
Select the window and delete it by pressing the “X” key and selecting “Vertices” from the menu.
We now have window openings on both sides of the house.
Place the windows in the desired position by using the move, rotate, and scale tools.
6. Making the stairs
To create the stairs, select the house walls by right-clicking and selecting “Edit Mode” from the drop-down menu.
Press “Ctrl” + “R” to add two loop cuts to create the steps of the stairs.
Scale down on the Z-axis to create the height of the steps.
Select this face by clicking on it and extrude it to create the steps of the stairs.
To evenly cut the face, activate the knife tool by pressing the “K” key. Hold the “Shift” key to snap the knife tool to the midpoint. Cut the face evenly and press the “Enter” key to confirm.
Select the bottom faces of the stairs and delete them by pressing the “X” key and selecting “Faces” from the menu.
Go back to object mode by pressing the “Tab” key.
Select the plane that separates the steps of the stairs and rename it as “stairs” for better organization.
Conclusion
In this tutorial, we have successfully modeled a low poly house in Blender 3.4 by following the step-by-step instructions. The tutorial covered various aspects of creating the house dimensions, making the roof, chimney, door, windows, and stairs. By applying the techniques and tools demonstrated in this tutorial, users can easily recreate the low poly house in Blender 3.4 and gain a foundation for creating more complex models and exploring different techniques in Blender modeling.
Maintain Your 3D Printer with these Tools


