Creality Hi Combo 3D Printer, Multi Color 3D Printer with CFS, 500mm/s High Speed Auto-Leveling Automatic Filament Reading Clog-Free Extruder 95% Pre-Assemble All-Metal Body 10.24×10.24×11.81inch
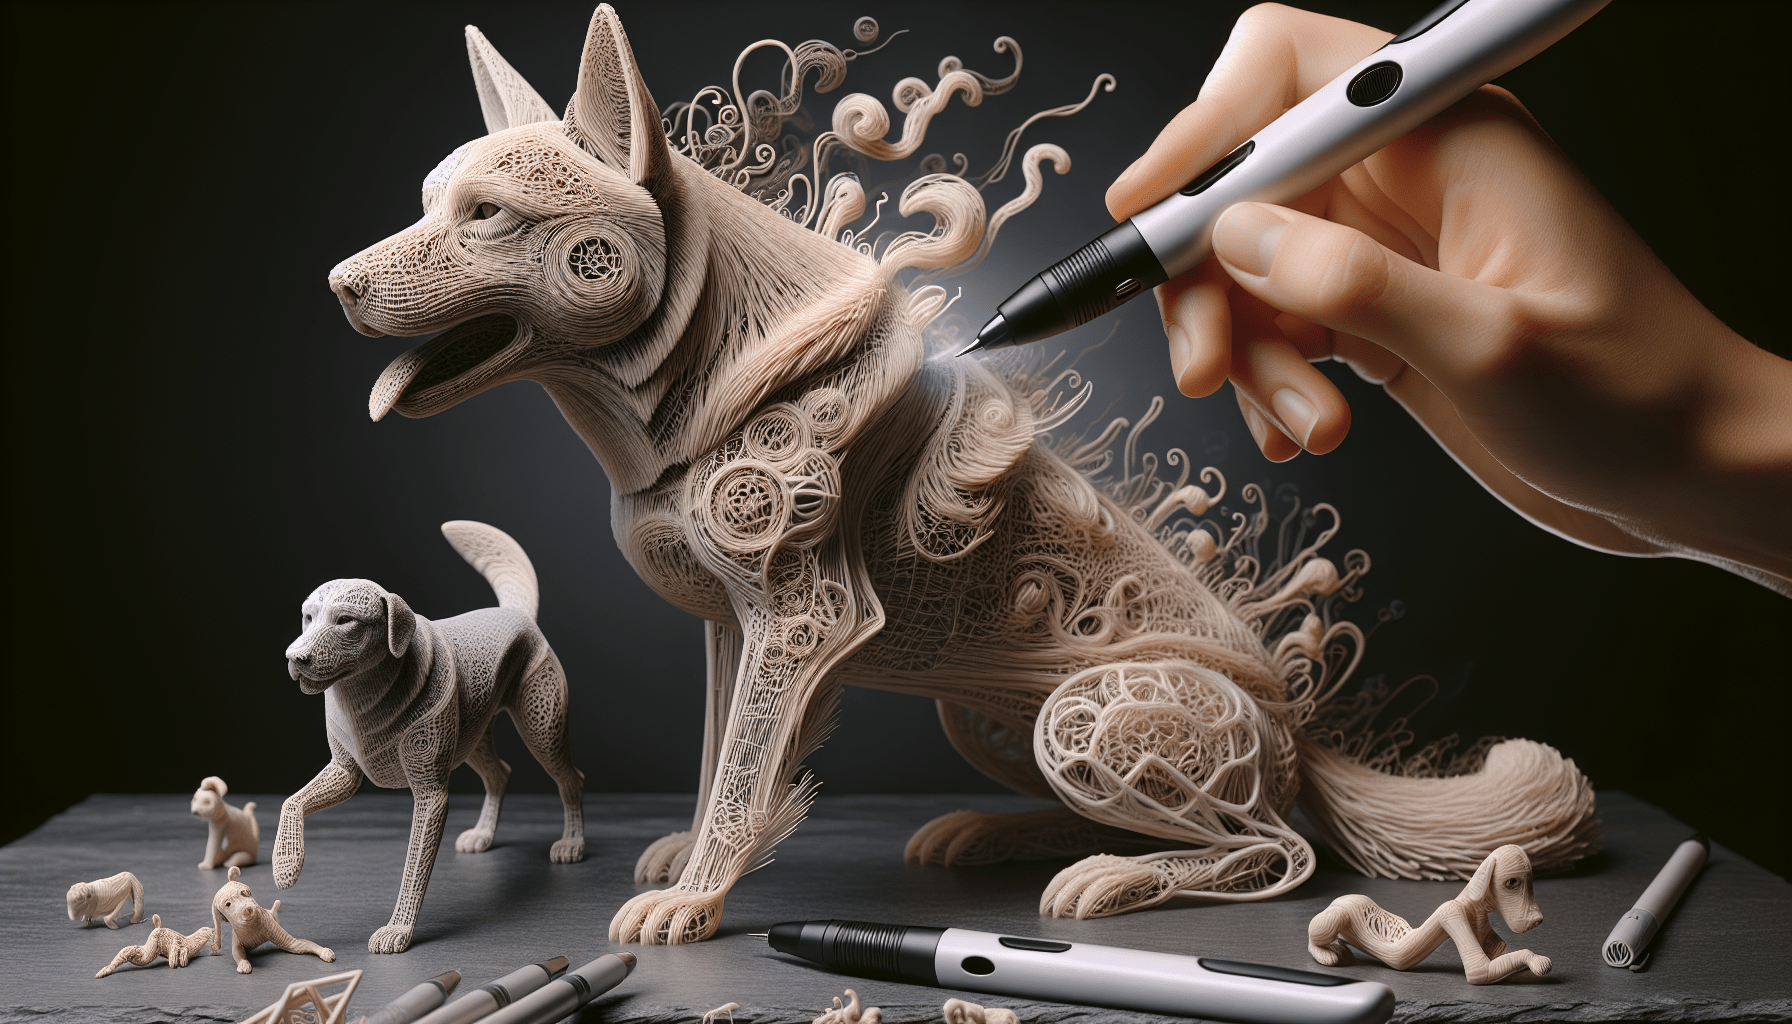
$549.00 (as of June 4, 2025 21:32 GMT +00:00 - More infoProduct prices and availability are accurate as of the date/time indicated and are subject to change. Any price and availability information displayed on [relevant Amazon Site(s), as applicable] at the time of purchase will apply to the purchase of this product.)Discover the world of 3D printing with the MYNT3D Project tutorial on how to make a dog. This fascinating video by MYNT3D provides step-by-step instructions on using a 3D printing pen to create a lifelike canine masterpiece. Calling all dog lovers, this tutorial invites you to unleash your creativity and bring your favorite furry friend to life. From conical layering and stabilizing with sticky tack to adding form and dimensions with the 3D pen, this tutorial covers every aspect of crafting a realistic dog model. With tips on color choice, facial details, and even creating a special toy, this tutorial guarantees an irresistible, adorable result.
So grab your 3D printing pen, colored filament, and the free puppy project template, and get ready to dive into the wonderful world of 3D printing. Whether you’re a beginner or an experienced enthusiast, this tutorial provides the perfect opportunity to hone your skills and create a personalized masterpiece that captures the essence of your furry companion. Let your imagination run wild as you adjust the ears, tail, leg lengths, and colors, ensuring that your dog model truly reflects your own furry friend. Don’t forget to add those finishing touches that make your creation stand out, such as realistic fur and detailed facial features. Get ready to embark on a creative journey that is both fun and rewarding.
How to Create an Adorable 3D Printed Dog with a 3D Printing Pen
Calling all dog lovers! If you have a 3D printing pen, colored filament, and a free puppy project template, you have all the materials you need to create your very own adorable 3D printed dog. In this tutorial, we will guide you through the step-by-step process of constructing a dog using your 3D printing pen. Get ready to unleash your creativity and have fun with this project!


Materials Needed
Before we get started, let’s gather all the materials you’ll need for this project:
- 3D printing pen
- Colored filament
- Free puppy project template
- Sticky tack
Make sure you have these materials on hand before starting the project to ensure a smooth construction process.
Preparation
Now that we have all the materials, it’s time to set up your workspace. Find a clean and well-lit area where you can work comfortably. Make sure you have enough space to move around and access all your materials easily.
Next, download and print the puppy project template. This template will serve as a guide for constructing your 3D printed dog. Once you have the template ready, gather all the materials that you will need for the construction process.

Constructing the Torso
Let’s start by constructing the torso of the dog. Begin by using the 3D printing pen to create conical layers around the torso. This will form the main structure of the body. Take your time and be careful not to rush the process.
Once you have completed layering the torso, flip it over and stabilize it with a small amount of sticky tack. This will ensure that the torso stays in place and doesn’t move around while you work on other parts of the dog.
Now, repeat the coiling process on the other side of the torso. This will add depth and stability to the structure. Take your time and make sure the coils are secure before moving on to the next step.
Adding the Legs
Now that the torso is complete, it’s time to add the legs. Trace the legs on the puppy project template and attach them using the 3D printing pen. This step will give your 3D printed dog a more three-dimensional appearance.
As you attach the legs, make sure to add form and dimensions to them. Use the 3D printing pen to add thickness and smooth out any rough edges. This will make the legs look more realistic and sturdy.

Drawing the Paw Pads
To add some cute and realistic details to your 3D printed dog, it’s time to draw the paw pads. Use the 3D printing pen to carefully draw on the paw pads. Pay attention to the shape and size of the paw pads, as this will give your dog an adorable touch.
After drawing the paw pads, consider adding texture and additional details to make them stand out. You can create small lines or dots to mimic the texture of a real dog’s paw pads. Let your creativity shine through in this step!
Creating the Face
Now it’s time to bring your 3D printed dog to life by creating its face. Start by tracing over the face outline provided in the puppy project template. The 3D printing pen will allow you to create precise lines and shapes.
Once you have traced the face, focus on coiling around the nose and mouth area. This will give your dog a more defined facial structure. Take your time with this step and make sure the coils are secure before moving on.
Repeat the coiling process with the back of the head, connecting it to the rest of the dog’s body. This will ensure that your 3D printed dog has a seamless and cohesive appearance.

Building up the Nose Profile
To make your 3D printed dog look even more realistic, it’s important to build up the nose profile. Layer in filament to create the shape of the nose, and don’t forget to add colors and facial details to make it come alive.
Take your time with this step and pay attention to the details. Add different shades of filament to create depth and make the nose look more lifelike. This will give your dog a unique and personalized touch.
Filling in the Body and Leg Contouring
Now that the major features of your 3D printed dog are complete, it’s time to fill in the body and add some leg contouring. Use the 3D printing pen to carefully fill in the body and shape the legs. This will give your dog a more solid and realistic appearance.
As you fill in the body and shape the legs, consider adding depth and contours to make your dog look more three-dimensional. Take your time with this step and use different colors of filament to create a realistic coat.
Attaching the Ears
To complete the head of your 3D printed dog, it’s time to attach the ears. Trace the ears on the puppy project template and use the 3D printing pen to create the ear shapes. Once the ears are ready, carefully attach them to the head of the dog.
Make sure the ears are securely attached and blend seamlessly with the rest of the head. You can adjust the length and position of the ears to match your own dog or create a unique look.
Conclusion
Congratulations! You have successfully created your very own adorable 3D printed dog using a 3D printing pen. By following the steps outlined in this tutorial, you were able to bring your dog to life and personalize it to resemble your own pet.
Remember to have fun with the process and let your creativity shine through. Feel free to adjust the length, color, and position of the ears, tail, and legs to make your 3D printed dog truly unique. You can even create a special toy to accompany your dog, like a little shoe.
Enjoy the process of creating with your 3D printing pen and take pleasure in the final result. Your 3D printed dog is sure to bring a smile to your face and add a touch of whimsy to any space it occupies. Happy creating!
Attention dog lovers! In this tutorial, you will learn how to create a dog using a shoe toy and your MYNT3D 3D printing pen. To get started, make sure to download the FREE project template by visiting this link: https://www.mynt3d.com/blogs/projects.

Magigoo - MO2016 All-in-One 3D Printer Adhesive Glue - ABS, PLA, PETG, HIPS, and TPU Flex Filament on Glass, Flex Plate, PEI, Buildtak, Kapton - 3D Printing Accessories, Supplies, and Materials (50mL)
$19.95 (as of June 4, 2025 21:32 GMT +00:00 - More infoProduct prices and availability are accurate as of the date/time indicated and are subject to change. Any price and availability information displayed on [relevant Amazon Site(s), as applicable] at the time of purchase will apply to the purchase of this product.)
ELEGOO PETG Filament 1.75mm Black 1KG, 3D Printer Filament Dimensional Accuracy +/- 0.02 mm, 1kg Spool(2.2lbs) Fits for Most FDM 3D Printers
$12.99 (as of June 2, 2025 19:53 GMT +00:00 - More infoProduct prices and availability are accurate as of the date/time indicated and are subject to change. Any price and availability information displayed on [relevant Amazon Site(s), as applicable] at the time of purchase will apply to the purchase of this product.)
HXOGYUB 3D Scanning Spray for 3D Scanners, Professional for All 3D Scanner, Safety Material, High Reflectivity, Easy to Clean, for Reflective, Transparent or Highly Textured Surfaces, 500ML
$36.99 (as of June 4, 2025 21:32 GMT +00:00 - More infoProduct prices and availability are accurate as of the date/time indicated and are subject to change. Any price and availability information displayed on [relevant Amazon Site(s), as applicable] at the time of purchase will apply to the purchase of this product.)
Creality 3D Scanner, Raptor Scanner for 3D Printing, Hybrid Technology for Versatile Scanning, High Precision with 0.02mm, Anti-Shake Tracking, 24-Bit Fast Full-Color Scanning for Windows macOS
$1,499.00 (as of June 4, 2025 21:32 GMT +00:00 - More infoProduct prices and availability are accurate as of the date/time indicated and are subject to change. Any price and availability information displayed on [relevant Amazon Site(s), as applicable] at the time of purchase will apply to the purchase of this product.)