AOSEED 3D Printer for Kids, Beginner 3D Printer with 8 PLA Filament Set, Huge Toy Library & Modify, Wi-Fi & App Control, Create STEM Toys, High Precision, W/ 15+ Mini 3D Design Module, X-Maker Joy
$254.98 (as of June 19, 2025 23:45 GMT +00:00 - More infoProduct prices and availability are accurate as of the date/time indicated and are subject to change. Any price and availability information displayed on [relevant Amazon Site(s), as applicable] at the time of purchase will apply to the purchase of this product.)The article titled “Organizing my Drawer with 3D printing” by Scott Yu-Jan explores the process of using 3D printing to create custom storage solutions for a drawer. The author begins by discussing the frustration of searching for specific items in a cluttered drawer and highlights the importance of efficient organization. They emphasize that traditional storage boxes merely divide clutter into smaller units, whereas their approach aims to create a truly organized solution. The author then provides a detailed account of their process, including taking reference photos, measuring the dimensions of items to be stored, and designing and printing various storage modules. They also showcase the use of magnets for added functionality and highlight the benefits of utilizing vertical space. Throughout the article, the author expresses their satisfaction with the outcome and how this project has transformed their usage of the drawer.
This article offers readers a step-by-step tutorial on using 3D printing technology for drawer organization. It provides valuable insights into the benefits of custom-made storage solutions and highlights the author’s experience in creating their own organized drawer. The article is filled with practical tips, such as utilizing vertical space and arranging items by importance and length. The author also mentions alternatives available on the internet, such as the Gridfinity storage system, and emphasizes the importance of considering pre-designed modules and maximizing vertical space for efficient organization. Overall, this article is a useful guide for individuals interested in implementing 3D printing for customized storage solutions.
Organizing Your Drawer with 3D Printing
Organizing your drawer can be a daunting task, especially when you have a lot of small items to store. Traditional storage solutions may not always be the best fit for your needs, as they often come in standard sizes and shapes. However, with the advent of 3D printing technology, you now have the ability to create customized drawer organizers that perfectly fit your items. In this article, we will guide you through the process of organizing your drawer using 3D printing, from gathering the necessary materials to arranging your items.
Step 1: Gather the necessary materials
Before you begin organizing your drawer, you will need to gather the necessary materials for the project. Here is a list of the materials you will need:
- 3D printer: You will need a 3D printer to create the custom drawer organizers. There are various options available in the market, so choose one that fits your budget and requirements.
- Filament: Filament is the material used for 3D printing. There are different types of filament available, such as PLA, ABS, and PETG. Choose the appropriate filament based on your preferences and the items you will be storing in the organizers.
Once you have gathered these materials, you are ready to move on to the next step.
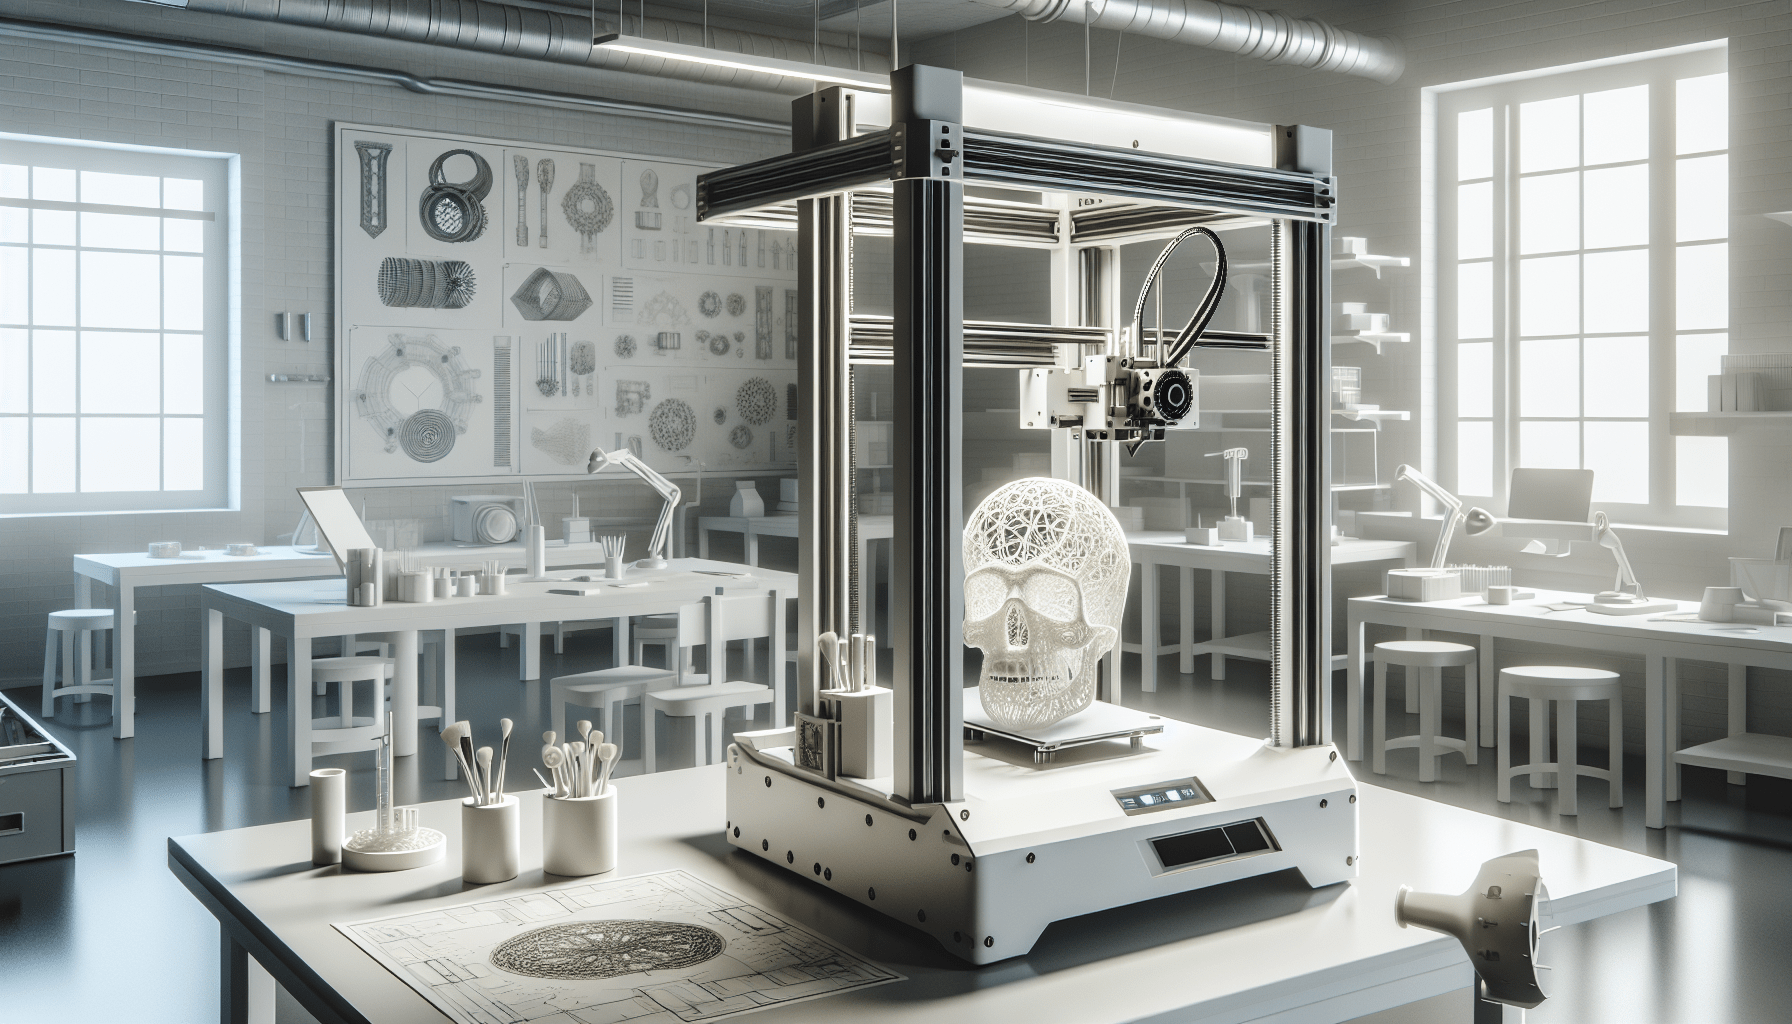
Step 2: Prepare your 3D printer
Before you start designing and printing your drawer organizers, it is essential to prepare your 3D printer. Follow the manufacturer’s instructions to ensure that your printer is set up correctly and in good working condition. This includes checking the filament level, calibrating the printer bed, and ensuring that all necessary software and drivers are installed.

Find 3D Printing Accessories Here
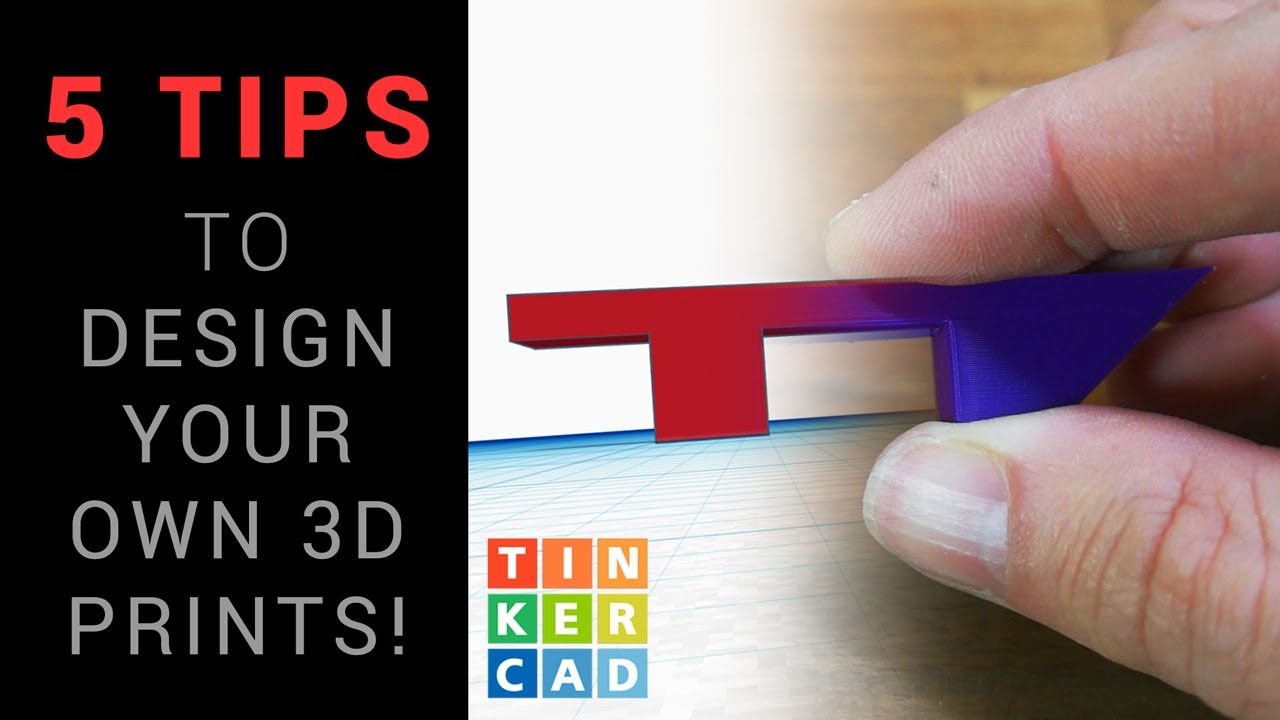
Step 3: Design your drawer organizers
Once your 3D printer is ready, you can start designing your drawer organizers. Use 3D printing software, such as Tinkercad or Fusion 360, to create the design. Start by measuring the dimensions of your drawer so that you can design the organizers to fit perfectly.
Think about the different compartments and sections you will need to store your items. Consider the size and shape of the items and design the organizers accordingly. You can create separate compartments for pens, pencils, paperclips, and other office supplies, for example.
Step 4: Calculate the dimensions
After designing your drawer organizers, it is essential to calculate the dimensions accurately. Measure the dimensions of your drawer to ensure that the organizers will fit properly. Take into account the depth, width, and height of the drawer, as well as any existing dividers or compartments that may need to be considered in your design.

Step 5: Choose the right filament
Choosing the right filament is crucial for the success of your project. Consider the properties of the filament and the items you will be storing in the drawer organizers. If you are storing delicate or heat-sensitive items, for example, you may want to choose a filament with low warping and high temperature resistance, such as PETG.
It is also essential to consider the aesthetic appeal of the filament. Select a color or finish that matches your preferences or complements the overall design of your drawer.
Step 6: Print your organizers
Now that you have designed your drawer organizers and chosen the appropriate filament, it is time to print them. Set up your 3D printer according to the manufacturer’s instructions and load the filament. Use the 3D printing software to start the printing process and wait for the organizers to be printed.
The printing time will vary depending on the complexity and size of your organizers. Be patient and allow the printer to complete the printing process.
Step 7: Clean up the printed organizers
Once the printing is complete, you will need to clean up the printed organizers. Remove any excess material or support structures that may be attached to the organizers. This can be done using a small tool, such as a pair of pliers or a scalpel. Be careful not to damage the organizers during this process.
Step 8: Test fit the organizers
After cleaning up the organizers, it is time to test fit them in your drawer. Place the printed organizers in the drawer and check their fit. Make sure that they sit properly and securely in the drawer and that there is enough space for your items.
If any adjustments or modifications are needed, note them down for the next step.
Step 9: Make any necessary adjustments
Based on the test fit, you may need to make some adjustments to the organizers. This could involve modifying the design or reprinting certain parts. Use the feedback from the test fit to refine your organizers and ensure they meet all your requirements.
Step 10: Organize your items
Once your drawer organizers are ready, it’s time to organize your items. Arrange your items in the newly organized drawer, utilizing the compartments and sections you have created. Make sure everything has a designated place and is easily accessible.
Enjoy the satisfaction of having a well-organized drawer that makes finding your items quick and effortless.
Conclusion
Organizing your drawer with 3D printing is a fun and practical project that allows you to customize your organizers to perfectly fit your needs. By following the steps outlined in this article, you can create customized drawer organizers that will help you keep your items organized and easily accessible. Whether you are organizing office supplies, tools, or personal belongings, 3D printing provides a versatile and efficient solution. Start gathering the necessary materials and design your own custom drawer organizers today.
Maintain Your 3D Printer with these Tools

Geeetech Silk PLA Filament 1.75mm for 3D Printer , Metal-Like Shiny Consumable 1kg (2.2lbs) 1 Spool, Dimensional Accuracy +/- 0.03 mm, Silk Gold
$17.49 (as of June 19, 2025 23:45 GMT +00:00 - More infoProduct prices and availability are accurate as of the date/time indicated and are subject to change. Any price and availability information displayed on [relevant Amazon Site(s), as applicable] at the time of purchase will apply to the purchase of this product.)
Creality Original Ultra Removable Magnetic 3D Printer Build Surface Heated Bed Cover for Ender 3/Ender 3 Pro/Ender 3 V2/Ender 3 V2 Neo/Ender 3 Neo/Ender 3 S1/3 S1 Pro/Ender 5 Pro 235X235mm
$9.99 (as of June 19, 2025 23:45 GMT +00:00 - More infoProduct prices and availability are accurate as of the date/time indicated and are subject to change. Any price and availability information displayed on [relevant Amazon Site(s), as applicable] at the time of purchase will apply to the purchase of this product.)
ELEGOO Mercury Plus V3.0 Wash and Cure Station, 7.5 L Large Capacity, Compatible with Mars Saturn Photon Halot MSLA LCD DLP 3D Printers
$149.98 (as of June 19, 2025 23:45 GMT +00:00 - More infoProduct prices and availability are accurate as of the date/time indicated and are subject to change. Any price and availability information displayed on [relevant Amazon Site(s), as applicable] at the time of purchase will apply to the purchase of this product.)
3D Scanning Spray for 3D Scanners, No Cleaning Needed, for Transparent, Reflective or Highly Textured Surfaces Objects, 400ml
$39.99 (as of June 19, 2025 23:45 GMT +00:00 - More infoProduct prices and availability are accurate as of the date/time indicated and are subject to change. Any price and availability information displayed on [relevant Amazon Site(s), as applicable] at the time of purchase will apply to the purchase of this product.)