The tutorial series, “Painting 3D Prints,” delves into the process of painting 3D printed models from start to finish. In this first video, titled “Priming Models – Painting Techniques,” viewers are guided through the post-processing and preparation of the raw print for primer. The importance of priming before painting is emphasized, as it provides a base for the other paints to adhere to. The video serves as an introduction to the series, encouraging viewers to watch the remaining four parts, each building upon the knowledge gained in the previous video. Techniques such as base colors, watered-down paints, ink washes, and dry brushing will be explored in future videos of the series, using the same Hulk bust model throughout for demonstration purposes.
In this captivating tutorial series, “Painting 3D Prints,” you will embark on a learning journey where you will gain the skills and techniques needed to paint any 3D printed model with confidence. The first video in the series focuses on the crucial step of priming your 3D print for painting. The tutorial starts with an overview of the model from start to finish, including post-processing and checking for imperfections. The recommended spray paint for priming is Rust-Oleum 2X Ultra Cover Primer in white, gray, or black, and multiple coats may be needed to achieve a smooth and even primed surface. By the end of the video, you will understand the importance of priming in creating a successful painting of your 3D printed masterpiece and be eager to dive into the rest of the series.
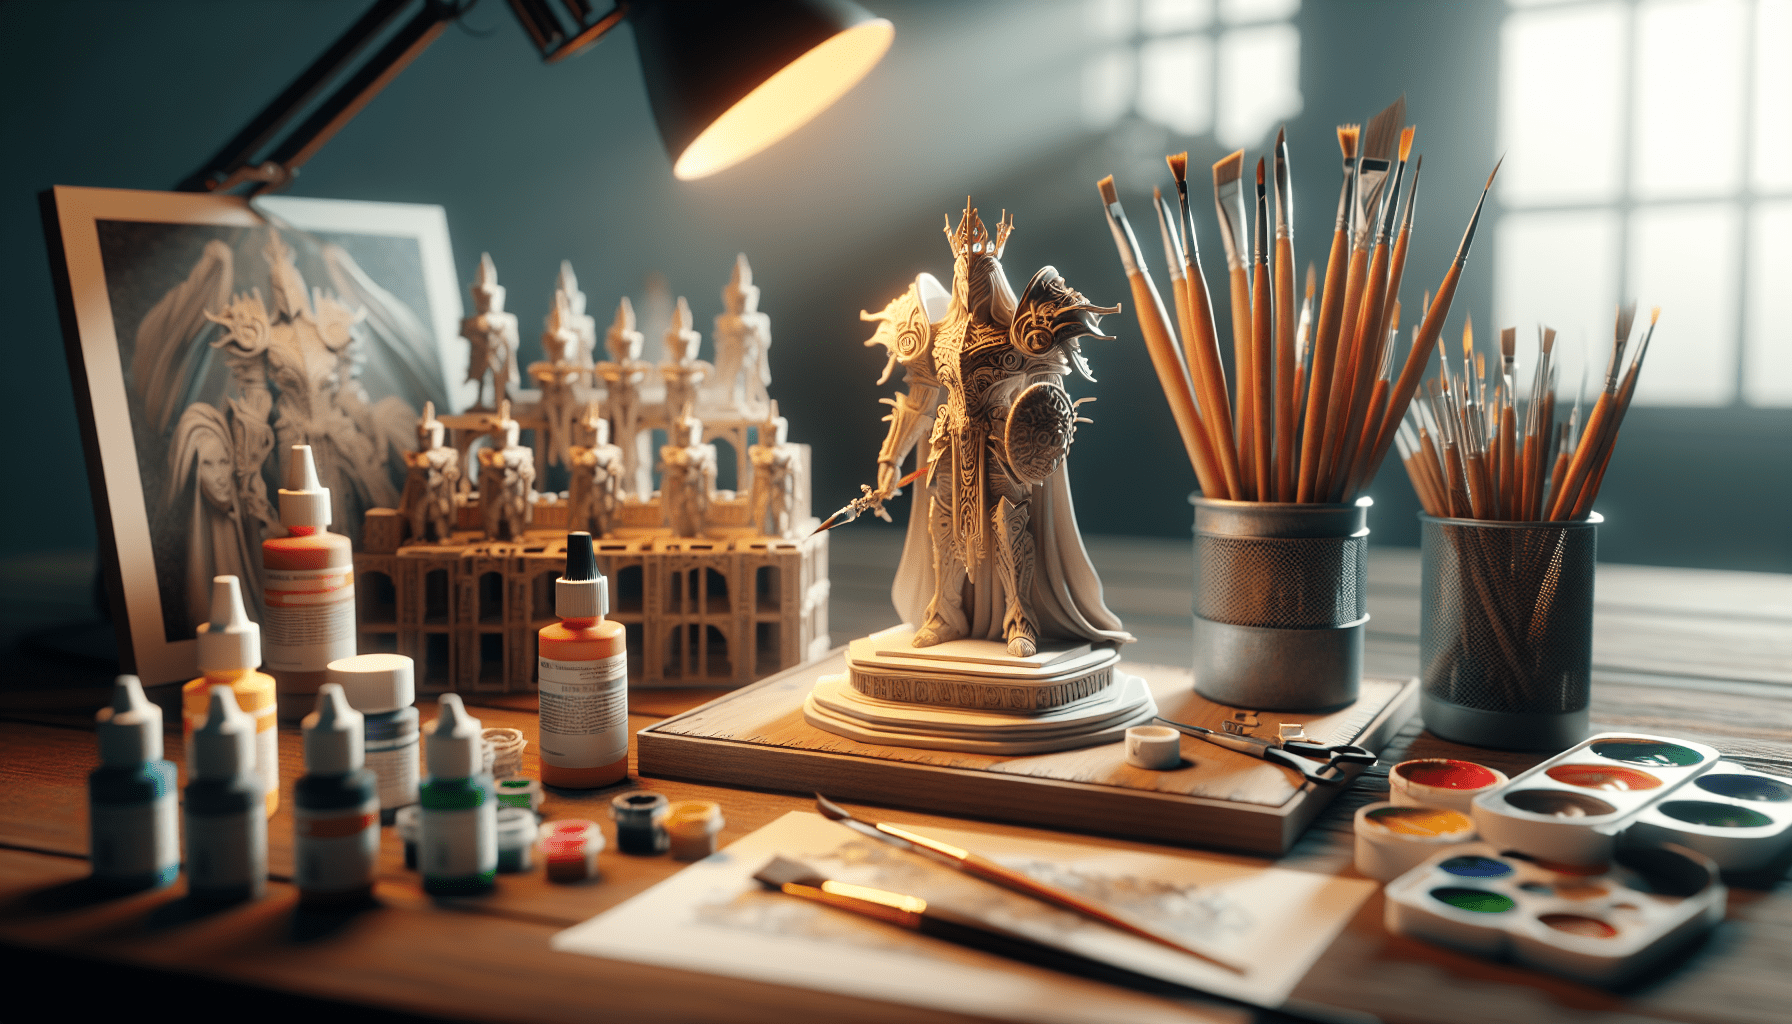
Tutorial Series: Painting 3D Prints
Overview
Welcome to the tutorial series on painting 3D prints! In this comprehensive guide, we will cover all the basics of painting 3D printed models from start to finish. Each part of this series will build upon the previous one, giving you the skills and techniques needed to transform your 3D prints into works of art.
Series Structure
The tutorial series consists of five parts, each focusing on a specific aspect of painting 3D prints. The first part will cover the importance of priming models before painting, while the subsequent parts will delve into topics such as base colors, watered-down paints, ink washes, and dry brushing techniques. Throughout the series, we will be using a Hulk bust model from Eastman, a renowned 3D modeler.
Find 3D Printing Accessories Here
Part 1: Priming Models
Importance of Priming
Priming your 3D prints before painting is a crucial step that should not be overlooked. The primer serves as a base for the other paints to adhere to, allowing for smoother and more successful painting. By providing an even and consistent surface, the primer ensures that the subsequent layers of paint will adhere properly, resulting in a high-quality finish.
Materials Needed
To prime your 3D printed models, you will need a few essential materials. These include sandpaper (320 or 220 grit), a primer paint (such as Rust-Oleum 2X Ultra Cover Primer), and optionally, an airbrush and Vallejo surface primer.
Step 1: Clean the Model
Before priming, it is essential to thoroughly clean your 3D printed model. Check for any imperfections, such as zits or stringing, and remove them if necessary. Use a soft brush or compressed air to remove any dust or debris.
Step 2: Check for Imperfections
Inspect the model for any rough areas or imperfections. Lightly sand these areas using 320 or 220 grit sandpaper, being careful not to remove too much detail in the process. Sanding should only be done if absolutely necessary, as it can diminish the fine details of the model.
Step 3: Smooth Rough Areas
If you encounter any rough spots on the model, address them by gently sanding the affected areas. This step ensures a smoother surface for optimal paint application.
Step 4: Choose Priming Method
Decide whether you want to use a spray can or an airbrush for priming. Spray cans are convenient and readily available, while airbrushing allows for more control and precision.
Step 5: Select Priming Paint
Choose the appropriate primer paint for your project. Rust-Oleum 2X Ultra Cover Primer is highly recommended, as it offers excellent coverage and comes in white, gray, or black, depending on your desired base color.
Step 6: Apply Primer
Using short bursts of spray paint or an airbrush, apply the primer evenly over the model. Make sure to cover all surfaces and angles, maintaining a consistent distance and speed.
Step 7: Achieving Even Coverage
Ensure that you achieve even coverage by applying the primer in thin and even layers. Avoid overspraying, as this can lead to uneven saturation and loss of detail.
Step 8: Multiple Coats if Necessary
If needed, apply multiple coats of primer to achieve a smooth and even surface. Allow each coat to dry completely before applying the next one. This step may be necessary to cover any remaining imperfections and ensure an ideal base for painting.
Conclusion
Summary
In this first part of the tutorial series on painting 3D prints, we have covered the importance of priming models before painting. We have discussed the materials needed, the steps involved in priming, and the significance of achieving even coverage. By following these guidelines, you will be well-prepared to move on to the next part of the series and explore the exciting world of painting 3D prints.
Encouragement for Future Videos
If you found this tutorial helpful, we encourage you to watch the rest of the series and subscribe to our channel. By doing so, you will gain valuable insights into various painting techniques and continue your journey toward creating stunning and realistic 3D printed models. Don’t hesitate to post any questions or comments in the video’s comment section. Join our community and discover the endless possibilities of painting 3D prints!
Maintain Your 3D Printer with these Tools


