
ANYCUBIC Photon Mono 4, Resin 3D Printer with 7'' 10K Mono LCD Screen, Stable LighTurbo Light Source and 70mm/h Fast Printing, Print Volume 6.04'' x 3.42'' x 6.49''
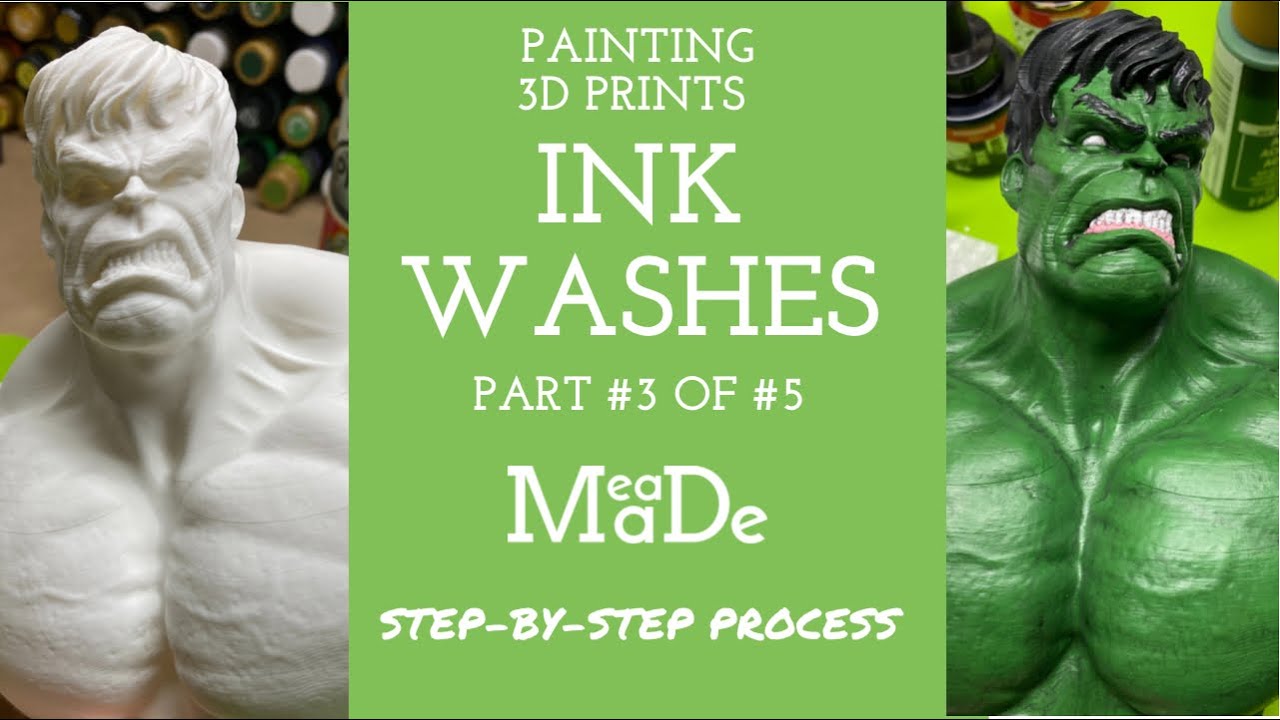
$159.99 (as of June 21, 2025 23:57 GMT +00:00 - More infoProduct prices and availability are accurate as of the date/time indicated and are subject to change. Any price and availability information displayed on [relevant Amazon Site(s), as applicable] at the time of purchase will apply to the purchase of this product.)Hey there! Have you ever wanted to enhance the appearance of your 3D printed models? Well, look no further because in this tutorial series called “Painting 3D Prints” by ItsMeaDMaDe, you will learn all about the technique of using ink washes to take your paint job to the next level. This is the third video in the series, and it covers everything you need to know about ink washes. You’ll learn about the benefits of using them, how to make your own DIY ink wash recipe, and the different colors and techniques you can use to bring out the details in your models. So grab your paintbrushes and get ready to transform your 3D prints into works of art!
In this video, you’ll join ItsMeaDMaDe as they demonstrate how to mix the perfect ink wash using specific ratios of water, matte medium, finish/rinse aid, and ink/acrylic paint. They’ll explain why using acrylic inks is recommended for better results and show you how to apply the ink wash to your models, focusing on getting it into the cracks and areas where you want definition. You’ll also learn how to wipe off excess ink and highlight specific areas using cotton pads. By the end of the video, you’ll be able to see the before and after comparisons of the model with the ink wash applied, and you’ll be one step closer to becoming a master at painting 3D prints. So get ready for an in-depth tutorial that will take your painting skills to new heights! Hey there! In this article, we’re going to talk about the benefits of using ink washes to enhance the appearance of your 3D printed models. Whether you’re a beginner or a seasoned pro, adding ink washes to your painting process can take your models to the next level. So let’s dive in and explore the wonders of ink washes!
If you’ve been following the “Painting 3D Prints” tutorial series by ItsMeaDMaDe, you’re in the right place. This is the third video in the series, and today we’re focusing on ink washes. Each video in this tutorial series covers a different painting technique, so be sure to watch them all in order to learn everything you need to paint your 3D printed models like a pro.
Now, before we jump into the specifics of ink washes, let’s talk a bit about the series itself. ItsMeaDMaDe has done an amazing job of creating a comprehensive tutorial series that teaches you the skills and techniques you need to paint any 3D printed model from start to finish. They’ve used the same model throughout the series, so you can see the painting process step by step. And remember, if you have any questions, don’t hesitate to ask in the comments section!
Alright, let’s get into the nitty-gritty of ink washes. To make your own ink wash, you’ll need a few materials. The first one is water, preferably purified or deionized water. Using purified water will ensure that there are no unwanted minerals or deposits in your ink wash, which could affect its quality and longevity. You can use tap water if you don’t have access to purified water, but keep in mind that it may not yield the best results.
Next, you’ll need matte medium. Matte medium is an essential ingredient in the ink wash recipe as it helps the wash flow smoothly and adheres to the model’s surface. You can find matte medium at your local art supply store or online.
To further improve the flow and adhesion of your ink wash, you’ll also need a finish/rinse aid. This helps reduce surface tension and prevents beading on the model. Jet dry is a popular brand of finish/rinse aid and works well for this purpose. Just a few drops will do the trick.
Finally, you’ll need ink or acrylic paint. Amsterdam brand ink is highly recommended for making ink washes due to its high pigment concentration and excellent flow properties. However, you can also use acrylic paints if that’s what you have on hand. Just keep in mind that acrylic inks generally provide better results.
Now that we have all the materials ready, let’s move on to the process of making the ink wash. Firstly, fill a container with water up to a designated line. This line will depend on the amount of wash you want to make. It’s a good idea to mark the container beforehand so you can easily measure the water.
Once the water is in the container, it’s time to add the matte medium. Pour in the desired amount and give it a good shake to mix it with the water. You may notice some suds forming, but don’t worry, they will reduce as the mixture sets overnight.
To further enhance the flow and adhesion of the wash, cap the container and shake it again, this time adding a few drops of jet dry. You’ll notice significant bubbling caused by the jet dry, but that’s completely normal.
Now it’s time to add the ink or acrylic paint. Amsterdam brand ink works best for achieving a black wash. Start by adding a few drops to the mixture, stirring as you go. It’s always a good idea to start with fewer drops and test the wash on a model before adjusting the ratios. This way, you can ensure that the wash is the right consistency and color for your specific project.
Once you’ve mixed the ink into the solution, you can pour the ink mixture into a paint palette for easy application. Now it’s time to bring your model into the picture and apply the ink wash!
Before applying the ink wash, it’s a good idea to test it on a painted model. This way, you can see how the wash collects in certain areas and adjust your technique accordingly. Once you’re satisfied with the results, you can begin applying the ink wash to your 3D printed model.
Focus on applying the wash to the cracks and areas where you want to add definition. Using a brush, carefully apply the ink wash, being mindful of avoiding drip lines. Remember, less is more, so start with a light application and build up the intensity as needed.
After applying the wash, you can use cotton pads to wipe off any excess ink and highlight specific areas. This step allows you to control the overall effect and bring out the desired details on your model. Don’t be afraid to experiment and adjust the wash as necessary to achieve the desired effect.
If you feel that one coat of ink wash isn’t enough, don’t worry! You can apply multiple coats to deepen the color and enhance the definition further. Just remember to let each coat dry completely before applying the next one.
Now, let’s take a moment to appreciate the difference that ink washes can make. Compare the before and after pictures of the model with the ink wash applied. The ink wash adds depth, shadows, and definition, bringing your 3D printed model to life.
In conclusion, ink washes are a fantastic technique for improving the appearance of your 3D printed models. They add depth, shadows, and definition, enhancing the overall paint job and bringing out the intricate details of the model. Making your own ink wash is budget-friendly and allows you to create custom colors to suit your specific project.
Remember, the Painting 3D Prints tutorial series has more to offer! The next video will cover dry brushing, another valuable technique for adding highlights and texture to your models. So make sure to subscribe and stay tuned for more tips and tricks to take your painting skills to the next level!
I hope you enjoyed this article and found it helpful in your painting journey. If you have any questions, feel free to ask in the comments section below. Happy painting!
To join the free YouTube community Discord, click here.
If you want to learn even more about painting, join the Patreon here.
Welcome to the third video in the Painting 3D Prints series! In this tutorial, I will teach you the basics of ink washes and how they can enhance the overall look of your 3D printed model. By creating definition, ink washes will take your paint job to the next level.
As a bonus, I will share with you my super easy, budget-friendly DIY ink wash recipe and demonstrate exactly how I make it. You don’t want to miss it!
If you enjoyed this tutorial, make sure to watch the rest of the series, subscribe to my channel, and feel free to ask any questions in the comments section below.
The other videos in this series are:
- Priming
- Paint Thinning & Color Blocking
- Ink Washes & DIY Recipe (current video)
- Dry Brushing Techniques
- Daubing Techniques
Each video builds upon the previous one, so if you started in the middle, I recommend going back to the beginning to follow each step. I use the same model throughout the entire series, so you can see the transformation from a raw 3D print to a work of art.
Don’t forget to check out the DIY Ink Wash Recipe and the materials I used in this tutorial:
For 3D printing, I use the Ultimaker software and slicer. You can download it here. If you need help with Cura Slicer settings, check out my tutorial here.
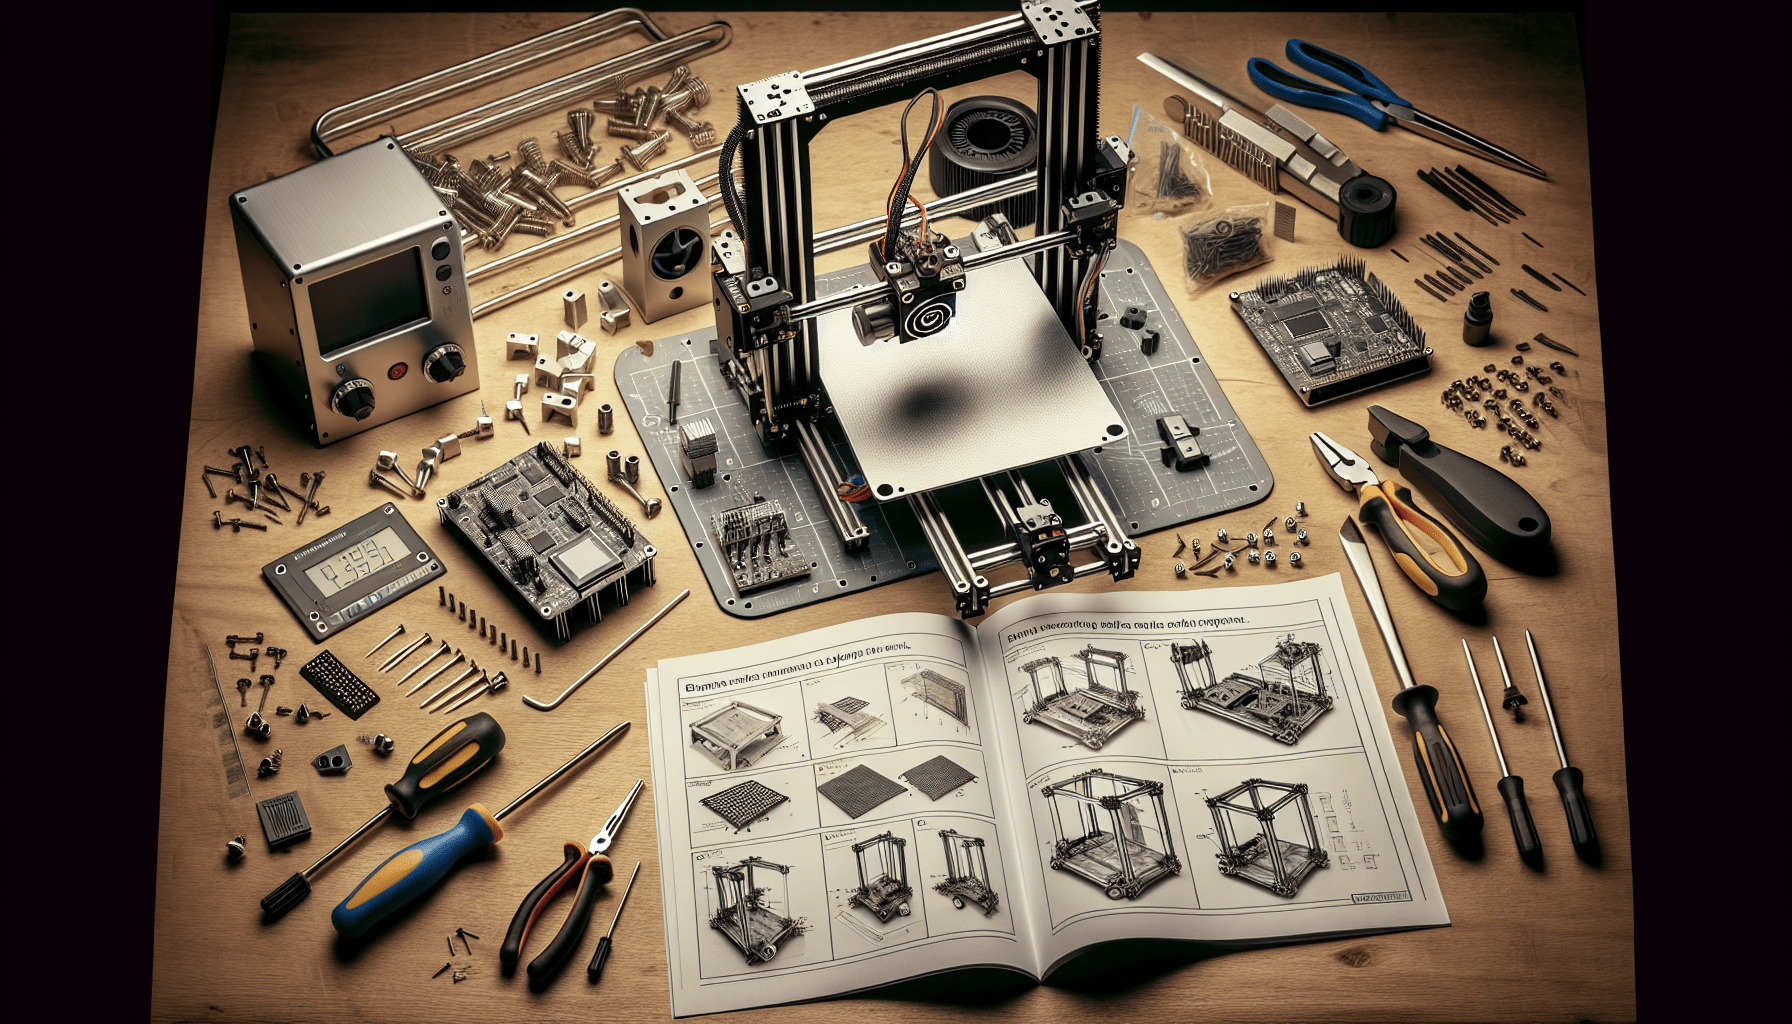
Here are some 3D printers I personally own and recommend:
I also have some recommended upgrades for the Ender 3 and Ender 3 Pro:
For 3D printing, these are the tools I use:
- Perfect Bed Leveling Kit: Buy Here
- Glue Sticks for Adhesion: Buy Here
- Small Plier Set to Remove Supports: Buy Here
If you want to see more of my work, follow me on Instagram @itsmeadmade or visit my website here.
Background music by Bensounds.

ELEGOO Matte PLA Filament Navy Blue 1KG, 1.75mm 3D Printer Filament Dimensional Accuracy +/- 0.02mm, 1kg Carboard Spool (2.2lbs) for Most FDM 3D Printers
$19.99 (as of June 19, 2025 23:45 GMT +00:00 - More infoProduct prices and availability are accurate as of the date/time indicated and are subject to change. Any price and availability information displayed on [relevant Amazon Site(s), as applicable] at the time of purchase will apply to the purchase of this product.)
Magigoo - MO2016 All-in-One 3D Printer Adhesive Glue - ABS, PLA, PETG, HIPS, and TPU Flex Filament on Glass, Flex Plate, PEI, Buildtak, Kapton - 3D Printing Accessories, Supplies, and Materials (50mL)
$19.95 (as of June 21, 2025 23:49 GMT +00:00 - More infoProduct prices and availability are accurate as of the date/time indicated and are subject to change. Any price and availability information displayed on [relevant Amazon Site(s), as applicable] at the time of purchase will apply to the purchase of this product.)
Creality CR-Ferret SE 3D Scanner for 3D Printing, Anti-Shake, 0.1Mm Precision, 30FPS Scanning Speed, Full-Color, Upgraded Desktop 3D Scanner for Body Hair Black Metal Non-Reflective Objects
$319.00 (as of June 21, 2025 23:58 GMT +00:00 - More infoProduct prices and availability are accurate as of the date/time indicated and are subject to change. Any price and availability information displayed on [relevant Amazon Site(s), as applicable] at the time of purchase will apply to the purchase of this product.)
Official Creality Ender 3 3D Printer Fully Open Source with Resume Printing Function DIY Printers Build Volulme 8.66x8.66x9.84 inch
$179.00 (as of June 21, 2025 23:57 GMT +00:00 - More infoProduct prices and availability are accurate as of the date/time indicated and are subject to change. Any price and availability information displayed on [relevant Amazon Site(s), as applicable] at the time of purchase will apply to the purchase of this product.)